
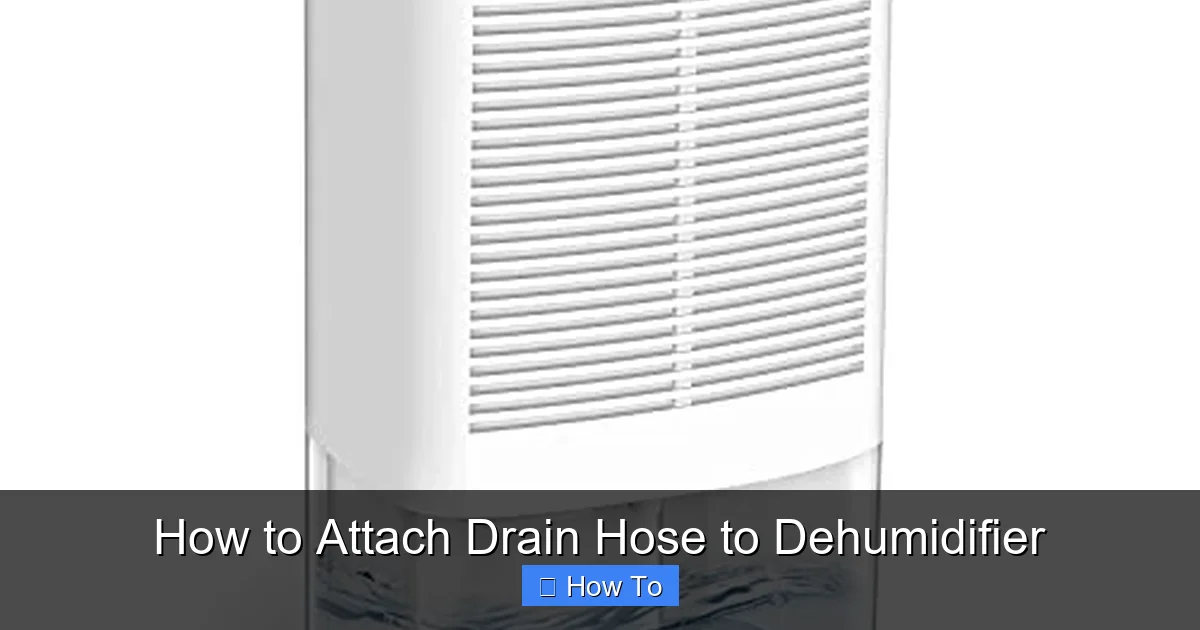
Attaching a drain hose to your dehumidifier allows for continuous water removal without manual emptying. This guide walks you through the process with clear steps, safety tips, and troubleshooting advice to keep your unit running smoothly.
Quick Answers to Common Questions
Can I use any garden hose for my dehumidifier?
No, garden hoses are too large and not designed for continuous indoor water drainage. Use a flexible, food-grade vinyl or PVC hose with the correct inner diameter (usually 5/16″ or 3/8″).
Do I need a pump to use a drain hose?
Only if you need to drain water uphill or over a long distance. Most setups rely on gravity, but a condensate pump can help if your drain is higher than the dehumidifier.
How often should I clean the drain hose?
Flush the hose with vinegar and water every 3–6 months to prevent mold and mineral buildup. Inspect it monthly for clogs or damage.
Can I run the drain hose outside?
Yes, but ensure the water won’t damage your foundation, landscaping, or create a slipping hazard. Use a hose long enough to reach a safe drainage area.
What if my dehumidifier doesn’t have a drain port?
You can use a sump pump accessory that sits in the water bucket and pumps water out through a hose. Check compatibility with your model.
How to Attach Drain Hose to Dehumidifier: A Complete Step-by-Step Guide
If you’ve ever forgotten to empty your dehumidifier’s water bucket and come back to a full tank—or worse, a puddle on the floor—you know how inconvenient manual draining can be. Fortunately, most modern dehumidifiers offer a solution: a continuous drainage option using a drain hose. By attaching a drain hose to your dehumidifier, you can automate the water removal process, saving time and preventing overflow.
In this comprehensive guide, you’ll learn how to attach a drain hose to your dehumidifier safely and effectively. Whether you’re a first-time user or upgrading your setup, we’ll walk you through every step—from choosing the right hose to troubleshooting common issues. By the end, you’ll have a reliable, leak-free drainage system that keeps your home dry and your dehumidifier running smoothly.
Why Use a Drain Hose with Your Dehumidifier?
Before diving into the installation, it’s helpful to understand why a drain hose is such a valuable addition. Dehumidifiers work by pulling moist air from your home, cooling it to condense the moisture, and collecting the water in an internal bucket. Once the bucket fills, the unit typically shuts off automatically to prevent overflow. While this safety feature is helpful, it means you must empty the bucket regularly—especially in humid climates or during summer months.
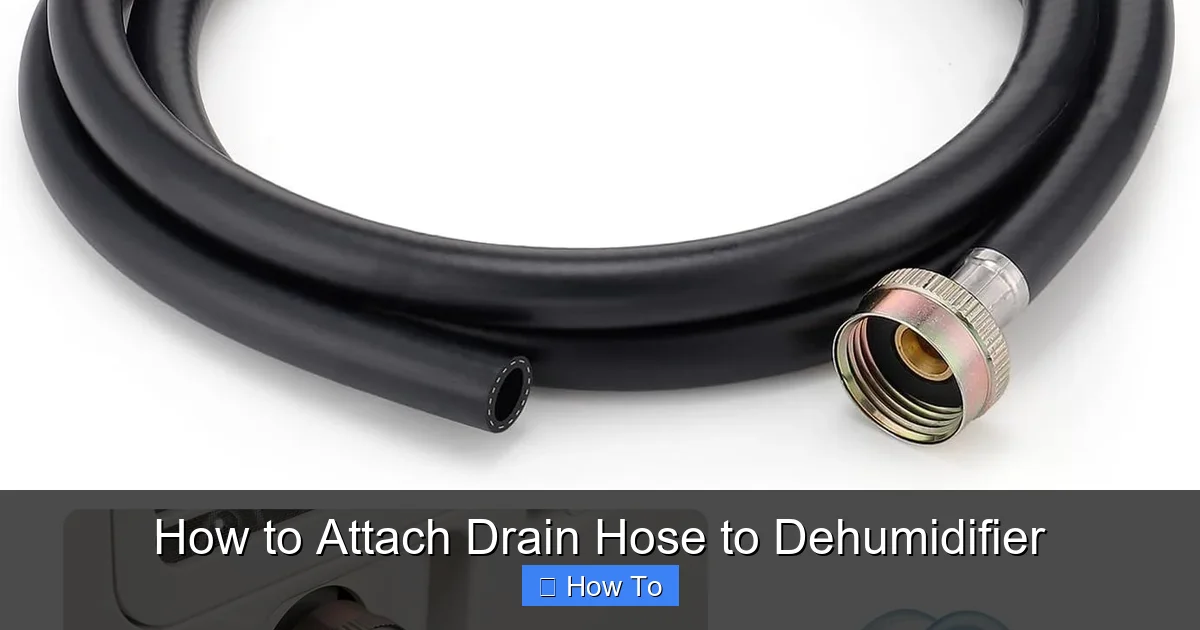
Visual guide about How to Attach Drain Hose to Dehumidifier
Image source: m.media-amazon.com
A drain hose eliminates this hassle. Instead of collecting water in a bucket, the dehumidifier pumps or gravity-feeds the water directly through a hose to a designated drain. This allows the unit to run continuously without interruption, improving efficiency and reducing maintenance. It’s especially useful in basements, crawl spaces, or laundry rooms where access is limited or frequent monitoring isn’t practical.
Additionally, continuous drainage helps maintain optimal humidity levels, which is crucial for preventing mold, mildew, and dust mites. It also reduces the risk of water damage from overflow, giving you peace of mind whether you’re home or away.
What You’ll Need
Before you begin, gather the following tools and materials to ensure a smooth installation:
- Drain hose: A flexible, food-grade vinyl or reinforced PVC hose with an inner diameter of 5/16″ or 3/8″ (check your dehumidifier manual for exact specs).
- Hose clamps or zip ties: To secure the hose connection and prevent leaks.
- Scissors or utility knife: For cutting the hose to the correct length.
- Measuring tape: To determine the distance from the dehumidifier to the drain.
- Bucket or container (optional): For initial testing before connecting to a permanent drain.
- Level (optional): To ensure the hose slopes correctly.
- Pipe hangers or clips (optional): To support the hose along its route and prevent sagging.
Most dehumidifiers come with a built-in drain hose adapter or spout, but if yours doesn’t, you may need to purchase a compatible adapter separately. Always refer to your user manual for model-specific requirements.
Step 1: Check Your Dehumidifier for Drain Hose Compatibility
Not all dehumidifiers support continuous drainage, so the first step is to confirm your model has a drain hose outlet. Look for a small spout, threaded connector, or rubber plug on the back or side of the unit—usually near the bottom. This is where the hose will attach.
If you’re unsure, consult your user manual or search online using your model number. Most manufacturers list drainage options in the product specifications. Some high-capacity or commercial-grade dehumidifiers include built-in condensate pumps, which allow you to drain water upward or over longer distances. If your unit has a pump, you’ll have more flexibility in hose placement.
Pro Tip: If your dehumidifier doesn’t have a drain port, you may still be able to use a hose with a sump pump accessory. These small, submersible pumps sit inside the water bucket and pump water out through a hose when the bucket fills. While not as seamless as a built-in drain, it’s a viable workaround for older models.
Step 2: Choose the Right Drain Hose
The type of hose you use is critical for effective drainage. A poor-quality or incorrectly sized hose can lead to leaks, clogs, or reduced performance. Here’s what to look for:
Material
Opt for a flexible, food-grade vinyl hose or reinforced PVC. These materials are durable, resistant to kinking, and safe for water transport. Avoid cheap plastic tubing, which can crack or degrade over time.
Inner Diameter
Most dehumidifiers require a hose with an inner diameter of 5/16″ or 3/8″. Using a hose that’s too narrow can restrict water flow, while one that’s too wide may not fit securely. Check your manual for the recommended size.
Length
Measure the distance from your dehumidifier to the nearest drain. Add a few extra feet for flexibility and to avoid tension on the connection. Most setups require between 6 and 20 feet of hose, but longer runs may need a pump.
Reinforcement
If the hose will be routed through tight spaces or exposed to foot traffic, choose a reinforced hose with a braided or spiral design. This prevents crushing and maintains water flow.
Example: For a basement dehumidifier draining into a floor sink, a 10-foot, 3/8″ reinforced vinyl hose is ideal. It’s long enough to reach the drain, flexible enough to navigate corners, and sturdy enough to last for years.
Step 3: Prepare the Hose and Dehumidifier
Once you have the right hose, it’s time to prepare both the hose and the dehumidifier for connection.
Cut the Hose to Length
Use scissors or a utility knife to cut the hose to the desired length. Make a clean, straight cut to ensure a tight seal. Avoid jagged edges, which can cause leaks or snag on surfaces.
Inspect the Drain Port
Locate the drain port on your dehumidifier. If it has a rubber plug or cap, remove it carefully. Some models have a threaded connector, while others use a simple barbed spout. Clean the area with a damp cloth to remove dust or debris.
Check for a Built-in Adapter
Some dehumidifiers include a small adapter or coupling that fits over the drain spout. If yours does, attach it now according to the manufacturer’s instructions. This ensures a snug fit for the hose.
Safety Note: Always unplug the dehumidifier before working on it. This prevents accidental startup and reduces the risk of electric shock.
Step 4: Attach the Hose to the Dehumidifier
Now comes the main event: connecting the hose to the dehumidifier. Follow these steps carefully to ensure a secure, leak-free connection.
Slide the Hose Onto the Spout
Take one end of the hose and slide it firmly onto the drain spout or adapter. Push it on until it’s snug—usually about 1 to 2 inches deep. You should feel resistance, but don’t force it, as this could damage the spout.
Secure with a Hose Clamp or Zip Tie
To prevent the hose from slipping off, secure it with a hose clamp or heavy-duty zip tie. Position the clamp about 1/2 inch from the end of the hose and tighten it until the connection is firm. If using a zip tie, thread it through the hose ribs (if present) and pull tight.
Pro Tip: For extra security, use two clamps or zip ties spaced a few inches apart. This is especially important if the hose will be under slight tension or exposed to movement.
Test the Connection
Gently tug on the hose to make sure it’s firmly attached. If it moves or feels loose, re-secure it. A loose connection can lead to leaks or complete disconnection during operation.
Step 5: Route the Hose to the Drain
Proper hose routing is essential for effective drainage. The goal is to guide water from the dehumidifier to a suitable drain using gravity—without kinks, loops, or uphill sections.
Choose the Right Drain Location
Common drain options include:
- Floor drain: Ideal for basements or utility rooms.
- Utility sink: Convenient if you have a nearby laundry or workshop sink.
- Window or exterior wall: For draining outside (ensure water won’t damage landscaping or foundations).
- Sump pit: If you have a sump pump system, you can route the hose into the pit.
Avoid draining into walls, electrical panels, or areas prone to flooding. Always follow local building codes and manufacturer guidelines.
Ensure a Downward Slope
The hose must slope downward at all times—typically at a rate of 1/4 inch per foot. This allows gravity to pull water toward the drain. Use a level to check the slope if needed.
Example: If your dehumidifier is 8 feet from the drain, the hose should drop at least 2 inches from start to finish. You can achieve this by placing the dehumidifier on a slight incline or using adjustable feet.
Support the Hose
Use pipe hangers, clips, or adhesive hooks to secure the hose along its route. This prevents sagging, which can create low spots where water pools and slows drainage. Avoid sharp bends or kinks, as they restrict flow.
Protect the Hose
If the hose runs across a walkway, cover it with a hose ramp or tape it down with duct tape to prevent tripping. In cold climates, insulate the hose to prevent freezing, which can block drainage.
Step 6: Test the Drainage System
Before relying on your new setup, it’s crucial to test it thoroughly. This ensures everything works as expected and helps you catch any issues early.
Plug In and Run the Dehumidifier
Reconnect the dehumidifier to power and turn it on. Set it to a high humidity level (e.g., 60%) to encourage water production. Let it run for 30 to 60 minutes.
Monitor the Hose and Drain
Watch the hose for signs of water flow. You should see a steady stream of water exiting the hose and entering the drain. Listen for gurgling or splashing, which may indicate a blockage or airlock.
Check for Leaks
Inspect the connection point, hose joints, and drain area for drips or puddles. If you find a leak, turn off the unit, unplug it, and re-secure the hose or replace the clamp.
Adjust as Needed
If water isn’t flowing, check for kinks, clogs, or improper slope. Clear any blockages and re-route the hose if necessary. If the hose is too long, consider trimming it to reduce resistance.
Pro Tip: Place a bucket under the drain end during the first test to catch any unexpected overflow. Once you’re confident the system works, you can remove the bucket.
Troubleshooting Common Drain Hose Issues
Even with careful installation, problems can arise. Here are some common issues and how to fix them:
Water Not Draining
Possible Causes: Clogged hose, improper slope, kinked tubing, or airlock.
Solutions: Disconnect the hose and flush it with warm water to clear debris. Reinstall with a proper downward slope. Tap the hose gently to release trapped air.
Leaks at the Connection
Possible Causes: Loose clamp, damaged spout, or ill-fitting hose.
Solutions: Tighten the clamp or replace it with a larger one. If the spout is cracked, contact the manufacturer for a replacement. Ensure the hose inner diameter matches the spout.
Hose Sagging or Pooling Water
Possible Causes: Lack of support or flat sections in the hose.
Solutions: Add more hangers or clips to lift the hose. Re-route to maintain a consistent downward slope.
Foul Odors from the Hose
Possible Causes: Mold or bacteria growth inside the hose.
Solutions: Flush the hose with a mixture of water and white vinegar (1:1 ratio). Let it sit for 30 minutes, then rinse thoroughly. Replace the hose if odors persist.
Freezing in Cold Weather
Possible Causes: Hose exposed to freezing temperatures.
Solutions: Insulate the hose with foam tubing or heat tape. In extreme cold, consider using the dehumidifier only during warmer hours or switching to manual drainage.
Maintenance Tips for Long-Term Performance
To keep your drain hose system working efficiently, regular maintenance is key. Here’s how to care for it:
- Inspect monthly: Check the hose for cracks, kinks, or blockages. Clean the connection point.
- Flush quarterly: Run a vinegar solution through the hose to prevent mold and mineral buildup.
- Replace every 2–3 years: Even high-quality hoses degrade over time. Replace them before they fail.
- Keep the area clean: Dust and debris near the drain can clog the hose or attract pests.
- Monitor humidity levels: Use a hygrometer to ensure your dehumidifier is working properly and not overworking due to a blocked drain.
Conclusion
Attaching a drain hose to your dehumidifier is a simple yet powerful upgrade that saves time, prevents overflow, and improves indoor air quality. By following this guide, you’ve learned how to choose the right hose, install it correctly, and maintain it for long-term reliability. Whether you’re managing humidity in a basement, crawl space, or laundry room, a properly installed drain hose ensures your dehumidifier works efficiently—even when you’re not around to monitor it.
Remember, the key to success is attention to detail: use the right materials, ensure a proper slope, secure all connections, and test the system thoroughly. With these steps, you’ll enjoy a hassle-free, continuous drainage solution that keeps your home dry and comfortable year-round.