
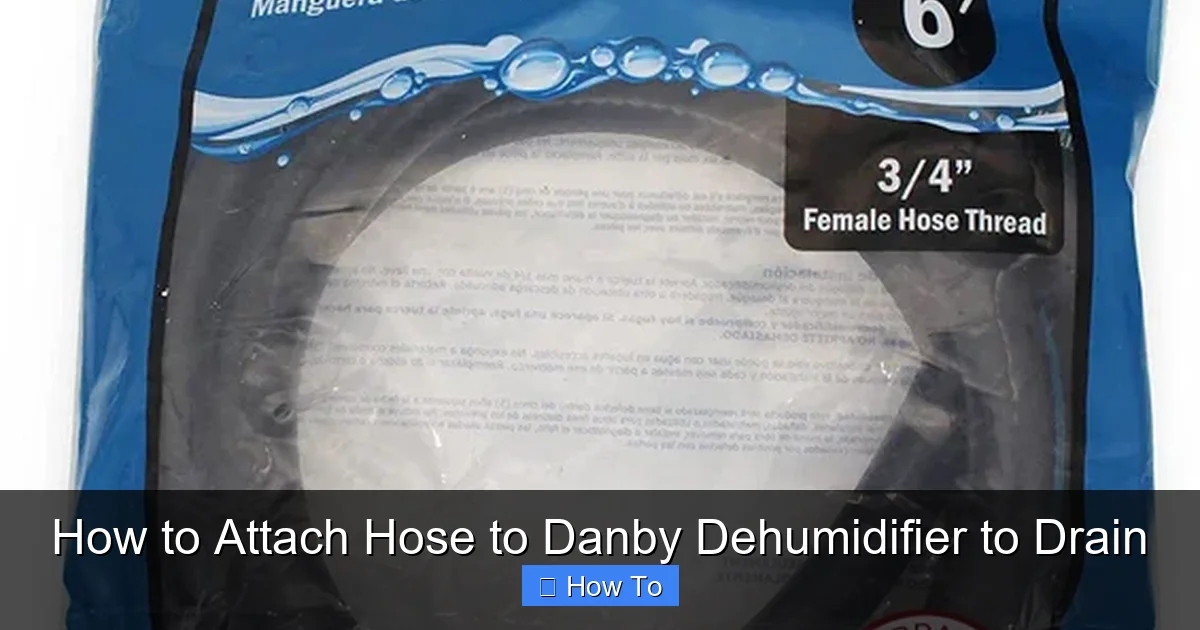
Attaching a hose to your Danby dehumidifier allows for continuous water drainage, eliminating the need to manually empty the tank. This guide walks you through the process with clear instructions, safety tips, and troubleshooting advice.
Quick Answers to Common Questions
Can I use any hose for my Danby dehumidifier?
Yes, but it’s best to use a 5/8″ or 3/4″ garden hose or clear vinyl tubing. Avoid narrow or rigid hoses that can restrict flow or crack.
Do I need to keep the water tank in place when using a hose?
Some Danby models require the tank to be installed for the unit to operate, even with a hose attached. Check your manual to confirm.
What if my drain point is higher than the dehumidifier?
Use a condensate pump to lift the water. These small pumps connect to the hose and automatically pump water to elevated drains or sinks.
How often should I clean the drainage hose?
Clean it monthly with a vinegar solution to prevent mold, algae, and mineral buildup. Flush thoroughly with water afterward.
Can I run the hose outside through a window?
Yes, but seal the opening with weatherproofing foam to prevent drafts and pests. Ensure the hose slopes downward and is secured.
How to Attach Hose to Danby Dehumidifier to Drain
If you’ve ever walked into a damp basement or laundry room only to find your Danby dehumidifier has shut off because the water tank is full, you know how frustrating it can be. Manually emptying the tank every few hours isn’t practical—especially if you’re away from home or dealing with high humidity levels. The good news? You can solve this problem easily by attaching a hose to your Danby dehumidifier for continuous drainage.
In this comprehensive guide, we’ll walk you through every step of attaching a hose to your Danby dehumidifier so you can enjoy hassle-free moisture removal. Whether you’re a DIY beginner or a seasoned homeowner, this guide is designed to be simple, clear, and effective. You’ll learn where to find the drain port, what type of hose to use, how to secure it properly, and how to test your setup. Plus, we’ll share practical tips and troubleshooting advice to keep your dehumidifier running smoothly all season long.
By the end of this article, you’ll have a fully functional continuous drainage system that saves you time, reduces maintenance, and keeps your space dry and comfortable.
Why Use Continuous Drainage?
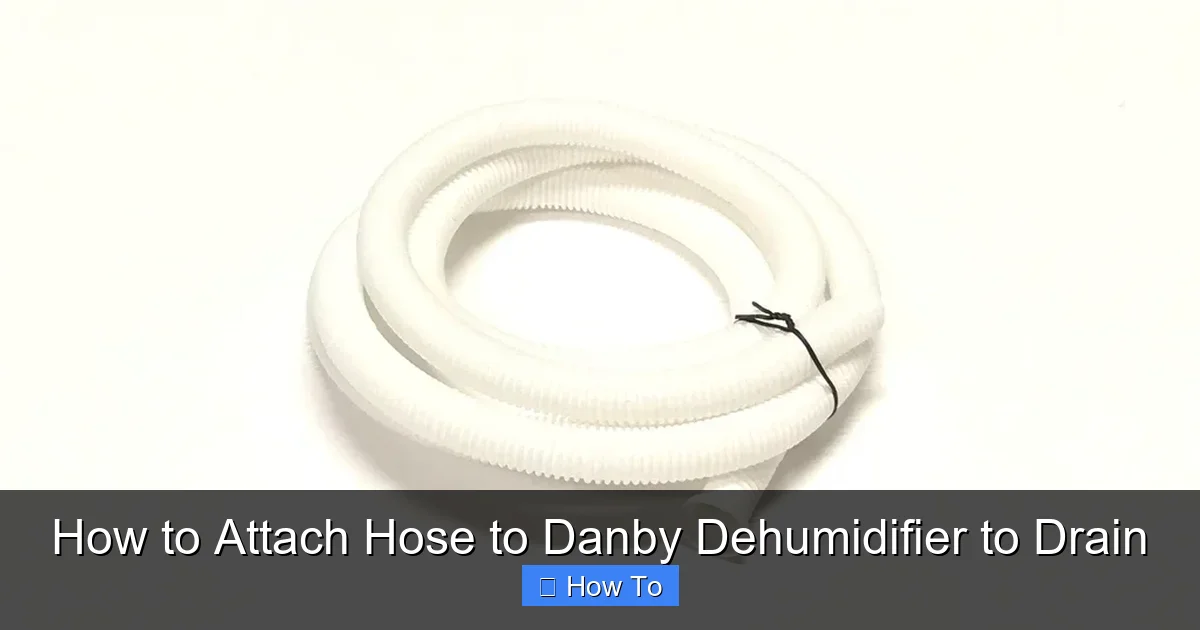
Visual guide about How to Attach Hose to Danby Dehumidifier to Drain
Image source: parts-distribution.com
Before diving into the how-to steps, it’s important to understand why continuous drainage is such a game-changer. Most Danby dehumidifiers come with a built-in water collection tank—typically ranging from 10 to 20 liters depending on the model. While this tank works well for occasional use, it fills up quickly in humid environments like basements, crawl spaces, or laundry rooms.
When the tank reaches capacity, the dehumidifier automatically shuts off to prevent overflow. This means your unit stops removing moisture until you manually empty the tank. If you’re not around to do this, humidity levels can rise again, leading to mold, musty odors, and potential damage to furniture or flooring.
Continuous drainage solves this problem by redirecting collected water directly out of the unit through a hose. The water flows by gravity into a nearby floor drain, sink, or external container. This allows the dehumidifier to run nonstop, maintaining optimal humidity levels without interruption.
Additionally, continuous drainage reduces the risk of spills and water damage. There’s no tank to overflow, and you don’t have to worry about forgetting to empty it. It’s especially useful during rainy seasons, in flood-prone areas, or when you’re on vacation.
What You’ll Need
Before you begin, gather the following tools and materials. Having everything ready will make the process smoother and faster.
- Danby dehumidifier (any model with a drain port)
- Hose – A standard garden hose (5/8″ or 3/4″ diameter) or clear vinyl tubing (1/2″ to 3/4″ inner diameter). Vinyl tubing is often preferred because it’s flexible and less likely to kink.
- Hose clamps or zip ties – To secure the hose to the drain port and prevent leaks.
- Scissors or utility knife – For cutting the hose to the correct length.
- Towel or bucket – To catch any residual water when disconnecting or testing.
- User manual – To confirm your model supports continuous drainage and locate the drain port.
- Measuring tape – To determine the required hose length.
- Optional: Teflon tape – For extra sealing on threaded connections (if applicable).
Most of these items are inexpensive and available at hardware stores, home centers, or online. If you already have a garden hose, you may not need to buy anything new.
Step 1: Check Your Danby Model for Drain Port Compatibility
Not all dehumidifiers support continuous drainage, so the first step is to confirm your Danby model has a built-in drain port. Most modern Danby dehumidifiers—especially those designed for basements or heavy-duty use—include this feature. However, compact or portable models may only have a manual tank.
To check:
- Refer to your user manual. Look for sections titled “Continuous Drainage,” “Hose Connection,” or “Drain Port.”
- Inspect the back, bottom, or side of the unit. The drain port is usually a small, threaded nozzle or a push-fit connector, often labeled “Drain” or “Continuous Drain.”
- If you can’t find a port, your model may not support hose drainage. In that case, consider upgrading to a compatible model or using a condensate pump as an alternative.
Common Danby models with drain ports include the Danby DDR050BJWDB, DDR070BJWDB, and DDR030WDB. If you’re unsure, visit the Danby website and enter your model number to view specifications.
Step 2: Choose the Right Hose
Selecting the correct hose is crucial for effective drainage. The hose must fit securely on the drain port and allow water to flow freely without kinking or leaking.
Types of Hoses to Use
- Garden hose: Durable and widely available. Best for long distances or outdoor drainage. Choose a 5/8″ or 3/4″ diameter hose. Ensure it’s clean and free of cracks.
- Vinyl tubing: Flexible, lightweight, and easy to route. Ideal for indoor use. Look for 1/2″ to 3/4″ inner diameter tubing. Clear tubing lets you see water flow and detect clogs.
- Rubber hose: More durable than vinyl but less flexible. Suitable for high-temperature environments.
Avoid using narrow or rigid tubing, as it can restrict flow or crack under pressure.
Hose Length Considerations
Measure the distance from your dehumidifier to the drain point (e.g., floor drain, sink, or outside). Add a few extra feet for flexibility. A 10- to 25-foot hose is usually sufficient for most homes.
Tip: If the hose is too long, coil the excess neatly to prevent tripping hazards or water pooling.
Step 3: Locate and Prepare the Drain Port
Once you’ve confirmed your model has a drain port, locate it on the unit. It’s typically found on the back or bottom panel, near the water tank compartment.
Steps to Access the Drain Port
- Unplug the dehumidifier from the power outlet for safety.
- Remove the water tank (if present) to access the internal components.
- Look for a small cap or plug covering the drain port. This is often made of rubber or plastic.
- Gently remove the cap. Some models have a twist-off cap; others may require prying with a flathead screwdriver.
- Set the cap aside—you won’t need it once the hose is attached.
Note: Some Danby models have a built-in hose adapter that slides or screws into place. If yours does, follow the instructions in the manual to install it before attaching the hose.
Step 4: Attach the Hose to the Drain Port
Now it’s time to connect the hose. This step varies slightly depending on your model and hose type.
For Push-Fit or Barbed Drain Ports
Many Danby dehumidifiers have a barbed nozzle that the hose slides onto.
- Soak the end of the hose in warm water for 30 seconds to make it more pliable (especially if using vinyl tubing).
- Slide the hose firmly onto the barbed nozzle. Push it on until it’s snug and secure.
- Use a hose clamp or zip tie to tighten the connection. Place the clamp about 1/2 inch from the end of the hose and tighten it with a screwdriver or pliers.
- Wiggle the hose gently to ensure it doesn’t come loose.
For Threaded Drain Ports
Some models have a threaded connection.
- Wrap Teflon tape around the threads of the drain port (2–3 layers) to create a watertight seal.
- Screw the hose adapter (if included) onto the port by hand, then tighten gently with pliers. Don’t overtighten—this can crack the plastic.
- Attach the hose to the adapter using a clamp or zip tie.
For Snap-On or Quick-Connect Systems
A few Danby models feature quick-connect fittings.
- Press the hose into the fitting until it clicks into place.
- Give it a gentle tug to confirm it’s secure.
Always double-check the connection before powering on the unit.
Step 5: Route the Hose for Proper Drainage
Even with a secure connection, improper hose routing can cause backups, leaks, or inefficient drainage.
Key Principles for Hose Routing
- Slope downward: The hose must always slope downward from the dehumidifier to the drain point. Gravity is your friend—water won’t flow uphill without a pump.
- Avoid kinks and bends: Sharp bends restrict flow and can cause water to pool. Use gentle curves instead.
- Secure the hose: Use clips, tape, or zip ties to attach the hose to walls, baseboards, or the floor. This prevents movement and tripping.
- Keep it elevated if needed: If draining into a sink or bucket, use a hose hanger or hook to keep the outlet above the water level. This prevents backflow.
Common Drainage Options
- Floor drain: Ideal for basements. Place the hose directly into the drain grate. Ensure it’s deep enough to prevent splashing.
- Utility sink: Route the hose into the sink basin. Use a sink adapter or clamp to hold it in place.
- Outdoor drainage: Run the hose through a window or wall to drain outside. Seal the opening with weatherproofing foam to prevent drafts.
- Bucket or container: Use a large bucket with a lid (poked with a hole for the hose). Empty it periodically or connect a secondary pump for automatic removal.
Tip: If your drain point is higher than the dehumidifier, consider using a condensate pump to lift the water.
Step 6: Test the Drainage System
Before leaving your dehumidifier unattended, it’s essential to test the setup.
Testing Steps
- Plug the dehumidifier back in and turn it on.
- Set the humidity level to a low setting (e.g., 40%) to encourage faster water production.
- Let the unit run for 15–30 minutes.
- Check the hose for leaks at the connection point and along the length.
- Confirm water is flowing steadily into the drain or container.
- Listen for unusual sounds or vibrations that might indicate a blockage.
If you notice leaks, tighten the clamps or reapply Teflon tape. If water isn’t flowing, check for kinks or airlocks in the hose.
Troubleshooting Common Issues
Even with careful installation, problems can arise. Here’s how to fix the most common issues.
Hose Leaks at the Connection
- Cause: Loose clamp, damaged hose, or improper fit.
- Solution: Turn off the unit, dry the area, and reattach the hose. Use a larger clamp or replace the hose if it’s cracked.
Water Not Draining
- Cause: Kinked hose, clogged drain port, or insufficient slope.
- Solution: Straighten the hose, clean the drain port with a pipe cleaner, and ensure the hose slopes downward.
Hose Disconnects During Operation
- Cause: Weak clamp or loose fit.
- Solution: Use a stronger clamp or double up with zip ties. Consider switching to a more secure hose type.
Mold or Algae in the Hose
- Cause: Stagnant water and humidity promote growth.
- Solution: Flush the hose monthly with a mixture of water and white vinegar. Let it sit for 30 minutes, then rinse thoroughly.
Dehumidifier Still Shuts Off
- Cause: The unit may have a float switch that detects tank presence, even with a hose attached.
- Solution: Some models require the tank to be in place for the hose to work. Check your manual. If needed, leave the tank installed but empty.
Maintenance Tips for Long-Term Use
To keep your drainage system working efficiently, follow these maintenance practices.
- Clean the hose monthly: Flush it with water and vinegar to prevent clogs.
- Inspect the drain port: Wipe it clean and check for debris.
- Check hose connections: Ensure clamps are tight and the hose isn’t cracked.
- Monitor drainage flow: If flow slows, inspect for blockages.
- Winter storage: Drain and dry the hose before storing the dehumidifier in cold months.
Regular maintenance extends the life of your dehumidifier and prevents unexpected failures.
Conclusion
Attaching a hose to your Danby dehumidifier for continuous drainage is a simple yet powerful upgrade that saves time, reduces maintenance, and improves performance. By following the steps in this guide—checking compatibility, choosing the right hose, securing the connection, and testing the system—you can enjoy uninterrupted moisture control in your home.
Whether you’re managing humidity in a basement, laundry room, or crawl space, continuous drainage ensures your dehumidifier works efficiently even when you’re not around. With proper installation and regular care, your system will keep your space dry, comfortable, and protected from mold and mildew.
Don’t let a full water tank interrupt your dehumidifier’s operation. Take a few minutes today to set up hose drainage—and say goodbye to constant tank emptying for good.