
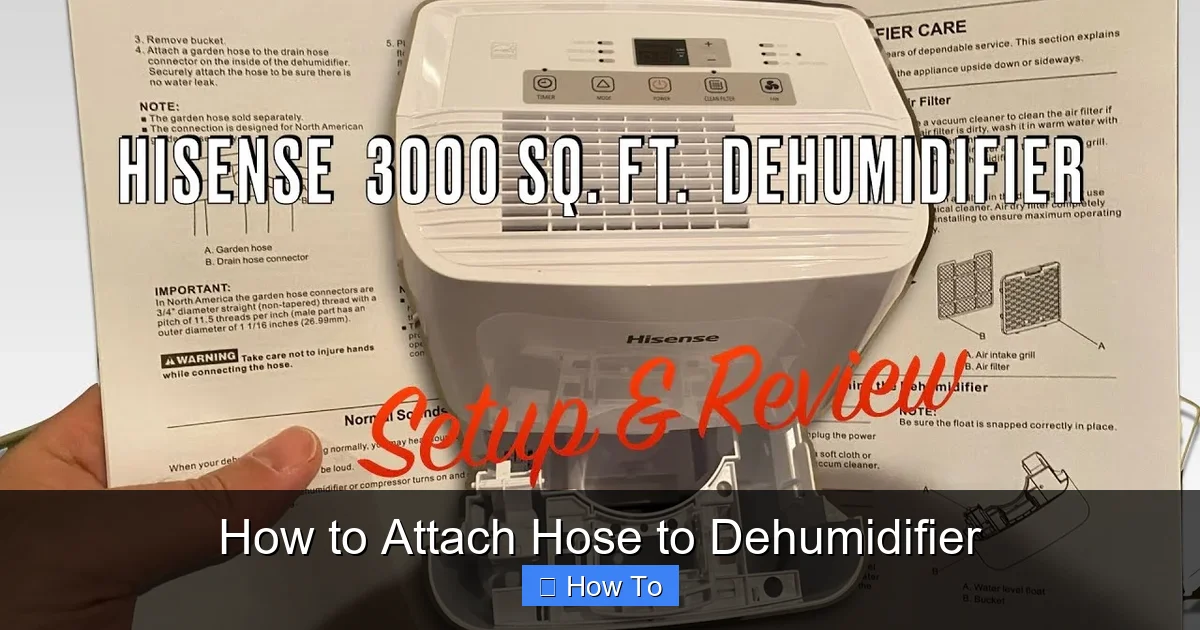
Attaching a hose to your dehumidifier allows for continuous water drainage, eliminating the need to empty the tank manually. This guide walks you through the process simply and safely, ensuring efficient moisture removal from your home.
Quick Answers to Common Questions
Tip/Question?
Can I use any hose for my dehumidifier?
No—use a hose with a 1/4″ or 5/16″ inner diameter. Garden hoses work, but vinyl tubing is more flexible and less likely to kink.
Tip/Question?
Do I need to remove the water tank when using a hose?
It depends on the model. Some dehumidifiers require the tank to be in place (even if empty), while others have a continuous drain mode. Check your manual.
Tip/Question?
Can I drain the hose into a window or outside?
Only if it’s safe and legal. Avoid draining near foundations or walkways, and ensure the water won’t cause erosion or flooding.
Tip/Question?
How often should I clean the drain hose?
Every 2–3 months, or sooner if you notice slow drainage or odors. Use a vinegar-water solution to flush it out.
Tip/Question?
What if my dehumidifier doesn’t have a drain port?
You may need an aftermarket drain kit or consider upgrading to a model that supports continuous drainage. Modifying the unit yourself can void the warranty.
How to Attach Hose to Dehumidifier
If you’ve ever woken up to a full water tank in your dehumidifier—again—you know how frustrating it can be. Manually emptying the bucket every few hours isn’t just inconvenient; it can also reduce the efficiency of your dehumidifier, especially in humid climates or during rainy seasons. The good news? You can solve this problem easily by learning how to attach a hose to your dehumidifier.
This comprehensive guide will walk you through every step of attaching a drainage hose to your dehumidifier. Whether you’re a first-time user or just upgrading your setup, you’ll learn how to enable continuous drainage, choose the right equipment, avoid common mistakes, and maintain your system for long-term performance. By the end, you’ll have a hassle-free dehumidifying system that works even when you’re not around.
Why Attach a Hose to Your Dehumidifier?
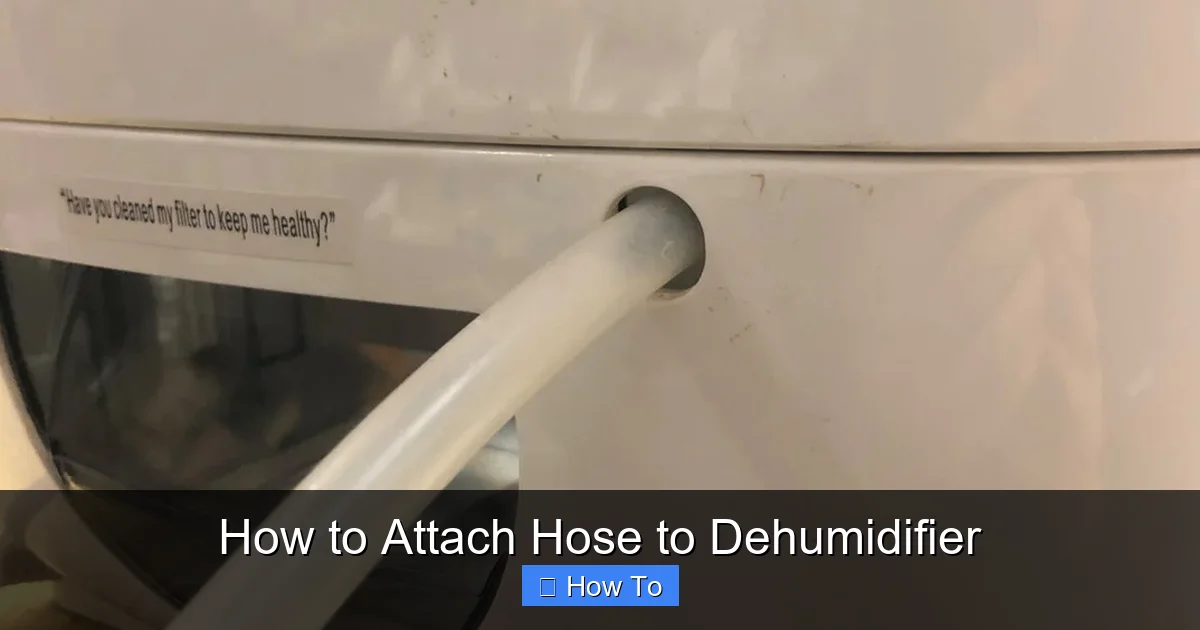
Visual guide about How to Attach Hose to Dehumidifier
Image source: cdn11.bigcommerce.com
Before diving into the how-to, let’s talk about why this upgrade is worth your time. Most dehumidifiers come with a built-in water collection tank—usually holding between 1 and 2 gallons. While convenient for occasional use, these tanks fill up quickly in high-moisture environments like basements, crawl spaces, or laundry rooms.
When the tank is full, the dehumidifier automatically shuts off to prevent overflow. That means your space stays damp, mold can grow, and your energy bills may rise due to inefficient operation. Attaching a hose bypasses the tank entirely, allowing water to drain continuously into a nearby sink, floor drain, or sump pump.
Benefits of hose attachment include:
- Continuous operation: No more interruptions from a full tank.
- Reduced maintenance: You won’t need to empty the bucket daily.
- Improved air quality: Consistent moisture removal prevents mold and mildew.
- Energy efficiency: The unit runs only when needed, not repeatedly shutting off.
- Peace of mind: Ideal for vacations or unattended use.
Check If Your Dehumidifier Supports Hose Drainage
Not all dehumidifiers are designed for hose attachment. Before buying supplies or starting installation, confirm that your model supports continuous drainage.
Look for a Drain Hose Outlet
Most dehumidifiers that allow hose drainage have a designated outlet—usually a small spout or threaded connector on the back or side of the unit. It’s often labeled “Drain,” “Continuous Drain,” or “Hose Outlet.” This port is typically located near the bottom of the machine.
If you don’t see such a port, check your user manual. Some models require an optional drain kit or adapter, which may be sold separately. For example, Frigidaire and Honeywell often include a drain hose adapter in the box or offer it as an accessory.
Verify Model Compatibility
Popular brands like GE, LG, Toshiba, and Midea usually support hose drainage on mid-to-high-end models. Entry-level units may lack this feature. If you’re unsure, search your model number online or contact the manufacturer’s customer support.
Pro Tip: Even if your dehumidifier doesn’t have a built-in drain port, some users have successfully modified their units by drilling a small hole and installing a bulkhead fitting. However, this voids the warranty and risks water damage—so proceed with caution and only if you’re experienced.
Gather the Right Tools and Materials
Once you’ve confirmed your dehumidifier supports hose drainage, it’s time to gather your supplies. You don’t need much, but using the correct materials ensures a secure, leak-free connection.
Essential Items
- Drain hose: A 1/4″ or 5/16″ inner diameter (ID) vinyl or garden hose. Vinyl is flexible and resistant to kinking. Garden hoses are durable but may be stiffer.
- Hose adapter (if needed): Some dehumidifiers come with a threaded spout that requires a male or female hose adapter. Check your model’s specifications.
- Hose clamps or zip ties: To secure the hose to the outlet and prevent leaks.
- Scissors or utility knife: For cutting the hose to the correct length.
- Teflon tape (optional): For threaded connections to prevent leaks.
Optional but Helpful
- Hose guide or clamp: Keeps the hose in place along the wall or floor.
- Sump pump or drain pan: If draining into a basement floor drain isn’t possible.
- Measuring tape: To determine the required hose length.
Example: If your dehumidifier is in a basement 10 feet from a floor drain, measure the distance and add a few extra feet for flexibility. A 15-foot hose gives you room to maneuver.
Step-by-Step Guide to Attaching the Hose
Now that you’re prepared, let’s get to the main event: attaching the hose. Follow these steps carefully to ensure a safe and effective setup.
Step 1: Turn Off and Unplug the Dehumidifier
Safety first! Always disconnect the power before working on your appliance. This prevents electrical shock and protects the internal components.
Step 2: Locate the Drain Outlet
Find the drain spout on your dehumidifier. It’s usually on the back or side, near the base. Some models have a rubber cap or plug covering the outlet—remove it gently.
Step 3: Attach the Hose Adapter (If Required)
If your dehumidifier has a threaded spout, screw on the appropriate hose adapter. Wrap the threads with Teflon tape to create a watertight seal. Hand-tighten, then give it a gentle quarter-turn with pliers—don’t over-tighten, as this can crack the plastic.
Step 4: Connect the Hose
Slide one end of the hose onto the drain outlet or adapter. Push it on firmly until it’s snug. For extra security, use a hose clamp or zip tie to fasten the connection. This prevents the hose from slipping off during operation.
Step 5: Route the Hose Properly
The hose must slope downward from the dehumidifier to the drain point. Gravity is your friend here—water won’t flow uphill without a pump. Avoid sharp bends or kinks that can block water flow.
Secure the hose along the wall or floor using clips or tape. Keep it away from walkways to prevent tripping.
Step 6: Position the Drain End
Place the other end of the hose into a suitable drainage point:
- Floor drain: Ideal for basements.
- Utility sink: Common in laundry rooms.
- Sump pump pit: Use if you have a sump pump system.
- Bucket or container: Only if you plan to empty it regularly.
Important: Never let the hose sit in standing water. This can cause backflow or mold growth.
Step 7: Test the Setup
Plug in the dehumidifier and turn it on. Let it run for 15–30 minutes. Watch the hose to ensure water flows smoothly and there are no leaks at the connection points.
If water pools or drips, turn off the unit and recheck the hose attachment. Tighten clamps or reposition the hose as needed.
Tips for Optimal Performance
A well-installed hose system does more than just drain water—it keeps your dehumidifier running efficiently. Here are some pro tips to maximize performance.
Use the Right Hose Length
Too long, and the hose may kink or collect debris. Too short, and it could pull loose. Aim for the shortest practical length with a little slack for movement.
Keep the Hose Clean
Over time, mineral deposits, mold, or algae can build up inside the hose. Every few months, flush it with a mixture of water and vinegar (1:1 ratio) to dissolve buildup. Rinse thoroughly afterward.
Inspect Regularly
Check the hose and connections weekly for cracks, leaks, or blockages. Replace the hose if it becomes brittle or damaged.
Avoid Freezing Temperatures
If your dehumidifier is in an unheated space like a garage, cold weather can freeze the water in the hose. This blocks drainage and may damage the unit. Use insulated tubing or relocate the dehumidifier during winter.
Use a Check Valve (Optional)
In rare cases, backflow can occur if the drain is higher than the dehumidifier. A one-way check valve prevents water from flowing backward into the unit.
Troubleshooting Common Issues
Even with careful installation, problems can arise. Here’s how to fix the most common issues.
Hose Keeps Leaking
- Cause: Loose connection or worn seal.
- Solution: Tighten the hose clamp or replace the adapter. Use Teflon tape on threaded parts.
Water Isn’t Draining
- Cause: Kinked hose, clogged outlet, or improper slope.
- Solution: Straighten the hose, check for blockages, and ensure it slopes downward.
Dehumidifier Still Shuts Off
- Cause: The unit may still rely on the tank sensor even with a hose attached.
- Solution: Some models require you to remove or bypass the tank. Check your manual—some have a “continuous drain” mode that disables the tank sensor.
Mold or Odor in the Hose
- Cause: Stagnant water and organic growth.
- Solution: Clean with vinegar solution and ensure the hose drains completely after each use.
Hose Pulls Out During Operation
- Cause: Weak connection or vibration.
- Solution: Use a stronger clamp or double zip ties. Secure the hose to a stable surface.
Safety and Maintenance
While attaching a hose is generally safe, a few precautions will keep your home and appliance protected.
Electrical Safety
Never run the hose near electrical outlets, cords, or the dehumidifier’s power supply. Water and electricity don’t mix.
Fire Hazards
Ensure the dehumidifier isn’t blocking vents or overheating. Continuous operation increases wear, so don’t leave it running unattended for extended periods without checking it.
Regular Cleaning
Clean the dehumidifier’s air filter monthly and wipe down the exterior. A clean unit works more efficiently and lasts longer.
Seasonal Storage
If you only use the dehumidifier seasonally, detach the hose, drain it completely, and store it in a dry place. This prevents mold and extends hose life.
Conclusion
Learning how to attach a hose to your dehumidifier is a simple upgrade that delivers big benefits. From eliminating constant tank emptying to improving indoor air quality, continuous drainage makes your dehumidifier more effective and convenient.
By following this guide, you’ve learned how to check compatibility, choose the right materials, install the hose safely, and maintain the system for long-term use. Whether you’re tackling a damp basement or just want a hands-off solution, hose attachment is a smart, cost-effective improvement.
Remember: always prioritize safety, test your setup, and perform regular maintenance. With these steps, your dehumidifier will keep your home dry and comfortable—no matter the weather outside.