
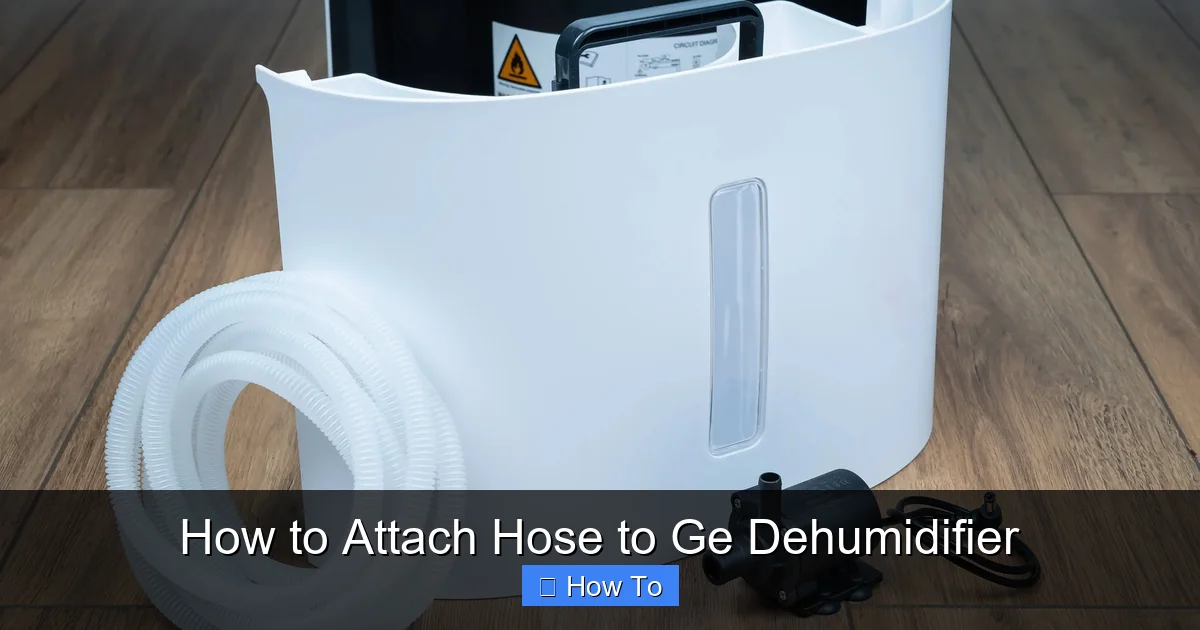
Attaching a hose to your GE dehumidifier allows for continuous drainage, eliminating the need to manually empty the water tank. This guide walks you through the process with clear steps, safety tips, and troubleshooting advice to ensure a hassle-free setup.
Quick Answers to Common Questions
Can I use any garden hose for my GE dehumidifier?
Yes, most standard 5/8” or 3/4” garden hoses work. Just make sure it’s flexible, kink-resistant, and long enough to reach your drain point.
Do I need a special hose for a GE dehumidifier with a pump?
Not necessarily. Pump models can use smaller hoses, but a standard garden hose still works. The pump helps push water uphill, so hose flexibility matters more than size.
How often should I check the hose connection?
Check it monthly for leaks, clogs, or loose fittings. A quick visual inspection takes less than a minute and prevents bigger problems.
Can I attach the hose while the dehumidifier is running?
No. Always unplug the unit first. Working on a live appliance near water is extremely dangerous.
What if my GE dehumidifier doesn’t have a drain port?
You’ll need an external condensate pump. These attach to the water tank and pump moisture out through a hose, even without a built-in port.
How to Attach Hose to GE Dehumidifier: A Complete Step-by-Step Guide
Are you tired of constantly emptying the water tank on your GE dehumidifier? You’re not alone. Many homeowners and renters struggle with frequent maintenance, especially during humid summer months or in damp basements. The good news? You can attach a hose to your GE dehumidifier for continuous drainage—no more lifting heavy buckets or worrying about overflow.
This comprehensive guide will walk you through the entire process of attaching a hose to your GE dehumidifier. Whether you’re a DIY beginner or a seasoned home improver, you’ll find clear, easy-to-follow instructions, practical tips, and troubleshooting advice. By the end, you’ll have a hassle-free dehumidifier that works while you sleep, work, or relax.
We’ll cover everything from checking your model’s compatibility to selecting the right hose, securing the connection, and maintaining your setup for long-term performance. Let’s get started!
Why Attach a Hose to Your GE Dehumidifier?
Before diving into the how-to, let’s talk about the why. Why should you bother attaching a hose in the first place?
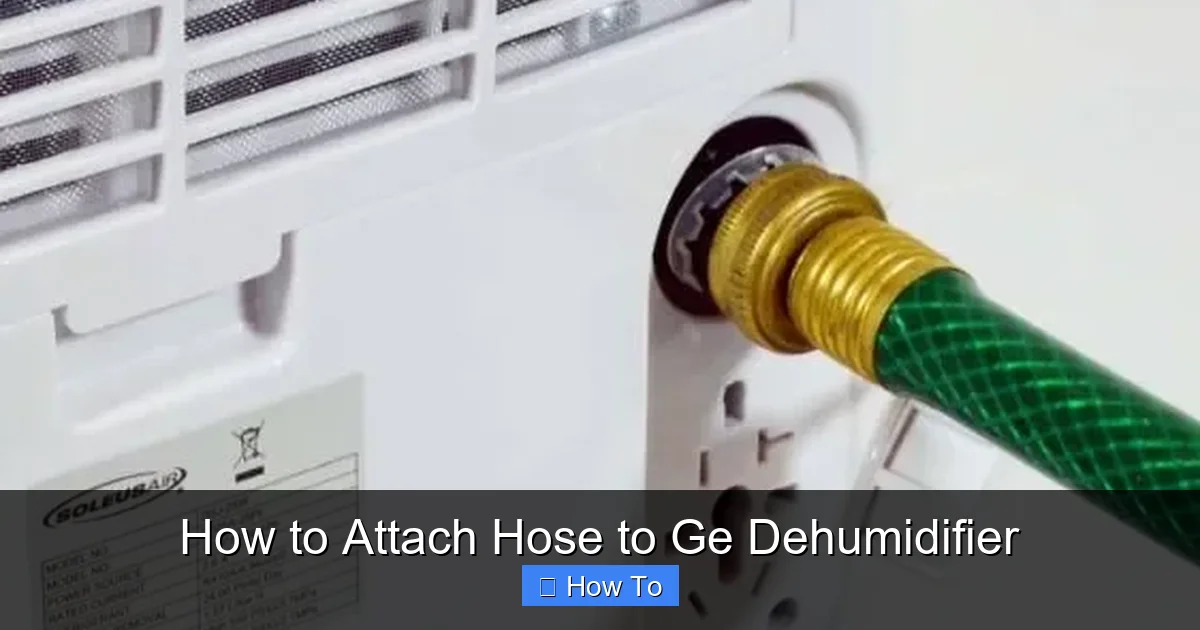
Visual guide about How to Attach Hose to Ge Dehumidifier
Image source: i0.wp.com
First and foremost, continuous drainage saves time and effort. Instead of checking and emptying the water tank every few hours, the dehumidifier automatically drains collected moisture through a hose. This is especially useful in areas with high humidity, like basements, laundry rooms, or crawl spaces.
Second, it prevents overflow and water damage. If the tank fills up and you’re not around to empty it, the dehumidifier will shut off—or worse, water could spill onto your floor. A hose eliminates this risk by directing water safely away from your home.
Third, it improves efficiency. When the tank is full, the dehumidifier stops working. With a hose, it runs continuously, maintaining optimal humidity levels without interruption.
Finally, it’s perfect for unattended operation. Whether you’re on vacation or just busy, a hose-connected dehumidifier keeps working in the background, giving you peace of mind.
Check Your GE Dehumidifier Model Compatibility
Not all GE dehumidifiers support continuous drainage. Before you buy a hose or start drilling holes, check your model number to confirm it has a built-in drain port.
How to Find Your Model Number
Your GE dehumidifier’s model number is usually located on a sticker or metal plate on the back or side of the unit. It typically starts with letters like “AD” or “ADE” followed by numbers (e.g., ADEW30LYA1). You can also find it in the user manual or on the original packaging.
Confirm Drain Port Availability
Look for a small, threaded opening on the back or side of the dehumidifier—this is the drain port. It’s often labeled “Drain” or “Continuous Drain.” If you don’t see one, your model likely doesn’t support hose attachment.
Popular GE models that support hose drainage include:
- GE ADEW30LYA1 (30-pint)
- GE ADEW50LYA1 (50-pint)
- GE ADGV50LYA1 (50-pint with pump)
- GE ADEW70LYA1 (70-pint)
If your model doesn’t have a drain port, you may need to upgrade to a compatible unit or use an external condensate pump (more on that later).
Gather the Right Tools and Materials
Before you begin, make sure you have everything you need. Here’s a checklist:
- Garden hose: A 5/8” or 3/4” diameter hose, 6–10 feet long (longer if needed). Choose a flexible, kink-resistant hose.
- Hose clamp (optional but recommended): A stainless steel or plastic clamp to secure the hose to the drain port.
- Scissors or utility knife: To trim the hose if necessary.
- Towel or bucket: To catch any residual water during setup.
- Screwdriver (if needed): Some models require removing a cover to access the drain port.
Pro tip: If your dehumidifier has a built-in pump (like the ADGV series), you can use a smaller, more flexible hose and even drain water uphill—perfect for basements with floor drains.
Step-by-Step: How to Attach the Hose
Now that you’ve confirmed compatibility and gathered your tools, it’s time to attach the hose. Follow these steps carefully.
Step 1: Unplug the Dehumidifier
Safety first! Always unplug the unit from the power outlet before making any modifications. This prevents electrical shock and protects the internal components.
Step 2: Locate the Drain Port
Find the drain port on the back or side of your GE dehumidifier. It’s usually a small, threaded nozzle about 1/2” to 3/4” in diameter. Some models have a removable cap or plug—remove it gently.
If there’s a cap, store it in a safe place in case you ever need to switch back to tank drainage.
Step 3: Prepare the Hose
Cut the garden hose to the desired length using scissors or a utility knife. Make sure the cut is clean and straight—this helps create a tight seal.
If the hose is too large for the drain port, you may need a reducer fitting. Most GE models accept standard garden hoses, but check your manual to be sure.
Step 4: Attach the Hose to the Drain Port
Slide one end of the hose onto the drain port. Push it on firmly until it’s snug. If it’s loose, wrap the connection with Teflon tape or use a hose clamp for extra security.
For models with a threaded port, you may need to screw the hose on clockwise. Don’t overtighten—this can crack the plastic.
Step 5: Secure the Connection
Use a hose clamp to tighten the hose around the drain port. Position the clamp about 1/2” from the end of the hose and tighten it with a screwdriver until snug. This prevents leaks and accidental disconnection.
Alternative: If you don’t have a clamp, use zip ties or electrical tape as a temporary fix—but a clamp is best for long-term use.
Step 6: Route the Hose Properly
Run the hose from the dehumidifier to a suitable drainage point. Ideal options include:
- A floor drain
- A sink or utility tub
- An outdoor area (e.g., garden or gutter)
- A sump pump pit
Important: The hose must slope downward at all times. Avoid loops, kinks, or uphill sections, as these can trap water and cause backups.
If you need to go over a threshold or wall, use a hose ramp or secure the hose with clips to prevent tripping hazards.
Step 7: Test the System
Plug the dehumidifier back in and turn it on. Set it to the desired humidity level and let it run for 10–15 minutes.
Check the hose for leaks at the connection point. Also, confirm that water is flowing steadily out the other end. If you see drips or pooling, tighten the clamp or reseat the hose.
If no water comes out, the drain port may be clogged. See the troubleshooting section below.
Advanced Tips for Optimal Performance
Now that your hose is attached, here are some expert tips to keep your dehumidifier running smoothly.
Use a Hose with a Filter
Some garden hoses come with built-in mesh filters that catch debris. This prevents clogs in the drain port and extends the life of your dehumidifier.
Elevate the Dehumidifier Slightly
Place the unit on a small stand or bricks to improve airflow and make hose routing easier. Just ensure it’s stable and level.
Insulate the Hose in Cold Areas
If you’re using the dehumidifier in an unheated basement or garage, wrap the hose with foam insulation to prevent freezing in winter.
Use a Timer for Energy Savings
Pair your dehumidifier with a smart plug or timer to run it only during peak humidity hours (e.g., overnight or after showers). This reduces energy use and wear on the unit.
Consider a Condensate Pump for Uphill Drains
If your drain is higher than the dehumidifier (e.g., a sink), you’ll need a condensate pump. These small, quiet devices push water uphill and are compatible with most GE models.
Troubleshooting Common Issues
Even with careful setup, problems can arise. Here’s how to fix the most common issues.
Water Not Draining Through the Hose
If the dehumidifier runs but no water comes out, check for:
- Clogged drain port: Use a pipe cleaner or compressed air to clear debris.
- Kinked hose: Straighten the hose and ensure it slopes downward.
- Frozen hose (in cold climates): Thaw the hose and insulate it.
- Faulty pump (on pump models): Listen for a humming sound. If the pump isn’t working, contact GE support.
Leaks at the Connection Point
Drips usually mean a loose or ill-fitting hose. Try:
- Re-seating the hose and tightening the clamp.
- Using Teflon tape on threaded connections.
- Replacing the hose if it’s cracked or worn.
Hose Falls Off During Operation
This happens when the hose isn’t secured properly. Always use a hose clamp and check the connection weekly.
Unusual Noises or Vibrations
If the dehumidifier makes grinding or rattling sounds after attaching the hose, the pump may be straining. Ensure the hose isn’t too long or restrictive.
Water Backing Up into the Unit
This is a serious issue. Turn off the dehumidifier immediately and check for:
- Blocked hose
- Incorrect slope (hose going uphill)
- Pump failure
Never ignore backup—it can damage the compressor or cause electrical faults.
Maintenance and Long-Term Care
To keep your hose and dehumidifier in top shape, follow a simple maintenance routine.
Monthly Checks
- Inspect the hose for cracks, kinks, or clogs.
- Clean the drain port with a soft brush or cloth.
- Check the hose connection for leaks.
Seasonal Deep Clean
- Remove the hose and flush it with warm water and mild soap.
- Use a vinegar solution (1:1 water and white vinegar) to remove mold or mildew.
- Wipe down the dehumidifier exterior and air filter.
Winter Storage
If you don’t use the dehumidifier in winter, drain the hose completely and store it indoors. Remove the hose from the unit and cap the drain port to prevent dust buildup.
Safety Reminders
Always prioritize safety when working with electrical appliances and water.
- Never operate the dehumidifier with a damaged power cord.
- Keep the hose away from electrical outlets and cords.
- Don’t place the dehumidifier on wet surfaces unless it’s designed for it.
- Unplug the unit before cleaning or servicing.
Conclusion
Attaching a hose to your GE dehumidifier is a simple, cost-effective upgrade that saves time, prevents water damage, and improves efficiency. With the right tools and a few minutes of your time, you can set up continuous drainage and enjoy a drier, more comfortable home.
Remember to check your model compatibility, use a quality hose, secure the connection, and maintain the system regularly. If you run into issues, refer to the troubleshooting tips or contact GE customer support.
Now that you know how to attach a hose to your GE dehumidifier, you can say goodbye to constant tank emptying and hello to hassle-free humidity control. Stay dry, stay comfortable, and let your dehumidifier do the work for you!