
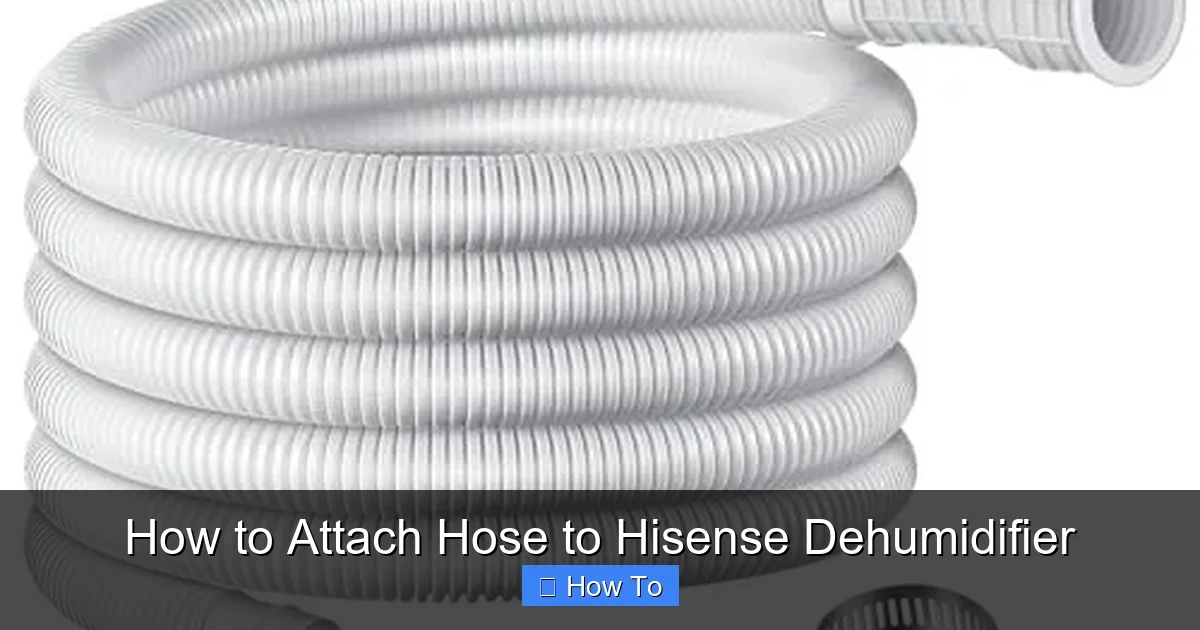
Attaching a hose to your Hisense dehumidifier allows for hassle-free, continuous water drainage—no more emptying the tank. This guide walks you through the process with clear steps, safety tips, and troubleshooting advice to keep your unit running smoothly.
Quick Answers to Common Questions
Can I use any garden hose for my Hisense dehumidifier?
Yes, as long as it has a 5/8” inner diameter and is flexible enough to route without kinking. Avoid stiff or ribbed hoses.
Do I need to remove the water tank when using a hose?
No—you can leave the tank in place. The dehumidifier will bypass it when the hose is connected and functioning properly.
What if my Hisense model doesn’t have a drain port?
You’ll need to empty the tank manually or consider adding an external condensate pump that fits inside the tank.
How often should I clean the drainage hose?
Every 2–3 months, or sooner if you notice reduced flow or odors. A vinegar flush works well.
Can I run the hose outside through a window?
Yes, but seal the opening with a grommet to prevent drafts and pests. Ensure the hose slopes downward and doesn’t collect rainwater.
How to Attach Hose to Hisense Dehumidifier
If you’ve ever woken up to a full water tank in your Hisense dehumidifier—or worse, a puddle on the floor—you know how frustrating it can be. Fortunately, there’s a simple solution: attaching a drainage hose for continuous water removal. This how-to guide will walk you through every step of connecting a hose to your Hisense dehumidifier safely and effectively. Whether you’re dealing with high humidity in your basement, laundry room, or crawl space, this setup saves time, prevents overflow, and keeps your space dry without constant monitoring.
By the end of this guide, you’ll understand which Hisense models support hose drainage, what tools and materials you need, how to install the hose correctly, and how to troubleshoot common issues. We’ll also share practical tips to maximize efficiency and avoid mistakes that could damage your unit or create leaks. Let’s get started!
Why Use a Hose with Your Hisense Dehumidifier?
Before diving into the installation steps, it’s important to understand why attaching a hose is beneficial. Most Hisense dehumidifiers come with an internal water collection tank that typically holds between 10 and 20 pints of water. While convenient for occasional use, these tanks require frequent emptying—especially in humid environments or during summer months.
Using a drainage hose eliminates this chore. Instead of collecting water in the tank, the dehumidifier pumps condensate directly through the hose to a floor drain, sink, or outside area. This means:
– Continuous operation: No interruptions due to a full tank.
– Reduced maintenance: You won’t need to check or empty the bucket daily.
– Prevention of overflow and water damage: Especially crucial in basements or unattended spaces.
– Improved air quality: Consistent dehumidification helps prevent mold, mildew, and musty odors.
Not every Hisense model supports hose drainage, but many newer units—particularly those rated 30-pint and above—include a built-in drain port. Always check your user manual or product specifications to confirm compatibility.
What You’ll Need
Gather these supplies before starting:
- Compatible drainage hose: A standard 5/8” inner diameter (ID) vinyl or rubber garden hose works well. Avoid very stiff or corrugated hoses that are hard to route.
- Hose clamp (optional but recommended): A stainless steel or plastic clamp ensures a secure, leak-free connection.
- Scissors or utility knife: To trim the hose if needed.
- Towel or bucket: In case of minor spills during setup.
- User manual: For model-specific instructions and safety warnings.
Most hardware stores carry suitable hoses for under $10. If you’re unsure about sizing, bring your dehumidifier’s drain port diameter (usually listed in the manual) to the store for reference.
Step 1: Confirm Your Hisense Model Supports Hose Drainage
Not all Hisense dehumidifiers have a drain port. Some compact or portable models are designed only for manual tank emptying. To verify compatibility:
Check the User Manual
The quickest way is to consult your owner’s manual. Look for sections titled “Continuous Drainage,” “Hose Connection,” or “Drain Port.” If mentioned, your model likely supports it.
Visual guide about How to Attach Hose to Hisense Dehumidifier
Image source: bestdehumidifier.reviews
Inspect the Unit Physically
Look around the back or side of the dehumidifier for a small threaded nozzle or rubber cap labeled “Drain” or “Continuous Drain.” It’s usually located near the bottom, close to where the water tank sits.
Search Online by Model Number
If you’ve misplaced the manual, visit Hisense’s official support website and enter your model number (found on a sticker on the back or bottom of the unit). Product pages often list drainage options.
Common Hisense models that support hose drainage include:
– Hisense DH3019KP (30-pint)
– Hisense DH5019KP (50-pint)
– Hisense DH7019KP (70-pint)
If your model doesn’t have a drain port, consider upgrading to one that does—or use a condensate pump as an alternative (more on that later).
Step 2: Prepare the Dehumidifier
Safety first! Before making any connections:
Unplug the Unit
Always disconnect the dehumidifier from the power outlet. This prevents electrical shock and protects the internal pump (if equipped).
Empty the Water Tank
Remove the collection bucket and pour out any remaining water. Wipe it dry with a clean cloth.
Locate the Drain Port
Find the drain outlet—it may be covered by a rubber cap or plug. Gently twist or pull it off. Keep it in a safe place in case you ever want to revert to tank-only mode.
Some models have a built-in pump that activates when a hose is connected. Others rely solely on gravity. Knowing your model type helps determine hose routing (we’ll cover this in Step 4).
Step 3: Choose and Prepare the Drainage Hose
Selecting the right hose is critical for reliable drainage.
Hose Type and Size
Use a flexible, smooth-bore hose with an inner diameter of 5/8” (16 mm). Garden hoses are ideal because they’re durable, widely available, and resist kinking. Avoid ribbed or corrugated hoses—they trap water and encourage mold growth.
Length Considerations
Keep the hose as short as possible while still reaching your drain point. Excess length increases resistance and reduces flow efficiency. For most indoor setups, 6–10 feet is sufficient.
Cutting the Hose (If Needed)
If your hose is too long, trim it with scissors or a utility knife. Make a clean, straight cut to ensure a snug fit over the drain port.
Optional: Add a Hose Clamp
Slide a hose clamp onto the hose before attaching it. Once the hose is pushed fully onto the drain port, tighten the clamp with a screwdriver. This prevents accidental disconnection and leaks.
Step 4: Attach the Hose to the Drain Port
Now it’s time to make the connection.
Push the Hose Onto the Nozzle
Firmly press the end of the hose over the drain port. It should fit snugly—if it’s too loose, wrap the port with electrical tape to build up the diameter slightly. If too tight, dip the hose end in warm water for 30 seconds to soften it.
Secure with a Clamp (Recommended)
Tighten the hose clamp around the connection point. Don’t overtighten, as this can crack plastic ports. Hand-tight is usually sufficient.
Double-Check the Seal
Gently tug on the hose to ensure it won’t come loose during operation. There should be no gaps between the hose and the port.
Step 5: Route the Hose for Proper Drainage
How you route the hose determines whether water flows smoothly or backs up.
Gravity Is Your Friend
The hose must slope downward from the dehumidifier to the drain point. Never let it loop upward or lie flat—this traps water and can cause overflow or pump strain.
Common Drain Options
- Floor drain: Ideal for basements. Place the hose end directly into the drain grate.
- Utility sink: Coil the hose inside the sink basin, ensuring the end stays submerged slightly to prevent airlocks.
- Window or exterior wall: Drill a small hole (if permitted) and route the hose outside. Use a weatherproof grommet to seal the opening.
- Sump pit: If you have a sump pump, direct the hose into the pit (check local codes first).
Avoid These Mistakes
- Don’t submerge the hose end completely in standing water—this can create a siphon effect that pulls air into the system.
- Don’t run the hose across walkways where it could trip someone or get crushed.
- Don’t coil excess hose in a pile—it creates air pockets that block flow.
Use zip ties, adhesive clips, or hose hangers to secure the hose along walls or baseboards. This keeps it tidy and prevents kinks.
Step 6: Test the Setup
Before walking away, verify everything works.
Plug In and Power On
Reconnect the dehumidifier to power and turn it on. Set it to your desired humidity level (usually 45–50% is ideal for most homes).
Observe Drainage
Within 10–15 minutes, you should see water flowing steadily through the hose. Listen for the pump (if your model has one)—it should run intermittently as water accumulates.
Check for Leaks
Inspect the connection point and along the hose length. If you spot drips, turn off the unit, unplug it, and reseat the hose or tighten the clamp.
Monitor for 30 Minutes
Let the dehumidifier run unattended for at least half an hour. Confirm that no water pools around the unit and that the hose continues draining consistently.
If water isn’t flowing, see the troubleshooting section below.
Troubleshooting Common Issues
Even with careful setup, problems can arise. Here’s how to fix them:
No Water Coming Out of the Hose
Possible causes: Clogged drain port, kinked hose, or faulty pump (on pump-equipped models).
Solution: Turn off and unplug the unit. Remove the hose and check for blockages. Blow compressed air through the port or hose to clear debris. Ensure the hose isn’t bent or crushed.
Water Leaking from the Connection
Possible causes: Loose hose, worn seal, or incorrect hose size.
Solution: Reattach the hose firmly. Add a hose clamp if not already used. Replace the hose if it’s cracked or too loose.
Pump Not Activating (On Pump Models)
Possible causes: Hose not properly connected, low water level, or pump failure.
Solution: Ensure the hose is fully seated. Some pumps require a minimum water level to trigger. If the pump still doesn’t run, contact Hisense support—it may need replacement.
Mold or Odor in the Hose
Possible causes: Standing water, poor ventilation, or infrequent cleaning.
Solution: Flush the hose monthly with a mixture of water and white vinegar (1:1 ratio). Let it sit for 30 minutes, then rinse thoroughly. Store the hose coiled loosely when not in use.
Hose Freezing in Cold Areas
Possible causes: Operating the dehumidifier in unheated spaces below 65°F (18°C).
Solution: Hisense dehumidifiers aren’t designed for freezing temps. Move the unit to a warmer area or insulate the hose with foam tubing.
Maintenance Tips for Long-Term Performance
To keep your hose drainage system working efficiently:
- Clean the hose every 2–3 months: Prevent mold and mineral buildup with a vinegar flush.
- Inspect connections seasonally: Ensure clamps are tight and ports aren’t cracked.
- Replace worn hoses: Cracked, brittle, or excessively long hoses should be swapped out.
- Keep the area around the drain clear: Don’t let debris block floor drains or sinks.
- Use a filter (if applicable): Some models allow a mesh filter at the drain port to catch lint or dust.
Alternative: Using a Condensate Pump
If your Hisense dehumidifier lacks a built-in pump and you need to lift water upward (e.g., from a basement to a sink), consider adding an external condensate pump. These small, quiet devices sit in the water tank or attach to the hose and push water vertically up to 15 feet. Popular brands include Little Giant and EcoSeb. Follow the pump manufacturer’s instructions for installation—most connect inline with your existing hose.
Conclusion
Attaching a hose to your Hisense dehumidifier is a smart, time-saving upgrade that enhances performance and reduces maintenance. With just a few tools and careful attention to hose routing and sealing, you can enjoy continuous, worry-free dehumidification—even in the most humid conditions. Always prioritize safety by unplugging the unit before installation, and don’t hesitate to consult your user manual for model-specific guidance. By following this guide, you’ll keep your home dry, comfortable, and protected from moisture-related damage for years to come.