
This guide shows you how to bake a reusable, silicone-safe dehumidifier using common kitchen ingredients. It’s eco-friendly, cost-effective, and perfect for closets, drawers, or storage bins. Follow easy steps to create a long-lasting moisture absorber that’s safe for all surfaces.
Quick Answers to Common Questions
Can I bake silica gel in a microwave?
Not recommended. Microwaves heat unevenly and can cause hot spots that damage beads or create fire hazards. Use a conventional oven for safe, consistent results.
How do I know if my silica gel is food-grade?
Check the packaging for “non-toxic,” “reusable,” and “does not contain cobalt chloride.” Reputable brands like Dry & Dry, Eva-Dry, or Amazon Basics often specify food-safe status.
Can I use rice or salt instead of silica gel?
Rice and salt absorb minimal moisture and can’t be reactivated by baking. They also leave residue and aren’t safe for electronics. Stick with silica gel for effective, reusable dehumidifying.
Is it safe to bake silica gel near food?
Yes—but clean your oven beforehand and avoid baking during meal prep. Silica gel emits only water vapor when heated, but cross-contamination concerns are understandable.
What size pouch should I use for a shoebox?
A ¼-cup (about 60g) pouch is ideal for small spaces like shoeboxes, camera cases, or jewelry boxes. Larger areas (wardrobes) may need ½ to 1 cup.
Introduction: Why Bake a Silicone Safe Dehumidifier?
Moisture is sneaky. It creeps into drawers, warps wood, ruins photos, and even damages electronics—especially those with silicone components like phone cases, kitchen tools, or bathroom seals. Commercial dehumidifiers work, but they’re often single-use, expensive, or packed with chemicals. What if you could make a reusable, eco-friendly alternative at home using just your oven?
That’s where baking a silicone safe dehumidifier comes in. By reactivating silica gel beads through gentle heating, you create a powerful, non-toxic moisture absorber that’s completely safe around silicone, metal, fabric, and electronics. This method isn’t new—it’s been used by conservators, photographers, and prepper communities for decades—but it’s rarely shared with everyday homeowners.
In this guide, you’ll learn exactly how to bake a silicone safe dehumidifier step by step. You’ll discover what materials to buy, how to prepare them, the ideal baking process, and how to maintain your homemade dehumidifier for long-term use. Whether you’re protecting vintage cameras, keeping your closet mold-free, or safeguarding important documents, this DIY solution is affordable, sustainable, and surprisingly simple.
What Is a Silicone Safe Dehumidifier?
A silicone safe dehumidifier is a moisture-absorbing device made from materials that won’t react with or damage silicone-based products. Unlike chemical-based desiccants (like calcium chloride), silica gel is inert, non-corrosive, and physically absorbs water without releasing harmful byproducts. That makes it ideal for use near silicone seals, gaskets, medical devices, or personal electronics.
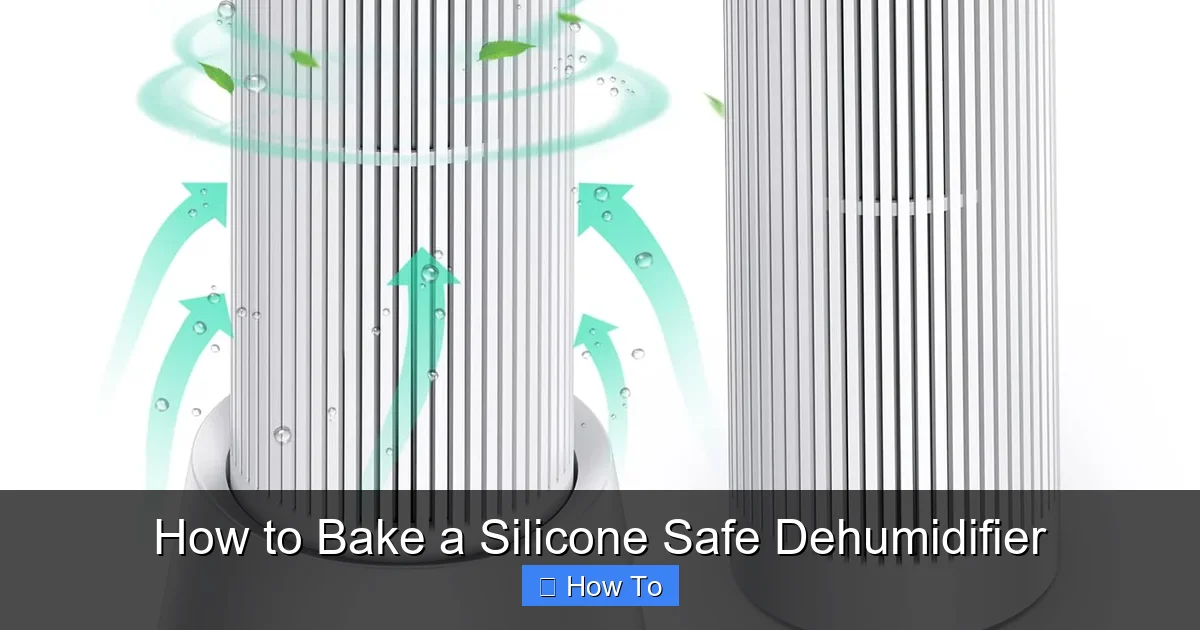
Visual guide about How to Bake a Silicone Safe Dehumidifier
Image source: m.media-amazon.com
Silica gel beads are tiny porous spheres that attract and hold water molecules from the air. When saturated, they can be “recharged” by heat—hence the term “baking.” Once dried, they’re as good as new. This cycle can repeat hundreds of times, making silica gel one of the most sustainable dehumidifying options available.
The key to silicone safety lies in two factors: the purity of the silica gel and the container used. Food-grade or indicating silica gel (which changes color when wet) is safest. And because silicone is sensitive to trapped moisture and heat buildup, your dehumidifier must allow airflow while preventing direct contact between wet beads and delicate surfaces.
Materials You’ll Need
Before you start baking, gather these supplies. Most are inexpensive and easy to find online or at hardware stores.
Silica Gel Beads
Look for reusable, non-toxic silica gel beads. Avoid those labeled “throw away” or containing cobalt chloride (a toxic additive). Opt for indicating silica gel if possible—it turns from blue to pink when saturated, so you’ll know when it’s time to bake. A 1-pound (450g) bag is enough for several small dehumidifiers.
Breathable Container
Never put silica gel directly into plastic bags or sealed jars while in use—they need airflow to absorb moisture. Instead, use:
- Muslin bags
- Coffee filters tied with string
- Paper tea bags (empty and refillable)
- Small fabric pouches with drawstrings
Avoid synthetic fabrics that may melt or off-gas when baked.
Baking Sheet and Parchment Paper
You’ll need a rimmed baking sheet lined with parchment paper to spread the beads evenly. This prevents sticking and ensures uniform drying.
Airtight Storage Container
After baking, store your reactivated beads in a glass jar or food-safe plastic container with a tight seal. Label it clearly to avoid confusion with food items.
Optional: Oven Thermometer
Oven temperatures can vary. An inexpensive oven thermometer helps ensure you’re baking at the correct heat—critical for effective reactivation without damaging the beads.
Step-by-Step: How to Bake Your Silicone Safe Dehumidifier
Now that you’ve gathered your materials, let’s get baking! Follow these steps carefully to safely reactivate your silica gel and create a powerful, reusable dehumidifier.
Step 1: Check the Silica Gel Condition
Before baking, inspect your silica gel beads. If you’re using indicating gel, look for color changes:
- Blue beads: Dry and ready to use.
- Pink or white beads: Saturated with moisture—needs baking.
If you’re using non-indicating gel, estimate based on usage. Typically, beads need recharging after 1–3 months in humid environments (like bathrooms or basements) or 3–6 months in drier spaces (closets, toolboxes).
Step 2: Preheat Your Oven
Set your oven to 250°F (121°C). This temperature is hot enough to evaporate moisture but low enough to avoid degrading the silica structure. Avoid higher temperatures—above 300°F (149°C) can cause cracking or reduce absorption capacity over time.
Place your oven rack in the center position for even heat distribution. If you have an oven thermometer, insert it now to verify accuracy.
Step 3: Prepare the Beads for Baking
Pour the saturated silica gel beads onto a parchment-lined baking sheet. Spread them in a single, even layer—no clumps! Overlapping beads won’t dry properly, leaving pockets of moisture inside.
Remove any debris, dust, or foreign particles. If beads are in a fabric pouch, empty them first. Do not bake the pouch unless it’s 100% cotton and oven-safe (most aren’t).
Step 4: Bake the Silica Gel
Place the baking sheet in the preheated oven. Bake for 2 to 3 hours. The exact time depends on humidity levels and bead saturation. Indicating gel will gradually shift back to blue as it dries.
Check progress after 2 hours. If beads still appear pink or feel cool/damp, continue baking in 15–30 minute intervals. Avoid opening the oven too often—it lowers temperature and extends drying time.
Step 5: Cool Completely
Once baking is complete, turn off the oven and leave the beads inside with the door slightly ajar for 10–15 minutes. This gradual cooling prevents thermal shock, which can crack the beads.
Then transfer the baking sheet to a heat-safe surface and let the beads cool to room temperature—about 30–60 minutes. Handle with care; they’ll be hot!
Step 6: Test for Dryness
To confirm reactivation, do a quick test:
- Feel the beads—they should be warm initially, then cool and dry.
- If using indicating gel, ensure all beads are uniformly blue.
- Place a few beads in a sealed jar with a damp paper towel. If they turn pink within 24 hours, they’re still moist and need more baking.
Step 7: Store or Assemble Your Dehumidifier
Once fully dry, store the beads in an airtight container until ready to use. Or, immediately transfer them to your chosen breathable pouch:
- Fill a muslin bag or coffee filter with ¼ to ½ cup of beads (adjust based on space size).
- Tie securely with string or a twist tie.
- Label the pouch with the date and “Silica Gel – Do Not Eat.”
Your silicone safe dehumidifier is now ready!
Where and How to Use Your DIY Dehumidifier
Placement matters! For best results, position your dehumidifier in enclosed, stagnant spaces where moisture accumulates.
Closets and Wardrobes
Hang the pouch from a hook or place it on a shelf. Silicone-based shoe inserts, handbags, or raincoats benefit greatly from reduced humidity.
Drawers and Chests
Tuck a small pouch into sock or underwear drawers. Prevents musty smells and protects delicate fabrics.
Storage Bins and Containers
Keep seasonal clothes, photo albums, or important documents dry in plastic totes. Just ensure the pouch doesn’t touch photos or paper directly—use a cardboard divider if needed.
Electronics and Camera Cases
Silicone seals in camera bodies, binoculars, or waterproof gadgets can trap moisture. A small dehumidifier pouch in the case prevents fogging and corrosion.
Bathrooms and Kitchens
Place near silicone caulking or shower curtains—but not in standing water! Elevate the pouch on a soap dish or rack.
Pro Tip: Use multiple small pouches instead of one large one. This increases surface area exposure and improves absorption efficiency.
Troubleshooting Common Issues
Even with careful preparation, problems can arise. Here’s how to fix the most common ones.
Beads Aren’t Drying Fully
Cause: Insufficient baking time or low oven temperature.
Solution: Extend baking by 30–60 minutes. Verify oven temp with a thermometer. Ensure beads are spread thinly.
Beads Turn White or Cloudy
Cause: Overheating or contamination (e.g., oil, soap residue).
Solution: Discard affected beads. Clean your baking sheet thoroughly before next use. Never bake silica gel that’s been exposed to liquids other than water.
Moisture Returns Quickly
Cause: High ambient humidity or poor ventilation in the storage area.
Solution: Combine your dehumidifier with better airflow (e.g., open windows occasionally) or use a larger quantity of beads. Consider adding a second pouch.
Pouch Gets Moldy
Cause: Fabric pouch stored while beads were still damp.
Solution: Always cool beads completely before sealing in fabric. If mold appears, discard the pouch and beads. Wash hands after handling.
Silica Gel Leaks from Pouch
Cause: Weak stitching or torn fabric.
Solution: Double-bag the beads or use a sturdier material like tightly woven cotton. Test the pouch by shaking it gently before use.
Safety Tips and Best Practices
While silica gel is non-toxic, it’s not food. Follow these safety guidelines:
- Keep beads away from children and pets. Though not poisonous, ingestion can cause choking or stomach upset.
- Wear gloves if you have sensitive skin—some people experience mild irritation from prolonged contact.
- Never bake silica gel in a toaster oven or microwave unless specifically designed for it. Conventional ovens provide more consistent, controllable heat.
- Label all containers clearly. Store away from food prep areas.
- Dispose of old or damaged beads in regular trash—they’re not recyclable but are landfill-safe.
How Often Should You Re-Bake?
Frequency depends on your climate and usage:
- High humidity (e.g., coastal areas, rainy seasons): Every 4–6 weeks.
- Moderate humidity (most homes): Every 2–3 months.
- Low humidity (deserts, air-conditioned spaces): Every 4–6 months.
If using indicating gel, let the color be your guide. When beads turn pink, it’s time to bake again.
Environmental and Cost Benefits
Making your own silicone safe dehumidifier isn’t just practical—it’s planet-friendly. A single pound of silica gel can be reactivated over 100 times, replacing hundreds of disposable packets. That’s less plastic waste, fewer chemicals in landfills, and significant savings over time.
Compare costs:
- Commercial desiccant packs: $0.50–$1.00 each (single-use).
- DIY silica gel: ~$10 for a 1-lb bag (lasts years).
Over two years, you could save $50–$100 while reducing your carbon footprint.
Conclusion: A Simple Solution for Lasting Protection
Baking a silicone safe dehumidifier is one of those life hacks that feels almost too easy—but it works. With just a few dollars, basic kitchen tools, and 3 hours of oven time, you can create a reusable, eco-conscious solution that protects your belongings from moisture damage. It’s safe for silicone, gentle on electronics, and endlessly renewable.
Whether you’re a minimalist looking to cut waste, a collector preserving valuables, or just someone tired of musty smells in your drawers, this DIY method delivers real results. So next time you spot those little “do not eat” packets in a new pair of shoes, save them! Rinse, dry, and bake—they’re about to become your new best friend against humidity.
Give it a try this weekend. Your closet (and your silicone seals) will thank you.