
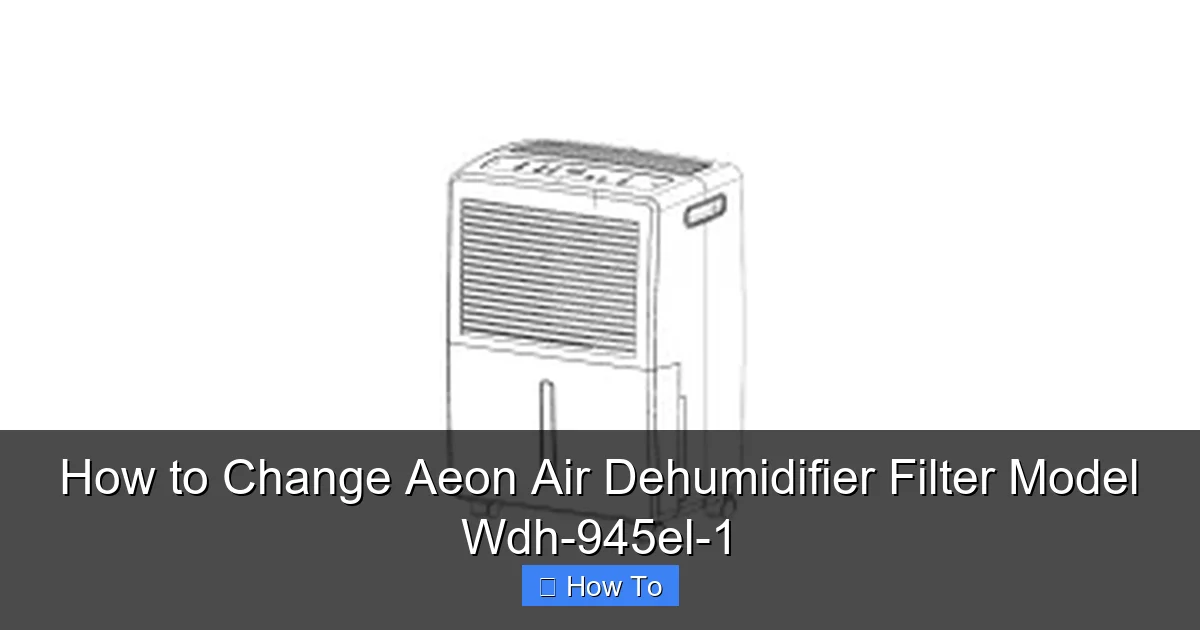
Changing the filter in your Aeon Air Dehumidifier Model WDH-945EL-1 is simple and essential for optimal performance. This guide walks you through every step—from preparation to reassembly—so you can maintain clean air and extend your dehumidifier’s lifespan with confidence.
Quick Answers to Common Questions
How do I know when to replace the filter?
Look for reduced airflow, increased noise, or a dirty appearance. Most users should replace it every 3–6 months, but check more often in dusty or high-humidity environments.
Can I wash and reuse the filter?
No—the standard filter for the WDH-945EL-1 is disposable. Washing it can damage the media and reduce effectiveness. Only use washable filters if explicitly designed for your model.
Where can I buy a compatible replacement filter?
Purchase from Aeon Air’s official website, authorized retailers, or trusted online stores like Amazon (look for “sold by” verified sellers). Avoid generic filters that don’t list WDH-945EL-1 compatibility.
What if my dehumidifier still smells musty after changing the filter?
The odor may come from the water tank or internal coils. Clean the tank thoroughly and consider using a dehumidifier cleaner spray on the coils. Run the unit with a bowl of white vinegar inside to neutralize odors.
Is it safe to operate the dehumidifier without a filter?
Never run the unit without a filter. Doing so allows dust and debris to enter the internal components, potentially damaging the fan, coils, or motor over time.
Introduction: Why Changing Your Aeon Air Dehumidifier Filter Matters
If you own an Aeon Air Dehumidifier Model WDH-945EL-1, you’ve likely noticed how effectively it pulls excess moisture from the air—helping prevent mold, musty odors, and damage to your home. But like any hardworking appliance, it needs regular care to keep performing at its best. One of the most important (and often overlooked) maintenance tasks is changing the air filter.
The filter in your WDH-945EL-1 captures airborne particles such as dust, pet dander, pollen, and even mold spores. Over time, this filter becomes clogged, reducing airflow and forcing the dehumidifier to work harder. That not only increases energy consumption but can also shorten the lifespan of your unit. Worse yet, a dirty filter may start circulating contaminated air back into your room.
The good news? Replacing the filter is quick, straightforward, and requires no special tools. In this comprehensive guide, we’ll walk you through every step—from safely preparing your dehumidifier to installing a fresh filter and resetting any indicator lights. Whether you’re a first-time user or just need a refresher, you’ll finish this guide feeling confident and ready to breathe easier.
What You’ll Need Before You Begin
Visual guide about How to Change Aeon Air Dehumidifier Filter Model Wdh-945el-1
Image source: encompass-11307.kxcdn.com
Before diving into the replacement process, gather these essentials to ensure a smooth experience:
- Replacement filter: Make sure it’s compatible with the Aeon Air WDH-945EL-1 model. Look for part numbers like “AE-FLTR-945” or check your user manual for exact specifications.
- Soft, dry cloth: For wiping down the exterior and interior surfaces.
- Mild detergent (optional): If you plan to clean the water tank or exterior thoroughly.
- Vacuum with brush attachment (optional): Useful for gently removing dust from vents and coils.
- Gloves (optional): Especially if you’re sensitive to dust or allergens.
Pro tip: Always purchase filters from reputable retailers or directly from Aeon Air to avoid counterfeit or ill-fitting parts. A poorly fitted filter won’t seal properly, allowing unfiltered air to bypass the system.
Step 1: Turn Off and Unplug the Dehumidifier
Safety is non-negotiable when working with any electrical appliance. Before touching any internal components, follow these steps:
Power Down the Unit
Press the power button to turn off the dehumidifier. Wait a few seconds to ensure all internal fans and compressors have fully stopped.
Unplug from the Wall Outlet
Grasp the plug firmly (not the cord) and disconnect it from the electrical outlet. This eliminates the risk of electric shock while you’re handling the unit.
Let It Rest for 10–15 Minutes
Although not always necessary, giving the unit a short cooldown period ensures any residual heat from the compressor dissipates. This is especially helpful if the dehumidifier has been running continuously.
Step 2: Locate the Filter Compartment
The WDH-945EL-1 features a front-access filter design, making replacement convenient and tool-free.
Identify the Front Panel
Look at the front of your dehumidifier. You’ll see a vertical grille or panel with horizontal slats—this is the air intake cover where the filter sits.
Find the Filter Access Tab or Latch
Near the top or side of the grille, there should be a small recessed tab, button, or latch. On most WDH-945EL-1 units, it’s a simple push-tab located on the right edge of the front panel.
Gently Release the Cover
Press the tab inward while pulling the front grille slightly outward. The panel should swing open on a hinge or lift away completely, depending on your specific unit variant. Be gentle—forcing it could damage the plastic clips.
> 💡 Tip: If the cover feels stuck, double-check that you’ve pressed the correct tab. Some users mistakenly try to pry open the bottom or sides. Always refer to your user manual if unsure.
Step 3: Remove the Old Filter
With the front panel open, you’ll now have clear access to the filter.
Slide Out the Used Filter
The filter sits in a shallow tray or slot just behind the grille. Gently grasp the filter by its frame (usually made of lightweight plastic or cardboard) and pull it straight out. Avoid tugging on the filter media itself, as it may tear.
Inspect the Filter Condition
Take a moment to examine the old filter. If it’s visibly gray, clogged with dust, or has a musty smell, it’s definitely time for a replacement. Even if it looks only slightly dirty, remember that microscopic particles can still impair performance.
Dispose of the Old Filter Properly
Place the used filter in a sealed plastic bag before throwing it in the trash. This prevents trapped allergens from re-entering your home environment.
> ⚠️ Warning: Never rinse or wash the filter unless explicitly labeled as washable. Most WDH-945EL-1 filters are disposable and will degrade if wet.
Step 4: Prepare the New Filter
Now it’s time to install your fresh filter—but first, a few quick checks ensure everything goes smoothly.
Verify Compatibility
Confirm that the new filter matches the dimensions and shape of the old one. The correct filter for the WDH-945EL-1 is typically approximately 8.5 x 6.5 inches with a pleated design. Check the packaging or product description for “WDH-945EL-1 compatible.”
Remove Packaging Materials
Take the filter out of its plastic wrap or box. Some filters come with protective cardboard frames—remove these unless instructed otherwise.
Check Airflow Direction (If Applicable)
While most Aeon Air filters are non-directional, some models include an arrow indicating airflow direction. If present, ensure the arrow points toward the interior of the unit (i.e., away from the front grille).
Step 5: Install the New Filter
With the old filter removed and the new one ready, installation takes just seconds.
Align the Filter in the Slot
Hold the new filter by its frame and slide it into the same slot where the old filter was seated. Make sure it sits flat and level—don’t force it or bend the frame.
Ensure a Secure Fit
The filter should sit snugly without gaps along the edges. If it wobbles or doesn’t seat fully, double-check the orientation and try again. A loose filter allows unfiltered air to bypass the system.
Close the Front Panel
Once the filter is in place, carefully reposition the front grille. Align the hinges or clips and press firmly until you hear a soft click or feel it lock into place. Give it a gentle tug to confirm it’s secure.
> ✅ Pro Tip: After closing the panel, run your finger along the seam to ensure there are no gaps. Even small openings can reduce filtration efficiency.
Step 6: Reconnect Power and Test the Unit
You’re almost done! Now it’s time to restore power and verify everything works correctly.
Plug the Dehumidifier Back In
Reconnect the power cord to the wall outlet. Make sure the outlet is functioning—test it with another device if needed.
Turn On the Unit
Press the power button to restart the dehumidifier. Listen for the fan to start smoothly and check that air is flowing through the front grille.
Monitor Initial Operation
Let the unit run for 5–10 minutes. You should notice improved airflow compared to before—especially if the old filter was heavily clogged. Also, watch for any unusual noises, which could indicate improper installation.
Step 7: Reset the Filter Indicator Light (If Applicable)
Some versions of the WDH-945EL-1 include a filter change reminder light that illuminates after a set runtime. If your model has this feature, you’ll need to reset it manually.
Locate the Reset Button
Check your control panel for a button labeled “Filter,” “Reset,” or an icon resembling a filter. It’s often near the power or mode buttons.
Press and Hold to Reset
With the unit powered on, press and hold the reset button for 3–5 seconds until the indicator light turns off or changes color. Refer to your user manual for model-specific instructions.
> 📌 Note: If your unit doesn’t have a filter indicator, simply mark your calendar or set a phone reminder for the next replacement in 3–6 months.
Bonus: Cleaning Tips While the Filter Is Out
Since you’ve already opened the unit, take advantage of the access to give your dehumidifier a mini deep clean.
Wipe Down Interior Surfaces
Use a dry or slightly damp cloth to gently clean the area around the filter slot. Avoid getting moisture near electrical components.
Vacuum the Evaporator Coils (If Accessible)
If you can see the coils behind the filter, use a vacuum with a soft brush attachment to remove dust buildup. Dirty coils reduce efficiency and increase energy use.
Clean the Water Tank
Remove the collection tank and wash it with warm, soapy water. Rinse thoroughly and dry before reinserting. This prevents bacterial growth and odors.
Check Air Vents for Blockages
Inspect both intake and exhaust vents for dust or debris. Use a can of compressed air or a soft brush to clear them.
Troubleshooting Common Issues
Even with careful steps, you might encounter a hiccup. Here’s how to handle common problems:
Filter Doesn’t Fit Properly
Double-check the model number of your replacement filter. If it’s the wrong size, contact the seller for an exchange. Never trim the filter to fit—it compromises performance.
Unit Won’t Turn On After Reassembly
Ensure the front panel is fully closed and latched. Many dehumidifiers have a safety switch that prevents operation if the cover isn’t secured.
Reduced Airflow or Weak Dehumidifying
This could mean the new filter is installed backward (if directional) or the coils are dirty. Recheck installation and clean the coils if needed.
Filter Indicator Light Won’t Reset
Try unplugging the unit for 30 seconds, then plug it back in and attempt the reset again. If it persists, consult the user manual or contact Aeon Air support.
How Often Should You Change the Filter?
The ideal replacement frequency depends on your environment:
- High-humidity areas (basements, laundry rooms): Every 3 months
- Moderate use (living rooms, bedrooms): Every 4–6 months
- Homes with pets or smokers: Every 2–3 months
- Seasonal use (e.g., only in summer): Replace at the start of each season
Set calendar reminders or use smart home apps to stay on schedule. Consistent filter changes save energy, improve air quality, and protect your investment.
Conclusion: Breathe Easier with a Well-Maintained Dehumidifier
Changing the filter in your Aeon Air Dehumidifier Model WDH-945EL-1 isn’t just a chore—it’s a simple act of care that pays big dividends. By following this guide, you’ve ensured your unit continues to remove moisture efficiently, deliver cleaner air, and operate reliably for years to come.
Remember: a clean filter means better performance, lower energy bills, and a healthier home. Make filter replacement part of your regular home maintenance routine, and don’t forget to keep spare filters on hand. With just 10 minutes every few months, you’ll enjoy all the benefits of your dehumidifier without the hassle.
Now that you’re equipped with the knowledge and confidence to handle this task, go ahead—give your WDH-945EL-1 the refresh it deserves. Your lungs (and your walls) will thank you!