
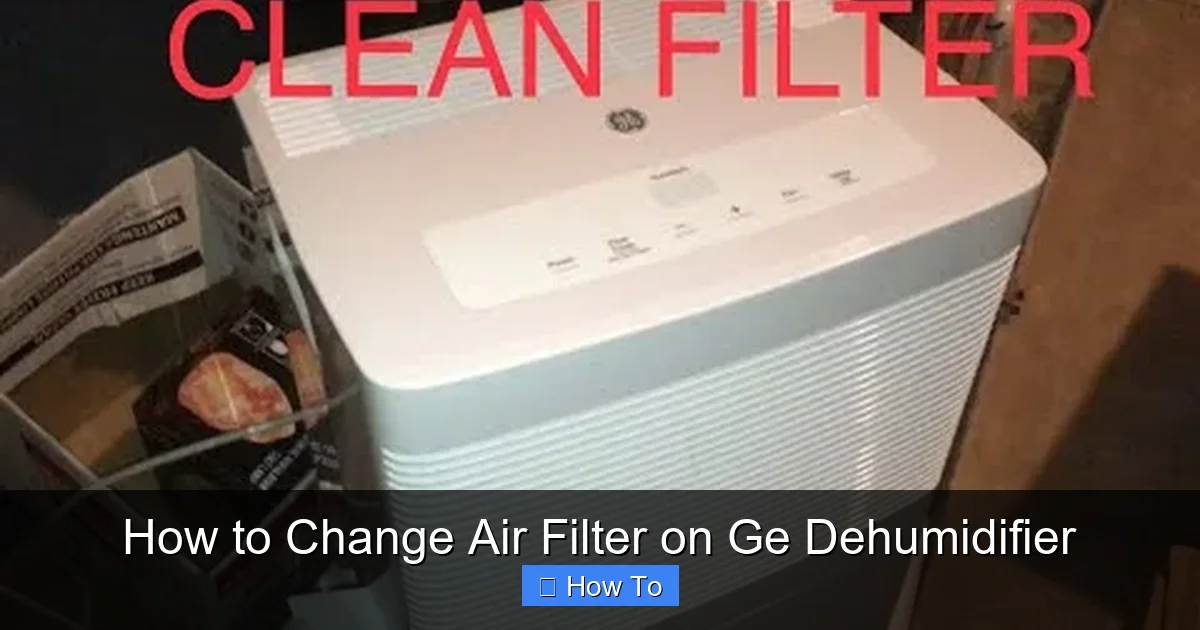
This guide walks you through how to change the air filter on a GE dehumidifier in simple, clear steps. You’ll learn when and why to replace the filter, plus tips to maintain peak performance and air quality.
Quick Answers to Common Questions
Tip/Question?
How often should I change the air filter on my GE dehumidifier?
Check the filter every 1–2 months, or when the filter reminder light comes on. In dusty or high-humidity environments, inspect it more frequently.
Tip/Question?
Can I wash a disposable air filter?
No. Disposable filters are not designed to be washed. Attempting to clean them can damage the material and reduce effectiveness. Replace them instead.
Tip/Question?
What happens if I don’t change the filter?
A dirty filter restricts airflow, reduces efficiency, increases energy use, and can cause the unit to overheat or fail prematurely.
Tip/Question?
Where can I buy a replacement filter for my GE dehumidifier?
Purchase genuine GE filters from the official GE Appliances website, authorized retailers, or home improvement stores. Always match the model number.
Tip/Question?
Do I need to reset the filter light after changing the filter?
Yes, on most models. Refer to your user manual for the correct reset procedure—usually involves holding a button for a few seconds.
How to Change Air Filter on GE Dehumidifier: A Complete Step-by-Step Guide
If you own a GE dehumidifier, you already know how valuable it is for maintaining comfortable humidity levels in your home. Whether you’re battling damp basements, musty odors, or high indoor moisture, your dehumidifier works hard to keep your space dry and healthy. But like any appliance, it needs regular maintenance to perform at its best—and one of the most important tasks is changing the air filter.
In this comprehensive guide, you’ll learn exactly how to change the air filter on a GE dehumidifier, why it matters, and how to keep your unit running smoothly for years. We’ll cover everything from identifying when your filter needs replacing to safely installing a new one. Whether you’re a first-time user or just need a refresher, this guide is designed to be simple, clear, and practical.
Why Changing the Air Filter Matters
You might be wondering: “Is changing the air filter really that important?” The short answer is yes—absolutely. The air filter in your GE dehumidifier plays a crucial role in the unit’s performance and your home’s air quality.
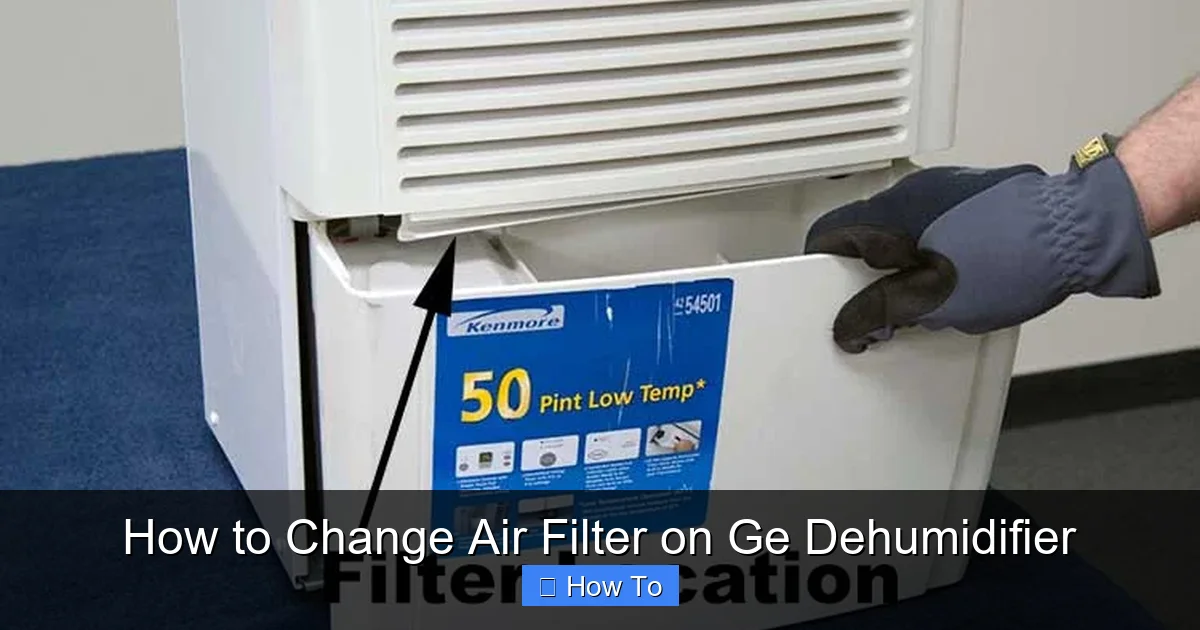
Visual guide about How to Change Air Filter on Ge Dehumidifier
Image source: veranda-interiors.com
Here’s what the filter does:
- Traps dust, pollen, pet dander, and other airborne particles before they enter the internal components.
- Protects the evaporator coils and fan from dirt buildup, which can reduce efficiency and cause overheating.
- Improves indoor air quality by preventing recirculation of allergens and pollutants.
- Helps the dehumidifier run more efficiently, which can lower energy consumption and extend the life of the unit.
When the filter becomes clogged with debris, airflow is restricted. This forces the motor to work harder, which can lead to overheating, reduced moisture removal, and even premature failure. In short, a dirty filter doesn’t just affect air quality—it can shorten the lifespan of your dehumidifier.
Most GE dehumidifiers have a filter indicator light that alerts you when it’s time to clean or replace the filter. However, even if the light hasn’t come on, it’s a good idea to check the filter every 1–2 months, especially during heavy use seasons like summer or in humid climates.
When Should You Change the Air Filter?
Knowing when to change the air filter on your GE dehumidifier is just as important as knowing how. While some models have a filter reminder light, others rely on manual inspection. Here’s how to determine if it’s time for a change:
Check the Filter Reminder Light
Many newer GE dehumidifiers come equipped with a filter alert system. When the light turns on—usually yellow or red—it’s a clear signal that the filter needs attention. This typically happens after about 250 hours of runtime, but it can vary based on usage and environment.
Inspect the Filter Visually
If your model doesn’t have a reminder light, or if you want to stay ahead of the curve, visually inspect the filter every 4–6 weeks. Remove the filter and hold it up to a light source. If you can’t see light passing through, or if it looks gray, dusty, or clogged, it’s time to clean or replace it.
Consider Your Environment
Homes with pets, smokers, or high dust levels may need more frequent filter changes. Similarly, if you run your dehumidifier constantly during humid months, the filter will collect debris faster. In these cases, checking every 3–4 weeks is wise.
Listen for Performance Changes
If you notice that your dehumidifier is running longer than usual, isn’t removing as much moisture, or is making unusual noises, a dirty filter could be the culprit. Reduced airflow forces the unit to work harder, leading to inefficiency and potential damage.
By staying proactive, you’ll keep your dehumidifier in top shape and avoid costly repairs down the line.
What You’ll Need
Before you begin, gather the following items to make the process quick and hassle-free:
- A replacement air filter (compatible with your GE dehumidifier model—check the user manual or look for the part number on the existing filter)
- A soft cloth or microfiber towel (for cleaning the filter housing)
- A vacuum with a brush attachment (optional, for cleaning around the unit)
- Warm water and mild detergent (if cleaning a washable filter)
- A dry towel (for drying the filter after washing)
Always use a genuine GE filter or one recommended by the manufacturer. Third-party filters may not fit properly or offer the same level of filtration, which can compromise performance and void your warranty.
Step-by-Step: How to Change the Air Filter on a GE Dehumidifier
Now that you understand why and when to change the filter, let’s walk through the actual process. The steps are straightforward and should take less than 10 minutes. Always prioritize safety by turning off and unplugging the unit before starting.
Step 1: Turn Off and Unplug the Dehumidifier
Safety first! Before touching any part of the unit, make sure it’s completely powered down. Turn off the dehumidifier using the control panel, then unplug it from the wall outlet. This prevents accidental startup and protects you from electrical shock.
Even if the unit appears off, internal components may still be energized. Unplugging ensures total safety.
Step 2: Locate the Air Filter
The air filter is typically located behind a front grille or access panel on the side or back of the unit. On most GE dehumidifiers, it’s on the front, near the air intake vent.
Look for a removable panel with small vents or a latch. Some models have a sliding cover, while others require you to press tabs or unscrew a small fastener. Refer to your user manual if you’re unsure—each model may vary slightly.
For example, on the GE ADEW50LZ (50-pint model), the filter is behind a front grille that lifts upward. On the GE ADEL30L (30-pint), it’s behind a side panel that slides out.
Step 3: Remove the Filter Cover or Grille
Gently lift, slide, or unlatch the cover to access the filter. Be careful not to force it—some covers are designed to snap into place and may break if mishandled.
If your model uses screws, use a Phillips-head screwdriver to remove them. Keep the screws in a small container so you don’t lose them.
Once the cover is off, you’ll see the air filter nestled in a slot. It’s usually a rectangular mesh or pleated panel made of foam, polyester, or activated carbon.
Step 4: Take Out the Old Filter
Carefully pull the filter straight out of its slot. Avoid twisting or bending it, as this can damage the frame or tear the filter material.
Inspect the filter closely. If it’s a washable type (common in many GE models), you may be able to clean it instead of replacing it. Look for a label or check the user manual to confirm.
If the filter is disposable or too dirty to clean, dispose of it properly. Do not attempt to wash a non-washable filter—it won’t dry properly and could promote mold growth.
Step 5: Clean or Replace the Filter
Now it’s time to decide: clean or replace?
If the Filter is Washable:
- Rinse it under lukewarm water. Avoid hot water, as it can damage the filter material.
- Use a mild detergent if needed, but avoid harsh chemicals or bleach.
- Gently scrub with a soft brush or your fingers to remove embedded dirt.
- Rinse thoroughly until the water runs clear.
- Shake off excess water and place the filter on a dry towel.
- Allow it to air-dry completely—this may take 4–6 hours. Never reinstall a damp filter, as moisture can lead to mold or damage the unit.
If the Filter is Disposable or Too Dirty:
- Replace it with a new, compatible GE filter.
- Make sure the new filter matches the size and type of the old one.
- Check the airflow direction arrow on the filter frame—it should point toward the unit (into the dehumidifier).
Pro tip: While the filter is out, take a moment to vacuum the filter slot and surrounding area. Use the brush attachment to remove dust and debris that may have accumulated.
Step 6: Reinstall the Filter
Once the filter is clean and dry (or you have a new one), carefully slide it back into the slot. Make sure it fits snugly and lies flat—don’t force it or bend the frame.
Double-check the airflow direction. Most filters have an arrow indicating which way the air flows. This arrow should point inward, toward the dehumidifier’s interior.
If the filter doesn’t seat properly, remove it and check for obstructions or misalignment. A poorly installed filter can cause air leaks, reduced efficiency, or even trigger error codes.
Step 7: Reattach the Filter Cover or Grille
Once the filter is securely in place, reattach the cover or grille. Make sure it clicks or locks into position. If you removed screws, tighten them gently—don’t overtighten, as this can crack the plastic.
Ensure there are no gaps around the edges. A loose cover can allow unfiltered air to bypass the filter, reducing its effectiveness.
Step 8: Plug In and Test the Unit
Now that everything is back in place, plug the dehumidifier back into the wall outlet. Turn it on and set it to your desired humidity level.
Listen for normal operation—smooth fan sound, no rattling or unusual noises. Check that air is flowing freely through the vents.
If your model has a filter reminder light, it may still be on. Some units require a manual reset. Refer to your user manual for instructions on how to reset the filter indicator.
For example, on many GE models, you can reset the filter light by pressing and holding the “Filter” or “Reset” button for 3–5 seconds.
Troubleshooting Common Issues
Even with careful installation, you might run into a few hiccups. Here’s how to handle common problems:
Filter Light Won’t Turn Off After Replacement
If the filter reminder light stays on after you’ve changed the filter, it may need to be reset. Check your user manual for the correct reset procedure. On some models, you need to press a specific button sequence. On others, unplugging the unit for 30 seconds and plugging it back in will reset the system.
Reduced Airflow or Weak Dehumidification
If the unit still isn’t performing well after a filter change, check for other issues:
- Is the water bucket full? Empty it if needed.
- Are the air vents blocked by furniture or curtains? Ensure at least 6–12 inches of clearance around the unit.
- Is the room too cold? Most dehumidifiers work best above 65°F (18°C).
- Could the coils be frozen? If so, turn off the unit and let it thaw for a few hours.
Unusual Noises After Filter Change
If you hear rattling, grinding, or squealing after reinstalling the filter, double-check that:
- The filter is seated properly and not loose.
- The cover is securely attached.
- No tools or debris fell into the unit during the process.
If the noise persists, contact GE customer support or a certified technician.
Filter Doesn’t Fit or Is the Wrong Size
Always verify the filter model number before purchasing. GE dehumidifiers use different filters depending on the size and series. For example:
- GE ADEW50LZ uses filter part number WE1M1097
- GE ADEL30L uses filter part number WE1M1096
You can find the correct part number in your user manual or by checking the label on the old filter. You can also visit the GE Appliances website and enter your model number to find compatible filters.
Tips for Maintaining Your GE Dehumidifier
Changing the air filter is just one part of dehumidifier care. To keep your unit running efficiently, follow these best practices:
Clean the Water Bucket Regularly
Every time you empty the bucket, rinse it with warm, soapy water to prevent mold and bacteria growth. Dry it thoroughly before reinserting.
Wipe Down the Exterior
Use a damp cloth to clean the outside of the unit, including the control panel and vents. Avoid spraying water directly on the unit.
Check the Drain Hose (If Using Continuous Drainage)
If you’re using a hose for continuous drainage, make sure it’s not kinked, clogged, or leaking. Clean it monthly with a pipe cleaner or vinegar solution.
Store Properly During Off-Season
If you don’t use your dehumidifier in winter, clean it thoroughly, remove the filter, and store it in a dry place. Cover it with a breathable cloth to prevent dust buildup.
Schedule Annual Professional Maintenance
Once a year, consider having a technician inspect the coils, refrigerant levels, and electrical components. This can catch issues early and extend the life of your unit.
Conclusion
Changing the air filter on your GE dehumidifier is a simple but essential task that keeps your unit running efficiently and your home’s air clean. By following this guide, you’ve learned how to safely remove, inspect, clean, or replace the filter—and how to troubleshoot common issues.
Remember: a clean filter means better airflow, improved moisture removal, and longer appliance life. Make it a habit to check your filter every 1–2 months, especially during high-use seasons. With regular maintenance, your GE dehumidifier will continue to protect your home from excess humidity, mold, and allergens for years to come.
So the next time you hear your dehumidifier humming away, take a moment to appreciate the small but mighty air filter doing its job behind the scenes. And now, you know exactly how to keep it in top condition.