
Changing the filter on your Frigidaire dehumidifier is a quick and easy task that ensures optimal performance and cleaner air. This guide walks you through each step with clear instructions, helpful tips, and troubleshooting advice to keep your dehumidifier working like new.
Quick Answers to Common Questions
How often should I change the filter?
Check the filter every 1–2 months, or when the indicator light turns on. Replace it when it’s visibly dirty or clogged.
Can I wash and reuse the filter?
Only if it’s labeled as washable. Rinse it gently with water, let it dry completely, and reinstall. Never use a wet filter.
What if my model doesn’t have a filter light?
Inspect the filter visually every 4–6 weeks. Look for discoloration, dust buildup, or reduced airflow.
Where can I buy a replacement filter?
Purchase from Frigidaire’s website, Home Depot, Lowe’s, or Amazon. Always match the model number for compatibility.
Is it safe to run the dehumidifier without a filter?
No. Running without a filter allows dust and debris to enter the unit, which can damage internal components and reduce efficiency.
How to Change Filter on Frigidaire Dehumidifier
Keeping your Frigidaire dehumidifier in top shape doesn’t require a technician or a toolbox full of gadgets. One of the simplest—and most important—maintenance tasks is changing the air filter. Over time, dust, pet dander, mold spores, and other airborne particles build up on the filter, reducing airflow and forcing your dehumidifier to work harder. This not only lowers efficiency but can also lead to higher energy bills and potential damage to internal components.
In this comprehensive guide, you’ll learn exactly how to change the filter on your Frigidaire dehumidifier, whether you have a compact 30-pint model or a heavy-duty 70-pint unit. We’ll cover everything from identifying when it’s time for a new filter to safely removing the old one and installing a fresh replacement. You’ll also get practical tips for cleaning reusable filters, troubleshooting common issues, and maintaining your dehumidifier for long-term performance.
By the end of this guide, you’ll feel confident performing this essential maintenance task on your own—no experience required. Let’s get started!
Why Changing the Filter Matters
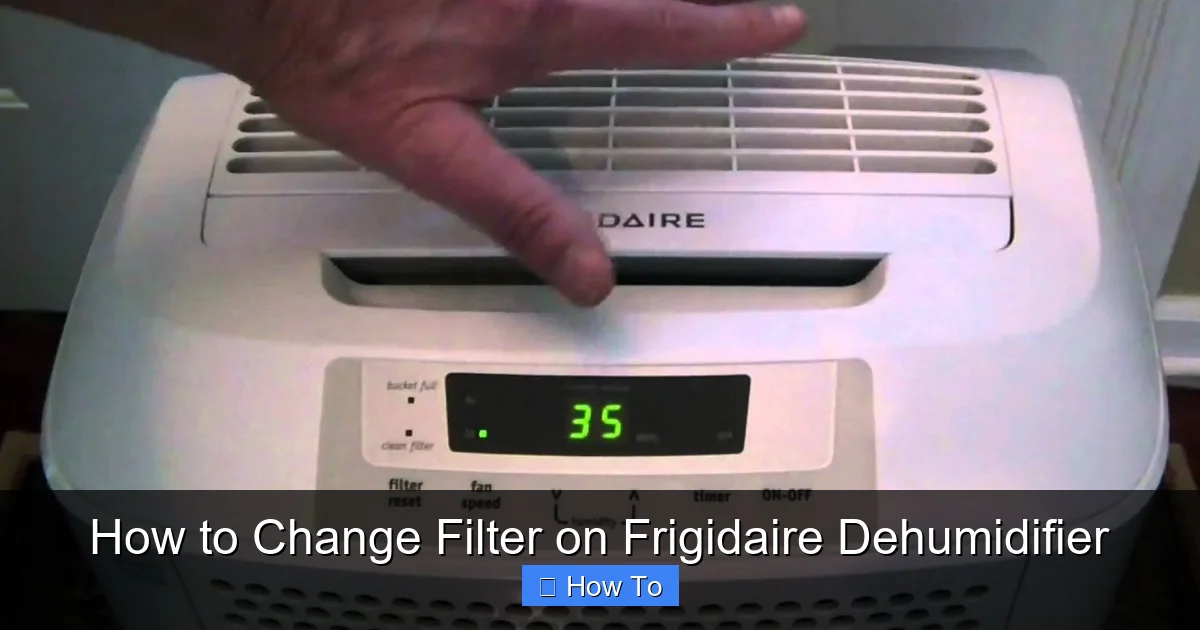
Visual guide about How to Change Filter on Frigidaire Dehumidifier
Image source: i.ytimg.com
Before diving into the step-by-step process, it’s important to understand why this small component plays such a big role in your dehumidifier’s performance.
The air filter in your Frigidaire dehumidifier serves as the first line of defense against airborne contaminants. As air is pulled into the unit, it passes through the filter, which traps dust, allergens, and debris. Over time, this buildup restricts airflow, making it harder for the dehumidifier to pull in moist air. The result? Slower moisture removal, longer run times, and increased energy consumption.
A clogged filter can also cause the unit to overheat. When airflow is restricted, the internal components—especially the compressor and fan—work harder to maintain performance. This extra strain can lead to premature wear and even system failure if left unchecked.
Additionally, a dirty filter can negatively impact indoor air quality. Instead of cleaning the air, a clogged filter may release trapped particles back into your home, especially if it becomes moldy or damp. This is particularly concerning for people with allergies, asthma, or respiratory sensitivities.
Regular filter maintenance ensures your dehumidifier runs efficiently, protects your health, and extends the lifespan of the appliance. Most manufacturers, including Frigidaire, recommend checking the filter every 1 to 2 months, especially during humid seasons or in high-traffic areas like basements, laundry rooms, or bathrooms.
When to Change the Filter
Knowing when to change the filter is just as important as knowing how. Frigidaire dehumidifiers are designed with user convenience in mind, and many models include a filter indicator light that alerts you when it’s time for maintenance.
Check the Filter Indicator Light
If your Frigidaire dehumidifier has a digital control panel, look for a “Filter” or “Check Filter” light. This LED typically turns on after a set number of operating hours—usually around 250 hours—to remind you to inspect or replace the filter. When the light illuminates, it’s time to take action.
Note: Not all models have this feature. If yours doesn’t, you’ll need to rely on visual inspection and usage patterns.
Inspect the Filter Visually
Even without an indicator light, you should check the filter regularly. Here’s how to tell if it needs replacing:
– The filter appears gray or discolored (not just slightly dusty).
– You can see visible dirt, lint, or pet hair buildup.
– Airflow feels weaker when the unit is running.
– The dehumidifier is running longer than usual to reach the desired humidity level.
– There’s a musty or unpleasant odor coming from the unit.
If any of these signs are present, it’s time to clean or replace the filter.
Consider Your Environment
Your home’s environment plays a big role in filter lifespan. For example:
– High-humidity areas like basements or crawl spaces may require more frequent filter changes due to increased airborne mold and dust.
– Homes with pets will see faster filter clogging from pet dander and fur.
– Homes with smokers or frequent cooking may accumulate more grease and particles.
– Dusty environments, such as construction zones or homes near unpaved roads, also accelerate filter soiling.
As a general rule, check the filter every 4 to 6 weeks during peak usage (spring and summer), and every 8 to 10 weeks during cooler months.
Tools and Materials You’ll Need
Thankfully, changing the filter on a Frigidaire dehumidifier requires minimal tools. Here’s what you’ll need:
- Replacement filter: Purchase a compatible Frigidaire dehumidifier filter (model number varies—see below for how to find it).
- Vacuum cleaner with brush attachment: Useful for cleaning reusable filters.
- Mild soap and water: For washing washable filters (if applicable).
- Soft cloth or paper towels: For drying and wiping down surfaces.
- Screwdriver (optional): Only needed if your model requires removing a panel with screws (rare).
Most Frigidaire dehumidifiers use a slide-in or snap-in filter that can be removed by hand—no tools required.
Step-by-Step Guide to Changing the Filter
Now that you understand the importance and timing, let’s walk through the actual process. Follow these steps carefully to ensure a safe and successful filter change.
Step 1: Turn Off and Unplug the Dehumidifier
Safety is paramount. Before touching any part of the unit, make sure it’s completely powered down.
– Turn off the dehumidifier using the power button on the control panel.
– Unplug the power cord from the wall outlet.
Never attempt to remove or replace the filter while the unit is plugged in. Even if it’s turned off, there’s still a risk of electrical shock or accidental startup.
Step 2: Locate the Filter
The filter is typically located behind a front grille or access panel on the side or back of the unit. Here’s how to find it:
– Look for a rectangular or square grille with slats—this is usually the air intake.
– On most Frigidaire models, the filter sits directly behind this grille.
– Some units have a small latch or tab on the grille that you can press to release it.
If you’re unsure, consult your owner’s manual. The filter location is clearly marked in the diagram.
Step 3: Remove the Filter Cover or Grille
Once you’ve located the filter area, gently remove the cover:
– On models with a snap-in grille, press the release tab (usually at the top or side) and pull the grille outward.
– On models with a sliding cover, slide it left or right to unlock it.
– If your model uses screws (rare), use a Phillips or flathead screwdriver to remove them.
Set the cover aside in a safe place where it won’t get damaged or lost.
Step 4: Remove the Old Filter
With the cover off, you’ll see the filter inside. It’s usually a flat, rectangular panel made of mesh or pleated material.
– Gently pull the filter straight out. It should slide out easily.
– If it’s stuck, wiggle it slightly or check for clips holding it in place.
Take note of how the filter is positioned—most have a directional arrow indicating airflow direction. This will help when installing the new one.
Step 5: Inspect and Clean (If Reusable)
Not all filters are disposable. Some Frigidaire models come with washable filters that can be cleaned and reused.
– If your filter is labeled “washable” or “reusable,” you can clean it instead of replacing it.
– Use a vacuum with a brush attachment to remove loose dust.
– For deeper cleaning, rinse the filter under lukewarm water. Avoid hot water, as it can damage the material.
– If needed, use a mild soap solution to remove stubborn grime. Rinse thoroughly.
– Allow the filter to air dry completely—do not reinstall it while wet.
Note: If the filter is torn, brittle, or heavily soiled (even after cleaning), it’s time to replace it.
Step 6: Install the New Filter
Once the old filter is removed (or the reusable one is clean and dry), it’s time to install the new one.
– Take the new filter out of its packaging.
– Check for any protective film or stickers—remove them before installation.
– Align the filter with the slot, making sure the airflow arrow points toward the unit (into the dehumidifier).
– Slide the filter in gently until it’s fully seated. It should fit snugly without forcing.
Double-check that the filter is properly aligned and secure.
Step 7: Reattach the Filter Cover or Grille
With the new filter in place, replace the cover:
– Slide or snap the grille back into position.
– Ensure it clicks securely or locks into place.
– If you removed screws, reinsert and tighten them (don’t overtighten).
Make sure the cover is fully closed to prevent air leaks and maintain proper airflow.
Step 8: Plug In and Test the Unit
Now that everything is back in place, it’s time to test your work.
– Plug the dehumidifier back into the wall outlet.
– Turn it on using the power button.
– Set your desired humidity level and let it run for a few minutes.
Listen for normal operation—smooth fan sound, no unusual noises. Check that air is flowing freely from the vents.
Step 9: Reset the Filter Indicator Light (If Applicable)
Many Frigidaire dehumidifiers have a filter reset function to clear the alert after maintenance.
– Look for a “Filter Reset” or “Reset” button on the control panel.
– Press and hold it for 3–5 seconds until the light turns off.
– If there’s no button, some models reset automatically after a few minutes of operation.
Refer to your owner’s manual for model-specific instructions.
Choosing the Right Replacement Filter
Using the correct filter ensures optimal performance and protects your warranty. Here’s how to find the right one.
Check Your Model Number
Frigidaire dehumidifiers use different filters depending on the model. To find the correct replacement:
– Look for a label on the back or bottom of the unit.
– The model number is usually in the format “FFAD7033W1” or similar.
– Visit the Frigidaire website or search online using your model number to find compatible filters.
Common filter models include:
– 241680401: Used in many 50- and 70-pint models.
– 241680402: For select 30- and 45-pint units.
– 241680403: Found in some newer Energy Star models.
Always verify compatibility before purchasing.
OEM vs. Third-Party Filters
You have two main options:
– OEM (Original Equipment Manufacturer) filters: Made by Frigidaire. They offer the best fit, performance, and reliability. Slightly more expensive but worth it for peace of mind.
– Third-party or compatible filters: Often cheaper and widely available. Look for reputable brands with good reviews. Ensure they match the exact dimensions and material of the original.
Avoid generic or poorly made filters—they may not fit properly or filter effectively.
Where to Buy
You can purchase replacement filters from:
– Frigidaire’s official website
– Major retailers like Home Depot, Lowe’s, or Best Buy
– Online marketplaces like Amazon or Walmart.com
Always buy from trusted sellers to avoid counterfeit products.
Troubleshooting Common Issues
Even with careful maintenance, you might run into problems. Here are some common issues and how to fix them.
Filter Doesn’t Fit Properly
If the new filter is too loose or too tight:
– Double-check the model number—you may have the wrong filter.
– Ensure the filter is oriented correctly (arrow pointing inward).
– Trim excess material only if the filter is clearly oversized and the manufacturer allows it (not recommended).
Filter Light Won’t Turn Off
After replacing the filter, the indicator light may stay on.
– Make sure you pressed the reset button correctly.
– Unplug the unit for 10 seconds, then plug it back in.
– If the light persists, the sensor may be faulty—contact Frigidaire support.
Reduced Airflow After Replacement
If the dehumidifier isn’t pulling air as well as before:
– Confirm the filter is installed in the correct direction.
– Check that the grille or cover is fully closed.
– Inspect the evaporator coils for frost or ice buildup (a sign of airflow issues).
Unusual Noises
Rattling or grinding sounds could mean:
– The filter is loose or not seated properly.
– Debris is stuck in the fan or intake.
– The unit is placed on an uneven surface.
Turn off the unit, recheck the filter, and clean the area around the fan.
Maintenance Tips for Long-Term Performance
Changing the filter is just one part of dehumidifier care. Follow these tips to keep your Frigidaire running smoothly:
– Clean the water bucket weekly: Empty and rinse it to prevent mold and bacteria growth.
– Wipe down the exterior: Use a damp cloth to remove dust and grime.
– Check the drain hose (if used): Ensure it’s not kinked or clogged.
– Keep the unit level: Place it on a flat, stable surface for proper operation.
– Store properly during off-seasons: Clean the filter, empty the bucket, and cover the unit to protect it from dust.
Regular maintenance not only improves performance but also extends the life of your dehumidifier.
Conclusion
Changing the filter on your Frigidaire dehumidifier is a simple yet essential task that pays big dividends in efficiency, air quality, and appliance longevity. By following the steps in this guide—turning off the unit, locating and removing the old filter, installing a clean replacement, and resetting the indicator—you can keep your dehumidifier running at peak performance.
Remember to check the filter every 1–2 months, especially in humid or dusty environments, and always use a compatible replacement. Whether you choose an OEM or high-quality third-party filter, proper maintenance ensures your dehumidifier continues to protect your home from excess moisture and allergens.
With just a few minutes of effort every few months, you’ll enjoy cleaner air, lower energy bills, and fewer repair headaches. So grab that replacement filter, follow these steps, and breathe easy knowing your Frigidaire dehumidifier is in great shape.