
Changing the filter in your Whirlpool dehumidifier is a simple but essential maintenance task that ensures optimal performance and cleaner air. This guide walks you through every step—from locating the filter to testing your unit afterward—so you can complete the job quickly and confidently.
Quick Answers to Common Questions
Tip/Question?
Can I wash and reuse my Whirlpool dehumidifier filter?
No—most Whirlpool dehumidifiers use disposable filters designed for single use. Washing them can damage the mesh and reduce effectiveness. Always replace with a new filter.
Tip/Question?
How do I know if my filter needs changing?
Look for reduced airflow, musty odors, or a lit filter indicator. Visually inspect the filter every 1–2 months—if it’s gray or clogged, it’s time for a new one.
Tip/Question?
What if my model doesn’t have a filter reset button?
Not all Whirlpool models include this feature. In that case, simply track changes manually using a calendar or reminder app.
Tip/Question?
Can I run my dehumidifier without a filter?
Never operate the unit without a filter. Doing so allows dust and debris to enter the internal components, leading to damage and poor air quality.
Tip/Question?
Where can I buy genuine Whirlpool replacement filters?
Purchase directly from Whirlpool’s website, authorized retailers like Home Depot or Lowe’s, or trusted online sellers. Always verify the part number matches your model.
Why Changing Your Whirlpool Dehumidifier Filter Matters
Your Whirlpool dehumidifier does more than just remove excess moisture from the air—it also helps improve indoor air quality by capturing airborne particles like dust, pollen, pet dander, and mold spores. The filter is the unsung hero of this process. Over time, however, it becomes clogged with debris, reducing airflow and forcing the unit to work harder. This not only lowers efficiency but can also lead to higher energy bills and premature wear on internal components.
Replacing the filter regularly ensures your dehumidifier runs smoothly, maintains strong moisture removal, and keeps your home’s air clean and comfortable. Most manufacturers, including Whirlpool, recommend checking the filter every 1–2 months, especially during humid seasons or if you live in a damp climate. Neglecting this simple task can result in musty odors, reduced performance, and even system malfunctions.
In this guide, you’ll learn exactly how to locate, remove, replace, and reset the filter in your Whirlpool dehumidifier—no technical expertise required. Whether you’re a first-time user or just need a refresher, these clear, step-by-step instructions will have your unit back to peak performance in under 10 minutes.
What You’ll Need Before You Begin
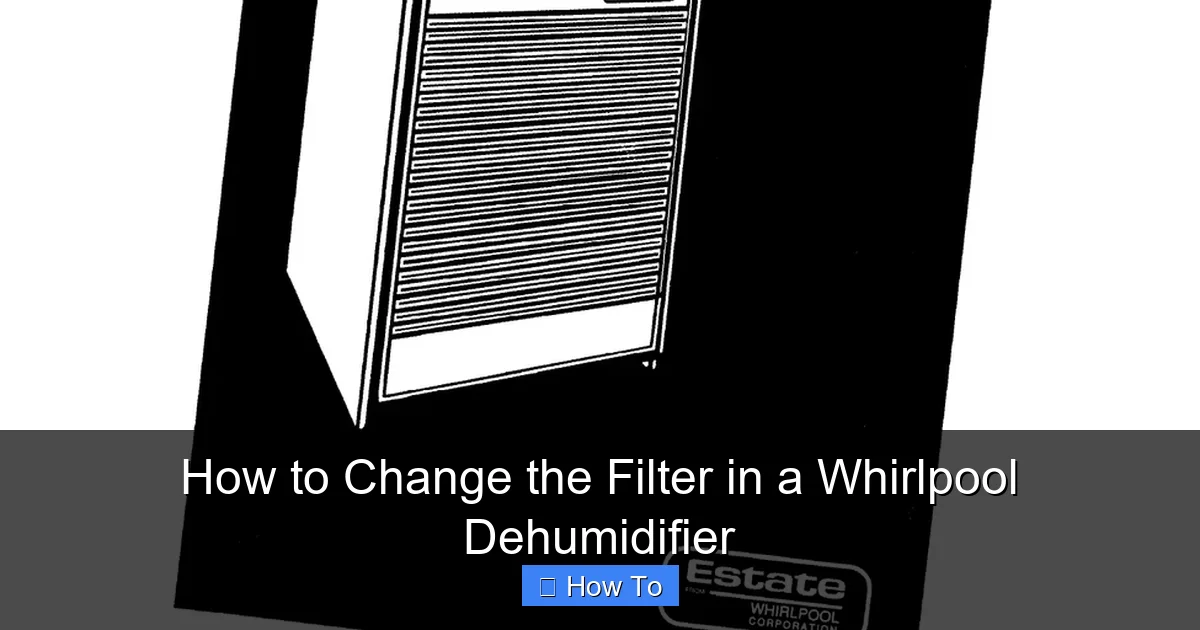
Visual guide about How to Change the Filter in a Whirlpool Dehumidifier
Image source: s3.manualzz.com
Before diving into the replacement process, gather a few essential items to make the job quick and hassle-free:
- A replacement filter: Make sure it’s compatible with your specific Whirlpool dehumidifier model. Check your user manual or the label inside the filter compartment for the correct part number.
- A soft cloth or microfiber towel: For wiping down the exterior and cleaning around the filter area.
- A vacuum cleaner with a brush attachment (optional): Useful for gently removing dust from the coils and interior surfaces.
- Rubber gloves (optional): Helpful if you’re sensitive to dust or allergens.
- A small bowl or container: To hold screws or small parts if your model requires disassembly.
Pro tip: Keep a log or set a calendar reminder for your next filter change. Many Whirlpool models also have a built-in filter indicator light that alerts you when it’s time—don’t ignore it!
Step 1: Turn Off and Unplug the Dehumidifier
Safety is paramount when working with any electrical appliance. Before touching any part of your dehumidifier, always turn it off using the power button on the control panel. Then, unplug the unit from the wall outlet. This prevents accidental startup and eliminates the risk of electric shock.
Even if your dehumidifier appears to be off, internal components may still hold a charge. Unplugging ensures complete safety. If your unit is hardwired or located in a hard-to-reach spot (like a basement corner), consider using a power strip with an on/off switch for easier access in the future.
Wait a Few Minutes
After unplugging, wait about 5–10 minutes before proceeding. This allows any residual electricity in the system to dissipate and gives the compressor and fan time to cool down if they were recently running.
Step 2: Locate the Filter Compartment
The filter in most Whirlpool dehumidifiers is housed behind a removable front grille or panel. Here’s how to find it:
- Look for a grille on the front or side: On many models, the filter access panel is a vertical slatted cover near the top or middle of the unit.
- Check for a latch or release button: Some grilles snap open with gentle pressure, while others have a small button or tab you press to release the panel.
- Consult your user manual: If you’re unsure, the manual will show an exact diagram of your model’s layout. You can often download a digital copy from Whirlpool’s support website if you’ve misplaced the physical version.
For example, on the popular Whirlpool WHAD509D model, the filter is behind a front grille that lifts upward after pressing the release tabs on both sides. On the WHAD709D, it’s a side-access panel secured with two small screws.
Tip: Take a Photo
Before removing anything, snap a quick photo of the filter area with your phone. This helps you remember how parts fit together if reassembly gets tricky.
Step 3: Remove the Old Filter
Once you’ve accessed the filter compartment, carefully pull out the old filter. Most filters slide out horizontally or lift straight up—there’s usually no need for tools.
Handle with Care
Grip the filter by its frame (not the mesh) to avoid tearing or bending it. If it’s heavily soiled, you might notice a gray or black buildup—this is normal and indicates the filter has been doing its job.
Inspect the Filter
Take a moment to examine the condition of the old filter. If it’s visibly dirty, clogged, or damaged (tears, warping, or excessive mold), replacement is definitely overdue. Even if it looks okay, replace it if it’s been more than two months since the last change—especially in high-humidity environments.
Dispose of the Old Filter Properly
Place the used filter in a sealed plastic bag before throwing it in the trash. This prevents dust and allergens from escaping into your home. Never attempt to wash and reuse a disposable filter—it won’t regain full effectiveness and could harbor mold.
Step 4: Clean the Filter Area (Optional but Recommended)
While the filter is out, take advantage of the open access to give the interior a quick clean. This boosts efficiency and prevents dust from re-entering the system.
Wipe Down Surfaces
Use a dry or slightly damp microfiber cloth to wipe the inside of the filter compartment. Avoid using water directly—excess moisture can damage electrical components.
Vacuum the Coils
If you can see the evaporator or condenser coils (usually located behind the filter), use a vacuum with a soft brush attachment to gently remove dust buildup. Dirty coils reduce heat exchange efficiency, making your dehumidifier work harder.
Check the Air Intake and Exhaust
Make sure the air intake (where moist air enters) and exhaust (where dry air exits) aren’t blocked by dust or debris. A clogged airflow path forces the fan to strain, increasing wear and energy use.
Step 5: Install the New Filter
Now it’s time to install your fresh filter. Follow these steps for a secure, proper fit:
Check the Filter Direction
Most Whirlpool filters have an arrow or “airflow” label indicating which way they should face. The arrow should point toward the unit (i.e., in the direction air flows into the dehumidifier). Installing it backward reduces efficiency and may cause the filter to tear.
Slide or Insert Gently
Align the new filter with the tracks or guides inside the compartment and slide it in smoothly. Don’t force it—if it doesn’t fit easily, double-check the model number and orientation.
Ensure a Snug Fit
The filter should sit flat and flush with the frame. Gaps or loose edges allow unfiltered air to bypass the filter, defeating its purpose.
Step 6: Reattach the Filter Cover or Grille
Once the new filter is securely in place, carefully reattach the front grille or access panel.
Secure All Fasteners
If your model uses screws, tighten them just enough to hold the panel firmly—over-tightening can crack plastic parts. For snap-on grilles, press evenly along the edges until you hear or feel it click into place.
Double-Check Alignment
Make sure the cover sits level and doesn’t wobble. A misaligned grille can restrict airflow or rattle during operation.
Step 7: Plug In and Test the Unit
With everything reassembled, plug your dehumidifier back into the wall outlet and turn it on.
Listen for Normal Operation
You should hear the fan start up smoothly and the compressor engage after a brief delay. If you notice unusual noises (grinding, rattling, or squealing), turn the unit off immediately and recheck your installation.
Verify Airflow
Place your hand near the air intake and exhaust vents. You should feel steady airflow. Weak or inconsistent airflow may indicate a filter installed incorrectly or a blockage elsewhere.
Check the Filter Indicator Light
Many Whirlpool dehumidifiers have a filter reset button or indicator light that turns on after a set runtime. If yours has one, press the “Filter Reset” or “Clean Filter” button (usually located near the control panel) to clear the alert and restart the timer.
Troubleshooting Common Issues
Even with careful steps, you might encounter a hiccup. Here’s how to handle common problems:
Filter Doesn’t Fit
Double-check the part number against your model. Whirlpool offers multiple filter sizes (e.g., WP12001890, WP12001910). If you bought a third-party filter, ensure it’s listed as compatible with your exact model.
Unit Won’t Turn On After Replacement
First, confirm the power cord is fully plugged in. Then, verify that the filter cover is securely closed—some models have a safety switch that prevents operation if the panel isn’t latched.
Filter Light Won’t Reset
Hold the reset button for 3–5 seconds instead of a quick press. If it still doesn’t work, consult your manual—some models require a specific sequence (e.g., press and hold while powering on).
Reduced Performance After Replacement
Ensure the new filter isn’t obstructed and that the coils are clean. Also, check that furniture or curtains aren’t blocking the air intake or exhaust.
How Often Should You Change the Filter?
While the general rule is every 1–2 months, your actual schedule depends on several factors:
- Humidity levels: Homes in coastal or rainy regions may need monthly changes.
- Pets and occupants: More people and pets mean more dander and dust.
- Seasonal use: Run your dehumidifier year-round in basements; seasonal users can adjust accordingly.
- Filter type: Standard mesh filters need more frequent changes than washable or HEPA-style options (though Whirlpool typically uses disposable filters).
Set reminders on your phone or mark a calendar. Some smart models even send alerts via app if connected to Wi-Fi.
Choosing the Right Replacement Filter
Always prioritize compatibility. Here’s how to find the correct filter:
- Check the existing filter: The part number is usually printed on the frame.
- Use Whirlpool’s online tool: Visit Whirlpool’s parts website and enter your model number for exact matches.
- Avoid cheap knockoffs: While tempting, low-quality filters may not fit properly or capture particles effectively, reducing air quality and potentially damaging your unit.
Genuine Whirlpool filters are designed to meet exact specifications for airflow, filtration, and durability. If cost is a concern, look for sales or bulk discounts—many retailers offer them seasonally.
Maintaining Your Dehumidifier Beyond the Filter
Filter changes are just one part of routine care. To keep your Whirlpool dehumidifier in top shape:
- Empty the water tank regularly: Most models auto-shutoff when full, but frequent emptying prevents spills and mold.
- Clean the water bucket monthly: Wash with mild soap and water to remove residue and odors.
- Inspect the drain hose (if used): Ensure it’s not kinked or clogged for continuous drainage setups.
- Store properly during off-seasons: Clean thoroughly, remove the filter, and cover the unit to prevent dust buildup.
A well-maintained dehumidifier lasts longer, uses less energy, and keeps your home healthier.
Conclusion
Changing the filter in your Whirlpool dehumidifier is a quick, straightforward task that pays big dividends in performance, efficiency, and air quality. By following this guide—turning off the unit, locating the filter, replacing it correctly, and resetting the indicator—you’ll ensure your dehumidifier continues to protect your home from excess moisture and airborne irritants.
Make filter changes a regular part of your home maintenance routine, and don’t forget to clean the surrounding areas while you’re at it. With just a few minutes of effort every month or two, you’ll extend the life of your appliance and enjoy cleaner, more comfortable air year-round. Remember: a clean filter isn’t just good for your machine—it’s good for your health, too.