
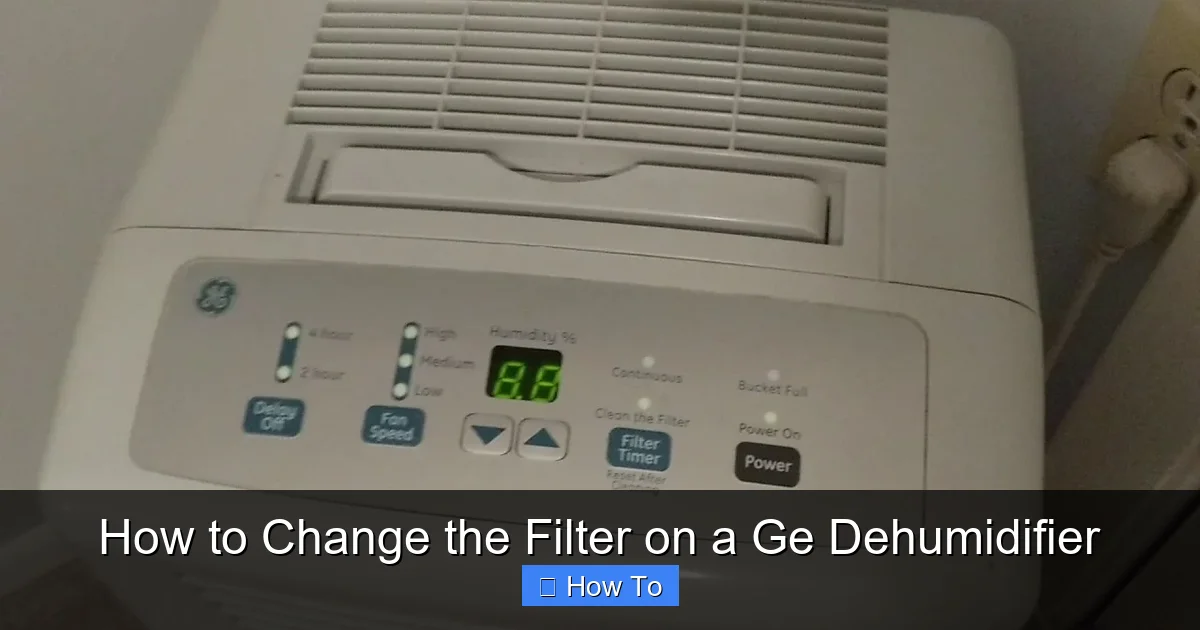
Changing the filter on your GE dehumidifier is a quick and essential maintenance task that ensures optimal performance and better air quality. This guide walks you through every step, from locating the filter to installing a new one, with helpful tips and troubleshooting advice.
Quick Answers to Common Questions
How often should I change the filter?
Check every 2–3 months, or more often in dusty or humid environments. Replace when the filter looks dirty or the indicator light comes on.
Can I wash and reuse the filter?
Most GE dehumidifier filters are not washable. Always replace with a new one to ensure proper filtration and performance.
Where can I buy a replacement filter?
Purchase GE-approved filters online through GE’s website, Amazon, or appliance retailers. Always match the model number.
What if my model doesn’t have a filter?
Some older or compact GE dehumidifiers may not have a replaceable filter. Check your user manual or contact GE support to confirm.
Why is the filter light still on after replacement?
You may need to reset the indicator by pressing and holding the filter button for 3–5 seconds. If it persists, check for sensor issues.
How to Change the Filter on a GE Dehumidifier
Keeping your GE dehumidifier in top shape doesn’t require a technician—just a little know-how and regular care. One of the most important maintenance tasks is changing the air filter. Over time, the filter collects dust, pet dander, mold spores, and other airborne particles. If left unchanged, it can clog, reduce airflow, strain the motor, and even lead to poor dehumidification performance or unpleasant odors.
In this comprehensive guide, you’ll learn exactly how to change the filter on your GE dehumidifier—step by step. Whether you’re a first-time user or just need a refresher, we’ll cover everything from safety precautions to troubleshooting common issues. By the end, you’ll feel confident maintaining your unit like a pro, ensuring it runs efficiently and keeps your home’s air clean and comfortable.
Why Changing the Filter Matters
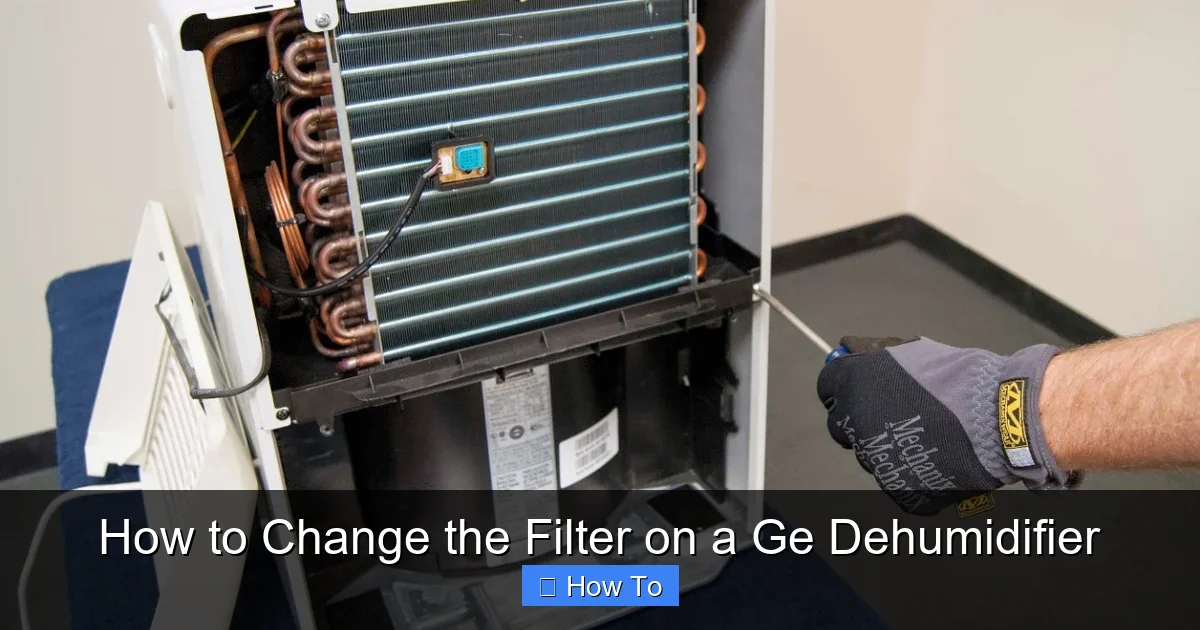
Visual guide about How to Change the Filter on a Ge Dehumidifier
Image source: images.ctfassets.net
Before diving into the steps, it’s helpful to understand why this simple task is so important. The air filter in your GE dehumidifier plays a vital role in the unit’s overall function. As the dehumidifier pulls in moist air from your room, the filter captures contaminants before the air passes over the cooling coils. This not only protects the internal components but also ensures the air released back into your home is cleaner.
A dirty or clogged filter forces the dehumidifier to work harder. This can lead to higher energy bills, reduced moisture removal, and even premature wear on the compressor. In humid environments—like basements, laundry rooms, or bathrooms—the filter may get dirty faster. Regular replacement helps maintain peak performance and extends the life of your appliance.
Additionally, a clean filter supports better indoor air quality. If you or your family members suffer from allergies, asthma, or respiratory sensitivities, a fresh filter can make a noticeable difference in comfort and health.
When to Change the Filter
So, how often should you change the filter? GE generally recommends checking the filter every 2 to 3 months. However, this can vary based on several factors:
- Usage frequency: If you run your dehumidifier daily, especially during humid seasons, the filter will collect debris faster.
- Environment: Homes with pets, smokers, or high dust levels will need more frequent changes.
- Location: Basements and crawl spaces often have more mold and mildew, which can clog filters quickly.
- Filter indicator light: Many newer GE dehumidifiers have a filter alert that lights up when it’s time for a change.
Even if the indicator hasn’t lit up, it’s a good idea to inspect the filter visually. Hold it up to a light—if you can’t see through it, it’s time for a replacement.
Tools and Materials You’ll Need
The good news? You don’t need a toolbox full of gadgets. Changing the filter on a GE dehumidifier is straightforward and requires minimal supplies. Here’s what to gather:
- Replacement filter: Make sure it’s compatible with your specific GE dehumidifier model. Check the user manual or look for the model number on the unit.
- Soft cloth or vacuum: For cleaning the area around the filter slot.
- Flashlight (optional): Helps you see inside the filter compartment, especially in dimly lit areas.
- Gloves (optional): Useful if you’re sensitive to dust or mold.
Always purchase GE-approved filters or high-quality third-party equivalents designed for your model. Using the wrong filter can reduce efficiency or even damage the unit.
Step-by-Step Guide to Changing the Filter
Now that you’re prepared, let’s walk through the process. Follow these steps carefully to ensure a safe and effective filter change.
Step 1: Turn Off and Unplug the Dehumidifier
Safety first! Before touching any part of the unit, make sure it’s completely powered down.
- Press the power button to turn off the dehumidifier.
- Unplug the power cord from the wall outlet. Never work on an energized appliance.
- Wait a few minutes for the internal components to cool down, especially if the unit has been running recently.
This step prevents electrical shock and protects the motor from accidental activation.
Step 2: Locate the Filter Compartment
The filter is usually housed behind a removable panel on the back or side of the unit. Here’s how to find it:
- Look for a grille or cover with small vents or slots. It’s often labeled “Filter” or marked with an icon.
- On some models, the filter door is on the front, near the air intake.
- Refer to your user manual if you’re unsure. GE provides diagrams for most models online.
For example, the GE ADEW30LZ (30-pint model) has a filter behind a front grille that slides out. The GE ADEL45LZ (45-pint) has a side-mounted filter door with a latch.
Step 3: Remove the Filter Cover
Once you’ve located the filter compartment, it’s time to open it.
- Gently press the tabs or latches on the filter cover. Some models use a simple push-and-slide mechanism.
- If there’s a screw, use a Phillips-head screwdriver to remove it. Keep the screw in a safe place.
- Carefully pull the cover away from the unit. Avoid forcing it—most covers are designed to come off easily.
If the cover feels stuck, double-check for hidden latches or screws. Never pry with a knife or metal tool, as this can damage the plastic.
Step 4: Take Out the Old Filter
With the cover removed, you’ll see the filter inside.
- Grasp the filter by its edges and pull it straight out. Most filters slide in and out like a drawer.
- If the filter is stuck, gently wiggle it side to side while pulling.
- Inspect the old filter. If it’s dark, clogged, or has visible mold, it’s definitely time for a replacement.
Dispose of the old filter in a sealed plastic bag to prevent dust and allergens from spreading.
Step 5: Clean the Filter Area
Before installing the new filter, take a moment to clean the compartment.
- Use a soft, dry cloth to wipe away dust or debris from the filter slot.
- If there’s heavy buildup, use a vacuum with a brush attachment to gently suction out dirt.
- Check the air intake vents and coils for dust. Clean them if necessary to maintain airflow.
This step ensures the new filter works efficiently and isn’t immediately clogged by residual dirt.
Step 6: Install the New Filter
Now it’s time to put in the fresh filter.
- Take the new filter out of its packaging. Make sure it’s the correct size and type.
- Align the filter with the slot, ensuring the arrow or airflow direction marking points toward the unit.
- Slide the filter in gently until it’s fully seated. It should fit snugly but not require force.
If the filter doesn’t slide in easily, double-check the orientation. Installing it backward can restrict airflow and reduce performance.
Step 7: Reattach the Filter Cover
Once the new filter is in place, secure the cover.
- Align the cover with the slots or hinges on the unit.
- Press it firmly until the latches click into place.
- If you removed a screw, reinsert and tighten it—don’t overtighten, as this can crack the plastic.
Make sure the cover is fully closed to prevent air leaks, which can reduce efficiency.
Step 8: Plug In and Power On the Unit
You’re almost done!
- Plug the dehumidifier back into the wall outlet.
- Press the power button to turn it on.
- Set your desired humidity level and let the unit run for a few minutes to ensure everything is working properly.
Listen for unusual noises or vibrations, which could indicate an installation issue.
Step 9: Reset the Filter Indicator (If Applicable)
Many GE dehumidifiers have a filter reset function.
- Locate the “Filter” or “Check Filter” button on the control panel.
- Press and hold it for 3 to 5 seconds until the indicator light turns off or resets.
- This tells the unit that a new filter has been installed and restarts the monitoring cycle.
If you skip this step, the light may continue to blink, even though the filter is clean.
Troubleshooting Common Issues
Even with careful steps, you might run into a few hiccups. Here’s how to handle common problems:
Filter Doesn’t Fit
If the new filter is too big or too small:
- Double-check the model number on your dehumidifier and compare it to the filter packaging.
- Measure the old filter and compare it to the new one.
- Contact GE customer support or the retailer if you suspect a defective or incorrect filter.
Never force a filter that doesn’t fit—it can damage the unit or reduce performance.
Filter Cover Won’t Close
If the cover won’t latch:
- Ensure the filter is fully inserted and not crooked.
- Check for debris or obstructions in the slot.
- Verify that the cover isn’t warped or damaged.
Sometimes, a slightly misaligned filter can prevent the cover from sealing properly.
Unit Still Shows Filter Alert
If the filter light stays on after replacement:
- Confirm you pressed and held the reset button long enough.
- Try unplugging the unit for 10 seconds, then plugging it back in.
- Consult the user manual for model-specific reset instructions.
In rare cases, a faulty sensor may need professional service.
Reduced Airflow or Performance
If the dehumidifier isn’t working as well as before:
- Check that the new filter isn’t blocking airflow (e.g., installed backward).
- Clean the coils and vents thoroughly.
- Ensure the room isn’t excessively humid or hot, which can overwhelm the unit.
Regular maintenance goes beyond just the filter—keep the entire unit clean for best results.
Tips for Maintaining Your GE Dehumidifier
Changing the filter is just one part of keeping your dehumidifier in great condition. Here are a few extra tips:
- Clean the water bucket weekly: Rinse it with mild soap and water to prevent mold and odors.
- Inspect the drain hose (if used): Make sure it’s not kinked or clogged.
- Keep the unit level: This ensures proper water drainage and prevents leaks.
- Avoid placing near heat sources: High temperatures can reduce efficiency.
- Store properly during off-seasons: Clean the unit, remove the filter, and cover it to protect from dust.
A little effort goes a long way in extending the life of your appliance.
Conclusion
Changing the filter on your GE dehumidifier is a simple yet essential task that keeps your unit running smoothly and your home’s air clean. By following this guide, you’ve learned how to safely remove the old filter, install a new one, and reset the indicator—all in under 10 minutes. Regular maintenance not only improves performance but also saves energy and reduces the risk of costly repairs.
Remember to check your filter every few months, especially during humid seasons or if you notice reduced airflow. With consistent care, your GE dehumidifier will continue to protect your home from excess moisture, mold, and allergens for years to come.
Don’t wait until the filter is completely clogged—stay proactive. Keep a spare filter on hand, mark your calendar for reminders, and make this quick task part of your home maintenance routine. Your dehumidifier—and your indoor air quality—will thank you.