
Changing the filter on your Soleus Air dehumidifier is a quick and essential maintenance task that ensures optimal performance and cleaner air. This guide walks you through the entire process, from identifying the right filter to reassembling your unit safely and effectively.
Quick Answers to Common Questions
How often should I change the filter?
Replace or clean the filter every 2–3 months during regular use. In dusty or high-humidity environments, check it monthly.
Can I wash my Soleus Air filter?
Only if it’s labeled as washable. Foam and mesh filters can be rinsed and reused—pleated filters should be replaced.
What if my filter doesn’t fit?
Double-check your model number and ensure you’re using a Soleus-approved filter. Incorrect sizes can cause leaks or damage.
Why is my dehumidifier not removing moisture after filter change?
Ensure the filter is installed correctly and the unit is level. Also check for blocked vents or a full water tank.
Is it safe to run the dehumidifier without a filter?
No. Running without a filter allows dust and debris to enter the unit, potentially damaging internal components.
How to Change the Filter on Soleus Air Dehumidifier
Keeping your Soleus Air dehumidifier in top condition doesn’t require a technician—just a little know-how and regular maintenance. One of the most important tasks? Changing the air filter. Over time, the filter collects dust, pet dander, mold spores, and other airborne particles. If left unchanged, a clogged filter forces your dehumidifier to work harder, reduces efficiency, and can even lead to poor indoor air quality.
In this comprehensive guide, you’ll learn exactly how to change the filter on your Soleus Air dehumidifier—step by step. Whether you’re a first-time user or just need a refresher, we’ll cover everything from identifying your model to safely installing a new filter and resetting the system. By the end, you’ll feel confident maintaining your dehumidifier like a pro, saving money on energy bills and extending the life of your appliance.
Let’s get started!
Why Changing the Filter Matters
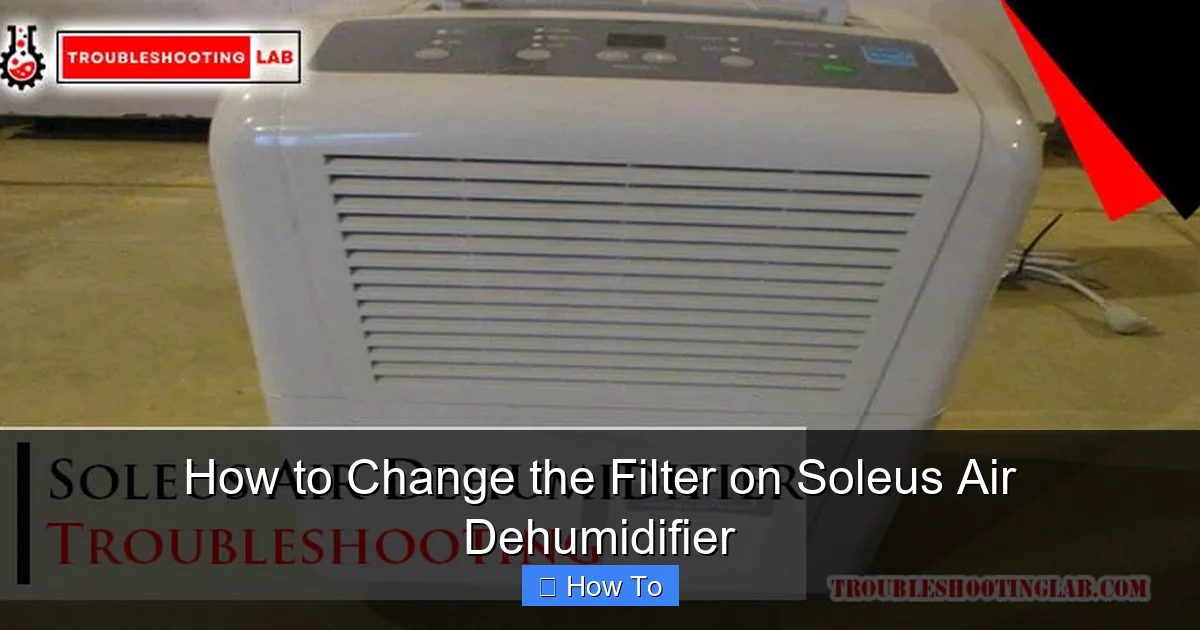
Visual guide about How to Change the Filter on Soleus Air Dehumidifier
Image source: troubleshootinglab.com
Before diving into the steps, it’s important to understand why this simple task is so crucial. The air filter in your Soleus Air dehumidifier acts as the first line of defense against airborne contaminants. As air is drawn into the unit to remove moisture, it passes through the filter. Over time, this filter becomes saturated with debris.
A dirty filter doesn’t just reduce airflow—it can also cause the evaporator coils to freeze, leading to inefficient operation or even system shutdown. In high-humidity environments, like basements or laundry rooms, filters clog faster. Regular replacement ensures your dehumidifier runs smoothly, removes moisture effectively, and improves the overall air quality in your home.
Think of it like changing the oil in your car: small effort, big payoff.
What You’ll Need
Before beginning, gather these items to make the process quick and hassle-free:
- A compatible replacement filter (check your model number)
- A clean, dry cloth or microfiber towel
- A screwdriver (if required for your model—most Soleus units don’t need one)
- A vacuum with a brush attachment (optional, for cleaning)
- Gloves (optional, if you’re sensitive to dust)
Having everything ready beforehand prevents mid-process interruptions and keeps your workspace tidy.
Step 1: Identify Your Soleus Air Dehumidifier Model
Not all Soleus Air dehumidifiers are built the same. Filter location, size, and access method can vary between models like the Soleus CFM80, CFM60, or the newer Wi-Fi-enabled units. That’s why the first step is confirming your model number.
Where to Find the Model Number
Look for a label or sticker on the back, side, or bottom of your dehumidifier. It typically lists the model number (e.g., “Soleus Air CFM80”) and serial number. You can also check the user manual or the original packaging if you still have it.
Once you have the model number, visit the official Soleus Air website or search online for your specific model’s filter requirements. This ensures you purchase the correct replacement filter—using the wrong one can damage the unit or void your warranty.
Common Soleus Air Models and Filter Types
Here are a few popular models and their filter characteristics:
- Soleus CFM80: Uses a washable foam filter located behind the front grille.
- Soleus CFM60: Features a removable mesh filter accessible from the side panel.
- Soleus Air Wi-Fi Dehumidifier (e.g., CFM70P): Includes a reusable filter behind the front cover with a filter reset button.
Knowing your model helps you prepare the right tools and replacement parts.
Step 2: Turn Off and Unplug the Unit
Safety first! Before touching any part of your dehumidifier, make sure it’s completely powered down.
Why Unplugging Is Essential
Even when turned off via the control panel, some internal components may still have residual power. Unplugging the unit eliminates any risk of electric shock, especially when handling internal parts like the filter housing.
How to Properly Power Down
- Press the “Power” button to turn off the dehumidifier.
- Wait 30 seconds to allow capacitors to discharge.
- Unplug the power cord from the wall outlet.
- If your model has a water tank, empty it to prevent spills during filter access.
This simple step protects both you and your appliance.
Step 3: Locate the Filter Compartment
Now that the unit is safe to handle, it’s time to find the filter. The location varies slightly by model, but most Soleus Air dehumidifiers have an easily accessible filter behind a front or side panel.
Front Access Filters
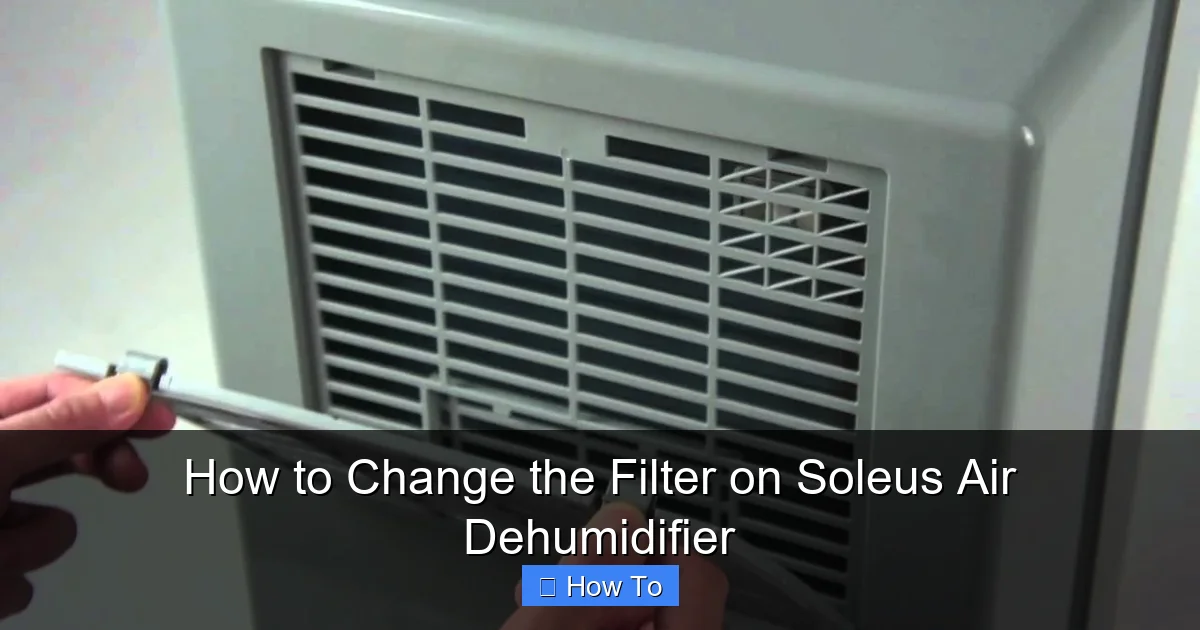
Many models, like the CFM80, have a front-facing grille that swings open or lifts off. Look for a latch or release button near the top or bottom of the grille. Gently press or slide it to open.
Side or Rear Access Filters
Some units, especially compact models, house the filter behind a side panel. You may need to remove a small screw or simply slide the panel outward. Check your user manual for specific instructions.
Visual Clues
The filter compartment is usually marked with a label like “Filter” or “Air Intake.” If you’re unsure, look for a removable panel near the air intake vent—this is where air enters the unit and where the filter sits.
Step 4: Remove the Old Filter
With the compartment open, you’ll see the current filter. It may be a foam, mesh, or pleated fabric type, depending on your model.
Gently Pull Out the Filter
Most Soleus filters slide out easily. Grasp the edges and pull straight out. Avoid yanking or twisting, as this could damage the housing.
Inspect the Filter
Take a close look at the old filter. If it’s gray or black with visible dirt, it’s definitely time for a replacement. Even if it looks clean, replace it every 2–3 months during heavy use.
Dispose of the Old Filter Properly
Place the used filter in a sealed plastic bag before throwing it away. This prevents dust and allergens from spreading into your home.
Step 5: Clean the Filter Housing
While the filter is out, take a moment to clean the area around it. Dust and debris can accumulate in the housing, reducing airflow even with a new filter.
Use a Dry Cloth or Vacuum
Wipe the inside of the compartment with a dry microfiber cloth. For deeper cleaning, use a vacuum with a brush attachment to remove loose dust from the intake vents and fan area.
Avoid Water or Liquids
Never spray water or cleaning solutions inside the unit unless specified in the manual. Moisture can damage electrical components.
Check for Obstructions
Look for any foreign objects—like paper, pet hair, or insects—that may have entered the unit. Remove them carefully.
Step 6: Install the New Filter
Now it’s time to install the replacement filter. Make sure it’s the correct size and type for your model.
Check Filter Orientation
Most filters have an arrow or label indicating airflow direction. The arrow should point toward the unit (into the dehumidifier), not outward. Installing it backward reduces efficiency.
Slide the Filter Into Place
Gently insert the new filter into the slot. It should fit snugly but not require force. If it doesn’t slide in easily, double-check the size and orientation.
Secure the Compartment
Once the filter is in, close the front grille or side panel. Make sure it clicks or locks into place. A loose panel can cause air leaks and reduce performance.
Step 7: Reset the Filter Indicator (If Applicable)
Some Soleus Air models feature a filter change indicator light or reminder on the control panel. After replacing the filter, you’ll need to reset this system.
Locate the Filter Reset Button
Look for a button labeled “Filter Reset,” “Reset,” or an icon resembling a filter. It’s usually near the power or mode buttons.
Press and Hold to Reset
Press and hold the reset button for 3–5 seconds until the indicator light turns off or changes color. This tells the unit the filter has been replaced and resets the timer.
No Reset Button?
If your model doesn’t have a filter indicator, simply note the replacement date on a calendar or set a phone reminder for the next change (every 2–3 months).
Step 8: Plug In and Test the Unit
With the new filter installed and the compartment secured, it’s time to power up.
Reconnect the Power
Plug the dehumidifier back into the wall outlet. Make sure the cord isn’t pinched or damaged.
Turn On the Unit
Press the power button and select your desired humidity level. Listen for normal operation—fans should run smoothly, and the compressor should engage after a few minutes.
Check for Proper Airflow
Feel the air coming from the exhaust vent. It should be warm and steady. If airflow seems weak, double-check that the filter is properly seated and the grille is closed.
Troubleshooting Common Issues
Even with careful installation, you might encounter a few hiccups. Here’s how to resolve them:
Unit Won’t Turn On After Filter Change
- Ensure the power cord is fully plugged in.
- Check that the water tank is properly seated—many units won’t run if the tank is missing or misaligned.
- Verify the filter compartment is fully closed—some models have safety switches that prevent operation if the panel is open.
Reduced Airflow or Weak Performance
- Confirm the filter is installed in the correct direction.
- Make sure the intake and exhaust vents aren’t blocked by furniture or curtains.
- Clean the evaporator coils if frost or ice has formed (this may require professional service).
Filter Indicator Light Won’t Turn Off
- Press and hold the reset button longer—some models require 5–10 seconds.
- Ensure the filter is genuine or compatible—some indicators only recognize approved filters.
- Consult the user manual for model-specific reset procedures.
Unusual Noises After Installation
- Check that the filter isn’t loose or vibrating against the housing.
- Ensure no foreign objects were left inside during cleaning.
- If the noise persists, contact Soleus customer support—it could indicate a mechanical issue.
Tips for Maintaining Your Soleus Air Dehumidifier
Changing the filter is just one part of dehumidifier care. Follow these tips to keep your unit running efficiently for years:
Clean the Water Tank Weekly
Empty and rinse the tank with mild soap and water to prevent mold and bacteria growth. Dry it thoroughly before reinserting.
Wipe Down the Exterior
Use a damp cloth to clean the outer surface, especially around buttons and vents. Avoid harsh chemicals that could damage the plastic.
Check Humidity Levels Regularly
Use a hygrometer to monitor indoor humidity. Ideal levels are between 30% and 50%. Adjust your dehumidifier settings accordingly.
Store Properly During Off-Seasons
If you don’t use your dehumidifier year-round, clean it thoroughly, remove the filter, and store it in a dry, dust-free place. Cover it to prevent dust accumulation.
Schedule Professional Servicing
Every 1–2 years, consider having a technician inspect the coils, refrigerant levels, and electrical components—especially if you notice reduced performance.
When to Replace vs. Clean the Filter
Not all Soleus Air filters are the same. Some are washable and reusable, while others are disposable.
Washable Filters
If your model uses a foam or mesh filter, you can clean it instead of replacing it. Rinse it under lukewarm water, let it air dry completely (24+ hours), and reinstall. Do this every 4–6 weeks during heavy use.
Disposable Filters
Pleated or HEPA-style filters should be replaced, not cleaned. Attempting to wash them can damage the material and reduce effectiveness.
Always refer to your user manual to determine your filter type.
Where to Buy Replacement Filters
Using genuine Soleus Air filters ensures compatibility and performance. Here’s where to find them:
- Soleus Air Official Website: Offers a filter finder tool and direct shipping.
- Amazon: Search for “Soleus Air [your model] filter” and look for highly rated sellers.
- Home Improvement Stores: Stores like Home Depot or Lowe’s may carry compatible filters.
- HVAC Supply Stores: Local suppliers often stock dehumidifier parts.
Avoid cheap knockoffs—they may not fit properly or could contain low-quality materials that harm your unit.
Conclusion
Changing the filter on your Soleus Air dehumidifier is a simple yet vital task that keeps your appliance running efficiently and your indoor air clean. By following this step-by-step guide, you’ve learned how to safely remove the old filter, clean the housing, install a new one, and reset the system—all in under 15 minutes.
Regular maintenance not only extends the life of your dehumidifier but also improves energy efficiency and air quality. Set a reminder to check your filter every few months, and you’ll enjoy fresher, drier air year-round.
Remember: a well-maintained dehumidifier is a happy dehumidifier. And a happy dehumidifier means a healthier, more comfortable home.