
Changing the pump in your DeLonghi dehumidifier may sound complex, but with the right tools and guidance, it’s a manageable DIY task. This guide walks you through every step—from diagnosing pump issues to safely installing a new one—so you can restore your unit’s performance and avoid costly service calls.
Quick Answers to Common Questions
Tip/Question?
How do I know if my DeLonghi dehumidifier has a pump?
Check your user manual or look for a drain hose connection on the back or side. If your model can drain continuously without manual emptying, it likely has an internal pump.
Tip/Question?
Can I use a universal pump instead of a DeLonghi part?
It’s not recommended. Universal pumps may not match the voltage, flow rate, or physical dimensions, leading to leaks or electrical issues. Always use a compatible OEM part.
Tip/Question?
How often should I replace the pump?
Pumps typically last 3–5 years with regular use. Replace it when you notice drainage problems, noise, or error codes—don’t wait for complete failure.
Tip/Question?
What if my dehumidifier doesn’t have a pump?
Some smaller models rely on gravity drainage only. In that case, the issue may be a clogged hose, full tank, or faulty float switch—not a pump.
Tip/Question?
Is it safe to run the dehumidifier without the pump?
No. If your model requires a pump for drainage, running it without one can cause water overflow, damage the unit, or create a slip hazard.
How to Change the Pump in My DeLonghi Dehumidifier
If your DeLonghi dehumidifier isn’t draining water properly, makes strange noises, or shows error codes related to water flow, the pump might be the culprit. While many users assume they need to replace the entire unit, the good news is that the pump—often a small, internal component responsible for moving collected water out of the tank—can usually be replaced at home. This comprehensive guide will walk you through the entire process of changing the pump in your DeLonghi dehumidifier, from diagnosing the problem to testing the new pump. With patience, basic tools, and this step-by-step guide, you can save money and extend the life of your appliance.
Why the Pump Matters in Your DeLonghi Dehumidifier
The pump in your DeLonghi dehumidifier plays a critical role in its operation. Unlike models that rely solely on gravity to drain water into a bucket, many DeLonghi units—especially larger or basement models—feature an internal pump that actively pushes water through a hose to a floor drain, sink, or outside. This allows for continuous operation without needing to empty a tank manually.
Over time, the pump can fail due to mineral buildup, wear and tear, or debris clogging the impeller. When this happens, you might notice:
– Water pooling in the tank despite the drain hose being connected
– Loud grinding or humming noises from the unit
– The dehumidifier shutting off unexpectedly
– Error codes like “E3” or “Pump Fault” on the display
Replacing the pump restores proper drainage, prevents water damage, and keeps your dehumidifier running efficiently. It’s a cost-effective repair that typically takes under an hour.
Tools and Materials You’ll Need
Before you begin, gather the following tools and materials to ensure a smooth repair process:
- Replacement pump (genuine DeLonghi part or compatible model—check your model number)
- Screwdrivers (Phillips and flathead)
- Needle-nose pliers
- Small container or towel (to catch any residual water)
- Flashlight (for better visibility inside the unit)
- Multimeter (optional, for testing electrical continuity)
- Work gloves (to protect your hands)
- Isopropyl alcohol and a soft cloth (for cleaning)
- Zip ties or cable clips (to secure hoses if needed)
Always verify your dehumidifier’s model number (usually found on a label on the back or bottom) before ordering a replacement pump. Using the correct part ensures compatibility and prevents damage.
Step 1: Safety First—Prepare Your Workspace
Safety is paramount when working with any electrical appliance. Follow these precautions before starting:
Unplug the Unit
Turn off the dehumidifier using the power button, then unplug it from the wall outlet. Never work on the unit while it’s plugged in—even if it appears off, residual power could pose a risk.
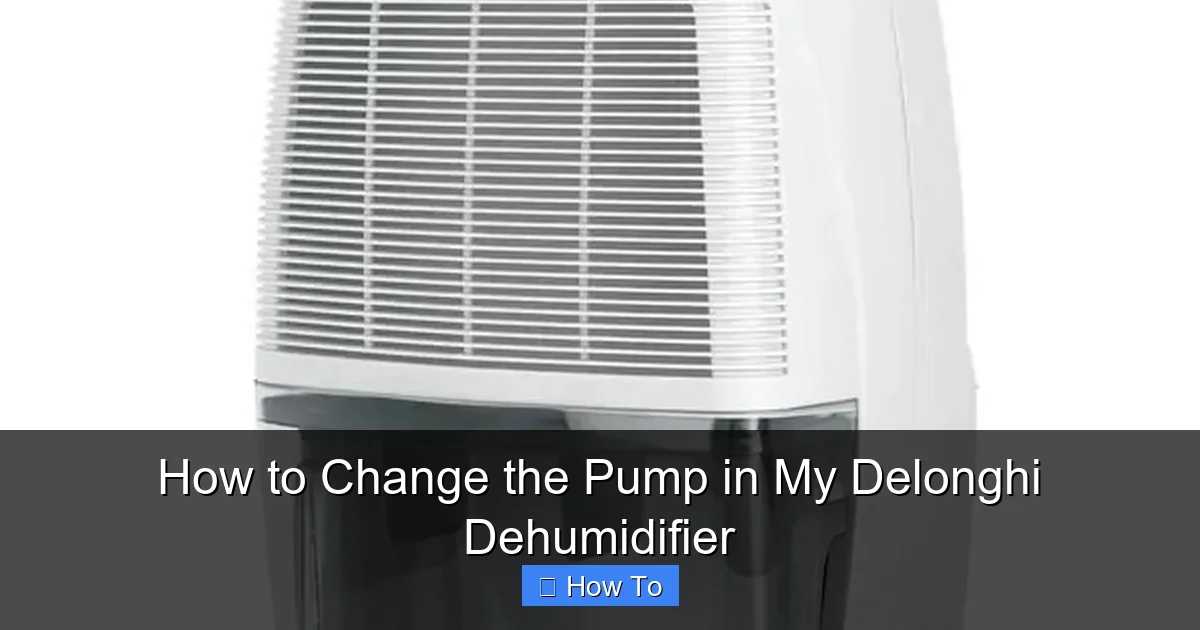
Visual guide about How to Change the Pump in My Delonghi Dehumidifier
Image source: i1.wp.com
Relieve Pressure and Drain Remaining Water
If your unit has a drain hose connected, disconnect it and allow any water in the line to drain into a bucket. Open the water tank and empty it completely. Some models have a small drain plug at the bottom—check your user manual. Wipe down the interior with a dry cloth to remove moisture.
Work in a Clean, Dry Area
Choose a flat, well-lit workspace like a garage or utility room. Lay down a clean towel or mat to protect the dehumidifier’s exterior and keep screws and small parts from rolling away.
Wear Protective Gear
Put on work gloves to protect your hands from sharp edges or residual water. Safety glasses are optional but recommended if you’re dealing with tight spaces or potential debris.
Step 2: Access the Pump Compartment
The pump is typically located near the bottom of the dehumidifier, often behind a rear or side panel. The exact access point varies by model, so consult your user manual if available. Here’s how to proceed:
Remove the Rear or Side Panel
Most DeLonghi dehumidifiers have a rear panel secured by 4–6 Phillips-head screws. Use your screwdriver to remove them carefully. Keep the screws in a small container so you don’t lose them. Gently pull the panel away from the unit—some models have clips in addition to screws, so avoid forcing it.
Locate the Pump Assembly
Once the panel is off, look for a small, cylindrical or rectangular component with two or more hoses connected to it. This is the pump. It’s usually mounted near the base and may be held in place by brackets or rubber grommets. Take a photo of the setup before disconnecting anything—this will help during reassembly.
Disconnect the Drain Hoses
Use needle-nose pliers to gently loosen any hose clamps (if present), then carefully pull the hoses off the pump inlet and outlet. Have a towel ready to catch any drips. Label the hoses with tape if they’re not clearly marked—this ensures you reconnect them correctly.
Step 3: Disconnect Electrical Connections
The pump is powered by a small electrical connector. Handle this step with care to avoid damaging wires or terminals.
Identify the Pump’s Wiring Harness
Look for a two- or three-pin connector plugged into the pump. It’s usually white or black and snaps into place. Do not pull on the wires—instead, squeeze the sides of the connector and gently wiggle it free.
Test the Pump (Optional)
If you have a multimeter, you can test the pump for continuity. Set the meter to ohms (Ω) and touch the probes to the pump’s terminals. A reading of 0–50 ohms typically indicates a working pump; infinite resistance suggests it’s faulty. This step confirms whether replacement is necessary.
Remove Mounting Hardware
The pump is often held in place by rubber mounts, screws, or clips. Use your screwdriver or pliers to remove these. Some models have a bracket that must be unscrewed first. Keep all hardware organized.
Step 4: Install the New Pump
With the old pump removed, it’s time to install the replacement. Follow these steps carefully to ensure a secure and leak-free installation.
Prepare the New Pump
Inspect the new pump for any protective caps or seals—remove them if present. Check that the inlet and outlet ports match the old pump’s configuration. If your replacement includes new hose connectors or gaskets, install them now.
Mount the Pump
Position the new pump in the same orientation as the old one. Secure it using the original mounting hardware—rubber grommets help reduce vibration and noise. Tighten screws gently to avoid cracking the pump housing.
Reconnect the Hoses
Slide the drain hoses back onto the pump’s inlet and outlet ports. Ensure they’re pushed on fully and secured with clamps if your model uses them. Double-check that the hoses aren’t kinked or twisted, as this can restrict water flow.
Reconnect the Electrical Connector
Plug the wiring harness into the new pump. You should hear a click when it’s properly seated. Give it a gentle tug to confirm it’s secure.
Step 5: Reassemble the Dehumidifier
Now that the new pump is installed, it’s time to put everything back together.
Replace the Access Panel
Align the rear or side panel with the unit and press it into place. Reinstall the screws and tighten them evenly—don’t overtighten, as this can strip the threads or crack the plastic.
Reconnect the Drain Hose
If you disconnected the external drain hose, reattach it to the outlet port on the pump or the unit’s exterior. Route it toward your drain point, ensuring it slopes downward for proper flow.
Replace the Water Tank
Slide the water tank back into its compartment. Make sure it seats properly and the float mechanism moves freely—this prevents overflow errors.
Step 6: Test the New Pump
Before considering the job complete, you must verify that the new pump is working correctly.
Plug In and Power On
Plug the dehumidifier back into the outlet and turn it on. Set it to a high humidity level (e.g., 60%) to encourage water production.
Monitor for 10–15 Minutes
Listen for the pump to activate once the tank begins to fill. You should hear a soft humming or whirring sound as it pumps water out through the hose. Check the drain hose outlet to confirm water is flowing.
Check for Leaks and Errors
Inspect all hose connections and the pump housing for leaks. If you see water dripping, tighten the connections or reseat the hoses. Also, watch the control panel for any error codes. If the unit runs smoothly without errors, the repair is successful.
Troubleshooting Common Issues
Even with careful installation, you might encounter problems. Here’s how to address them:
Pump Doesn’t Turn On
If the new pump doesn’t activate, double-check the electrical connection. Ensure the wiring harness is fully seated. Also, verify that the float switch in the water tank isn’t stuck in the “full” position—this can prevent the pump from running.
Water Leaks from Connections
Leaks usually result from loose or misaligned hoses. Turn off the unit, disconnect the hoses, and reattach them firmly. Use hose clamps if provided. Avoid over-tightening, which can crack plastic fittings.
Unusual Noises
A loud grinding or rattling sound may indicate the pump is running dry or the impeller is obstructed. Ensure the pump is submerged in water when activated. If noise persists, the pump may be defective—contact the manufacturer.
Error Codes Persist
If your dehumidifier still shows a pump error (e.g., E3), the issue might not be the pump itself. Check the control board, wiring, or sensor. In such cases, professional diagnosis may be needed.
Maintenance Tips to Prevent Future Pump Failures
Replacing the pump is only half the battle—keeping it in good condition ensures long-term reliability.
Clean the Water Tank Monthly
Mineral deposits and mold can clog the pump or float switch. Empty the tank, rinse it with warm water, and wipe it with a cloth dipped in a 50/50 vinegar-water solution. Rinse thoroughly.
Replace the Air Filter Regularly
A dirty filter reduces airflow, causing the unit to work harder and produce more condensation. This increases strain on the pump. Clean or replace the filter every 4–6 weeks, especially in dusty environments.
Use a Pre-Filter for Hard Water Areas
If you live in an area with hard water, consider installing an inline water filter on the drain hose. This reduces mineral buildup in the pump and hoses.
Inspect Hoses for Blockages
Every few months, disconnect the drain hose and flush it with water to remove debris or algae. Use a pipe cleaner if necessary.
Store Properly During Off-Seasons
If you don’t use your dehumidifier year-round, drain all water, clean the unit, and store it in a dry place. Run the pump briefly before the next use to lubricate internal parts.
When to Call a Professional
While changing the pump is a DIY-friendly task, some situations warrant professional help:
– You’re uncomfortable working with electrical components
– The pump is integrated into the control board or hard to access
– Multiple components (e.g., pump, sensor, board) appear faulty
– The unit is still under warranty (DIY repairs may void it)
If in doubt, contact DeLonghi customer support or a certified appliance technician. They can provide guidance or perform the repair safely.
Conclusion
Changing the pump in your DeLonghi dehumidifier is a practical and cost-effective way to restore functionality and avoid replacement costs. By following this guide—starting with safety, diagnosing the issue, and methodically replacing the pump—you can complete the repair in under an hour with basic tools. Remember to use genuine parts, test thoroughly, and maintain your unit regularly to prevent future failures. With a little patience and attention to detail, you’ll keep your dehumidifier running smoothly for years to come.