

Keeping your dehumidifier hose clean is essential for optimal performance and indoor air quality. Regular cleaning prevents clogs, mold growth, and unpleasant odors, ensuring your unit runs efficiently year-round.
Quick Answers to Common Questions
How often should I clean my dehumidifier hose?
Clean it every 1–3 months, depending on usage. High-humidity areas or daily use may require monthly cleaning.
Can I use bleach to clean the hose?
Avoid bleach if possible—it can damage rubber or plastic over time. Vinegar is safer and just as effective for most buildup.
What if my hose is permanently attached?
You can still clean it by flushing with vinegar solution and using a flexible brush or wet/dry vacuum to remove debris.
Why is my dehumidifier still leaking after cleaning?
Check for kinks, loose connections, or a damaged hose. Also, ensure the drain is lower than the unit for gravity drainage.
Can I use a dishwasher to clean the hose?
No—dishwashers use high heat and harsh detergents that can warp or degrade the hose material. Hand cleaning is best.
How to Clean a Dehumidifier Hose: A Complete Step-by-Step Guide
If you own a dehumidifier, you know how important it is for maintaining comfortable humidity levels in your home. But did you know that one of the most overlooked parts of dehumidifier maintenance is the drainage hose? Over time, this flexible tube can accumulate dirt, mold, mildew, and mineral deposits—especially if you’re using continuous drainage instead of the built-in water tank. A clogged or dirty hose not only reduces efficiency but can also lead to leaks, odors, and even mold spreading into your indoor air.
In this comprehensive guide, you’ll learn exactly how to clean a dehumidifier hose the right way. We’ll walk you through everything from safety precautions and tools needed to step-by-step cleaning methods, troubleshooting tips, and preventive maintenance. Whether you’re a first-time dehumidifier user or a seasoned homeowner, this guide will help you keep your unit running smoothly and your air fresh.
Why Cleaning Your Dehumidifier Hose Matters
Many people focus on emptying the water bucket or cleaning the air filter, but the drainage hose is just as important. Here’s why:
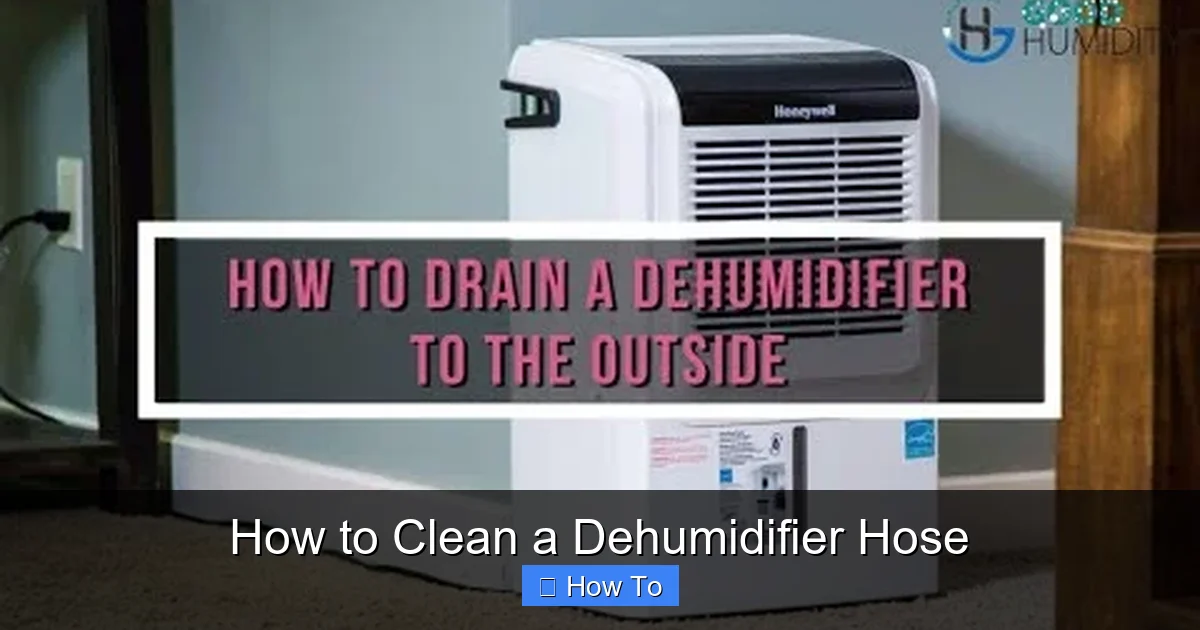
Visual guide about How to Clean a Dehumidifier Hose
Image source: i.ytimg.com
- Prevents clogs: Over time, sediment, algae, and mineral buildup can block the hose, causing water to back up and potentially damage your unit or floor.
- Reduces odors: Stagnant water in a dirty hose can produce a musty smell that spreads through your home.
- Stops mold and bacteria growth: Dark, damp environments are breeding grounds for mold and bacteria. Cleaning the hose eliminates these health hazards.
- Improves efficiency: A clean hose ensures smooth water flow, allowing your dehumidifier to work at peak performance.
- Extends appliance life: Regular maintenance reduces strain on the pump and motor, helping your dehumidifier last longer.
Think of the hose like the plumbing in your home—if it’s clogged, everything backs up. The same principle applies here. Cleaning it regularly is a small effort that pays big dividends.
When Should You Clean the Dehumidifier Hose?
There’s no one-size-fits-all answer, but here are some general guidelines:
- Every 1–3 months: If you use your dehumidifier daily, especially in humid climates or basements, clean the hose monthly.
- After long periods of non-use: If you store your dehumidifier over winter, clean the hose before and after storage.
- When you notice signs of trouble: Slow drainage, strange smells, or visible mold are red flags that it’s time to clean.
- Seasonal maintenance: Make hose cleaning part of your spring and fall cleaning routine.
Pro tip: Keep a maintenance log near your dehumidifier or set a calendar reminder. Consistency is key to preventing problems before they start.
Tools and Supplies You’ll Need
Before you begin, gather these items to make the process quick and safe:
- White vinegar (distilled is best)
- Warm water
- Soft-bristle brush (like a bottle brush or old toothbrush)
- Bucket or large container
- Clean cloth or sponge
- Gloves (optional, but recommended for hygiene)
- Hose clamp or zip tie (if your hose isn’t securely attached)
- Flashlight (to inspect the interior)
- Replacement hose (if the current one is damaged)
You don’t need expensive cleaners—vinegar is a natural disinfectant and descaler that works wonders on mineral deposits and organic growth. Avoid harsh chemicals like bleach unless absolutely necessary, as they can degrade rubber or plastic hoses over time.
Step-by-Step Guide to Cleaning Your Dehumidifier Hose
Step 1: Turn Off and Unplug the Dehumidifier
Safety first! Always unplug your dehumidifier from the electrical outlet before starting any maintenance. This prevents accidental shocks or damage to the unit. If your dehumidifier has been running recently, give it 10–15 minutes to cool down.
Pro tip: Label the plug or use a smart plug with a timer so you don’t accidentally turn it back on during cleaning.
Step 2: Locate and Disconnect the Drain Hose
Most dehumidifiers have a hose connected to the back or side of the unit, leading to a floor drain, sink, or condensate pump. Follow these steps:
- Gently pull the hose away from the dehumidifier. Some models have a quick-release fitting; others may require loosening a clamp.
- If the hose is routed through a wall or window, carefully remove it from the pathway.
- Place a towel or bucket underneath to catch any residual water.
Note: If your hose is permanently attached or hard to remove, you can still clean it in place using a flexible brush and flushing method (we’ll cover that later).
Step 3: Inspect the Hose for Damage
Before cleaning, check the hose for signs of wear:
- Cracks or splits: These can cause leaks and reduce suction.
- Kinks or bends: These restrict water flow and can weaken the hose over time.
- Discoloration or slime: Green, black, or slimy buildup indicates mold or algae.
- Loose connections: Make sure the hose fits snugly on both ends.
If you find significant damage, it’s time to replace the hose. Most manufacturers sell replacement parts, or you can use a standard vinyl or reinforced PVC hose of the same diameter (usually 1/2 inch or 5/8 inch).
Step 4: Prepare the Cleaning Solution
Mix a cleaning solution using:
- 1 part white vinegar
- 2 parts warm water
For example, use 1 cup vinegar and 2 cups water. Vinegar is acidic, which helps break down mineral deposits (like limescale) and kills up to 82% of mold species. It’s also safe for most hose materials.
Alternative: For heavy mold or stubborn grime, use undiluted vinegar or add a teaspoon of baking soda to create a fizzing reaction that lifts debris.
Step 5: Flush the Hose with the Cleaning Solution
There are two main methods—choose the one that works best for your setup:
Method A: Soak and Scrub (Best for Removable Hoses)
- Submerge the hose in a bucket filled with the vinegar solution. Let it soak for 30–60 minutes.
- Use a soft-bristle brush to gently scrub the inside of the hose. Insert the brush from one end and push it through, rotating as you go.
- For long hoses, use a flexible cleaning brush or attach a brush to a string and pull it through.
- Rinse the hose thoroughly with clean water to remove all vinegar residue.
Method B: Flush In Place (For Hard-to-Remove Hoses)
- Pour the vinegar solution into one end of the hose using a funnel.
- Let it sit for 30 minutes to dissolve buildup.
- Tilt the hose to help the solution flow through.
- Use a wet/dry vacuum or hand pump to suck the solution through the hose, pulling debris with it.
- Rinse by flushing with clean water until the runoff runs clear.
Pro tip: If you have a condensate pump, clean it separately according to the manufacturer’s instructions. A dirty pump can also cause drainage issues.
Step 6: Clean the Hose Connections and Fittings
Don’t forget the ends of the hose! Use a damp cloth or sponge to wipe down the connectors where the hose attaches to the dehumidifier and drain. These areas can collect dirt and mold too.
If the fittings are stiff or corroded, apply a small amount of silicone lubricant to keep them moving smoothly. Avoid petroleum-based lubricants, as they can degrade rubber.
Step 7: Rinse and Dry Thoroughly
After cleaning, rinse the hose with clean water until no vinegar smell remains. Shake it out to remove excess water, then hang it up to dry completely—preferably in a well-ventilated area or outdoors in the sun.
Why is drying important? Moisture left inside the hose can lead to mold regrowth. Make sure it’s 100% dry before reattaching.
Step 8: Reattach the Hose and Test the System
Once the hose is dry:
- Reconnect it securely to the dehumidifier and drain.
- Use a hose clamp or zip tie if needed to prevent leaks.
- Plug the dehumidifier back in and turn it on.
- Let it run for 10–15 minutes and check for proper drainage.
Watch for leaks, unusual noises, or slow drainage. If everything looks good, you’re all set!
Troubleshooting Common Hose Problems
Even with regular cleaning, issues can arise. Here’s how to handle them:
Problem: Water Isn’t Draining
Possible causes:
- Hose is kinked or blocked
- Drain is higher than the dehumidifier (gravity won’t work)
- Condensate pump is faulty
Solutions:
- Straighten the hose and ensure it’s not bent.
- Use a pump if the drain is elevated.
- Check the pump for clogs or electrical issues.
Problem: Hose Keeps Leaking
Possible causes:
- Loose connection
- Cracked hose
- Worn-out gasket or seal
Solutions:
- Tighten the connection or replace the clamp.
- Replace the hose if damaged.
- Check the dehumidifier’s outlet port for cracks.
Problem: Bad Odor Persists After Cleaning
Possible causes:
- Mold inside the dehumidifier’s internal tubing
- Dirty water tank (if used)
- Stagnant water in the drain line
Solutions:
- Clean the internal components or consider professional servicing.
- Wash the water tank with vinegar weekly.
- Install a one-way check valve to prevent backflow.
Preventive Maintenance Tips
Cleaning is easier when you prevent buildup in the first place. Try these tips:
- Use a hose with antimicrobial coating: These resist mold and algae growth.
- Install a filter at the hose inlet: A small mesh filter catches debris before it enters the hose.
- Elevate the hose slightly: Create a gentle downward slope to improve drainage.
- Use a condensate pump: Ideal for basements or areas without floor drains.
- Run the dehumidifier regularly: Stagnant water invites mold—keep the system active.
When to Replace the Hose
No hose lasts forever. Replace it if you notice:
- Frequent clogs despite cleaning
- Brittle or cracked material
- Persistent odors that won’t go away
- Leaks that can’t be fixed with clamps
Most hoses last 2–5 years, depending on usage and water quality. Keep a spare on hand for emergencies.
Conclusion
Cleaning your dehumidifier hose might not be the most exciting chore, but it’s one of the most important. A clean hose ensures efficient drainage, prevents mold and odors, and helps your dehumidifier last longer. By following this guide, you’ll keep your unit in top shape and your home’s air quality high.
Remember: Regular maintenance is always easier than emergency repairs. Set a reminder, gather your supplies, and make hose cleaning a routine part of your dehumidifier care. Your lungs—and your floors—will thank you.