

Cleaning your dehumidifier regularly ensures it works efficiently and lasts longer. This guide walks you through every step, from unplugging the unit to reassembling it safely, with tips to avoid common mistakes.
Quick Answers to Common Questions
How often should I clean my dehumidifier?
Clean the water tank weekly and the air filter monthly. Do a full deep clean every 2–3 months or more often in high-humidity environments.
Can I use bleach to clean the water tank?
No, avoid bleach. It can leave harmful residues and damage plastic parts. Use mild soap or white vinegar instead.
What if my dehumidifier still smells after cleaning?
Run a vinegar rinse weekly and ensure all parts dry completely. Persistent odors may indicate hidden mold—consider a professional inspection.
Do I need to clean the coils every time?
Not necessarily. Clean the coils every 3–6 months or if you notice reduced efficiency or dust buildup.
Where can I find model-specific cleaning videos?
Search youtube.com using your dehumidifier’s brand and model number (e.g., “cleaning Honeywell dehumidifier HD-50”) for visual guides.
How to Clean a Dehumidifier: A Complete Step-by-Step Guide
If you’ve noticed your dehumidifier isn’t working as well as it used to—maybe it’s louder, less efficient, or giving off a musty smell—it’s probably time for a thorough cleaning. Just like any other appliance, dehumidifiers need regular maintenance to perform at their best. Over time, dust, mold, and mineral deposits can build up inside, reducing efficiency and even posing health risks.
The good news? Cleaning your dehumidifier is easier than you might think. With a few simple tools and about 30 to 45 minutes of your time, you can restore your unit to peak performance. And if you’re a visual learner, platforms like youtube.com offer helpful video tutorials that walk you through the process step by step.
In this guide, we’ll show you exactly how to clean a dehumidifier safely and effectively. Whether you have a small portable unit or a larger basement model, these steps apply to most standard dehumidifiers. We’ll cover everything from unplugging the machine to reassembling it, plus tips for preventing future buildup. Let’s get started!
Why Cleaning Your Dehumidifier Matters
Before diving into the cleaning process, it’s important to understand why this task is so essential. A dirty dehumidifier doesn’t just work less efficiently—it can also become a breeding ground for mold, bacteria, and allergens.
When moisture collects in the water tank or on internal components, it creates the perfect environment for microbial growth. If left unchecked, these contaminants can be blown back into your home’s air, worsening allergies or respiratory issues. Additionally, clogged filters and dusty coils force the motor to work harder, increasing energy use and potentially shortening the lifespan of your unit.
Regular cleaning—ideally every 2–4 weeks during heavy use—helps prevent these problems. It also ensures your dehumidifier removes moisture effectively, protecting your home from mold, mildew, and structural damage caused by excess humidity.
What You’ll Need
Gather these supplies before you begin:
- Soft cloth or sponge
- Mild dish soap
- White vinegar (optional, for tough stains or odors)
- Soft-bristled brush (like an old toothbrush)
- Vacuum cleaner with a brush attachment
- Bucket of warm water
- Replacement air filter (if needed)
- Gloves (optional, for protection)
Avoid using abrasive cleaners, bleach, or harsh chemicals, as they can damage plastic parts or leave harmful residues.
Step 1: Turn Off and Unplug the Unit
Safety first! Before touching any part of your dehumidifier, make sure it’s completely powered down.
Unplug from the Wall
Locate the power cord and unplug it from the electrical outlet. Never clean a plugged-in appliance—even if it’s turned off—because internal components may still hold a charge.
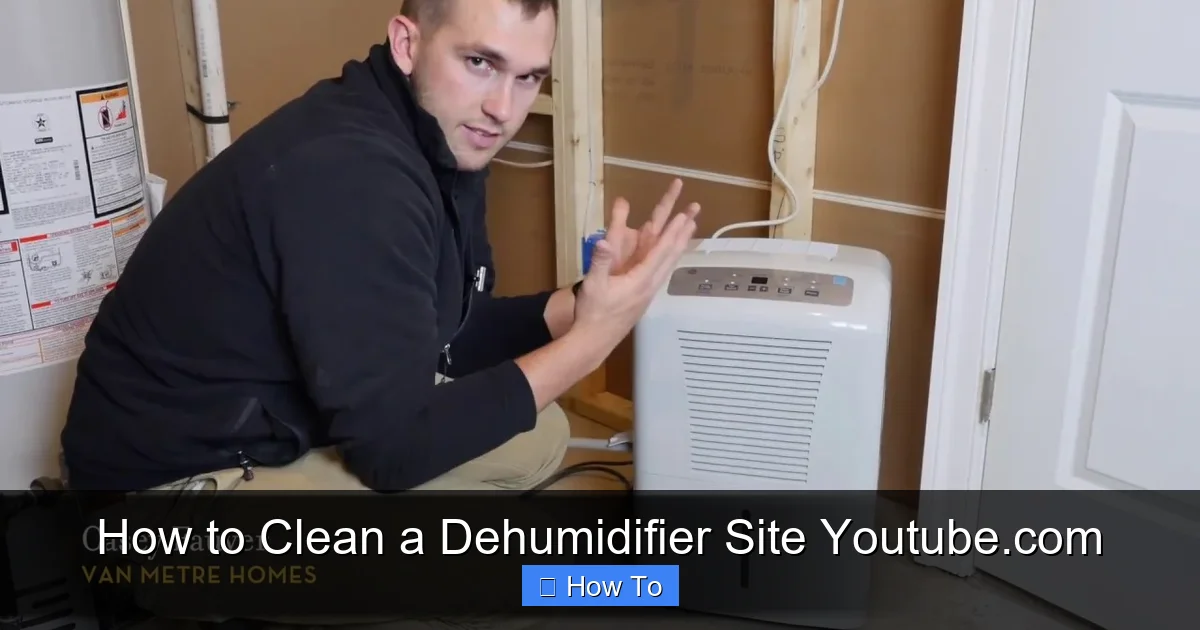
Visual guide about How to Clean a Dehumidifier Site Youtube.com
Image source: i.ytimg.com
Let It Cool Down
If the dehumidifier has been running recently, give it 10–15 minutes to cool off. Hot components can be fragile and may warp if cleaned while warm.
Move to a Safe Cleaning Area
If possible, move the unit to a well-ventilated area like a garage, basement, or outdoor space. This makes cleanup easier and prevents water from spilling on carpets or floors.
Step 2: Remove and Empty the Water Tank
The water collection tank is one of the most important parts to clean regularly.
Locate the Tank
Most dehumidifiers have a front or side-mounted tank that slides out easily. Look for a handle or release button.
Empty the Water
Pour out any remaining water into a sink or drain. If the tank has been sitting for a while, you might notice slime or a foul odor—this is a sign it needs a deep clean.
Rinse Thoroughly
Rinse the tank with warm water to remove loose debris. For stubborn grime or odors, fill the tank halfway with warm water and add a tablespoon of mild dish soap. Swish it around, then rinse completely.
Disinfect with Vinegar (Optional)
For extra sanitizing power, mix equal parts white vinegar and water. Let the solution sit in the tank for 10–15 minutes, then rinse thoroughly. Vinegar naturally kills mold and bacteria without harsh fumes.
Let It Dry
Place the tank upside down on a clean towel to air dry completely before reinserting. Never reassemble a wet tank—it can promote mold growth.
Step 3: Clean the Air Filter
The air filter traps dust, pet dander, and other particles. A clogged filter restricts airflow, making your dehumidifier work harder.
Locate the Filter
The filter is usually behind a front or side grille. Some models have a removable panel; others require you to slide out the filter tray.
Remove the Filter
Gently pull the filter out. If it’s a reusable foam or mesh type, proceed to cleaning. If it’s a disposable paper filter, check the manufacturer’s instructions—some can be vacuumed, while others must be replaced.
Vacuum Loose Debris
Use a vacuum cleaner with a brush attachment to remove surface dust. Hold the filter over a trash can to avoid spreading dirt.
Wash the Filter (If Reusable)
Rinse the filter under lukewarm water. If it’s very dirty, soak it in a mixture of warm water and mild soap for 10 minutes. Gently scrub with a soft brush if needed.
Rinse and Dry
Rinse thoroughly to remove all soap residue. Shake off excess water and let the filter air dry completely—never reinstall a damp filter.
Replace If Necessary
If the filter is torn, brittle, or heavily stained, it’s time for a new one. Check your user manual for the correct replacement part number.
Step 4: Wipe Down the Exterior
While the interior components are the most critical, don’t forget the outside of your dehumidifier.
Use a Damp Cloth
Wipe down the plastic casing with a soft cloth dampened with warm, soapy water. Avoid spraying water directly onto the unit.
Clean Vents and Grilles
Use a dry toothbrush or vacuum brush attachment to remove dust from air intake and exhaust vents. Blocked vents reduce efficiency and can cause overheating.
Dry Thoroughly
Wipe the exterior with a dry cloth to prevent water spots or moisture buildup.
Step 5: Clean the Coils and Internal Components
The evaporator and condenser coils are essential for removing moisture from the air. Over time, they collect dust and debris, which insulates the coils and reduces heat transfer.
Access the Coils
Depending on your model, you may need to remove a front panel or side cover. Refer to your user manual or search for a disassembly video on youtube.com for your specific brand (e.g., “how to open Frigidaire dehumidifier”).
Vacuum the Coils
Use a vacuum with a soft brush attachment to gently remove loose dust from the coils. Be careful—the fins are delicate and can bend easily.
Use a Coil Brush (Optional)
For deeper cleaning, use a specialized coil brush (available at hardware stores) to gently scrub between the fins. Move in the direction of the fins to avoid damage.
Check for Frost or Ice Buildup
If you notice frost on the coils, it could indicate a refrigerant issue or dirty coils. Clean thoroughly and monitor performance. If frost returns quickly, consult a technician.
Clean the Fan Blades
If accessible, wipe the fan blades with a damp cloth. Dust buildup can unbalance the fan and cause noise or vibration.
Step 6: Inspect and Clean the Humidistat and Sensors
The humidistat measures indoor humidity levels and tells the dehumidifier when to turn on or off. Dust or moisture can interfere with its accuracy.
Locate the Sensor
The humidistat is usually near the air intake. It may look like a small metal plate or sensor probe.
Gently Wipe with a Dry Cloth
Use a dry, lint-free cloth to wipe the sensor. Do not use water or cleaning solutions—moisture can damage electronic components.
Check for Obstructions
Ensure nothing is blocking the sensor, such as dust buildup or nearby objects. Even small obstructions can affect readings.
Step 7: Reassemble the Dehumidifier
Once all parts are clean and dry, it’s time to put everything back together.
Reinsert the Filter
Place the clean, dry filter back into its housing. Make sure it’s seated properly and not folded or crumpled.
Replace the Water Tank
Slide the dry tank back into place until it clicks or locks securely.
Reattach Panels and Covers
If you removed any exterior panels, screw or snap them back into place. Ensure all fasteners are tight but not over-tightened.
Double-Check Connections
Make sure no wires or hoses were disconnected during cleaning. If you’re unsure, consult your manual or a youtube.com tutorial for your model.
Step 8: Test the Unit
Before considering the job done, run a quick test to ensure everything works correctly.
Plug In and Turn On
Plug the dehumidifier back into the outlet and turn it on. Set the humidity level to a moderate setting (e.g., 50%).
Listen for Normal Operation
The fan should run smoothly, and the compressor should kick on after a few minutes. Unusual noises like grinding or rattling may indicate a problem.
Check for Leaks
After 15–20 minutes, inspect the area around the unit for water leaks. If the tank is full or the drain hose (if applicable) is clogged, it could overflow.
Monitor Performance
Over the next 24 hours, check if the unit is effectively reducing humidity. If it’s still struggling, revisit the cleaning steps or consider professional servicing.
Troubleshooting Common Issues After Cleaning
Even after a thorough cleaning, you might encounter a few hiccups. Here’s how to address them:
Unit Won’t Turn On
Double-check that it’s plugged in and the power switch is on. If it still doesn’t start, inspect the circuit breaker or try a different outlet.
Water Tank Keeps Overflowing
This could mean the auto-shutoff sensor is dirty or malfunctioning. Clean the tank sensor (usually a small float or probe) with a dry cloth. If the problem persists, the sensor may need replacement.
Strange Odors Persist
If musty smells remain, mold may be growing inside hidden areas. Run a vinegar solution through the tank weekly, and consider using an antimicrobial dehumidifier cleaner.
Reduced Airflow
Check that the filter is clean and properly installed. Also, ensure vents aren’t blocked by furniture or curtains.
Excessive Noise
Loose panels, unbalanced fan blades, or debris in the motor housing can cause noise. Tighten screws and recheck internal components.
Maintenance Tips to Keep Your Dehumidifier Running Smoothly
Cleaning doesn’t have to be a chore if you stay on top of maintenance. Follow these tips to extend the life of your unit:
- Clean the tank weekly during humid months to prevent mold.
- Replace or clean the filter monthly, or more often if you have pets or allergies.
- Keep the area around the dehumidifier clear—at least 6 inches of space on all sides for proper airflow.
- Use a drain hose for continuous drainage if your model supports it, reducing the need to empty the tank.
- Store properly during off-seasons—clean thoroughly, dry all parts, and cover with a breathable cloth.
- Watch youtube.com tutorials for model-specific cleaning tips and troubleshooting.
When to Call a Professional
While most cleaning tasks can be done at home, some issues require expert attention. Contact a technician if:
- The unit leaks refrigerant (you’ll notice oily residue or hissing sounds).
- The compressor fails to start despite proper cleaning and power supply.
- You smell burning or see smoke.
- The dehumidifier trips the circuit breaker repeatedly.
- You’re uncomfortable disassembling internal components.
Regular DIY cleaning can prevent many of these problems, but don’t hesitate to seek help when needed.
Conclusion
Cleaning your dehumidifier is a simple yet powerful way to protect your home’s air quality, save energy, and extend the life of your appliance. By following this step-by-step guide—and supplementing your learning with videos from youtube.com—you can keep your unit in top condition year after year.
Remember: safety first, consistency matters, and a little maintenance goes a long way. Whether you’re tackling a slimy tank or dust-clogged coils, taking the time to clean your dehumidifier pays off in better performance and peace of mind.
So grab your supplies, watch a quick tutorial if needed, and give your dehumidifier the care it deserves. Your home—and your health—will thank you.