

Discover how to thoroughly clean your Frigidaire dehumidifier FFAD5033R1A0 when mold is present. This guide walks you through safe mold removal, deep cleaning, and preventive maintenance to keep your unit running efficiently and your air healthy.
Quick Answers to Common Questions
Should I use bleach to clean mold in my dehumidifier?
Yes, but dilute it properly—use 1 part bleach to 10 parts water. Always rinse thoroughly and ensure the unit is completely dry before reassembly to avoid chemical residue.
How often should I clean my Frigidaire dehumidifier?
Clean the water bucket and filter monthly. Deep clean the interior every 3–6 months, or immediately if you notice mold or odors.
Can I run my dehumidifier after cleaning if parts are still damp?
No. Always ensure all components are completely dry before reassembling and plugging in the unit. Moisture can cause mold to return or damage electrical parts.
What if I can’t remove the drain pan?
Clean it in place using a spray bottle and soft brush. Tilt the unit slightly (if safe) to help water and cleaner reach hidden areas.
Is it safe to clean mold without a mask?
No. Always wear an N95 mask or respirator when cleaning mold to avoid inhaling spores, which can cause respiratory issues.
How to Clean a Frigidaire Dehumidifier FFAD5033R1A0 with Mold
If you’ve noticed a musty smell, visible black or green spots, or reduced performance from your Frigidaire dehumidifier FFAD5033R1A0, mold may be the culprit. Mold thrives in damp, dark environments—exactly the kind of conditions a dehumidifier creates when not properly maintained. The good news? Cleaning mold from your dehumidifier is entirely doable with the right tools, techniques, and safety precautions.
In this comprehensive guide, you’ll learn how to safely and effectively clean mold from your Frigidaire FFAD5033R1A0 dehumidifier. We’ll walk you through every step—from unplugging the unit to reassembling it—and share expert tips to prevent mold from coming back. Whether you’re dealing with a small patch or a full-blown infestation, this guide will help you restore your dehumidifier to peak performance and improve your indoor air quality.
Why Mold Grows in Dehumidifiers
Before diving into the cleaning process, it’s helpful to understand why mold appears in dehumidifiers in the first place. The Frigidaire FFAD5033R1A0 is designed to pull moisture from the air, which it collects in a removable water bucket. While this process reduces humidity, it also creates a perfect breeding ground for mold if moisture isn’t managed properly.
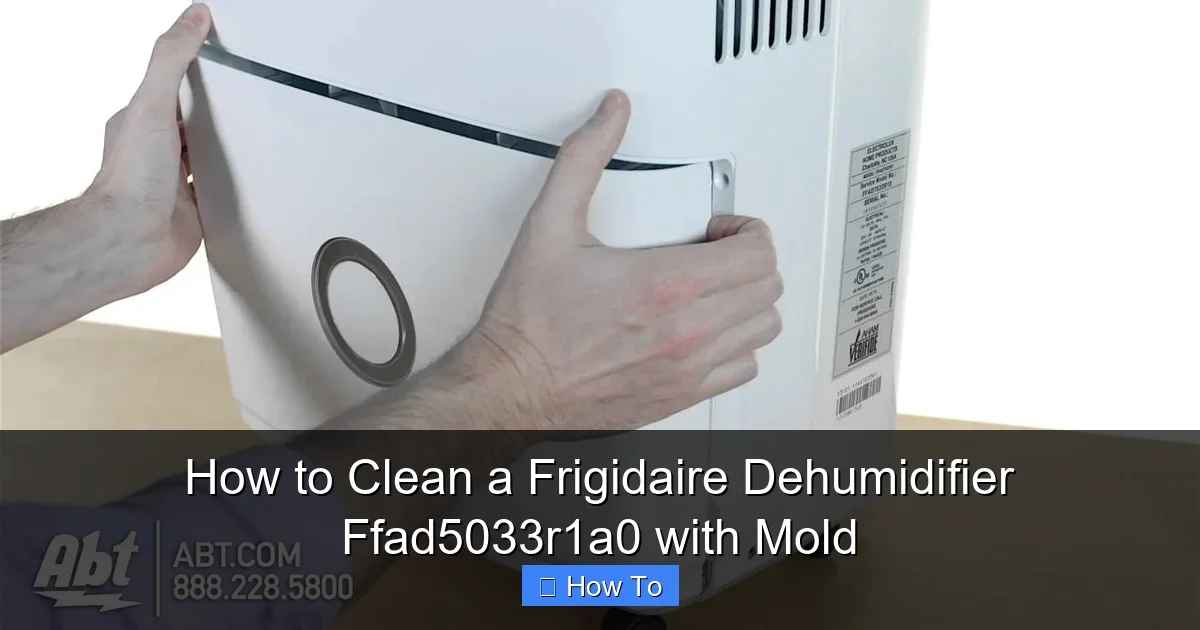
Visual guide about How to Clean a Frigidaire Dehumidifier Ffad5033r1a0 with Mold
Image source: i.ytimg.com
Mold spores are everywhere—floating in the air, settling on surfaces, and waiting for the right conditions to grow. When your dehumidifier’s water tank isn’t emptied regularly, or when the unit isn’t cleaned for months, stagnant water and trapped dust create an ideal environment for mold. Over time, this mold can spread to internal components like the evaporator coils, air filter, and drain pan, leading to unpleasant odors, reduced efficiency, and potential health risks.
Additionally, if your dehumidifier runs in a basement, laundry room, or other high-humidity area with poor ventilation, the risk of mold growth increases. That’s why regular maintenance isn’t just about performance—it’s about health and safety.
What You’ll Need
Before you begin, gather the following supplies to ensure a smooth and safe cleaning process:
- Rubber gloves (preferably nitrile)
- N95 mask or respirator
- Safety goggles
- White vinegar or mild bleach solution (1 part bleach to 10 parts water)
- Soft-bristled brush or old toothbrush
- Microfiber cloths or clean rags
- Spray bottle
- Mild dish soap
- Bucket or sink for rinsing
- Hairdryer (optional, for drying)
- Replacement air filter (if needed)
Having these items ready will help you clean thoroughly without interruptions. Safety gear is especially important when dealing with mold, as disturbing it can release spores into the air.
Step 1: Safety First – Unplug and Prepare
Never attempt to clean your dehumidifier while it’s plugged in. Start by turning off the unit and unplugging it from the wall outlet. This prevents electrical shock and ensures you can work safely.
Next, move the dehumidifier to a well-ventilated area—preferably outdoors or in a garage—where you can clean it without spreading mold spores indoors. If you must clean it inside, open windows and use a fan to improve airflow.
Put on your gloves, mask, and goggles. Mold spores can irritate your skin, eyes, and lungs, so protection is essential. If you’re sensitive to mold or have allergies, consider wearing a full-face respirator for extra safety.
Tip: Work in Short Sessions
If the mold growth is extensive, break the cleaning process into shorter sessions to avoid fatigue and reduce exposure. Take breaks in fresh air if needed.
Step 2: Remove the Water Bucket and Empty It
The water bucket is the most common place for mold to grow. Start by removing the bucket from the front of the dehumidifier. It should slide out easily—just lift and pull.
Empty any remaining water into a sink or drain. Then, inspect the inside of the bucket for slimy residue, dark spots, or a musty smell. These are all signs of mold.
Clean the Bucket Thoroughly
Fill the bucket with warm water and add a few drops of dish soap. Use a soft brush or sponge to scrub the interior, paying special attention to the corners and spout where water tends to pool. Rinse well.
For stubborn mold, mix a solution of 1 part white vinegar to 1 part water (or 1 part bleach to 10 parts water). Pour it into the bucket, let it sit for 15–20 minutes, then scrub again. Vinegar is a natural disinfectant and deodorizer, while bleach kills mold spores effectively. Just be sure to rinse thoroughly afterward to remove any chemical residue.
Once clean, dry the bucket completely with a clean towel or let it air dry upside down. Never reinsert a damp bucket—moisture encourages mold to return.
Step 3: Remove and Clean the Air Filter
The air filter in your Frigidaire FFAD5033R1A0 traps dust, pollen, and other particles. Over time, it can become clogged with debris and develop mold, especially if it stays damp.
Locate the filter—it’s usually behind a front grille or panel. On the FFAD5033R1A0, the filter is accessible by pulling out the front cover. Gently remove the filter and inspect it. If it’s visibly dirty, discolored, or smells musty, it needs cleaning or replacement.
Wash or Replace the Filter
If the filter is washable (check your user manual to confirm), rinse it under lukewarm water. Use a soft brush to remove embedded dirt. Avoid hot water, as it can damage the filter material.
For moldy filters, soak them in a vinegar-water solution (1:1 ratio) for 15–20 minutes, then rinse thoroughly. Let the filter air dry completely—this may take several hours. Never reinstall a wet filter, as it can promote mold growth and reduce airflow.
If the filter is damaged, excessively dirty, or non-washable, replace it with a new one. Frigidaire recommends replacing the filter every 6–12 months, or more often if you live in a humid or dusty environment.
Tip: Mark Your Calendar
Set a reminder on your phone or calendar to check and clean the filter every month. This simple habit can prevent mold and keep your dehumidifier running efficiently.
Step 4: Access the Interior Components
To clean mold from inside the dehumidifier, you’ll need to access the internal parts. The Frigidaire FFAD5033R1A0 has a removable front panel and access to the evaporator coils and drain pan.
Start by removing the front grille or cover. On most models, this involves unscrewing a few screws or pressing release tabs. Refer to your user manual if you’re unsure. Once the panel is off, you should see the evaporator coils—these are the finned, metallic components that look like a car radiator.
Behind the coils is the drain pan, which collects water before it flows into the bucket. This area is a prime spot for mold because it stays wet and is often overlooked.
Inspect for Mold
Use a flashlight to look for black, green, or white fuzzy growth on the coils, drain pan, or surrounding areas. Mold may appear as spots, streaks, or a slimy film. If you see any, proceed with cleaning immediately.
Be gentle when handling the coils—they’re delicate and can bend easily. Avoid using sharp tools or excessive force.
Step 5: Clean the Evaporator Coils
The evaporator coils are critical to your dehumidifier’s performance. When mold grows on them, it insulates the coils and reduces efficiency. Cleaning them properly is essential.
Use a Coil Cleaner or Vinegar Solution
Spray a coil cleaner (available at hardware stores) or a mixture of equal parts white vinegar and water onto the coils. Let it sit for 10–15 minutes to loosen mold and grime.
Then, use a soft-bristled brush or toothbrush to gently scrub the fins. Work in the direction of the fins to avoid bending them. Focus on areas with visible mold or buildup.
Rinse the coils with a damp cloth or sponge—do not use a high-pressure hose, as this can damage the fins. Wipe away any residue and allow the coils to air dry completely.
Tip: Prevent Bending
If you accidentally bend a fin, use a fin comb (available online or at appliance stores) to straighten it. Bent fins restrict airflow and reduce efficiency.
Step 6: Clean the Drain Pan and Interior
The drain pan sits beneath the coils and collects water that drips during operation. It’s often dark, damp, and full of debris—perfect for mold.
Remove and Scrub the Drain Pan
If possible, carefully remove the drain pan. Some models allow it to slide out; others may require unscrewing. If it’s not removable, clean it in place.
Scrub the pan with a vinegar solution and a soft brush. Pay attention to corners and drain holes, where mold tends to hide. Rinse thoroughly and dry with a clean cloth.
While the pan is out, wipe down the surrounding interior with a damp cloth and mild soap. Remove any dust, dirt, or mold you find. Use a toothbrush for tight spaces.
Check the Drain Hose
If your dehumidifier has a continuous drain hose, inspect it for clogs or mold. Flush it with vinegar or warm soapy water to clear any buildup. Ensure it’s securely connected and not kinked.
Step 7: Reassemble the Dehumidifier
Once all components are clean and completely dry, it’s time to put your dehumidifier back together.
Start by reinserting the drain pan (if removed), then replace the evaporator coils if they were moved. Reattach the front panel or grille, securing it with screws or clips.
Next, reinstall the air filter. Make sure it’s seated properly and facing the correct direction (check the arrows on the filter frame).
Finally, place the clean, dry water bucket back into the unit. Ensure it clicks into place and is level.
Double-Check Everything
Before plugging in the dehumidifier, do a quick visual inspection. Make sure no tools or cloths are left inside, all parts are secure, and nothing is blocking the airflow.
Step 8: Test the Unit
Plug the dehumidifier back in and turn it on. Set it to your desired humidity level and listen for normal operation. The fan should run smoothly, and the compressor should kick on after a few minutes.
Check for leaks, unusual noises, or odors. If you notice a musty smell, mold may still be present—repeat the cleaning process or consider professional help.
Let the unit run for a few hours and monitor the water bucket. It should begin collecting water as expected. If not, there may be an issue with the coils, filter, or drainage system.
Troubleshooting Common Issues
Even after a thorough cleaning, you might encounter problems. Here’s how to address common issues:
Dehumidifier Won’t Turn On
Check the power cord, outlet, and circuit breaker. Ensure the water bucket is properly seated—many units have a safety switch that prevents operation if the bucket is missing or misaligned.
No Water in the Bucket
This could mean the coils are frozen (common in cold environments) or the filter is clogged. Turn off the unit, let it thaw, clean the filter, and ensure proper airflow.
Musty Odor Persists
If the smell remains after cleaning, mold may be deep inside the unit. Consider using an HVAC-safe mold remover spray or consult a professional technician.
Leaking Water
Check the bucket for cracks, ensure the drain hose is connected properly, and verify that the unit is level. A tilted dehumidifier can cause water to spill.
How to Prevent Mold in the Future
Cleaning mold is important, but prevention is even better. Follow these tips to keep your Frigidaire FFAD5033R1A0 mold-free:
- Empty the water bucket daily—even if it’s not full. Standing water invites mold.
- Clean the unit monthly—wipe down the exterior, clean the filter, and inspect for mold.
- Use the auto-humidistat—set it to 30–50% humidity to avoid overworking the unit.
- Run the dehumidifier in well-ventilated areas—avoid enclosed spaces with poor airflow.
- Use a dehumidifier with a built-in pump—if you frequently deal with high moisture, consider upgrading to a model with a continuous drain option.
- Store properly during off-seasons—clean thoroughly, dry all parts, and store in a dry place.
Conclusion
Cleaning mold from your Frigidaire dehumidifier FFAD5033R1A0 may seem daunting, but with the right approach, it’s a manageable task that pays off in better performance and healthier air. By following this step-by-step guide—focusing on safety, thorough cleaning, and preventive care—you can eliminate mold and extend the life of your unit.
Remember, mold thrives on neglect. Regular maintenance is the best defense. Empty the bucket, clean the filter, and inspect the interior monthly. Your dehumidifier will work more efficiently, your home will smell fresher, and you’ll breathe easier knowing your air is clean.
Don’t wait until mold takes over—take action today. Your Frigidaire FFAD5033R1A0 deserves it, and so do you.