
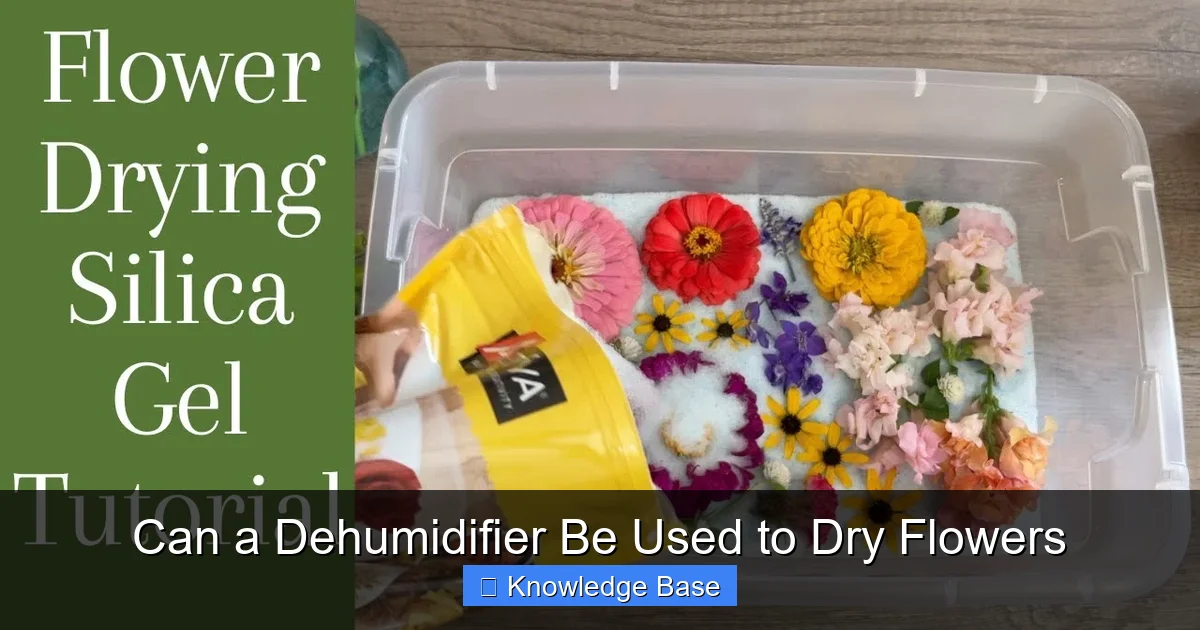
Yes, a dehumidifier can be used to dry flowers effectively—especially when combined with proper airflow and preparation. This method gently removes moisture over time, helping preserve vibrant colors and natural shapes better than some traditional techniques.
Key Takeaways
- Dehumidifiers work by reducing humidity: They pull moisture from the air, creating an environment where flowers naturally lose water through evaporation.
- Best for delicate or moisture-rich blooms: Flowers like hydrangeas, roses, and zinnias respond well to dehumidifier drying due to their high water content.
- Requires airflow and space: Simply placing flowers near a dehumidifier isn’t enough—proper spacing and air circulation are essential.
- Preserves color and structure better than air-drying: Slow, controlled drying helps retain pigments and prevents brittleness.
- Not ideal for all flower types: Thin-petaled or very fragile blooms may collapse; research your specific flower first.
- Energy-efficient compared to ovens or microwaves: Uses less electricity than heat-based methods and reduces risk of scorching.
- Patience is key: Drying can take 1–3 weeks depending on flower size and humidity levels.
Quick Answers to Common Questions
Can I dry flowers in a dehumidifier without a fan?
Yes, but airflow helps speed up drying and prevents mold. A small fan on low can improve circulation, especially in enclosed spaces.
How long does it take to dry flowers in a dehumidifier?
Most flowers take 1–3 weeks, depending on size, moisture content, and humidity levels. Check every few days for dryness.
Will my dehumidifier get damaged from drying flowers?
No, as long as petals or debris don’t clog the air intake. Keep flowers away from the machine and clean the filter regularly.
Can I dry flowers with leaves on?
It’s best to remove lower leaves to prevent mold. Leaves dry slower than petals and can trap moisture.
Do I need a special dehumidifier for drying flowers?
Any standard residential dehumidifier works. Look for one with a humidistat to maintain consistent humidity levels.
📑 Table of Contents
- Introduction: The Art and Science of Drying Flowers
- How Dehumidifiers Work—and Why They’re Great for Drying Flowers
- Which Flowers Work Best with a Dehumidifier?
- Step-by-Step Guide: How to Dry Flowers Using a Dehumidifier
- Tips for Success: Getting the Best Results
- Pros and Cons of Using a Dehumidifier to Dry Flowers
- Alternative Drying Methods: How Does It Compare?
- Conclusion: A Modern Solution for a Timeless Craft
Introduction: The Art and Science of Drying Flowers
There’s something deeply satisfying about preserving the beauty of fresh flowers long after their bloom has faded. Whether it’s a bouquet from a special occasion, a favorite garden bloom, or a sentimental gift, dried flowers offer a lasting keepsake that carries emotion and memory. Over the years, people have used various methods to dry flowers—hanging them upside down, pressing them between books, using silica gel, or even microwaving them. But in recent years, a new (and surprisingly effective) technique has emerged: using a dehumidifier.
You might be wondering, “Wait—can a dehumidifier really dry flowers?” The short answer is yes. But it’s not as simple as tossing your roses next to the machine and walking away. Like any preservation method, success depends on understanding how the process works, preparing your flowers correctly, and giving them the right environment to dry slowly and evenly.
In this guide, we’ll explore exactly how dehumidifiers can be used to dry flowers, why this method is gaining popularity, which flowers work best, and how to do it step by step. Whether you’re a hobbyist, a crafter, or someone who simply loves keeping floral memories alive, this method could be a game-changer for your drying routine.
How Dehumidifiers Work—and Why They’re Great for Drying Flowers
Visual guide about Can a Dehumidifier Be Used to Dry Flowers
Image source: moisturecurecommercial.com.au
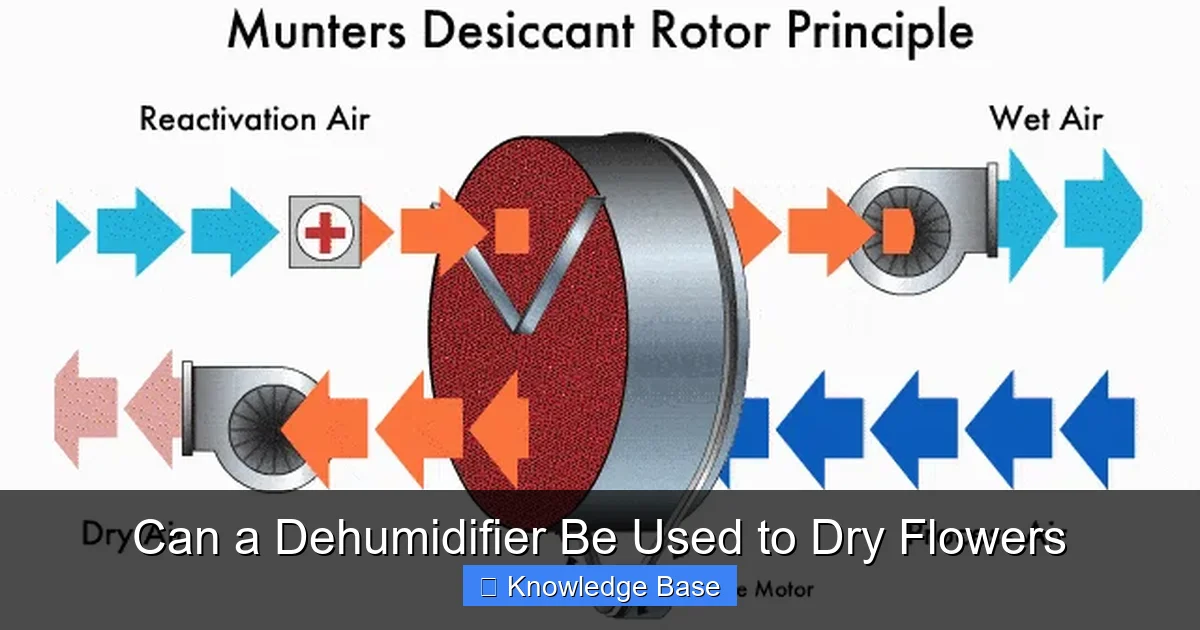
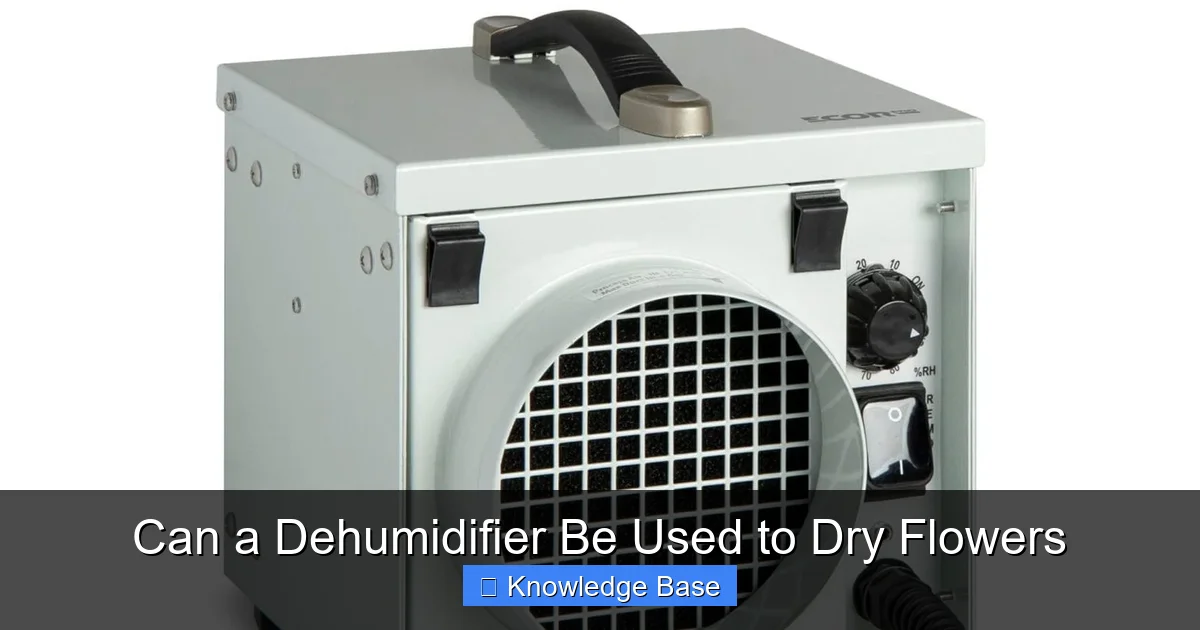
Before diving into the practical steps, it helps to understand what a dehumidifier actually does. At its core, a dehumidifier is designed to reduce moisture in the air. It pulls in humid air, passes it over cold coils to condense the water vapor into liquid, collects that water in a tank, and then releases dry, warm air back into the room. This cycle continuously lowers the relative humidity in a space.
Now, how does this help with drying flowers? Flowers contain a significant amount of water—sometimes up to 80% of their weight. When you cut a flower, it begins to lose moisture naturally through evaporation. In a normal room, this process can take days or even weeks, and the result is often uneven drying, mold growth, or color fading. But in a low-humidity environment created by a dehumidifier, evaporation happens more consistently and gently.
The key advantage here is control. Unlike heat-based methods (like ovens or microwaves), which can cook petals and cause browning, dehumidifiers don’t apply direct heat. Instead, they create ideal conditions for slow, natural drying. This means less risk of damage and better preservation of the flower’s original shape, texture, and color.
Think of it like this: air-drying is like leaving your clothes on a clothesline on a breezy day. Dehumidifier drying is like doing the same thing in a climate-controlled room where the air is always dry and moving just enough to help moisture escape. The result? Clothes (or flowers) dry evenly, without mildew or stiffness.
The Science Behind Slow Drying
When flowers dry too quickly—especially with heat—the outer layers lose moisture faster than the inner tissues. This can cause petals to curl, crack, or become brittle. Slow drying, on the other hand, allows moisture to migrate evenly from the stem and center outward, preserving structural integrity.
Dehumidifiers support this process by maintaining a steady, dry atmosphere. As long as there’s airflow (more on that later), the flowers will release moisture gradually. This slow release helps prevent cell collapse, which is what leads to that crushed or flattened look you sometimes see in poorly dried blooms.
Additionally, because dehumidifiers don’t introduce heat, there’s less risk of pigment degradation. Anthocyanins (the compounds responsible for red, purple, and blue hues) and carotenoids (for yellows and oranges) are sensitive to high temperatures. By avoiding heat, you’re more likely to keep your flowers looking vibrant and true to life.
Which Flowers Work Best with a Dehumidifier?
Visual guide about Can a Dehumidifier Be Used to Dry Flowers
Image source: ecor-pro.com
Not all flowers are created equal when it comes to drying—and the same goes for dehumidifier drying. Some blooms respond beautifully to this method, while others may wilt, mold, or lose their shape. The best candidates are typically those with thicker petals, higher moisture content, or naturally sturdy structures.
Top Flowers for Dehumidifier Drying
- Hydrangeas: These are perhaps the most popular flowers for dehumidifier drying. Their large, fleshy petals hold moisture well and dry into soft, papery blooms that retain their rounded shape. Cut them when they’re just starting to fade on the plant for best results.
- Roses: Garden roses, especially varieties with tightly packed petals, dry beautifully in a dehumidifier. They maintain their classic cup shape and often deepen in color, turning rich burgundy or soft pink.
- Zinnias: With their dense, layered petals, zinnias dry into vibrant, long-lasting blooms perfect for arrangements.
- Cosmos: These delicate-looking flowers are surprisingly resilient when dried slowly. Their feathery petals and long stems make them ideal for bouquets.
- Statice: Known for its papery, colorful bracts, statice dries naturally and holds its hue well in low-humidity environments.
- Lavender: While often air-dried, lavender benefits from dehumidifier drying because it reduces the risk of mold in humid climates. The fragrance also remains strong.
Flowers to Approach with Caution
Some flowers don’t respond well to dehumidifier drying—or any drying method, for that matter. These include:
- Delicate blooms like pansies or violets: Their thin petals tend to collapse or become translucent.
- Flowers with high water content but weak structure (e.g., daffodils): They may droop or lose shape during drying.
- Very small or intricate flowers (e.g., baby’s breath): These can dry too quickly or get lost in the setup.
If you’re unsure about a particular flower, do a small test batch first. Cut a few stems, prepare them as you would for drying, and monitor them over a week or two. This will give you a good sense of how they’ll respond.
Step-by-Step Guide: How to Dry Flowers Using a Dehumidifier
Now that you know the basics, let’s walk through the process step by step. With the right setup, drying flowers in a dehumidifier is simple, safe, and surprisingly effective.
Step 1: Choose the Right Time to Harvest
Timing is everything. For most flowers, the best time to cut is early in the morning, after the dew has dried but before the sun gets too hot. At this point, the flowers are fully hydrated but not stressed by heat.
Look for blooms that are just past their peak—fully open but not yet showing signs of wilting or browning. For hydrangeas, wait until the flowers start to feel slightly papery and the color begins to soften. This indicates they’re ready to transition from fresh to dried.
Step 2: Prepare the Flowers
Once you’ve harvested your flowers, give them a quick trim. Remove any leaves that will be below the drying line—these can trap moisture and promote mold. Cut the stems to your desired length, usually 6–12 inches, depending on your display plans.
If you’re drying hydrangeas, you can also remove the lower leaves and gently shake out any excess moisture. Some people like to mist the blooms lightly with water before drying to help them retain shape—this is optional but can be helpful for very dry climates.
Step 3: Set Up Your Drying Space
This is where the dehumidifier comes in. You’ll need a dedicated space—ideally a closet, spare room, or large storage bin—where you can place both the flowers and the dehumidifier.
Here’s how to set it up:
- Choose a well-ventilated area: Avoid sealing the space completely. You want air to circulate so moisture can escape.
- Place the dehumidifier in the center: Position it so it can pull in air from all sides. Make sure the air intake and outlet aren’t blocked.
- Use a fan for airflow (optional but recommended): A small oscillating fan set on low can help distribute dry air evenly around the flowers.
- Hang or lay the flowers: You can hang stems upside down from a clothesline, rack, or hangers. Alternatively, lay them flat on a mesh screen or baking rack to allow air to flow underneath.
Avoid overcrowding. Each flower needs space to “breathe” and dry evenly. If stems are too close together, moisture can get trapped, leading to mold or uneven drying.
Step 4: Monitor and Wait
Now comes the hardest part: patience. Drying flowers in a dehumidifier isn’t instant. Depending on the flower type, room temperature, and humidity levels, the process can take anywhere from 7 to 21 days.
Check on your flowers every few days. Look for signs of mold (fuzzy spots, musty smell) or excessive wilting. If you notice any issues, remove the affected stems immediately.
You’ll know the flowers are fully dry when the petals feel papery or crisp to the touch, and the stems are stiff and no longer bend. Hydrangeas, for example, should feel lightweight and slightly crumbly at the base.
Step 5: Store or Display
Once dry, handle your flowers gently—they’re now fragile. Store them in a cool, dry place away from direct sunlight to prevent fading. If you’re making arrangements, use a floral adhesive or wire to secure stems, as dried flowers don’t hold water and can’t be rehydrated.
For long-term storage, consider placing them in acid-free boxes or sealed containers with silica gel packets to absorb any residual moisture.
Tips for Success: Getting the Best Results
Even with the right method, a few extra tips can make a big difference in your drying success.
Maintain Consistent Conditions
Fluctuating humidity or temperature can disrupt the drying process. Try to keep your drying space at a steady temperature (ideally between 65–75°F or 18–24°C) and avoid opening the door too often, which can let in humid air.
If you live in a very humid climate, you may need to run the dehumidifier continuously. Most modern units have built-in humidistats that automatically turn on when humidity rises above a set level—this helps maintain consistency.
Use a Hygrometer
A hygrometer is a small, inexpensive device that measures humidity. Place one near your drying flowers to monitor the environment. Aim for a relative humidity of 30–40% for optimal drying. If it’s too high, your dehumidifier may need to run longer or be moved to a smaller space.
Rotate Stems Occasionally
If you’re hanging flowers, gently rotate the stems every few days to ensure even drying. This prevents one side from drying faster than the other, which can cause twisting or warping.
Avoid Direct Sunlight
While sunlight might seem like a natural drying aid, it can actually fade colors and cause petals to become brittle. Keep your drying area shaded or use blackout curtains if needed.
Experiment with Arrangements
Don’t limit yourself to single stems. Try drying small bouquets or mixed arrangements. Just make sure each flower has enough space and airflow. You can even dry herbs like rosemary or thyme alongside flowers—they’ll dry beautifully and add fragrance to your setup.
Pros and Cons of Using a Dehumidifier to Dry Flowers
Like any method, dehumidifier drying has its advantages and limitations. Here’s a balanced look at what to expect.
Advantages
- Preserves color and shape: Slow, gentle drying helps maintain the flower’s natural appearance.
- Energy-efficient: Uses less power than ovens or microwaves and doesn’t require constant monitoring.
- Low risk of damage: No direct heat means less chance of burning or scorching delicate petals.
- Great for large batches: You can dry multiple stems at once without much extra effort.
- Works year-round: Unlike air-drying, which depends on weather, dehumidifier drying works in any season or climate.
Limitations
- Time-consuming: Can take weeks, which may not suit urgent projects.
- Requires space: You need a dedicated area large enough to accommodate both flowers and the dehumidifier.
- Not foolproof: Mold can still develop if airflow is poor or flowers are too moist.
- Initial cost: A good dehumidifier is an investment, though many households already own one.
- Not ideal for all flowers: Thin or fragile blooms may not hold up well.
Overall, the benefits often outweigh the drawbacks—especially if you’re looking for a reliable, low-maintenance way to preserve your favorite blooms.
Alternative Drying Methods: How Does It Compare?
It’s worth comparing dehumidifier drying to other popular methods to see where it stands.
Air-Drying (Hanging Upside Down)
This is the oldest and simplest method. Flowers are tied in small bunches and hung in a dark, dry, well-ventilated space. It’s free and requires no equipment, but results can be inconsistent—especially in humid climates. Colors may fade, and stems can become brittle.
Pressing
Great for flat flowers like daisies or pansies, pressing involves placing blooms between sheets of paper and weighting them down. The result is a two-dimensional keepsake, perfect for framing or scrapbooking. However, it doesn’t preserve three-dimensional shape.
Silica Gel
Silica gel is a desiccant that absorbs moisture quickly. Flowers are buried in the gel and left for several days. This method preserves color and shape very well and is faster than air-drying. But it can be expensive for large batches, and over-drying can make petals too fragile.
Microwave or Oven Drying
These methods use heat to speed up drying. While fast, they risk burning petals, causing browning, or creating uneven results. They also require constant supervision.
Dehumidifier Drying: The Balanced Choice
Dehumidifier drying strikes a middle ground. It’s slower than silica gel or heat methods but gentler and more consistent than air-drying. It’s also more accessible than silica gel for home users and doesn’t require special materials.
Conclusion: A Modern Solution for a Timeless Craft
Drying flowers is an art form that connects us to nature, memory, and creativity. While traditional methods have their charm, modern tools like dehumidifiers offer a reliable, efficient, and gentle way to preserve blooms with minimal effort.
So, can a dehumidifier be used to dry flowers? Absolutely. With the right preparation, setup, and patience, you can achieve stunning results that rival professional preservation techniques. Whether you’re drying a single rose from a wedding bouquet or a whole bunch of garden hydrangeas, this method gives you control, consistency, and beautiful outcomes.
Give it a try—you might just discover your new favorite way to keep flowers forever.
Frequently Asked Questions
Can a dehumidifier be used to dry flowers?
Yes, a dehumidifier can effectively dry flowers by creating a low-humidity environment that encourages slow, even evaporation. This method is gentle and helps preserve color and shape.
What’s the best way to prepare flowers before dehumidifier drying?
Cut stems in the morning, remove lower leaves, and trim to desired length. For hydrangeas, harvest when blooms start to feel papery.
How do I prevent mold when drying flowers in a dehumidifier?
Ensure good airflow, avoid overcrowding, and check flowers regularly. Remove any stems showing signs of mold immediately.
Can I dry flowers and herbs together in a dehumidifier?
Yes, herbs like lavender, rosemary, and thyme dry well alongside flowers and can add fragrance to your setup.
Is dehumidifier drying better than air-drying?
It often produces better results in humid climates, with more consistent drying and less risk of mold or color fading.
Do dried flowers from a dehumidifier last forever?
Properly stored dried flowers can last for years, but they may fade over time if exposed to sunlight or humidity.