

Adding a dehumidifier to your bathroom can prevent mold, reduce odors, and improve air quality. This guide walks you through choosing the right unit, proper placement, installation, and maintenance for optimal performance.
Quick Answers to Common Questions
Should I run the dehumidifier all the time?
No, you don’t need to. Run it during and after showers, or use the timer to operate during high-humidity periods. Most units have auto-shutoff when the desired humidity is reached.
Can I put a dehumidifier in a small bathroom?
Yes! Mini or compact dehumidifiers are perfect for small spaces. Just make sure it’s rated for the square footage and has a quiet operation if noise is a concern.
Do I need a dehumidifier if I have an exhaust fan?
An exhaust fan helps, but it may not remove all moisture—especially in humid climates or windowless bathrooms. A dehumidifier provides extra protection.
How often should I clean the filter?
Clean the filter once a month, or more often if you use the dehumidifier daily. A dirty filter reduces efficiency and can cause the unit to overheat.
Can a dehumidifier cause dry skin?
It’s unlikely. Most dehumidifiers keep humidity in the healthy 40–50% range. If your skin feels dry, use a humidifier in other rooms or apply moisturizer regularly.
How to Add Dehumidifier to Bathroom
If you’ve ever stepped into your bathroom after a hot shower and noticed foggy mirrors, damp towels, or a musty smell, you’re not alone. Excess moisture in bathrooms is a common problem—and it can lead to mold, mildew, peeling paint, and even structural damage over time. The good news? Adding a dehumidifier to your bathroom is a simple, effective solution.
In this comprehensive guide, you’ll learn everything you need to know about how to add a dehumidifier to your bathroom. We’ll cover how to choose the right model, where to place it, how to install it safely, and how to maintain it for long-term performance. Whether you’re dealing with a small powder room or a large master bath, this step-by-step guide will help you create a drier, healthier, and more comfortable space.
Why Your Bathroom Needs a Dehumidifier
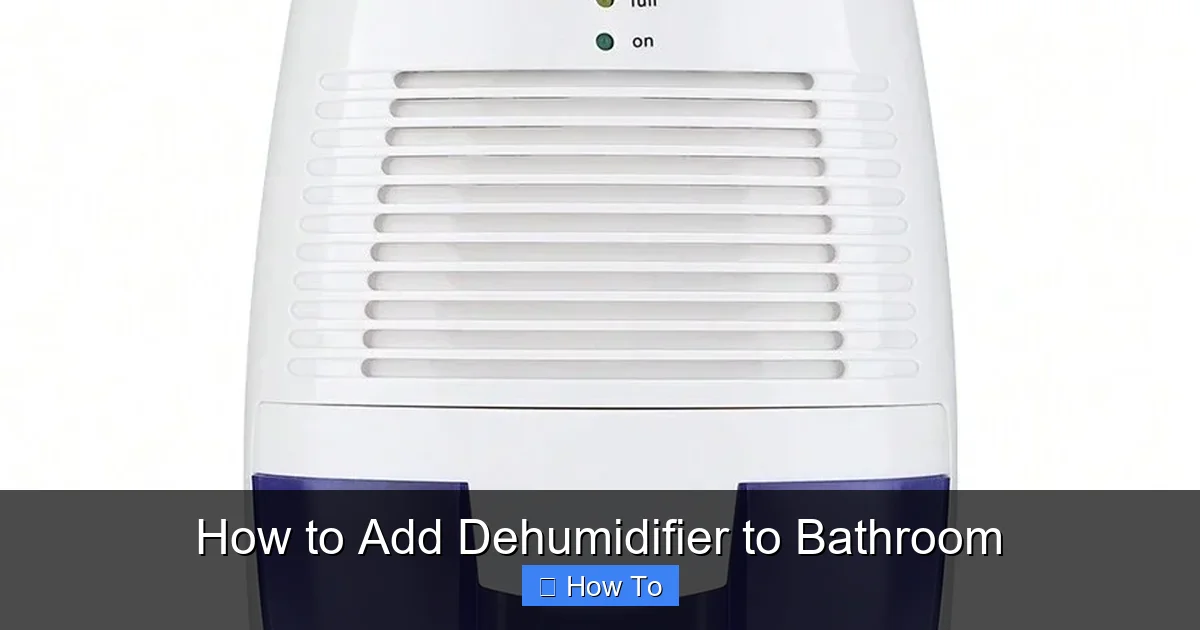
Visual guide about How to Add Dehumidifier to Bathroom
Image source: img.ltwebstatic.com
Bathrooms are naturally humid environments. Every time you shower, bathe, or even wash your hands, water evaporates into the air. Without proper ventilation, that moisture lingers—leading to condensation on walls, mirrors, and ceilings. Over time, this creates the perfect breeding ground for mold and mildew.
Mold isn’t just unsightly—it can trigger allergies, asthma, and other respiratory issues. It can also damage drywall, grout, and wood fixtures. A dehumidifier helps by pulling excess moisture from the air, keeping humidity levels between 30% and 50%, which is ideal for both comfort and health.
Even if you have an exhaust fan, it may not be enough—especially in older homes or bathrooms without windows. A dehumidifier works alongside your fan to provide continuous moisture control, especially in high-humidity climates or during rainy seasons.
Types of Dehumidifiers for Bathrooms
Not all dehumidifiers are created equal. Choosing the right type depends on your bathroom size, usage, and budget. Here are the main options:
Portable Dehumidifiers
These are the most common and affordable choice for bathrooms. They’re compact, easy to move, and plug into a standard outlet. Most have a built-in water tank that needs to be emptied regularly—usually every 12 to 24 hours, depending on humidity levels.
Pros: Affordable, no installation required, great for small to medium bathrooms.
Cons: Need manual emptying, can be noisy, limited coverage area.
Whole-House Dehumidifiers
These units are integrated into your home’s HVAC system and dehumidify the entire house—including the bathroom. They’re ideal for large homes or areas with consistently high humidity.
Pros: Automatic operation, no tank to empty, energy-efficient for whole-home use.
Cons: Expensive, requires professional installation, overkill for just one room.
Built-In or Wall-Mounted Dehumidifiers
These are permanently installed units that can be mounted on walls or ceilings. Some models vent moisture outside, while others collect water in a tank or drain directly.
Pros: Space-saving, quiet, low maintenance.
Cons: Higher upfront cost, may require electrical and plumbing work.
Mini or Compact Dehumidifiers
Perfect for tiny bathrooms, RVs, or closets. These use thermoelectric or desiccant technology and are very quiet.
Pros: Ultra-quiet, energy-efficient, no compressor.
Cons: Limited capacity, not ideal for large spaces or high humidity.
How to Choose the Right Dehumidifier for Your Bathroom
Picking the right dehumidifier starts with understanding your bathroom’s needs. Here’s how to make the best choice:
Step 1: Measure Your Bathroom
Use a tape measure to find the square footage. Multiply the length by the width. For example, a 6 ft x 8 ft bathroom is 48 square feet.
Step 2: Assess Humidity Levels
Use a hygrometer (a small, inexpensive device) to check the humidity. If it’s consistently above 60%, you need a dehumidifier. High humidity often feels sticky or causes condensation.
Step 3: Match Capacity to Space
Dehumidifiers are rated by how many pints of moisture they can remove in 24 hours. Here’s a general guide:
– Small bathroom (under 50 sq ft): 10–20 pints/day
– Medium bathroom (50–100 sq ft): 20–30 pints/day
– Large bathroom (100+ sq ft): 30–50 pints/day
If your bathroom is poorly ventilated or in a humid climate, go one size up.
Step 4: Consider Features
Look for these helpful features:
– Auto-humidistat: Automatically adjusts based on humidity levels.
– Timer: Lets you run the unit for set periods.
– Continuous drainage: Allows you to attach a hose so you don’t have to empty the tank.
– Washable filter: Easy to clean and maintain.
– Quiet operation: Look for models under 50 decibels if noise is a concern.
Step 5: Check Energy Efficiency
Look for the ENERGY STAR label. These models use less electricity and save money over time. Check the energy factor (liters of water removed per kilowatt-hour)—higher is better.
Where to Place Your Dehumidifier in the Bathroom
Proper placement is key to performance. A poorly placed unit won’t work efficiently and may even cause damage.
Best Locations
– Near the shower or bathtub: This is where most moisture is generated.
– On a stable, flat surface: Avoid placing it on uneven or soft surfaces.
– At least 6 inches from walls: Ensures proper airflow and prevents overheating.
– Away from direct sunlight and heat sources: Heat can reduce efficiency.
Avoid These Spots
– Inside cabinets or enclosed spaces (blocks airflow)
– Behind curtains or furniture
– Near the toilet (risk of splashing)
– On carpet (can trap moisture underneath)
For Portable Units
Place the dehumidifier in the center of the room if possible. If that’s not feasible, position it where airflow isn’t blocked. Keep doors open to adjacent rooms if you want to reduce humidity throughout the house.
For Built-In or Wall-Mounted Units
Hire a professional to install the unit in a central location, ideally near the ceiling where warm, moist air rises. Ensure it’s securely mounted and connected to a power source.
How to Install a Dehumidifier in Your Bathroom
Installation varies by type. Here’s how to set up each kind safely and effectively.
Installing a Portable Dehumidifier
- Unbox and inspect: Make sure all parts are included and undamaged.
- Place the unit: Put it on a flat, stable surface in the recommended location.
- Plug it in: Use a grounded outlet. Avoid extension cords if possible.
- Set the humidity level: Use the control panel to set your desired humidity (usually 40–50%).
- Turn it on: Let it run for a few hours to start reducing moisture.
Installing a Built-In or Wall-Mounted Unit
- Turn off power: Shut off electricity at the breaker box.
- Mark the location: Use a level to ensure the unit will be straight.
- Cut the opening: Follow the manufacturer’s instructions to cut a hole in the wall or ceiling.
- Mount the unit: Secure it with screws and seal gaps with caulk.
- Connect wiring: Have a licensed electrician handle this step.
- Test the system: Turn the power back on and check for proper operation.
Installing a Whole-House Dehumidifier
This requires professional HVAC installation. The technician will:
– Integrate the unit into your ductwork
– Connect it to your electrical system
– Set up a drain line for continuous water removal
– Program the humidistat for optimal performance
How to Use Your Dehumidifier Effectively
Just plugging it in isn’t enough. Follow these tips to get the best results:
Run It During and After Showers
Turn on the dehumidifier when you shower and leave it running for 30–60 minutes afterward. This captures moisture before it spreads.
Use the Timer Function
Set the timer to run during high-humidity times, like early morning or evening, when showers are most common.
Keep Doors and Windows Closed
Prevent outside humidity from entering. If you have a window, close it during use.
Combine with an Exhaust Fan
Run the exhaust fan while showering, then switch to the dehumidifier. This two-step approach removes moisture faster.
Monitor Humidity Levels
Check the hygrometer weekly. Adjust the dehumidifier settings if needed.
Maintenance Tips to Keep Your Dehumidifier Running Smoothly
Regular maintenance ensures your dehumidifier lasts longer and works efficiently.
Empty the Water Tank
Check the tank daily during humid weather. Most units have a full-tank indicator light. Pour the water down the drain—never reuse it.
Clean the Filter Monthly
Remove the filter and rinse it with warm water. Let it dry completely before reinserting. A clogged filter reduces airflow and efficiency.
Wipe Down the Unit
Use a damp cloth to clean the exterior. Avoid harsh chemicals that could damage the surface.
Check for Mold
Inspect the tank, coils, and interior for mold or mildew. If you see any, clean with a mixture of water and white vinegar.
Inspect the Drain Hose (if applicable)
If you’re using a continuous drain hose, make sure it’s not kinked or clogged. Clean it every few months.
Schedule Annual Servicing
For built-in or whole-house units, have a professional inspect and service the system once a year.
Troubleshooting Common Dehumidifier Problems
Even the best units can run into issues. Here’s how to fix the most common problems:
Dehumidifier Isn’t Removing Moisture
– Check the filter: A dirty filter blocks airflow.
– Ensure proper placement: Move it away from walls or furniture.
– Verify settings: Make sure the humidity level is set correctly.
– Check for frost: In cold bathrooms, the coils may freeze. Let it thaw and move to a warmer spot.
Unit Is Too Noisy
– Level the unit: Uneven surfaces can cause vibrations.
– Check for loose parts: Tighten screws or panels.
– Move to a quieter location: If noise persists, consider a quieter model.
Water Tank Overflows
– Empty it more often: High humidity means faster filling.
– Use continuous drainage: Attach a hose to drain directly into a sink or floor drain.
– Check the float switch: If it’s stuck, the unit won’t shut off when full.
Unit Won’t Turn On
– Check the power cord: Make sure it’s plugged in securely.
– Test the outlet: Use another device to confirm power.
– Reset the unit: Unplug it for 10 minutes, then plug it back in.
Unpleasant Odors
– Clean the tank and filter: Mold or bacteria can cause smells.
– Use a dehumidifier with a charcoal filter: These help absorb odors.
– Run a cleaning cycle: Some models have a “clean” or “dry” mode.
Additional Tips for a Moisture-Free Bathroom
A dehumidifier is powerful, but it works best when combined with other moisture-control strategies.
Seal Grout and Caulking
Cracked or missing grout lets water seep into walls. Re-caulk around the tub, shower, and sink every 1–2 years.
Use a Shower Curtain or Door
Contain splashes to reduce moisture spread. Choose a mildew-resistant curtain and wash it monthly.
Install a Better Exhaust Fan
If your current fan is weak, upgrade to a high-CFM (cubic feet per minute) model. Look for one with a humidity sensor that turns on automatically.
Ventilate the Room
Open a window (if available) after showering to let moist air escape.
Use Moisture-Absorbing Products
Place silica gel packs or moisture absorbers in cabinets or corners for extra protection.
Repair Leaks Promptly
Fix dripping faucets, leaking pipes, or damaged seals immediately. Even small leaks add up over time.
Conclusion
Adding a dehumidifier to your bathroom is a smart, cost-effective way to protect your home and health. By controlling excess moisture, you prevent mold, reduce odors, and extend the life of your fixtures and finishes.
Whether you choose a portable unit for convenience or a built-in system for seamless operation, the key is proper selection, placement, and maintenance. Follow the steps in this guide to ensure your dehumidifier works efficiently and lasts for years.
Remember, a dehumidifier is just one part of a comprehensive moisture management plan. Combine it with good ventilation, regular cleaning, and prompt repairs for the best results. With the right approach, your bathroom can stay dry, fresh, and comfortable—no matter the weather outside.