

Attaching a garden hose to your dehumidifier allows for continuous water removal without frequent emptying. This guide walks you through the process safely and efficiently, ensuring hassle-free operation and preventing water damage.
Quick Answers to Common Questions
Can I use any garden hose for my dehumidifier?
Yes, as long as it’s the right diameter (usually 5/8” or 3/4”) and free of kinks. Avoid hoses with drinking water markings—they’re not necessary and may cost more.
Do I still need to empty the tank if I use a hose?
Some models require the tank to be in place as a safety backup. Check your manual—but even if not required, empty it weekly to prevent mold.
How far can I run the hose?
Up to 25 feet is fine for gravity drainage. Beyond that, or if you need to go uphill, consider a condensate pump.
What if my dehumidifier doesn’t have a drain port?
You may be able to drill a small hole and install a barbed fitting—but this voids the warranty and risks damage. Check with the manufacturer first.
Can I drain the hose outside?
Yes, as long as the water won’t flood your yard or foundation. Direct it to a storm drain, garden, or gravel area.
How to Attach a Garden Hose to a Dehumidifier
If you’ve ever woken up to a full water bucket in your dehumidifier—or worse, a puddle on the floor—you know how frustrating it can be. Emptying the tank every few hours isn’t just tedious; it can also reduce the efficiency of your dehumidifier and increase the risk of water damage. The good news? You can solve this problem permanently by attaching a garden hose to your dehumidifier for continuous drainage.
This comprehensive guide will walk you through every step of the process—from checking compatibility to installing the hose and troubleshooting common issues. Whether you’re a DIY beginner or a seasoned home improver, you’ll find clear, easy-to-follow instructions that ensure a safe, leak-free setup. By the end, you’ll have a dehumidifier that runs unattended for days, weeks, or even months at a time.
Let’s get started!
Why Attach a Garden Hose to Your Dehumidifier?
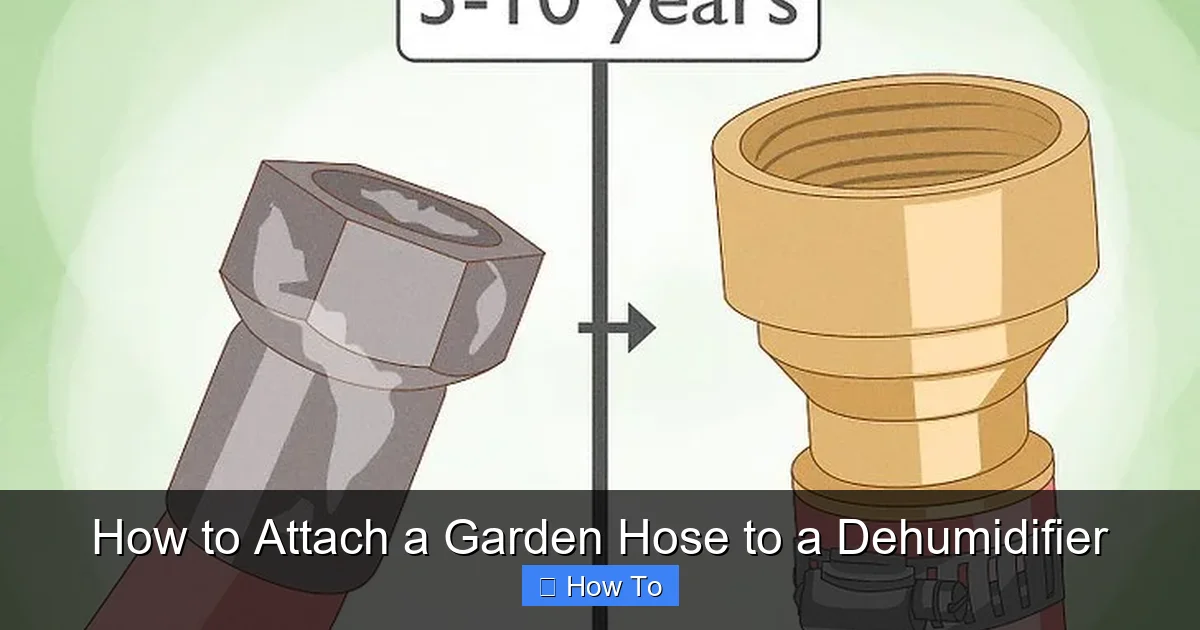
Visual guide about How to Attach a Garden Hose to a Dehumidifier
Image source: wikihow.com
Before diving into the how-to, it’s important to understand why this modification is so beneficial. Dehumidifiers work by pulling moist air from the room, cooling it to condense the moisture, and collecting the water in an internal tank. Once the tank fills up, the unit automatically shuts off to prevent overflow. This means you have to manually empty it—often multiple times a day in humid environments.
By attaching a garden hose, you enable continuous drainage. The water flows directly out of the dehumidifier and into a floor drain, sink, or outside area. This eliminates the need for constant monitoring and emptying. It also allows the dehumidifier to run nonstop, maintaining optimal humidity levels more effectively.
Other benefits include:
– Preventing water damage: No more spills or overflows.
– Improving air quality: Consistent operation reduces mold and mildew growth.
– Saving time: No more daily tank emptying.
– Extending appliance life: Reduces wear from frequent start-stop cycles.
What You’ll Need
Gather these tools and materials before you begin. Most are inexpensive and available at hardware stores or online.
- A compatible dehumidifier with a drain port (check your manual)
- A standard garden hose (5/8” or 3/4” diameter, 10–25 feet long)
- A hose adapter or drain hose kit (if not included with your dehumidifier)
- Hose clamps (optional but recommended)
- Teflon tape (for threaded connections)
- Scissors or a utility knife (to trim hose if needed)
- A bucket or towel (for initial testing)
- A level (to ensure proper slope)
Step 1: Check Your Dehumidifier for Hose Compatibility
Not all dehumidifiers are designed to support hose drainage. Before you buy a hose or start drilling, confirm that your model has a built-in drain port.
Locate the Drain Port
Most dehumidifiers have a small threaded or barbed outlet on the back or side, usually labeled “Drain” or “Continuous Drain.” It’s often near the water tank or compressor area. Refer to your user manual if you’re unsure.
Check the Manual
Your dehumidifier’s manual will specify whether continuous drainage is supported. Look for phrases like “hose attachment,” “direct drain,” or “gravity drain.” If the manual doesn’t mention it, your model may not support it—or may require a special adapter.
Test the Port (If Unclear)
If you’re still unsure, gently press a small piece of tubing onto the port. If it fits snugly, it’s likely designed for hose use. Never force anything—this could damage the unit.
Step 2: Choose the Right Garden Hose
Not all hoses are created equal. For dehumidifier drainage, you’ll want a hose that’s durable, flexible, and the right size.
Hose Diameter
Most dehumidifier drain ports accept a 5/8” or 3/4” garden hose. Measure the port or check the manual. A 5/8” hose is usually sufficient for standard residential units.
Hose Length
Choose a length that reaches from your dehumidifier to the nearest drain, sink, or outdoor area. A 10–15 foot hose is typical for indoor use. For longer distances, consider a 25-foot hose—but avoid excessive length, as it can reduce flow.
Hose Material
Opt for a reinforced vinyl or rubber hose. Avoid cheap, flimsy hoses that kink easily. A kinked hose blocks water flow and can cause backups.
Clean the Hose
Before use, flush the hose with water to remove dust or debris. You don’t want to introduce contaminants into your dehumidifier’s drainage system.
Step 3: Prepare the Hose and Adapter
If your dehumidifier didn’t come with a hose adapter, you’ll need to purchase one. These are inexpensive and widely available.
Use a Drain Hose Kit
Many manufacturers sell official drain hose kits designed for their models. These often include a barbed adapter, clamp, and instructions. Using a kit ensures a proper fit and reduces the risk of leaks.
Install the Adapter
If using a barbed adapter:
– Insert the barbed end into the drain port.
– Secure it with a hose clamp for extra hold.
– Wrap Teflon tape around threaded connections to prevent leaks.
Attach the Hose
Slide the garden hose onto the adapter or drain port. Push it on firmly until it’s snug. If it’s loose, use a hose clamp to tighten it. Don’t overtighten—this can crack the plastic.
Step 4: Position the Dehumidifier and Route the Hose
Proper placement is key to successful drainage. The hose must flow downhill to allow gravity to do the work.
Place Near a Drain
Position your dehumidifier close to a floor drain, sink, or laundry tub. Basements, garages, and utility rooms are ideal locations.
Ensure a Downward Slope
The hose should slope downward from the dehumidifier to the drain. Use a level to check. If the hose rises at any point, water may pool and cause backups.
Avoid Kinks and Bends
Keep the hose as straight as possible. Sharp bends or loops can block water flow. Use gentle curves instead.
Secure the Hose
Use zip ties, clips, or tape to secure the hose along the wall or floor. This prevents tripping hazards and keeps the hose in place.
Step 5: Test the System
Before leaving your dehumidifier unattended, run a test to ensure everything works.
Plug In and Turn On
Plug in the dehumidifier and set it to the desired humidity level. Let it run for 10–15 minutes.
Check for Leaks
Inspect the hose connection, adapter, and hose itself for drips or moisture. If you see leaks, tighten the connection or add more Teflon tape.
Verify Drainage
Confirm that water is flowing steadily out of the hose and into the drain. If water isn’t moving, check for kinks, clogs, or improper slope.
Monitor for 24 Hours
Leave the dehumidifier running overnight. Check periodically to ensure continuous drainage and no overflows.
Step 6: Maintain the System
Even with a hose, your dehumidifier needs regular maintenance to function properly.
Clean the Hose Monthly
Over time, algae or mineral buildup can clog the hose. Flush it with a mixture of water and vinegar every month.
Inspect the Drain Port
Check the drain port for debris or mold. Wipe it clean with a damp cloth.
Check the Hose Connection
Ensure the hose remains securely attached. Re-tighten clamps if needed.
Empty the Tank Occasionally
Even with a hose, some models still use the internal tank as a backup. Empty it weekly to prevent mold.
Troubleshooting Common Issues
Even with careful setup, problems can arise. Here’s how to fix the most common ones.
Water Isn’t Draining
– Cause: Kinked hose, clogged port, or improper slope.
– Solution: Straighten the hose, clean the drain port, and ensure a downward slope.
Leaks at the Connection
– Cause: Loose hose or worn adapter.
– Solution: Tighten the hose clamp or replace the adapter.
Hose Keeps Popping Off
– Cause: Poor fit or weak clamp.
– Solution: Use a better-fitting adapter or add a second clamp.
Water Backing Up
– Cause: Clogged hose or drain.
– Solution: Flush the hose with water or use a drain snake.
Dehumidifier Won’t Turn On
– Cause: Safety switch detecting a full tank.
– Solution: Empty the tank and reset the unit. Some models require the tank to be in place even with a hose.
When to Use a Condensate Pump
Gravity drainage works great when the drain is below the dehumidifier. But what if you need to pump water upward or over a long distance?
Signs You Need a Pump
– The drain is higher than the dehumidifier.
– The hose must run more than 10 feet horizontally.
– You’re draining into a sink or toilet.
How a Condensate Pump Works
A small pump sits in a collection tray and automatically pumps water through a hose to a higher elevation. It’s quiet, energy-efficient, and ideal for basements or crawl spaces.
Installation Tips
– Place the pump on a level surface.
– Connect the dehumidifier hose to the pump inlet.
– Route the outlet hose to the desired drain.
– Plug the pump into a GFCI outlet for safety.
Safety Tips and Best Practices
Safety should always come first when working with water and electricity.
Unplug Before Installing
Always disconnect the dehumidifier from the power source before attaching the hose.
Use GFCI Outlets
Plug your dehumidifier and pump (if used) into a Ground Fault Circuit Interrupter outlet to prevent electrical shock.
Avoid Overloading Drains
Don’t connect multiple appliances to the same drain unless it’s designed for it.
Keep Hoses Away from Heat
Don’t run hoses near heaters, furnaces, or direct sunlight, as heat can degrade the material.
Label the Hose
Mark the hose with tape or a tag so you know it’s for drainage—not drinking water.
Conclusion
Attaching a garden hose to your dehumidifier is a simple, cost-effective way to eliminate the hassle of constant tank emptying. With the right tools, a little preparation, and attention to detail, you can set up a reliable drainage system that keeps your home dry and your dehumidifier running smoothly.
Remember to check your model’s compatibility, use the correct hose, ensure proper slope, and test the system thoroughly. Regular maintenance will keep everything working like new. And if gravity drainage isn’t an option, a condensate pump can extend your reach.
By following this guide, you’ll enjoy peace of mind, better air quality, and a more efficient dehumidifier—all without lifting a bucket.