
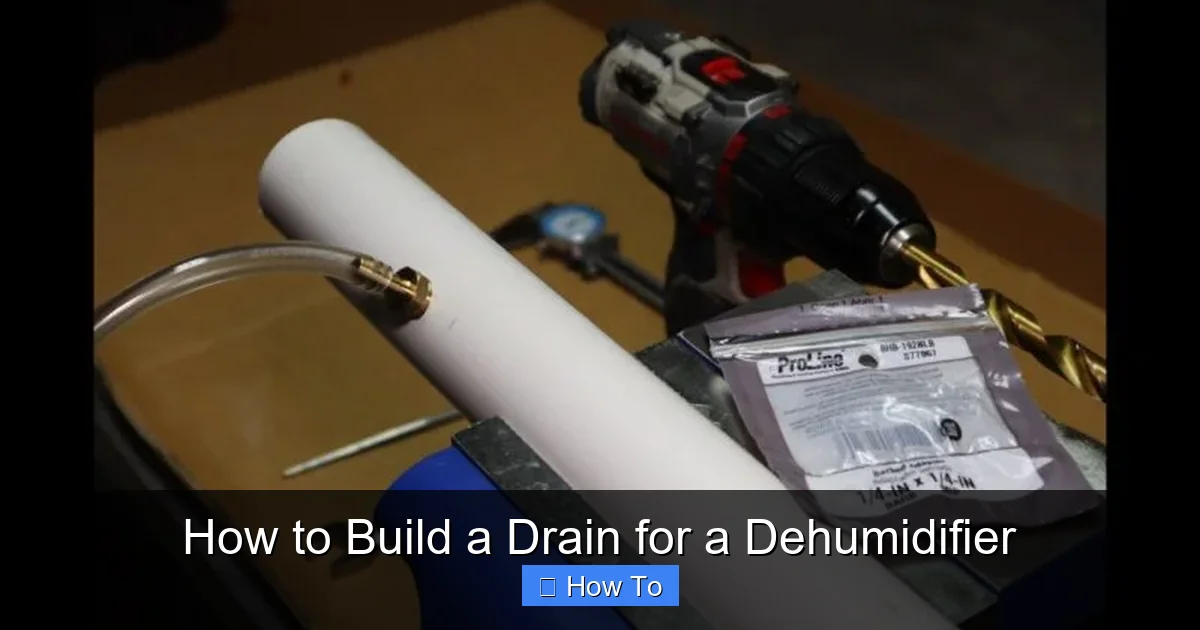
Building a drain for a dehumidifier eliminates the hassle of manual water removal and prevents overflow. This guide walks you through choosing the right setup, gathering tools, and installing a reliable drainage system—whether you’re using a gravity-fed hose, pump-assisted line, or custom-built solution.
Quick Answers to Common Questions
Can I use any hose for my dehumidifier drain?
No—use food-grade vinyl tubing. It’s flexible, resists algae, and won’t leach chemicals into the water.
Do I need a pump if my drain is only 2 feet away?
Not if it’s lower than the dehumidifier. Gravity can handle short, downhill runs without a pump.
How often should I clean the drain hose?
Every 3–6 months, or sooner if you notice odors or slow drainage. Vinegar works great for cleaning.
Can I drain my dehumidifier into a window?
Yes, but seal the opening with foam or weatherstripping to prevent drafts and pests.
What if my dehumidifier doesn’t have a drain port?
You can use an external condensate pump with a collection tray under the unit’s water tank.
How to Build a Drain for a Dehumidifier
If you’ve ever woken up to a full water bucket in your dehumidifier—or worse, a puddle on the floor—you know how frustrating it can be. Dehumidifiers remove moisture from the air, but that moisture has to go somewhere. Most units come with a small collection tank you must empty regularly. But what if you could skip the daily chore and let the water drain automatically?
That’s where building a drain for your dehumidifier comes in. Whether you’re dealing with a damp basement, a humid crawl space, or just want a hands-off solution, setting up a proper drainage system saves time, prevents water damage, and keeps your dehumidifier running efficiently.
In this guide, we’ll walk you through everything you need to know to build a reliable drain for your dehumidifier. You’ll learn how to choose the right method, gather the necessary tools and materials, install the system safely, and maintain it over time. No plumbing degree required—just basic DIY skills and a little patience.
By the end, you’ll have a clean, efficient drainage setup that works quietly in the background, so you can focus on enjoying a drier, more comfortable home.
Why Build a Drain for Your Dehumidifier?

Visual guide about How to Build a Drain for a Dehumidifier
Image source: i.ytimg.com
Before diving into the how-to, let’s talk about why this upgrade is worth your time.
Most dehumidifiers are designed with a built-in water tank that holds anywhere from 1 to 2 gallons of water. Once full, the unit shuts off automatically to prevent overflow. That’s great for safety, but it means you have to check and empty it regularly—sometimes multiple times a day in humid conditions.
A continuous drain eliminates this hassle. Instead of collecting water in a tank, the unit pumps or gravity-feeds the moisture directly out through a hose. This allows the dehumidifier to run nonstop, even when you’re away from home.
But the benefits go beyond convenience:
- Prevents water damage: No more overflowing tanks or surprise puddles.
- Improves efficiency: The unit doesn’t have to stop and start, so it maintains consistent humidity levels.
- Reduces mold and mildew: Standing water in the tank can breed bacteria and odors. Draining it out keeps things cleaner.
- Ideal for unattended spaces: Perfect for basements, garages, RVs, or vacation homes where you can’t check the tank daily.
Whether you’re a homeowner, renter, or DIY enthusiast, building a drain is a smart, cost-effective upgrade.
Assess Your Dehumidifier and Space
Not all dehumidifiers are created equal—and neither are all rooms. Before you start buying supplies, take a few minutes to evaluate your setup.
Check Your Dehumidifier’s Drain Capability
First, look at your dehumidifier. Does it have a built-in drain port? Most modern models do. It’s usually a small threaded spout or hose barb on the back or side, often labeled “Continuous Drain” or “Drain Hose Outlet.”
If your unit doesn’t have one, you may still be able to modify it—but it’s trickier. Some older or budget models only support manual emptying. In that case, you might consider upgrading to a model with drain capability, or use an external pump (more on that later).
Determine the Drain Location
Next, figure out where the water should go. Common options include:
- Floor drain: Ideal for basements or laundry rooms. Just run a hose to the drain grate.
- Sump pit: If you have a sump pump, you can route the hose into the pit (check local codes first).
- Utility sink: Great for garages or workshops. Use a sink hose adapter.
- Outdoor discharge: For crawl spaces or exterior walls. Make sure the water won’t pool near your foundation.
- Window or wall vent: Requires drilling, but works well for tight spaces.
Avoid draining into electrical panels, HVAC units, or areas prone to flooding.
Measure the Distance and Elevation
How far is the drain location from your dehumidifier? And is it lower, level, or higher?
- Gravity drain: Works only if the drain is at or below the dehumidifier’s outlet. Water flows downhill.
- Pump-assisted drain: Needed if the drain is uphill or more than a few feet away. Uses a small condensate pump to push water out.
For gravity systems, aim for a slope of at least 1/4 inch per foot. That means for every 4 feet of hose, the end should be 1 inch lower than the start.
Gather Your Tools and Materials
Now that you’ve assessed your setup, it’s time to gather what you need. The exact supplies depend on your chosen method, but here’s a general list.
For a Gravity-Fed Drain
- Food-grade vinyl tubing (1/4″ or 3/8″ inner diameter)
- Hose barb adapter (matches your dehumidifier’s drain port)
- Zip ties or hose clamps
- Silicone sealant (optional, for extra leak protection)
- Tubing cutter or sharp scissors
- Measuring tape
- Duct tape or electrical tape (for temporary testing)
For a Pump-Assisted Drain
- Condensate pump (120V, with float switch and alarm)
- 1/4″ or 3/8″ vinyl tubing
- Pump inlet and outlet fittings
- Reservoir or collection tray (if not using the dehumidifier’s tank)
- Power cord and outlet (GFCI recommended)
- Mounting hardware (screws, brackets)
Optional but Helpful
- Hose reel or wall mount (to keep tubing tidy)
- Inline filter (prevents debris from clogging the line)
- Check valve (prevents backflow in pump systems)
- Drain pan (catches leaks as a backup)
Pro tip: Buy tubing a little longer than you think you’ll need. It’s easier to trim excess than to stretch and risk leaks.
Step-by-Step: Building a Gravity-Fed Drain
If your drain location is lower than your dehumidifier, a gravity-fed system is the simplest and most reliable option. Here’s how to set it up.
Step 1: Prepare the Dehumidifier
Turn off and unplug the dehumidifier. Locate the drain port—usually on the back or side. Some models have a rubber cap you need to remove. Others may require you to unscrew a plug.
If there’s no cap, check the manual. Some units need a specific adapter to enable continuous draining.
Step 2: Attach the Hose Barb
Insert the hose barb adapter into the drain port. Make sure it’s snug. If it’s loose, wrap a bit of Teflon tape around the threads for a tighter seal.
Don’t overtighten—vinyl ports can crack.
Step 3: Connect the Tubing
Slide one end of the vinyl tubing onto the hose barb. Push it on firmly until it’s secure. Use a zip tie or hose clamp to reinforce the connection.
Trim the tubing to the right length using a tubing cutter or sharp scissors. Avoid kinks or sharp bends.
Step 4: Route the Hose
Run the tubing from the dehumidifier to the drain location. Use clips, hooks, or adhesive mounts to secure it along the wall or floor.
Ensure the hose has a consistent downward slope—no dips or loops where water can pool.
If crossing a doorway, use a protective sleeve or run it under a rug to prevent tripping.
Step 5: Secure the Drain End
Place the other end of the hose into the floor drain, sink, or sump pit. Make sure it’s deep enough to stay in place but not so deep that it blocks airflow.
For floor drains, you can use a drain grate adapter or simply let the hose rest in the center.
Step 6: Test the System
Plug in the dehumidifier and turn it on. Let it run for 30–60 minutes. Watch for:
- Water flowing steadily through the hose
- No leaks at connections
- No pooling or backflow
If water isn’t flowing, check for kinks, clogs, or insufficient slope.
Step-by-Step: Building a Pump-Assisted Drain
If your drain is uphill or far away, a condensate pump is your best bet. These small, quiet pumps are commonly used in HVAC systems and work great for dehumidifiers.
Step 1: Choose the Right Pump
Look for a pump rated for condensate or dehumidifier use. Key features:
- Float switch (shuts off if the reservoir fills)
- Alarm (alerts you if the pump fails)
- 1/4″ or 3/8″ inlet/outlet ports
- 120V power with GFCI protection
Popular brands include Little Giant, DiversiTech, and Aspen.
Step 2: Set Up the Reservoir
Most pumps come with a small collection tray. You can use this, or repurpose a plastic container. Place it under or near the dehumidifier.
If your dehumidifier has a drain port, route the hose from the unit to the reservoir. If not, you may need to remove the tank and place the reservoir underneath to catch overflow.
Step 3: Connect the Pump
Attach the inlet hose from the reservoir to the pump’s intake port. Use a hose barb and clamp.
Then, connect the outlet hose from the pump to your drain location (sink, floor drain, etc.). Again, ensure a downward slope if possible.
Step 4: Power and Safety
Plug the pump into a GFCI outlet. This is critical—water and electricity don’t mix.
Mount the pump on a stable surface, away from foot traffic. Some models can be wall-mounted.
Step 5: Test and Monitor
Turn on the dehumidifier and pump. Watch the reservoir fill and the pump activate. Listen for the alarm if the pump fails.
Check for leaks, unusual noises, or water backing up.
Troubleshooting Common Issues
Even the best setups can run into problems. Here’s how to fix the most common ones.
Water Isn’t Draining
- Check for kinks: Straighten any bent tubing.
- Verify slope: Use a level to confirm the hose is angled downward.
- Clear clogs: Flush the hose with warm water or a pipe cleaner.
- Inspect the drain port: Make sure it’s not blocked by debris.
Leaks at Connections
- Tighten clamps: Use zip ties or screw clamps for a snug fit.
- Apply sealant: Use silicone around the hose barb for extra protection.
- Replace damaged parts: Cracked tubing or loose adapters should be swapped out.
Pump Not Working
- Check power: Is it plugged in? Is the GFCI tripped?
- Clear the inlet: Debris can block the pump’s suction.
- Test the float switch: Manually lift it to see if the pump kicks on.
- Listen for motor noise: If it’s silent, the pump may be burned out.
Algae or Odor in the Hose
- Clean regularly: Flush with a 50/50 vinegar-water solution every few months.
- Use food-grade tubing: Resists bacterial growth better than standard vinyl.
- Add a filter: An inline mesh filter catches sediment.
Maintenance Tips for Long-Term Success
A drain is only as good as its upkeep. Follow these tips to keep your system running smoothly.
- Inspect monthly: Look for cracks, leaks, or loose connections.
- Clean the hose: Every 3–6 months, flush it with vinegar or a mild bleach solution.
- Check the drain location: Make sure it’s not clogged with dirt or debris.
- Test the pump: Pour a cup of water into the reservoir to confirm it activates.
- Replace worn parts: Tubing can degrade over time—swap it out every 2–3 years.
Safety and Code Considerations
While building a drain is generally safe, keep these points in mind:
- Avoid electrical hazards: Never run hoses near outlets or cords. Use GFCI protection for pumps.
- Don’t drain into septic tanks: Check local regulations—some areas prohibit it.
- Secure loose hoses: Prevent tripping by taping or mounting them out of the way.
- Use proper materials: Food-grade tubing is safer and lasts longer.
- Consult a pro if unsure: For permanent installations or complex setups, a plumber can help.
Conclusion
Building a drain for your dehumidifier is a practical, rewarding project that pays off in convenience, efficiency, and peace of mind. Whether you opt for a simple gravity-fed hose or a more advanced pump-assisted system, the key is planning, proper materials, and regular maintenance.
You’ve now got the knowledge to choose the right method, install it safely, and keep it working for years. Say goodbye to overflowing tanks and hello to a drier, healthier home.
With a little effort today, you’ll save hours of maintenance tomorrow. So grab your tools, follow the steps, and enjoy the quiet hum of a dehumidifier that never stops working—because the water just keeps flowing out.