
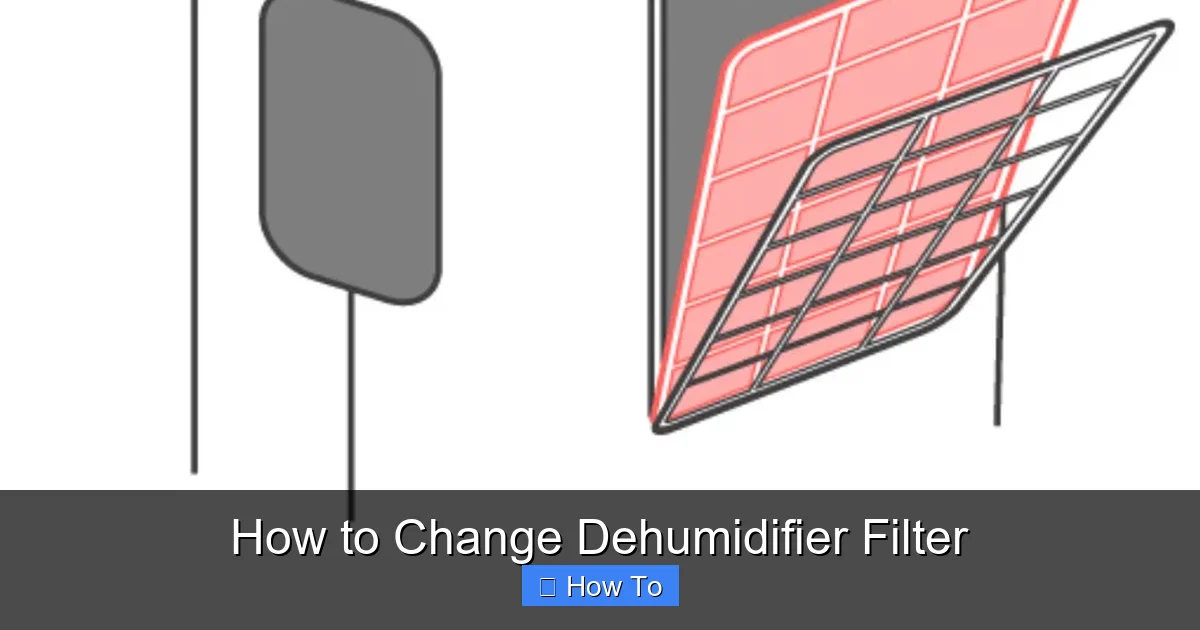
Changing your dehumidifier filter is a simple but essential task that ensures optimal performance and cleaner indoor air. This guide walks you through the process step by step, helping you maintain your unit like a pro.
Quick Answers to Common Questions
How often should I change my dehumidifier filter?
Most filters need replacing every 3–6 months, but check your manual and inspect the filter monthly. Heavy use or dusty environments may require more frequent changes.
Can I clean and reuse the filter instead of replacing it?
Some washable filters can be rinsed and reused, but most are disposable. Check your model—if it’s not labeled as reusable, replace it to maintain efficiency.
What happens if I don’t change the filter?
A dirty filter reduces airflow, increases energy use, and can lead to mold growth or poor air quality. It may also cause the unit to overheat or fail prematurely.
Where can I buy a replacement filter?
You can purchase filters directly from the manufacturer, online retailers like Amazon, or appliance stores. Always match the model number for compatibility.
My dehumidifier doesn’t have a filter—do I still need to maintain it?
Even filterless models need regular cleaning. Wipe down the coils, empty the tank, and check for dust buildup to ensure optimal performance.
How to Change Dehumidifier Filter: A Complete Step-by-Step Guide
Keeping your dehumidifier running smoothly isn’t just about emptying the water tank—it’s also about regular maintenance, especially changing the air filter. Over time, the filter collects dust, pet dander, mold spores, and other airborne particles. If left unchanged, it can clog, reduce airflow, strain the motor, and even release contaminants back into your home. Fortunately, learning how to change dehumidifier filter is quick, easy, and can be done in under 10 minutes with just a few simple tools.
In this comprehensive guide, you’ll discover everything you need to know about replacing your dehumidifier filter—from when to do it, what tools you’ll need, and how to safely remove the old filter and install a new one. Whether you’re a first-time user or just need a refresher, this step-by-step walkthrough will help you keep your dehumidifier efficient, your air clean, and your home comfortable year-round.
Why Changing Your Dehumidifier Filter Matters
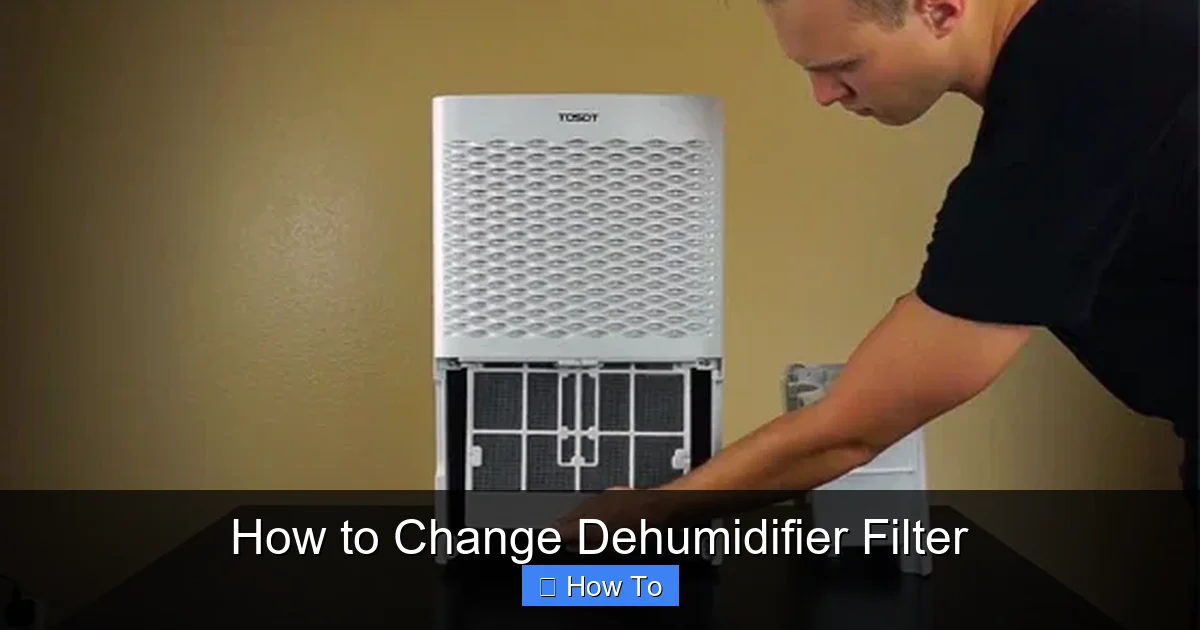
Visual guide about How to Change Dehumidifier Filter
Image source: tosotdirect.com
Before diving into the steps, it’s important to understand why this task is so crucial. The air filter in your dehumidifier plays a vital role in maintaining indoor air quality. As the unit pulls moist air from the room, the filter captures pollutants before the air passes over the cooling coils and is recirculated.
When the filter becomes dirty or clogged, several problems can arise:
– Reduced airflow, making the unit work harder
– Increased energy consumption
– Poor moisture removal efficiency
– Potential mold growth inside the unit
– Release of trapped particles back into the air
By changing the filter regularly, you not only extend the life of your dehumidifier but also ensure it’s contributing to a healthier living environment. Think of it like changing the oil in your car—small effort, big payoff.
When Should You Change the Dehumidifier Filter?
There’s no one-size-fits-all answer, but most manufacturers recommend checking the filter every 1–2 months and replacing it every 3–6 months. However, your specific usage and environment will influence this timeline.
Here are some signs it’s time to change the filter:
– The filter looks visibly dirty or discolored
– You notice reduced airflow from the vents
– The dehumidifier is running longer than usual to reach the set humidity level
– There’s a musty or dusty smell when the unit is on
– Your model has a filter change indicator light that’s illuminated
If you have pets, live in a dusty area, or use the dehumidifier heavily (like in a basement or laundry room), you may need to replace the filter more often—possibly every 1–2 months. On the other hand, if the unit runs infrequently in a clean environment, you might stretch it to 6 months.
Always refer to your owner’s manual for the manufacturer’s recommended schedule. Some newer models even have electronic reminders that alert you when it’s time for a change.
Tools and Materials You’ll Need
The good news? You don’t need a toolbox full of equipment. Most dehumidifier filter changes require minimal supplies. Here’s what to gather before you begin:
– Replacement air filter (matched to your model number)
– Soft cloth or microfiber towel
– Vacuum cleaner with brush attachment (optional)
– Screwdriver (if needed to remove panels)
– User manual (for reference)
Make sure the replacement filter is the correct type for your dehumidifier. Using the wrong size or type can lead to poor performance or even damage the unit. You can usually find the model number on a label inside the front grille or on the back of the unit. Once you have it, search online or visit the manufacturer’s website to order the right filter.
Pro tip: Keep a spare filter on hand so you’re never caught off guard when it’s time for a change.
Step-by-Step Guide: How to Change Dehumidifier Filter
Now that you know why and when to change the filter, let’s get into the actual process. Follow these steps carefully to ensure a safe and effective filter replacement.
Step 1: Turn Off and Unplug the Dehumidifier
Safety first! Before doing anything, make sure the dehumidifier is completely powered down. Turn off the unit using the power button, then unplug it from the wall outlet. This prevents any risk of electric shock or accidental startup while you’re working inside the machine.
Even if the unit appears off, there could still be residual power in the system. Unplugging ensures you’re working safely.
Step 2: Locate the Air Filter
Next, find where the air filter is housed. In most dehumidifiers, the filter is located behind the front grille or a side panel. Here’s how to identify it:
– Look for a removable front cover or grille. It’s usually held in place by clips or screws.
– Some models have a small latch or button you can press to release the grille.
– On others, you may need to gently pull the grille outward or slide it upward.
If you’re unsure, consult your user manual. It will have a diagram showing the filter location and how to access it.
Once you’ve removed the grille, you should see the air filter—typically a flat, rectangular panel made of mesh or pleated material.
Step 3: Remove the Old Filter
Carefully slide the old filter out of its slot. Most filters are designed to slide in and out easily, but some may have a slight resistance. If it feels stuck, double-check that all clips or tabs are released.
As you remove the filter, take note of how it’s positioned—especially the direction of airflow. Many filters have an arrow on the frame indicating which way the air flows (usually pointing toward the unit). This helps ensure you install the new filter correctly.
Set the old filter aside. If it’s extremely dirty or covered in mold, consider wearing gloves to avoid contact with allergens.
Step 4: Clean the Filter Compartment
Before inserting the new filter, take a moment to clean the area where the old filter sat. Dust and debris can accumulate in the compartment, reducing efficiency and potentially clogging the new filter faster.
Use a soft cloth or a vacuum with a brush attachment to gently remove any buildup. Avoid using water or cleaning sprays unless your manual specifically allows it—moisture inside the unit can cause damage.
If you notice any mold or mildew, wipe the area with a cloth dampened with a mild vinegar solution (1 part vinegar to 3 parts water), then dry thoroughly. Never use harsh chemicals that could leave harmful residues.
Step 5: Install the New Filter
Now it’s time to install the replacement filter. Make sure it’s the correct model—double-check the part number if needed.
Slide the new filter into the slot, following the same orientation as the old one. If there’s an airflow arrow, make sure it points in the correct direction (usually toward the interior of the unit).
Push the filter in gently until it’s fully seated. It should fit snugly but not require excessive force. If it doesn’t slide in easily, double-check the size and orientation.
Step 6: Reattach the Front Grille or Panel
Once the new filter is in place, carefully reattach the front grille or side panel. Make sure all clips or screws are securely fastened. A loose grille can cause vibrations or reduce airflow.
If your model uses screws, tighten them just enough to hold the panel in place—don’t overtighten, as this can crack the plastic.
Step 7: Plug In and Test the Unit
Now that everything is reassembled, plug the dehumidifier back into the outlet and turn it on. Set it to your desired humidity level and listen for normal operation.
Check that air is flowing freely from the vents. If the unit seems louder than usual or isn’t pulling moisture effectively, double-check that the filter is installed correctly and the grille is securely closed.
Step 8: Reset the Filter Indicator (If Applicable)
Many modern dehumidifiers come with a filter change indicator light that alerts you when it’s time for a replacement. After installing the new filter, you’ll need to reset this indicator.
Look for a “Filter” or “Reset” button on the control panel. Press and hold it for 3–5 seconds until the light turns off or changes color. Refer to your manual for specific instructions, as the process varies by model.
If you skip this step, the indicator may continue to show a warning even though the filter is new.
Troubleshooting Common Issues
Even with careful steps, you might run into a few hiccups. Here are some common problems and how to fix them:
Filter Doesn’t Fit Properly
If the new filter is too tight or too loose, it may not be the correct model. Double-check the part number and compare it to your old filter. Some manufacturers offer multiple filter types (e.g., standard, HEPA, carbon), so ensure you’ve ordered the right one.
If the filter is slightly warped, try gently bending it to fit—but avoid forcing it, as this can damage the frame.
Unit Still Shows Filter Alert After Replacement
This usually means the filter indicator wasn’t reset. Locate the reset button and follow the instructions in your manual. If there’s no reset option, try unplugging the unit for 10 minutes to reset the system.
Reduced Airflow After Filter Change
Check that the filter is installed in the correct direction and that the grille is fully closed. Also, ensure the new filter isn’t clogged out of the box—rare, but it happens.
If airflow remains poor, inspect the evaporator coils for frost or dust buildup, which can also restrict airflow.
Unusual Noises When Running
Rattling or buzzing could mean the grille isn’t secured properly. Turn off the unit, recheck all clips and screws, and ensure nothing is loose inside.
Tips for Maintaining Your Dehumidifier
Changing the filter is just one part of dehumidifier care. To keep your unit running efficiently, follow these additional tips:
– Empty the water tank regularly to prevent overflow and mold growth.
– Clean the water tank with mild soap and water every few weeks.
– Wipe down the exterior with a damp cloth to remove dust.
– Check the drain hose (if using continuous drainage) for clogs.
– Store the unit properly during off-seasons—clean it thoroughly and cover it to protect from dust.
Regular maintenance not only improves performance but also extends the lifespan of your dehumidifier, saving you money in the long run.
Conclusion
Changing your dehumidifier filter is a simple yet powerful way to maintain clean air and efficient operation. By following this guide, you’ve learned how to safely remove the old filter, clean the compartment, install a new one, and reset the indicator—all in just a few minutes.
Remember, consistency is key. Mark your calendar or set a phone reminder to check the filter every month and replace it every 3–6 months, or as recommended by your manufacturer. With regular care, your dehumidifier will continue to protect your home from excess moisture, mold, and allergens for years to come.
Don’t wait until you notice a problem—stay ahead of maintenance and enjoy the benefits of a healthier, more comfortable living space.