
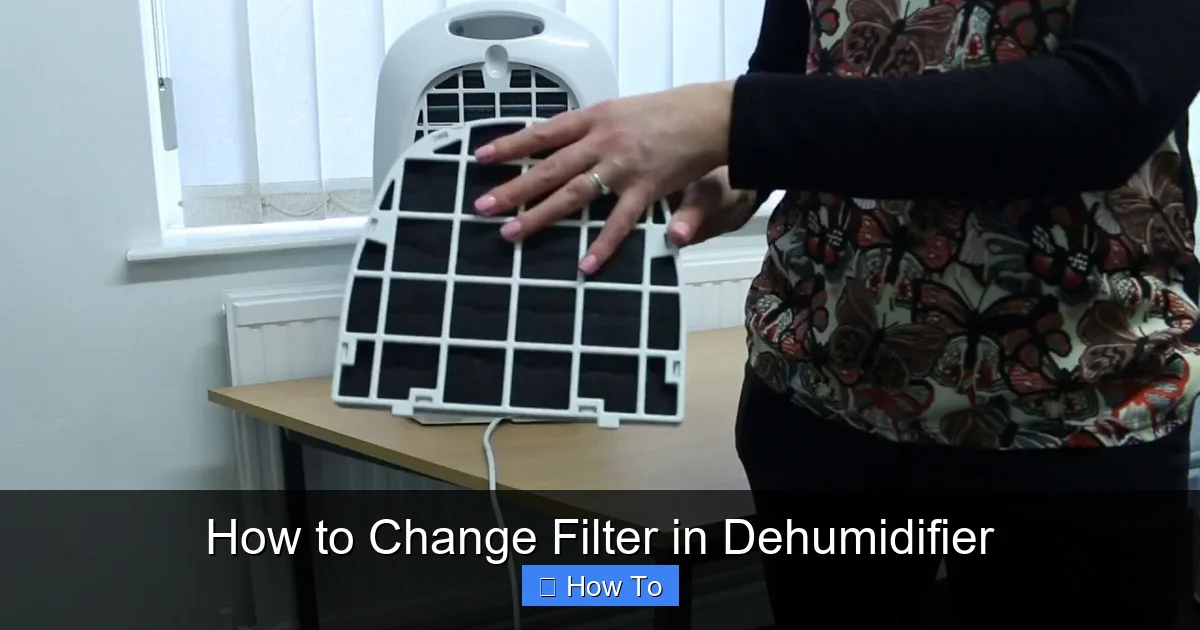
Changing the filter in your dehumidifier is a simple but essential maintenance task that ensures optimal performance and cleaner air. This guide walks you through the entire process, from identifying your filter type to safely replacing it and maintaining your unit long-term.
Quick Answers to Common Questions
How often should I change my dehumidifier filter?
Check the filter every 1–3 months. If you have pets, allergies, or live in a humid area, inspect it monthly. Replace or clean it when it looks dirty or airflow feels weak.
Can I wash a disposable filter?
No. Disposable filters are not designed to be cleaned. Washing them can damage the material and reduce effectiveness. Always replace them with a new one.
What if my dehumidifier doesn’t have a filter?
Some older or compact models may not include a filter. In that case, focus on cleaning the coils and ensuring proper ventilation. Consider upgrading to a model with a filter for better air quality.
Where can I buy a replacement filter?
Purchase from the manufacturer’s website, authorized retailers, or appliance stores. Always match the model number to ensure compatibility.
Why is my dehumidifier still noisy after changing the filter?
A dirty filter can cause strain, but noise may also come from loose parts, fan issues, or coil problems. If cleaning the filter doesn’t help, consult a technician.
How to Change Filter in Dehumidifier: A Complete Step-by-Step Guide
Keeping your dehumidifier in top shape isn’t just about emptying the water tank—it’s also about maintaining the internal components, especially the air filter. Over time, dust, pet dander, mold spores, and other airborne particles build up on the filter, reducing airflow and efficiency. If left unchecked, a dirty filter can cause your unit to work harder, increase energy consumption, and even lead to mechanical failure.
In this comprehensive guide, you’ll learn exactly how to change filter in dehumidifier safely and effectively. Whether you’re a first-time user or just need a refresher, we’ll walk you through identifying your filter type, locating it inside the unit, cleaning or replacing it, and resetting any indicator lights. By the end, you’ll have the confidence and knowledge to keep your dehumidifier running smoothly and your indoor air fresh and healthy.
Why Changing the Dehumidifier Filter Matters
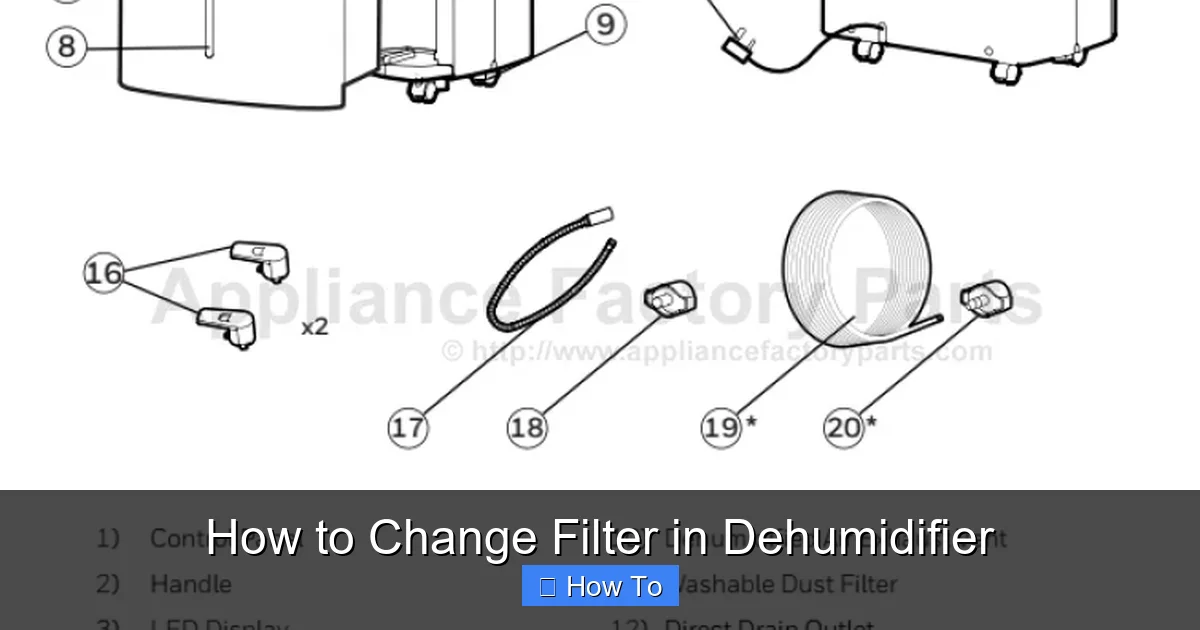
Visual guide about How to Change Filter in Dehumidifier
Image source: cdn.appliancefactoryparts.com
Before diving into the steps, it’s important to understand why this task is so crucial. The air filter in your dehumidifier serves as the first line of defense against airborne contaminants. As humid air is drawn into the unit, it passes through the filter, which captures particles before the air reaches the cooling coils and internal mechanisms.
A clogged or dirty filter restricts airflow, forcing the fan and compressor to work harder. This not only increases energy usage but can also lead to overheating, reduced moisture removal, and premature wear on components. In extreme cases, restricted airflow can cause the evaporator coils to freeze, shutting down the entire system.
Moreover, a neglected filter can become a breeding ground for mold and bacteria—especially in high-humidity environments. When the unit runs, it can actually spread these contaminants back into your home, worsening indoor air quality instead of improving it.
Regularly changing or cleaning the filter ensures:
– Efficient moisture removal
– Lower energy bills
– Longer appliance lifespan
– Cleaner, healthier air
Most manufacturers recommend checking the filter every 1 to 3 months, depending on usage and environmental factors. If you live in a humid climate, have pets, or suffer from allergies, you may need to inspect it more frequently.
Step 1: Gather Your Tools and Supplies
Before you begin, make sure you have everything you need. This will save time and prevent frustration mid-process.
You’ll typically need:
– A replacement filter (if using a disposable type)
– Mild dish soap and warm water (for washable filters)
– A soft brush or toothbrush
– A clean, dry towel
– A vacuum cleaner with a brush attachment (optional)
– Your dehumidifier’s user manual (highly recommended)
If you’re unsure about the correct filter model, check the user manual or look for a label inside the filter compartment. Many manufacturers include the part number on the old filter itself. You can purchase replacements directly from the manufacturer or authorized retailers. Avoid generic filters unless they’re specifically designed for your model—ill-fitting filters can reduce efficiency and allow particles to bypass the filtration system.
Step 2: Turn Off and Unplug the Dehumidifier
Safety should always come first. Before touching any internal components, ensure the dehumidifier is completely powered down.
Unplug from the Power Source
Locate the power cord and unplug it from the wall outlet. Do not rely solely on the unit’s power switch—some models may still have live internal circuits even when turned off.
Allow the Unit to Cool
If the dehumidifier has been running recently, give it 10–15 minutes to cool down. The internal coils and compressor can get hot during operation, and handling them while warm increases the risk of burns or damage.
Move to a Well-Ventilated Area
If possible, place the unit on a flat, stable surface like a workbench or table. This makes it easier to access the filter compartment and reduces strain on your back. Avoid working on the floor unless necessary.
Step 3: Locate the Filter Compartment
The filter is usually housed behind a front or side grille, but its exact location varies by model. Here’s how to find it:
Check the User Manual
Your dehumidifier’s manual will have a diagram showing the filter location. This is the most reliable source of information, especially for newer or less common models.
Look for a Removable Panel or Grille
Most units have a plastic grille or panel on the front or side with visible screws or snap-fit clips. Some models feature a hinged door that swings open, while others require you to slide or lift the grille off.
Identify the Filter Slot
Once the grille is removed, you should see a rectangular or square slot containing the filter. It’s often held in place by a small latch or frame. If you don’t see it immediately, look for a thin, mesh-like material—that’s your filter.
Note the Filter Orientation
Before removing the filter, take a photo or make a mental note of how it’s positioned. Filters are often directional (with arrows indicating airflow), and installing them backward can reduce efficiency.
Step 4: Remove the Old Filter
Now that you’ve located the filter, it’s time to take it out.
Gently Pull or Slide the Filter Out
Most filters slide out horizontally. Use both hands to grasp the edges and pull straight out. Avoid twisting or forcing it—this could damage the filter frame or the compartment.
Inspect the Filter for Dirt and Damage
Hold the filter up to a light source. If you can’t see light through it, it’s likely clogged. Look for visible dirt, dust bunnies, or mold growth. Also check for tears, warping, or fraying edges—these are signs the filter needs replacing, even if it’s technically washable.
Dispose of Disposable Filters Properly
If your filter is non-washable, place it in a sealed plastic bag before throwing it away. This prevents trapped particles from escaping into your home.
Step 5: Clean or Replace the Filter
This step depends on whether your filter is washable or disposable.
For Washable Filters
If your filter is reusable, cleaning it is simple:
– Rinse it under lukewarm water to remove loose debris.
– Use a mild dish soap and a soft brush (like an old toothbrush) to gently scrub both sides.
– Avoid harsh chemicals or abrasive scrubbers—they can damage the mesh.
– Rinse thoroughly to remove all soap residue.
– Shake off excess water and let it air-dry completely on a clean towel. Do not reinstall a damp filter, as moisture can promote mold growth.
For Disposable Filters
If your filter is not washable, replace it with a new one:
– Purchase the correct model number (check the old filter or manual).
– Remove the new filter from its packaging.
– Slide it into the compartment in the same orientation as the old one.
– Ensure it fits snugly without gaps.
Optional: Vacuum the Compartment
While the filter is out, use a vacuum with a brush attachment to remove dust and debris from the filter housing. This helps maintain airflow and prevents buildup.
Step 6: Reinstall the Filter and Close the Unit
Once the filter is clean and dry (or replaced), it’s time to put everything back together.
Insert the Filter Correctly
Slide the filter back into the slot, making sure it’s aligned properly. If it has airflow arrows, point them toward the unit (usually inward).
Secure the Grille or Panel
Replace the front or side grille and snap or screw it back into place. Ensure all clips are engaged and the panel is flush with the unit.
Double-Check for Gaps
A loose or misaligned grille can allow unfiltered air to bypass the filter. Make sure the cover is tightly sealed.
Step 7: Reset the Filter Indicator Light (If Applicable)
Many modern dehumidifiers come with a filter change reminder light that illuminates after a set number of operating hours.
Locate the Reset Button
This is usually on the control panel and may be labeled “Filter,” “Reset,” or have a filter icon.
Press and Hold to Reset
Follow the instructions in your manual—typically, you press and hold the button for 3–5 seconds until the light turns off or changes color.
Test the Unit
Plug the dehumidifier back in and turn it on. Listen for normal operation and check that the indicator light is off. If it stays on, you may need to repeat the reset process or consult the manual.
Troubleshooting Common Issues
Even with careful steps, you might run into problems. Here’s how to handle common issues:
Filter Doesn’t Fit Properly
Double-check the model number. If the new filter is too small or large, it may be the wrong type. Contact the manufacturer for assistance.
Unit Won’t Turn On After Filter Change
Ensure the grille is fully closed—many units have a safety switch that prevents operation if the panel isn’t secured.
Reduced Airflow or Efficiency
This could mean the filter is still dirty, installed backward, or the wrong type. Recheck installation and consider replacing if cleaning didn’t help.
Filter Light Won’t Reset
Some models require a specific sequence (e.g., unplugging for 10 seconds). Refer to your manual or contact customer support.
Unusual Odors After Cleaning
If you cleaned a washable filter and notice a musty smell, the filter may not have dried completely. Let it air-dry for 24 hours before reinstalling.
Maintaining Your Dehumidifier Long-Term
Changing the filter is just one part of dehumidifier care. To keep your unit in peak condition:
– Empty the water tank regularly to prevent overflow and mold.
– Clean the coils and fan blades every 6 months.
– Keep the unit away from walls and furniture for proper airflow.
– Use a hygrometer to monitor indoor humidity (ideal range: 30–50%).
– Schedule professional servicing every 2–3 years for deep cleaning and refrigerant checks.
By combining regular filter changes with these habits, you’ll maximize efficiency, save on energy costs, and enjoy cleaner, more comfortable air year-round.
Conclusion
Learning how to change filter in dehumidifier is a simple yet powerful way to protect your investment and your health. With just a few minutes of effort every few months, you can ensure your unit removes moisture effectively, runs quietly, and delivers fresh, filtered air throughout your home.
Remember: safety first, follow your manual, and don’t skip the reset step if your model has an indicator light. Whether you’re dealing with a washable or disposable filter, the process is straightforward once you know what to look for.
By making filter maintenance a routine part of your home care, you’ll not only extend the life of your dehumidifier but also create a healthier living environment for you and your family. So grab your tools, unplug that unit, and give your dehumidifier the care it deserves.