

This guide walks you through the simple process of changing the filter in your GE dehumidifier, helping maintain performance and indoor air quality. You’ll learn when to replace it, what tools you need, and how to avoid common mistakes.
Quick Answers to Common Questions
How often should I check my dehumidifier filter?
Check the filter every 1–2 months, or more often if you have pets, allergies, or high humidity. Look for visible dirt or reduced airflow.
Can I clean and reuse the filter instead of replacing it?
Most GE dehumidifier filters are not washable. Attempting to clean them can damage the mesh and reduce effectiveness. Always replace with a new one.
What happens if I run the dehumidifier without a filter?
Running without a filter allows dust and debris to clog the coils, reduce efficiency, and potentially cause mold or mechanical failure.
My filter light is on, but the filter looks clean. What should I do?
The timer may have reached its limit. Replace the filter anyway—even if it looks clean, its efficiency may have degraded over time.
Where can I find my dehumidifier’s model number?
The model number is usually on a label inside the water tank compartment, on the back of the unit, or in the user manual. Use it to order the correct filter.
How to Change Filter in GE Dehumidifier: A Complete Step-by-Step Guide
Keeping your GE dehumidifier running smoothly isn’t just about emptying the water tank—it’s also about regular maintenance, especially changing the air filter. Over time, the filter collects dust, pet dander, mold spores, and other airborne particles. If left unchanged, a clogged filter can reduce efficiency, increase energy use, and even lead to unpleasant odors or poor indoor air quality.
In this comprehensive guide, you’ll learn exactly how to change the filter in your GE dehumidifier—from identifying when it’s time for a replacement to safely installing a new one and resetting the filter alert. Whether you’re a first-time user or just need a refresher, we’ve broken down every step with clear instructions, helpful tips, and troubleshooting advice. By the end, you’ll be able to maintain your dehumidifier like a pro and enjoy cleaner, drier air all year round.
Why Changing the Filter Matters
Your GE dehumidifier’s air filter plays a crucial role in both performance and air quality. As the unit pulls moist air from your room, that air passes through the filter before reaching the internal coils. A clean filter ensures unrestricted airflow, allowing the dehumidifier to work efficiently. But when the filter becomes dirty or clogged, several problems can arise:
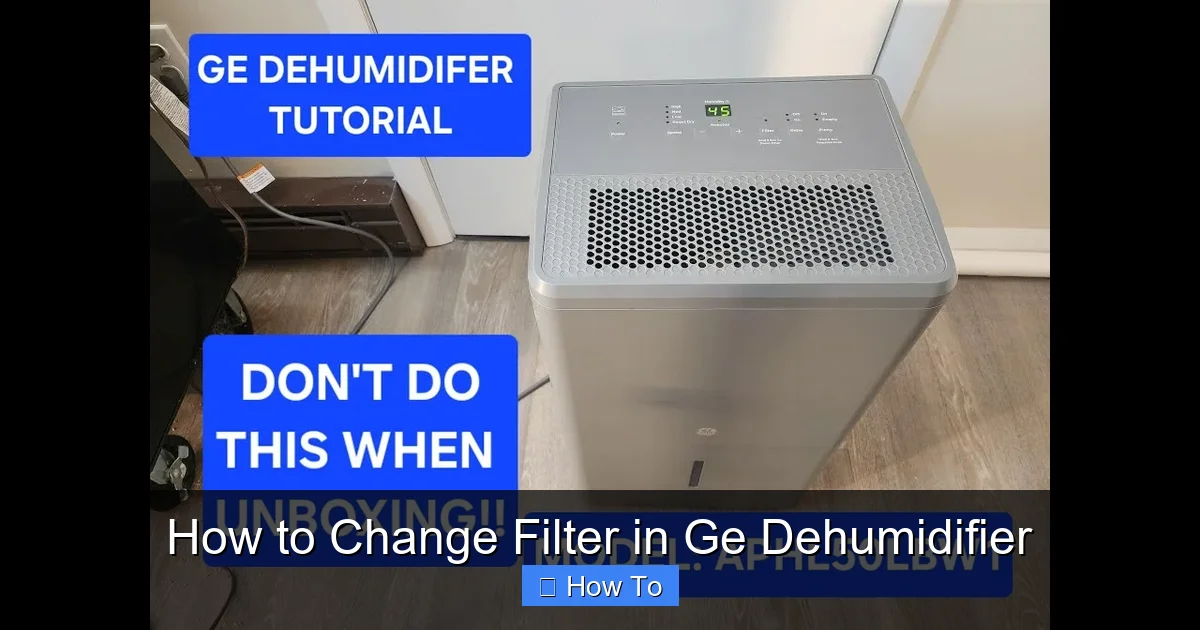
Visual guide about How to Change Filter in Ge Dehumidifier
Image source: i.ytimg.com
- Reduced moisture removal: Restricted airflow means the unit can’t pull in enough air to extract humidity effectively.
- Increased energy consumption: The compressor and fan have to work harder, leading to higher electricity bills.
- Poor indoor air quality: A dirty filter can’t trap allergens and pollutants, so they recirculate in your home.
- Potential mold growth: Moisture buildup around a clogged filter can encourage mold, which may spread into the air.
- Shorter appliance lifespan: Constant strain on components can lead to premature wear and costly repairs.
By changing the filter regularly, you not only protect your investment but also create a healthier living environment—especially important for people with allergies, asthma, or respiratory sensitivities.
When Should You Change the Filter?
Most GE dehumidifiers come equipped with a filter indicator light that alerts you when it’s time for a replacement. This light typically turns on after about 250 hours of operation, though actual timing depends on usage and environmental conditions.
However, don’t rely solely on the indicator. It’s a good idea to visually inspect the filter every 1–2 months, especially if:
- You run the dehumidifier daily or in high-humidity areas (like basements or laundry rooms).
- You have pets that shed fur or dander.
- You live in a dusty or polluted environment.
- You notice reduced airflow from the vents or a musty smell.
If the filter looks gray, caked with dust, or has visible debris, it’s definitely time for a change—even if the light hasn’t come on yet.
What You’ll Need
Before you begin, gather these items to make the process quick and hassle-free:
- Genuine GE replacement filter (check your model number—common sizes include ADEW10L, ADEW12L, ADEW15L, etc.)
- Soft cloth or microfiber towel
- Vacuum cleaner with brush attachment (optional, for cleaning coils)
- Small brush or old toothbrush (for stubborn dust)
- Bucket of warm, soapy water (if cleaning the water tank)
- Gloves (optional, if you’re sensitive to dust)
Pro Tip: Always purchase filters directly from GE or authorized retailers. Generic filters may not fit snugly, allowing unfiltered air to bypass the system.
Step-by-Step Instructions: How to Change the Filter
Step 1: Turn Off and Unplug the Dehumidifier
Safety is paramount. Before touching any part of your GE dehumidifier, make sure it’s completely powered down:
- Press the Power button to turn off the unit.
- Unplug the power cord from the wall outlet.
- Wait at least 5–10 minutes to allow internal components to cool down.
Never attempt to remove the filter while the unit is plugged in or running. Even if the display is off, residual electricity could pose a risk.
Step 2: Locate the Filter Compartment
The filter is usually housed behind a removable front grille or side panel. On most GE dehumidifiers, it’s located at the front or side of the unit, near the air intake vent.
Look for a small latch, clip, or sliding mechanism. Some models have a labeled “Filter” icon or text near the grille. If you’re unsure, consult your user manual—GE provides model-specific diagrams online.
Example: On the GE ADEW12L model, the filter door is on the right side and opens by pressing the release tab at the top.
Step 3: Remove the Old Filter
Once you’ve located the filter compartment:
- Gently press the latch or slide the cover open.
- Carefully pull out the old filter. It should slide out smoothly—don’t force it.
- Inspect the filter: Is it discolored? Clogged with hair or dust? If so, it’s definitely time for a replacement.
If the filter is stuck, check for hidden clips or screws. Some older models may require a Phillips-head screwdriver to remove a panel.
Step 4: Clean the Filter Area (Optional but Recommended)
While the filter is out, take a moment to clean the surrounding area:
- Use a soft brush or vacuum attachment to remove dust from the air intake grille and internal housing.
- Wipe down the filter compartment with a dry or slightly damp cloth.
- Avoid using water near electrical components—just a light dusting is enough.
This prevents debris from re-entering the system when you install the new filter.
Step 5: Install the New Filter
Now it’s time to insert the fresh filter:
- Check the airflow direction arrow on the filter frame—it should point toward the unit (into the dehumidifier).
- Slide the new filter into the slot, making sure it sits flat and secure.
- Close the filter door or panel until it clicks into place.
Important: Never run the dehumidifier without a filter. Doing so allows dust and debris to accumulate on the coils, reducing efficiency and potentially damaging the unit.
Step 6: Reset the Filter Indicator Light
After installing the new filter, you’ll need to reset the filter reminder:
- Plug the dehumidifier back into the outlet.
- Turn it on using the Power button.
- Press and hold the Filter Reset button (usually labeled “Filter” or “Reset Filter”) for 3–5 seconds.
- The indicator light should turn off, confirming the reset.
If your model doesn’t have a dedicated reset button, turning the unit off and on may reset the timer. Check your manual for specific instructions.
Step 7: Test the Unit
Run the dehumidifier for 10–15 minutes and listen for normal operation:
- The fan should run smoothly without unusual noises.
- Air should flow freely from the vents.
- The display should show normal settings (no error codes).
If everything looks and sounds good, you’re all set! Your GE dehumidifier is now ready to deliver clean, dry air.
Additional Maintenance Tips During Filter Changes
Since you’re already servicing your dehumidifier, why not do a quick overall check? These simple tasks can boost performance and extend the life of your unit:
Clean the Water Tank
Empty and rinse the collection tank with warm, soapy water. Use a soft brush to scrub away any residue or mildew. Dry thoroughly before reinserting.
Inspect the Coils
Over time, dust can build up on the evaporator and condenser coils. Use a soft brush or vacuum with a brush attachment to gently remove debris. Avoid bending the delicate fins.
Check the Drain Hose (If Applicable)
If your model uses a continuous drain hose, ensure it’s not kinked or clogged. Flush it with water to remove any blockages.
Wipe Down the Exterior
Use a damp cloth to clean the outer casing, control panel, and vents. This prevents dust from entering the unit and keeps it looking new.
Troubleshooting Common Issues
Even with proper maintenance, you might encounter a few hiccups. Here’s how to handle common problems:
Filter Won’t Slide In or Out
If the filter is stuck:
- Double-check the orientation—make sure the airflow arrow points inward.
- Look for obstructions like bent frames or foreign objects.
- Ensure the filter compartment isn’t warped or damaged.
Never force the filter. If it doesn’t fit easily, you may have the wrong model.
Filter Light Won’t Turn Off After Replacement
If the indicator remains on:
- Confirm you held the reset button long enough (usually 3–5 seconds).
- Try unplugging the unit for 1 minute, then plug it back in and reset.
- Check if the filter door is fully closed—some models won’t reset if the compartment isn’t sealed.
Reduced Airflow After Filter Change
If the unit seems weaker:
- Verify the new filter isn’t damaged or folded.
- Ensure the air intake and exhaust vents aren’t blocked by furniture or curtains.
- Check if the coils are still dirty—sometimes a deep clean is needed.
Unusual Odors
A musty or burning smell could indicate:
- Mold growth inside the unit—clean the tank and coils thoroughly.
- A damaged filter—replace it immediately.
- Overheating due to restricted airflow—turn off the unit and inspect for blockages.
How Often Should You Replace the Filter?
While the general rule is every 1–3 months, your specific schedule depends on several factors:
| Usage Level | Recommended Replacement Frequency |
|---|---|
| Light (seasonal use, low humidity) | Every 2–3 months |
| Moderate (daily use, average humidity) | Every 1–2 months |
| Heavy (daily use, high humidity, pets, allergies) | Every 3–4 weeks |
Set a calendar reminder or mark your filter packaging with the installation date to stay on track.
Where to Buy Genuine GE Filters
Always use authentic GE replacement filters to ensure compatibility and performance. You can purchase them from:
- The official GE Appliances website
- Authorized retailers like Home Depot, Lowe’s, or Best Buy
- Trusted online marketplaces (look for “sold by GE” or “authorized seller”)
Avoid cheap knockoffs—they may save money upfront but can cost more in reduced efficiency and potential damage.
Final Thoughts
Changing the filter in your GE dehumidifier is a simple yet essential task that pays big dividends in air quality, energy efficiency, and appliance longevity. With just a few minutes every month or two, you can keep your unit running at peak performance and enjoy a healthier, more comfortable home.
Remember: safety first, follow the steps, and don’t skip the reset. And if you ever feel unsure, consult your user manual or contact GE customer support. Your dehumidifier works hard to protect your space—give it the care it deserves.