
Changing the filter in your Santa Fe dehumidifier is a simple but essential maintenance task that ensures optimal performance and cleaner air. This guide walks you through the entire process, from identifying your model to installing a new filter and troubleshooting common issues.
Quick Answers to Common Questions
Tip/Question?
How often should I change my Santa Fe dehumidifier filter?
Replace or clean the filter every 3–6 months, or more often if you live in a dusty area, have pets, or use the unit heavily.
Tip/Question?
Can I wash and reuse a disposable filter?
No—disposable filters are not designed to be washed. Attempting to clean them can damage the media and reduce effectiveness. Only wash filters labeled as reusable.
Tip/Question?
What if my filter looks clean but the indicator light is on?
The sensor may be based on runtime, not visual condition. Still replace the filter as recommended and reset the indicator to ensure accurate future alerts.
Tip/Question?
Where can I buy genuine Santa Fe filters?
Visit the official Santa Fe website or authorized retailers like Amazon, Grainger, or HVAC supply stores. Always verify compatibility with your model number.
Tip/Question?
My dehumidifier is making a rattling noise after filter change—what’s wrong?
The filter may not be seated properly, or the grille isn’t fully closed. Turn off the unit, recheck the installation, and ensure all parts are secure.
How to Change Filter in Santa Fe Dehumidifier: A Complete Step-by-Step Guide
If you own a Santa Fe dehumidifier, you already know how valuable these units are for maintaining comfortable humidity levels in your home, basement, or crawl space. But like any appliance, they need regular care to keep working efficiently. One of the most important—and often overlooked—tasks is changing the air filter.
Over time, the filter collects dust, pet dander, mold spores, and other airborne particles. A clogged or dirty filter restricts airflow, forces the unit to work harder, increases energy consumption, and can even lead to premature breakdowns. Worse, it may allow contaminants to recirculate into your living space, affecting indoor air quality and potentially triggering allergies or respiratory issues.
The good news? Changing the filter in your Santa Fe dehumidifier is quick, easy, and takes less than 10 minutes once you know how. In this comprehensive guide, we’ll walk you through every step—from identifying your model and locating the filter to safely removing the old one and installing a fresh replacement. We’ll also share practical tips, troubleshooting advice, and answers to frequently asked questions so you can keep your dehumidifier running like new.
Whether you’re a first-time owner or just need a refresher, this guide has everything you need to master filter maintenance like a pro.
Why Changing the Filter Matters

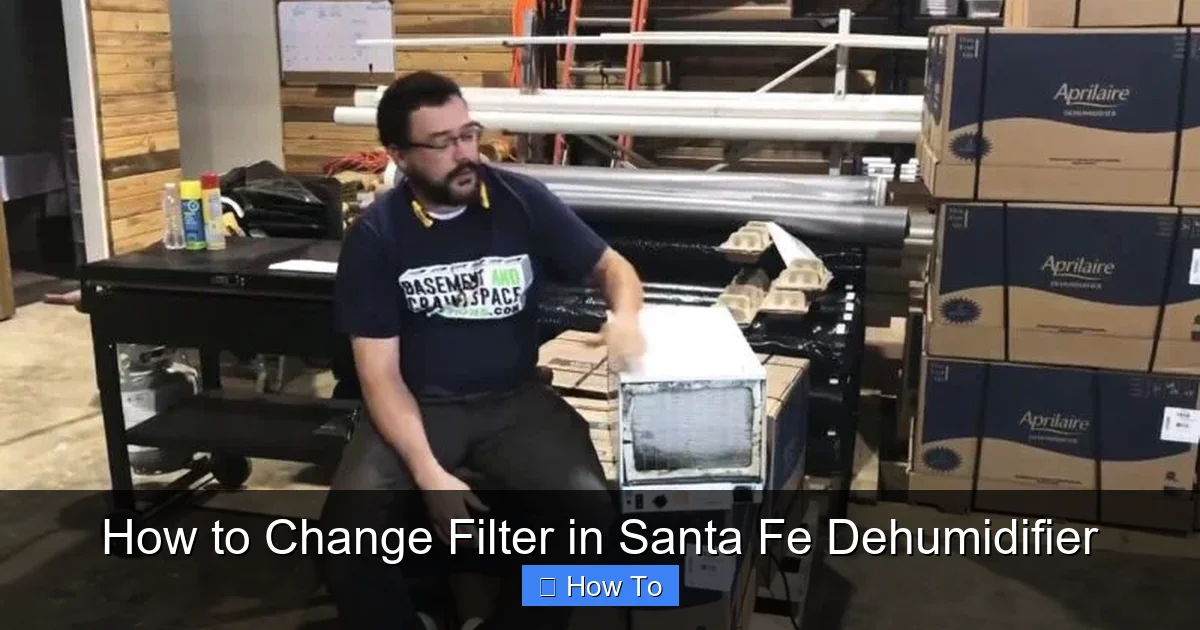
Visual guide about How to Change Filter in Santa Fe Dehumidifier
Image source: i.ytimg.com
Before diving into the how-to, let’s talk about why this simple task is so important. Your Santa Fe dehumidifier doesn’t just remove moisture—it also cleans the air passing through it. The built-in air filter captures particulates that could otherwise settle on surfaces, grow into mold, or be breathed in by you and your family.
When the filter becomes saturated with debris, several problems can occur:
– **Reduced efficiency**: Restricted airflow means the dehumidifier can’t pull in as much air, slowing down moisture removal.
– **Higher energy bills**: The compressor and fan must work harder to compensate, increasing electricity use.
– **Frost buildup**: In colder environments, restricted airflow can cause the evaporator coils to freeze, triggering auto-shutdowns.
– **Shortened lifespan**: Constant strain on internal components leads to wear and tear, potentially requiring costly repairs or early replacement.
– **Poor air quality**: A dirty filter may release trapped particles back into the room instead of capturing them.
By changing the filter regularly—typically every 3 to 6 months, or more often in dusty or high-humidity environments—you protect your investment, save money on energy, and breathe easier.
Step 1: Identify Your Santa Fe Dehumidifier Model
Not all Santa Fe dehumidifiers are built the same. The brand offers a range of models designed for different spaces and applications, including:
– **Compact units** (e.g., Santa Fe Compact 70, Compact 90)
– **Mid-size units** (e.g., Santa Fe Advance, Santa Fe Max Dry Dual XT)
– **Whole-house or crawl space models** (e.g., Santa Fe Ultra, Santa Fe Impact)
Each model has a slightly different filter location and access method. That’s why the first step is always to identify your specific unit.
How to Find Your Model Number
Look for a label or sticker on the back, side, or bottom of the dehumidifier. It usually includes:
– Model number (e.g., “Santa Fe Advance 100”)
– Serial number
– Manufacturing date
– Electrical specifications
You can also check the user manual—if you’ve lost it, most Santa Fe manuals are available for free download on the manufacturer’s website.
Once you know your model, you can determine:
– Whether your filter is washable or disposable
– Where the filter is located (front grille, side panel, or behind a cover)
– The correct replacement filter part number
Pro tip: Take a photo of the model label and save it on your phone for quick reference during future maintenance.
Step 2: Gather Your Tools and Supplies
You won’t need much to change the filter, but having the right items ready will make the process smoother.
What You’ll Need
- Replacement filter (or cleaning supplies if reusing a washable filter)
- Soft brush or vacuum with brush attachment (for cleaning the area around the filter)
- Microfiber cloth (to wipe down surfaces)
- Gloves (optional, but recommended if you have sensitive skin or allergies)
- Screwdriver (only if your model requires removing screws—most don’t)
Choosing the Right Filter
Always use a filter that matches your model’s specifications. Santa Fe typically uses MERV 8 or MERV 11 pleated filters, which offer excellent particle capture without restricting airflow.
You have two options:
1. **Genuine Santa Fe filters**: These are designed specifically for your unit and often come with a warranty. They’re available directly from the manufacturer or authorized dealers.
2. **Compatible aftermarket filters**: Many third-party brands make filters that fit Santa Fe units. Look for ones labeled “compatible with Santa Fe [your model]” and check customer reviews for quality.
Avoid generic furnace filters—they may fit physically but often lack the right density or frame design, leading to air bypass (where air flows around the filter instead of through it).
If your model uses a washable filter (common in some compact units), you won’t need a replacement—just clean the existing one with mild soap and water.
Step 3: Turn Off and Unplug the Dehumidifier
Safety first! Before touching any part of your dehumidifier, make sure it’s completely powered down.
Steps to Power Down Safely
- Turn off the unit using the power button or control panel.
- Unplug the power cord from the wall outlet. Do not rely solely on the power switch—unplugging ensures no electrical current is flowing.
- Wait 5–10 minutes if the unit was recently running. This allows internal components to cool down and reduces the risk of burns or electrical shock.
Never attempt to remove the filter while the dehumidifier is plugged in or running. Even if the fan isn’t spinning, capacitors inside can hold a charge.
Step 4: Locate the Air Filter
Now that your unit is safe to handle, it’s time to find the filter. The location varies by model, but here are the most common setups:
Front Grille Access (Most Common)
Many Santa Fe models—including the Compact and Advance series—have a front-facing air intake grille. The filter sits directly behind this grille.
To access it:
– Look for a rectangular or square grille on the front of the unit.
– Gently pull the grille outward. It’s usually held in place by clips or friction—no tools needed.
– The filter will be visible behind the grille.
Side Panel Access
Some larger models, like the Santa Fe Ultra, have side-mounted filters. You’ll see a removable panel on the left or right side of the unit.
To open:
– Look for small tabs or a latch.
– Press or slide the latch to release the panel.
– Swing or slide the panel open to reveal the filter.
Bottom or Rear Access (Less Common)
A few models require accessing the filter from underneath or the back. This is rare but may involve removing a bottom cover or rear vent.
Tip: If you’re unsure, consult your user manual or search online for “[your model] filter location” with an image.
Step 5: Remove the Old Filter
Once you’ve accessed the filter compartment, carefully remove the old filter.
How to Remove the Filter Safely
- Grasp the filter by its frame—not the pleated material—to avoid tearing.
- Slide it straight out in the direction of the airflow arrows (usually marked on the filter frame).
- Note the orientation: Most filters have an arrow indicating airflow direction. Take a photo or make a mental note so you can install the new one correctly.
- Inspect the filter: If it’s gray, clogged with dust, or smells musty, it’s definitely time for a change.
If your filter is washable:
– Rinse it under lukewarm water.
– Use a mild detergent if needed (avoid harsh chemicals).
– Let it air dry completely (24–48 hours) before reinstalling.
– Never reinstall a damp filter—it can promote mold growth.
Dispose of disposable filters in a sealed bag to prevent spreading dust and allergens.
Step 6: Clean the Filter Compartment
While the filter is out, take a moment to clean the surrounding area. Dust and debris can accumulate in the filter housing and reduce efficiency.
Cleaning Tips
- Use a soft brush or vacuum with a brush attachment to remove loose dust from the grille and compartment.
- Wipe down the interior surfaces with a dry or slightly damp microfiber cloth.
- Check for signs of mold or mildew—if present, use a diluted vinegar solution (1:1 water and white vinegar) to disinfect. Let it dry completely.
- Ensure no obstructions (like paper or fabric) are blocking the airflow path.
This quick cleaning step can significantly improve your dehumidifier’s performance and extend the life of your new filter.
Step 7: Install the New Filter
Now it’s time to put in the fresh filter.
Proper Installation Steps
- Check the airflow arrow on the new filter. It should point toward the unit (in the same direction as the old filter was installed).
- Slide the filter into the slot gently but firmly. It should fit snugly without forcing.
- Ensure it’s seated properly—there should be no gaps around the edges where air could bypass the filter.
- Reattach the grille or panel by pressing it back into place until it clicks or locks.
Double-check that everything is secure before moving on.
Step 8: Reset the Filter Indicator (If Applicable)
Many modern Santa Fe dehumidifiers come with a filter change indicator light or message on the control panel. This feature reminds you when it’s time to replace the filter based on runtime or airflow sensors.
After installing a new filter, you’ll need to reset this indicator so it doesn’t keep flashing unnecessarily.
How to Reset the Filter Light
The exact method varies by model, but common steps include:
– Press and hold the “Filter” or “Reset” button for 3–5 seconds.
– Navigate to the settings menu using the control panel and select “Reset Filter.”
– Turn the unit off and on again (some models reset automatically after a power cycle).
Refer to your user manual for model-specific instructions. If you can’t find the reset option, contact Santa Fe customer support—they’re very responsive and helpful.
Step 9: Plug In and Test the Unit
With the new filter installed and the indicator reset, it’s time to test your dehumidifier.
Testing Procedure
- Plug the unit back into a grounded outlet.
- Turn it on using the power button.
- Set your desired humidity level (typically 45–50% for most homes).
- Listen for normal operation: the fan should run smoothly, and you should feel air flowing through the intake grille.
- Check that the filter indicator light is off (if applicable).
Let the unit run for 15–30 minutes and observe its performance. If everything sounds and feels normal, you’re all set!
Troubleshooting Common Issues
Even with careful installation, you might encounter a few hiccups. Here’s how to handle the most common problems:
Filter Doesn’t Fit Properly
– Double-check that you have the correct filter model.
– Ensure the airflow arrow is pointing in the right direction.
– Trim excess material only if the filter is slightly oversized and the manufacturer allows it (not recommended for genuine filters).
Unit Won’t Turn On After Filter Change
– Confirm the power cord is fully plugged in.
– Check that the grille or panel is securely closed—some models have safety switches that prevent operation if the cover isn’t latched.
– Reset the circuit breaker if the unit tripped during handling.
Reduced Airflow or Weak Performance
– Verify the new filter isn’t damaged or folded.
– Ensure the intake and exhaust vents aren’t blocked by furniture or walls.
– Clean the coils if they appear dirty (this requires more advanced maintenance).
Filter Indicator Still On
– Make sure you performed the reset procedure correctly.
– Some models require a full power cycle (unplug for 1 minute, then plug back in).
– If the light persists, the sensor may be faulty—contact Santa Fe support.
Maintenance Schedule and Best Practices
To keep your Santa Fe dehumidifier in peak condition, follow a regular maintenance routine:
| Task | Frequency |
|——|———|
| Check filter condition | Every 1–2 months |
| Replace or clean filter | Every 3–6 months (or as needed) |
| Clean exterior and vents | Monthly |
| Inspect coils and drain hose | Every 6 months |
| Professional servicing | Annually (for whole-house units) |
Additional tips:
– Keep the area around the dehumidifier clear (at least 6–12 inches of space on all sides).
– Empty the water bucket regularly or ensure the continuous drain hose is functioning.
– Use a hygrometer to monitor indoor humidity levels and adjust settings accordingly.
By staying proactive, you’ll enjoy better air quality, lower energy bills, and a longer-lasting appliance.
Conclusion
Changing the filter in your Santa Fe dehumidifier is one of the simplest yet most impactful maintenance tasks you can do. It takes just a few minutes, costs very little, and delivers big benefits—cleaner air, improved efficiency, and peace of mind.
Remember: always identify your model, use the right filter, power down the unit, and follow the step-by-step process outlined above. Don’t forget to reset the filter indicator and test the system afterward.
With regular care, your Santa Fe dehumidifier will continue to protect your home from excess moisture, mold, and allergens for years to come. So grab that new filter, roll up your sleeves, and give your unit the TLC it deserves. Your lungs—and your utility bill—will thank you.