
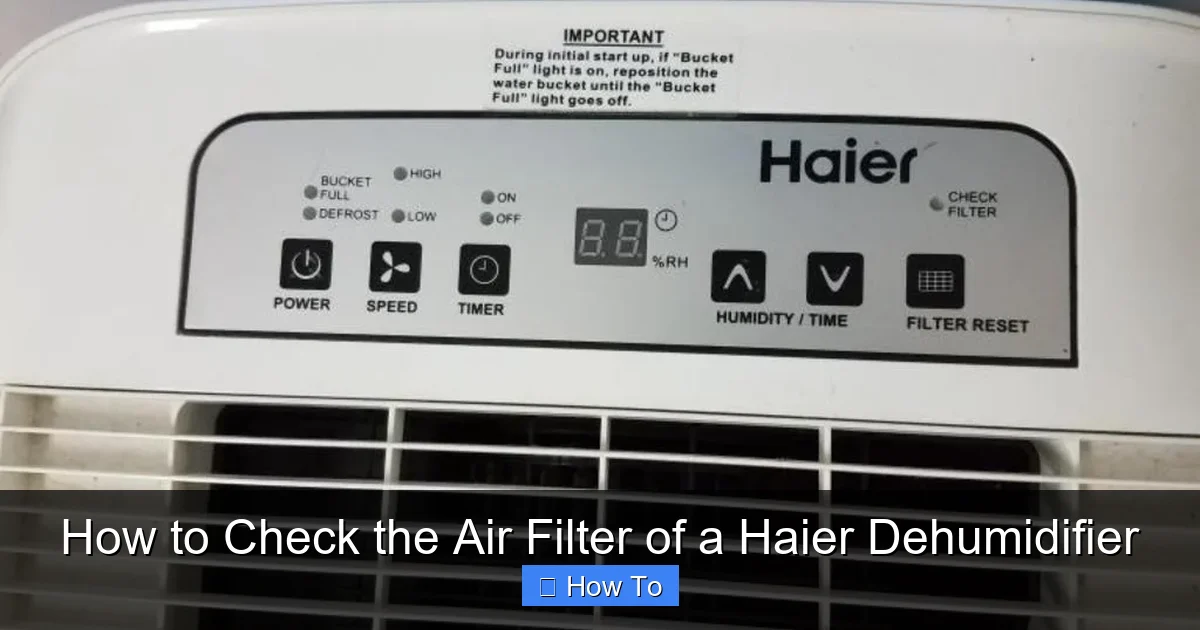
Regularly checking and cleaning your Haier dehumidifier’s air filter is essential for optimal performance and better air quality. This guide walks you through locating, inspecting, and maintaining the filter with easy-to-follow steps.
Quick Answers to Common Questions
How often should I check the air filter?
Check the filter every 2–4 weeks during heavy use, or monthly during lighter use. Replace it every 6–12 months.
Can I wash the air filter with soap?
Yes, use mild dish soap and warm water. Avoid harsh chemicals that can damage the filter material.
What if my filter is damaged?
Replace it immediately. A torn filter won’t trap particles effectively and can harm the unit’s internal components.
Do I need to unplug the dehumidifier before checking the filter?
Yes, always unplug the unit for safety before performing any maintenance.
Can I use a hair dryer to dry the filter faster?
No, avoid heat sources. Let the filter air dry completely to prevent warping or mold growth.
How to Check the Air Filter of a Haier Dehumidifier
Keeping your Haier dehumidifier in top working condition isn’t just about emptying the water tank—it’s also about maintaining its internal components, especially the air filter. The air filter plays a crucial role in capturing dust, pollen, pet dander, and other airborne particles before they circulate back into your home. Over time, this filter can become clogged, reducing airflow and making your dehumidifier less effective. In some cases, a dirty filter can even cause the unit to overheat or shut down unexpectedly.
In this comprehensive guide, you’ll learn exactly how to check the air filter of your Haier dehumidifier, step by step. Whether you’re a first-time owner or just need a refresher, we’ll cover everything from locating the filter to cleaning and replacing it. We’ll also share practical tips to help you maintain your dehumidifier year-round, troubleshoot common issues, and understand why this simple task is so important for both performance and air quality.
By the end of this guide, you’ll feel confident performing this essential maintenance task on your own—no tools or technical expertise required. Let’s get started!
Why Checking the Air Filter Matters
Before diving into the steps, it’s helpful to understand why checking the air filter is so important. The air filter in your Haier dehumidifier acts like a gatekeeper. As air is drawn into the unit, it passes through the filter, which traps contaminants. Clean air then moves through the internal coils and fan system, where moisture is removed and dry air is released back into the room.
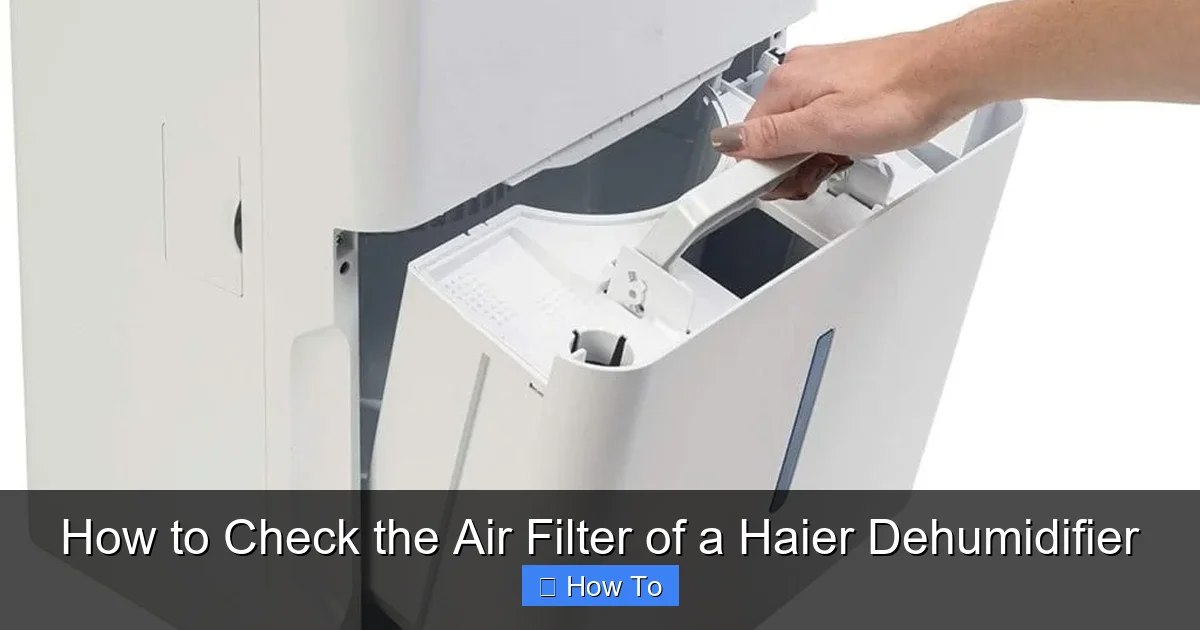
Visual guide about How to Check the Air Filter of a Haier Dehumidifier
Image source: bestdehumidifier.reviews
When the filter becomes clogged with dust and debris, several problems can occur:
- Reduced airflow: A dirty filter restricts the amount of air that can pass through, forcing the fan to work harder.
- Lower dehumidifying efficiency: With less air moving through the system, the unit can’t extract moisture as effectively.
- Increased energy consumption: The motor runs longer and uses more electricity to achieve the same results.
- Potential overheating: Restricted airflow can cause internal components to overheat, triggering safety shut-offs.
- Poor indoor air quality: A clogged filter may release trapped particles back into the air or fail to capture new contaminants.
Regularly checking and cleaning the filter helps prevent these issues, ensuring your dehumidifier runs smoothly and efficiently. It also contributes to a healthier living environment, especially for people with allergies, asthma, or respiratory sensitivities.
What You’ll Need
Thankfully, checking and cleaning the air filter of a Haier dehumidifier doesn’t require any special tools or equipment. Here’s a simple list of what you’ll need:
- A soft cloth or paper towel
- Mild dish soap (optional, for cleaning)
- Warm water
- A clean, dry towel
- A vacuum cleaner with a brush attachment (optional, for light dusting)
Most of these items are likely already in your home. Avoid using harsh chemicals, bleach, or abrasive scrubbers, as they can damage the filter material. If your filter is heavily soiled or damaged, you may also want to have a replacement filter on hand—more on that later.
Step-by-Step Guide to Checking the Air Filter
Now that you understand the importance of the air filter and have your supplies ready, let’s walk through the process of checking it. The steps are straightforward and should take less than 10 minutes to complete.
Step 1: Turn Off and Unplug the Dehumidifier
Safety first! Before doing any maintenance on your Haier dehumidifier, always turn it off and unplug it from the electrical outlet. This prevents accidental startup and reduces the risk of electric shock. Even if the unit appears to be off, it’s best to disconnect it completely.
If your dehumidifier has been running recently, give it a few minutes to cool down. The internal components, especially the compressor, can get warm during operation. Handling the unit while it’s hot could lead to burns or damage.
Step 2: Locate the Air Filter
The air filter in most Haier dehumidifiers is located behind the front grille or side panel. The exact position may vary slightly depending on your model, but it’s typically on the side or front of the unit where air is drawn in.
Look for a removable cover or grille with small vents or slats. This is usually held in place by clips, screws, or a simple snap-on design. Some models have a filter access door with a latch or button. If you’re unsure, consult your user manual—Haier often includes a diagram showing the filter location.
For example, on the Haier DH50E1 or DH70E1 models, the filter is behind the front grille. You’ll need to gently pull the grille outward to release it. On other models like the Haier DDE70EM, the filter may be on the side and accessed by sliding or lifting a panel.
Step 3: Remove the Filter Cover or Grille
Once you’ve located the filter compartment, carefully remove the cover or grille. If it’s held by clips, gently press or pull the edges to release them. Avoid using excessive force, as plastic clips can break.
If your model uses screws, use a Phillips-head screwdriver to remove them. Keep the screws in a small container so you don’t lose them. Some newer Haier models feature tool-free access, making this step even easier.
After removing the cover, set it aside in a safe place. You’ll need to reinstall it later, so keep it clean and free of dust.
Step 4: Take Out the Air Filter
With the cover removed, you should now see the air filter. It’s usually a rectangular or square mesh panel made of foam, polyester, or activated carbon. Gently pull the filter straight out of its slot.
Be careful not to bend or tear the filter during removal. If it feels stuck, wiggle it slightly while pulling. Some filters have a small handle or tab to make removal easier—look for this feature on your model.
Once the filter is out, inspect it visually. Hold it up to a light source if possible. If you can’t see light through the mesh, it’s likely clogged and needs cleaning.
Step 5: Inspect the Filter for Dirt and Damage
This is the key step in checking your air filter. Look closely at both sides of the filter for signs of dirt, dust, mold, or damage.
Common signs that the filter needs attention include:
- A thick layer of gray or black dust
- Visible mold or mildew (especially in humid environments)
- Frayed edges or holes in the mesh
- Discoloration or a musty smell
If the filter is only lightly dusty, a quick vacuum or rinse may be enough. But if it’s heavily soiled or damaged, it’s time to clean or replace it.
Step 6: Clean the Filter (If Needed)
If the filter is dirty but still in good condition, cleaning it is simple. Here’s how:
First, use a vacuum cleaner with a brush attachment to remove loose dust from both sides of the filter. This helps prevent clogging your sink or tub with debris.
Next, fill a sink or basin with warm water and add a few drops of mild dish soap. Submerge the filter and gently agitate it to loosen dirt. Avoid scrubbing too hard, as this can damage the mesh.
For stubborn grime, let the filter soak for 10–15 minutes. Then, rinse it thoroughly under cool running water until all soap residue is gone. Make sure water flows through the filter, not just over the surface.
Never use hot water, bleach, or strong detergents. These can degrade the filter material and reduce its effectiveness.
Step 7: Dry the Filter Completely
After cleaning, it’s essential to dry the filter completely before reinstalling it. Place the filter on a clean towel in a well-ventilated area, away from direct sunlight or heat sources.
Allow it to air dry for at least 4–6 hours, or overnight if possible. Do not use a hair dryer, heater, or clothes dryer to speed up the process—excessive heat can warp or melt the filter.
A damp filter can promote mold growth inside the dehumidifier, leading to unpleasant odors and potential health risks. Patience here pays off in the long run.
Step 8: Reinstall the Filter and Cover
Once the filter is completely dry, carefully slide it back into its slot. Make sure it’s oriented correctly—most filters have a directional arrow or label indicating the airflow direction. If you’re unsure, refer to your user manual or the old filter’s position.
After inserting the filter, replace the cover or grille. Press it firmly until all clips snap into place or reattach the screws. Ensure the cover is secure to prevent air leaks.
Step 9: Plug In and Test the Unit
With everything reassembled, plug the dehumidifier back into the outlet and turn it on. Set it to your desired humidity level and listen for normal operation.
You should notice improved airflow and quieter performance if the filter was clogged. The unit should also dehumidify more efficiently, especially in high-moisture areas like basements or laundry rooms.
How Often Should You Check the Air Filter?
The frequency of filter checks depends on several factors, including usage, environment, and season.
As a general rule:
- Every 2 weeks: During peak humidity months (summer) or in high-traffic homes with pets or smokers.
- Every 4 weeks: During mild weather or in low-usage settings.
- Every 6–12 months: Replace the filter, even if it looks clean, to ensure optimal performance.
If you notice reduced airflow, longer run times, or a musty smell, check the filter immediately—it may need cleaning or replacement sooner than expected.
Troubleshooting Common Issues
Even with regular maintenance, you might encounter some issues when checking your Haier dehumidifier’s air filter. Here are a few common problems and how to fix them:
Filter Won’t Come Out
If the filter is stuck, don’t force it. Check for hidden clips or tabs that may be holding it in place. Some models have a locking mechanism that requires a gentle push or twist to release. Consult your user manual for model-specific instructions.
Filter Is Damaged or Torn
A torn or frayed filter won’t capture particles effectively and should be replaced. Contact Haier customer support or visit their website to order a genuine replacement filter. Using a damaged filter can allow dust to enter the internal components, causing long-term damage.
Unit Still Isn’t Working Well After Cleaning
If your dehumidifier still struggles to remove moisture after cleaning the filter, the issue may lie elsewhere. Check the water tank (is it full?), the coils (are they frozen?), or the humidity settings. In some cases, the compressor or fan motor may need professional servicing.
Filter Smells Musty
A musty odor from the filter often indicates mold growth. Clean the filter thoroughly and ensure it dries completely. If the smell persists, consider replacing the filter and cleaning the interior of the dehumidifier with a vinegar-water solution (1:1 ratio) to kill mold spores.
Tips for Maintaining Your Haier Dehumidifier
Checking the air filter is just one part of keeping your dehumidifier in great shape. Here are a few additional tips to maximize its lifespan and efficiency:
- Empty the water tank regularly to prevent overflow and bacterial growth.
- Clean the exterior with a damp cloth and mild cleaner to remove dust and grime.
- Keep the unit away from walls and furniture to ensure proper airflow.
- Use a timer or smart plug to run the dehumidifier during off-peak hours and save energy.
- Store the unit properly during off-seasons by cleaning it, removing the filter, and covering it with a breathable cloth.
Conclusion
Checking the air filter of your Haier dehumidifier is a simple but vital maintenance task that can significantly impact performance, energy efficiency, and indoor air quality. By following the steps in this guide—turning off the unit, locating and removing the filter, inspecting and cleaning it, and reinstalling it properly—you’ll keep your dehumidifier running smoothly for years to come.
Remember, a clean filter means cleaner air, better moisture control, and a healthier home. Make it a habit to check the filter every few weeks, especially during humid seasons. With a little care and attention, your Haier dehumidifier will continue to protect your space from excess moisture and allergens.
Now that you know how to check the air filter, take a few minutes today to give your dehumidifier the care it deserves. Your home—and your lungs—will thank you.