
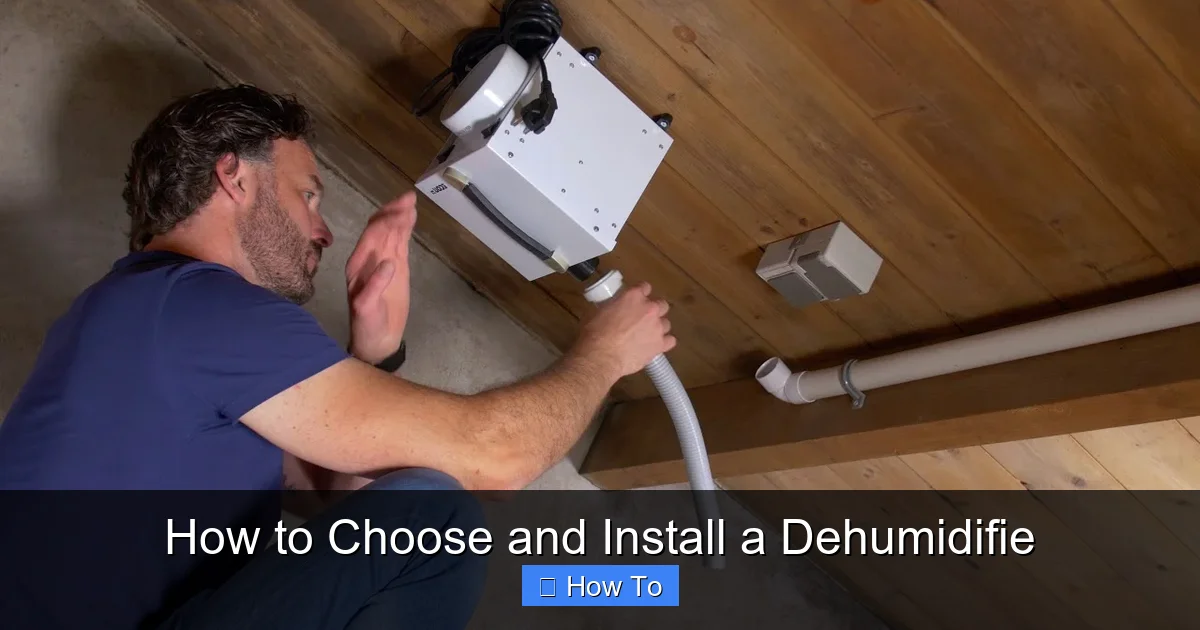
Choosing and installing a dehumidifier can seem overwhelming, but it doesn’t have to be. This guide walks you through selecting the right model for your space, understanding key features, and installing it properly for maximum efficiency. With the right setup, you’ll enjoy fresher air, fewer allergens, and a healthier home.
Quick Answers to Common Questions
Tip/Question?
How often should I empty the water tank?
It depends on humidity levels, but check it daily during humid weather. Most units hold 1–2 gallons and can fill in 12–24 hours.
Tip/Question?
Can I run a dehumidifier all the time?
Yes, especially in damp areas. Use the auto-humidistat to maintain 40–50% humidity and save energy.
Tip/Question?
Should I close doors and windows when using a dehumidifier?
Yes, for best results. Closing off the space helps the unit focus on removing moisture efficiently.
Tip/Question?
Is a bigger dehumidifier always better?
No. An oversized unit may short-cycle, reducing efficiency. Choose one matched to your room size and humidity level.
Tip/Question?
Can I use a dehumidifier in winter?
Yes, but refrigerant models may frost up below 65°F. Use a desiccant model in cold garages or crawl spaces.
How to Choose and Install a Dehumidifier: A Complete Guide
If you’ve ever noticed musty smells, peeling paint, or condensation on your windows, you might have a humidity problem. High indoor humidity doesn’t just feel uncomfortable—it can lead to mold growth, dust mites, and even structural damage over time. The good news? A dehumidifier can help. But with so many models and features on the market, knowing how to choose and install a dehumidifier can feel like a puzzle.
This guide will walk you through everything you need to know—from understanding humidity levels to picking the right unit and setting it up for success. Whether you’re tackling a damp basement, a humid bathroom, or just want better air quality in your living space, we’ve got you covered. By the end, you’ll be confident in selecting, installing, and maintaining a dehumidifier that keeps your home fresh and healthy.
Step 1: Understand Why You Need a Dehumidifier
Before you buy anything, it’s important to know why you need a dehumidifier. High humidity—typically above 60%—creates the perfect environment for mold, mildew, and dust mites. These not only damage your home but can also trigger allergies and respiratory issues.
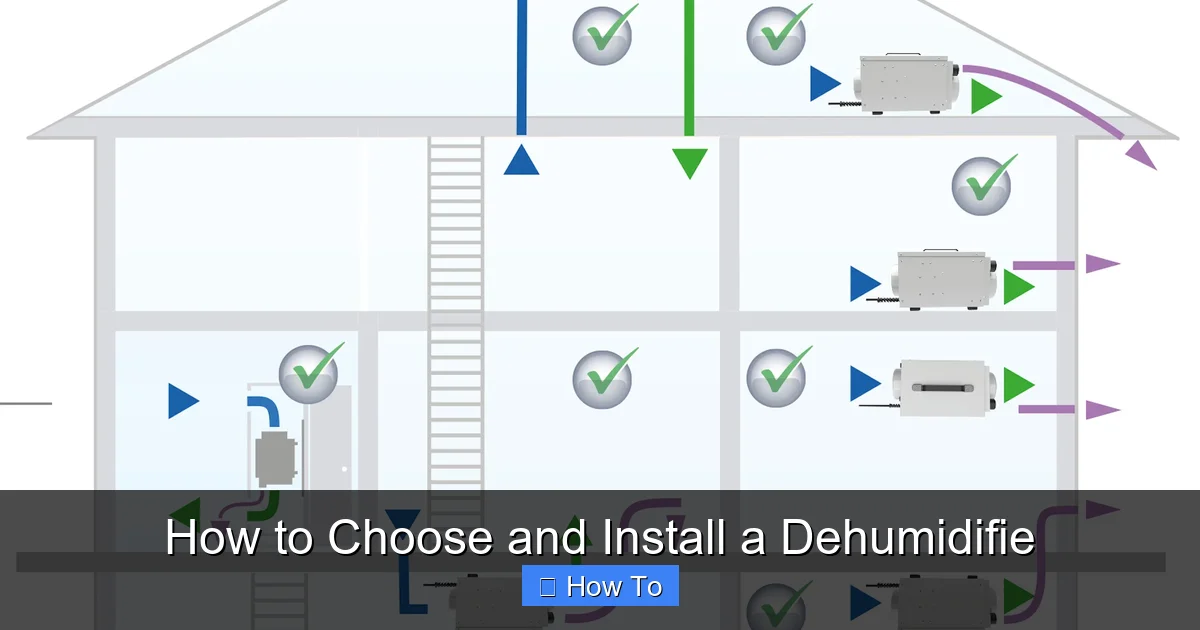
Visual guide about How to Choose and Install a Dehumidifie
Image source: ecor-pro.com
Common signs you need a dehumidifier include:
- Condensation on windows or walls
- Musty odors, especially in basements or closets
- Visible mold or mildew spots
- Warped wood furniture or flooring
- Feeling sticky or clammy indoors, even when it’s cool
If you’re experiencing any of these, a dehumidifier is likely a smart investment. But not all dehumidifiers are created equal. The next step is figuring out which one is right for your needs.
Step 2: Determine the Right Size and Capacity
One of the biggest mistakes people make is buying a dehumidifier that’s too small—or too big—for their space. To choose correctly, you need to consider two main factors: room size and humidity level.
Measure Your Space
Start by measuring the square footage of the area you want to dehumidify. For example, a standard basement might be 1,000 square feet, while a small bathroom could be just 50 square feet. Most dehumidifiers list their coverage area, so this helps narrow your options.
Assess the Humidity Level
Next, determine how damp the space is. You can do this with a hygrometer, a small, inexpensive device that measures humidity. Here’s a quick guide:
- Normal (30–50% humidity): Choose a standard-capacity unit (20–30 pints per day).
- Moderately damp (50–60%): Opt for a mid-range model (30–50 pints per day).
- Very damp or wet (60%+ or standing water): Go for a high-capacity unit (50+ pints per day).
For example, a 1,000-square-foot basement with moderate dampness might need a 30- to 40-pint dehumidifier. But if it’s frequently flooded or smells strongly of mildew, a 70-pint model would be better.
Use a Sizing Chart
Many manufacturers provide sizing charts based on square footage and humidity. Here’s a general rule of thumb:
- Small rooms (up to 500 sq ft): 20–30 pints/day
- Medium rooms (500–1,500 sq ft): 30–50 pints/day
- Large spaces (1,500+ sq ft): 50–70+ pints/day
Remember: bigger isn’t always better. An oversized unit may cycle on and off too quickly, reducing efficiency and failing to remove moisture properly. Stick to the recommended range for your space.
Step 3: Choose the Right Type of Dehumidifier
Dehumidifiers come in several types, each suited to different needs and environments. Here are the most common options:
Refrigerant (Compressor) Dehumidifiers
These are the most common and affordable type. They work by pulling in moist air, cooling it to condense the moisture, and then reheating the air before releasing it. They’re great for warm, humid climates and typical home use.
Best for: Basements, laundry rooms, and living areas in moderate to warm temperatures.
Desiccant Dehumidifiers
These use a moisture-absorbing material (like silica gel) instead of a compressor. They’re quieter and work well in colder temperatures, making them ideal for garages, crawl spaces, or winter use.
Best for: Cold environments or noise-sensitive areas.
Whole-House Dehumidifiers
Installed as part of your HVAC system, these units dehumidify your entire home. They’re more expensive but highly efficient for large spaces or homes in very humid regions.
Best for: Large homes, new constructions, or areas with chronic humidity issues.
Mini or Portable Dehumidifiers
Small, lightweight units designed for closets, RVs, or small bathrooms. They hold less water and have lower capacity but are convenient for spot treatment.
Best for: Small, enclosed spaces or temporary use.
For most homeowners, a refrigerant dehumidifier in the 30–50 pint range offers the best balance of performance, cost, and ease of use.
Step 4: Look for Key Features
Once you’ve narrowed down the type and size, it’s time to compare features. The right features can make your dehumidifier easier to use and more effective.
Auto-Humidistat
This built-in sensor measures humidity and automatically turns the unit on or off to maintain your desired level (usually set between 40–50%). It saves energy and ensures consistent results.
Continuous Drainage Option
Instead of manually emptying a water tank, you can attach a hose to drain water directly into a floor drain or sump pump. This is a game-changer for basements or 24/7 operation.
Washable or Replaceable Filter
A clean filter improves air quality and protects the unit. Look for a washable filter you can rinse monthly, or a replaceable one with easy access.
Energy Efficiency
Check the Energy Star rating. Energy-efficient models use less electricity and cost less to run. Look for the annual energy consumption (in kWh) on the label.
Noise Level
Dehumidifiers can be noisy, especially in bedrooms or living areas. Look for models under 50 decibels (dB) for quiet operation. Desiccant models are typically quieter than compressor types.
Timer and Auto-Restart
A timer lets you schedule operation, while auto-restart resumes settings after a power outage—handy during storms or outages.
Portability Features
If you plan to move the unit, look for built-in handles, caster wheels, and a lightweight design.
While extra features are nice, focus on what matters most for your situation. For example, continuous drainage is essential for a basement, but less important for a bathroom used occasionally.
Step 5: Choose the Right Location for Installation
Where you place your dehumidifier affects how well it works. The goal is to maximize airflow and allow the unit to pull in moist air from the entire space.
Best Locations
- Basements: Place near the center or in the dampest corner. Avoid corners blocked by walls or furniture.
- Laundry rooms: Install near the dryer vent, where moisture is highest.
- Living areas: Choose a central spot, away from walls and furniture.
- Bathrooms: Use a small unit near the shower or bathtub, but ensure it’s safely away from water sources.
Avoid These Spots
- Behind furniture or in tight closets (blocks airflow)
- Near heat sources like radiators or ovens (can overheat the unit)
- Directly against walls (reduces intake efficiency)
- In areas with poor ventilation (limits moisture removal)
Leave at least 6–12 inches of clearance around the unit for proper airflow. If possible, close doors to adjacent rooms to focus dehumidification on the target area.
Step 6: Install and Set Up Your Dehumidifier
Once you’ve chosen the right model and location, it’s time to install it. Most portable dehumidifiers are plug-and-play, but a few setup steps ensure optimal performance.
Unbox and Inspect
Remove the dehumidifier from the box and check for any damage. Remove all packaging materials, including tape or foam inside the unit.
Install the Filter
If the filter isn’t pre-installed, slide it into the designated slot. Make sure it’s secure and properly aligned.
Set Up Drainage (If Applicable)
If you’re using continuous drainage:
- Attach a standard garden hose to the drain outlet (usually at the back or side).
- Run the hose to a floor drain, sump pump, or outside.
- Ensure the hose has a downward slope to prevent water backup.
- Secure the hose with clips if needed.
If using the water tank, make sure it’s properly seated and the float switch moves freely.
Plug In and Power On
Plug the unit into a grounded outlet. Avoid extension cords, which can overheat. Turn on the dehumidifier and select your desired humidity level (usually 40–50%).
Adjust Settings
Most units have a control panel with options for fan speed, timer, and humidity level. Start with the default settings and adjust based on performance.
Let the unit run for 24–48 hours to see how it performs. Check the water tank or drainage system regularly during this time.
Step 7: Maintain Your Dehumidifier
Regular maintenance keeps your dehumidifier running efficiently and prevents mold or bacteria buildup.
Clean the Filter Monthly
Turn off and unplug the unit. Remove the filter and rinse it under warm water. Let it air dry completely before reinserting. A clogged filter reduces airflow and efficiency.
Empty the Water Tank Regularly
If not using continuous drainage, check the tank daily in humid conditions. Most units have a full-tank indicator light. Pour out the water and wipe the tank with a mild disinfectant to prevent odors.
Clean the Coils and Interior
Every 3–6 months, vacuum the exterior vents and use a soft brush to clean the coils. If you notice dust buildup inside, use compressed air to blow it out.
Check for Frost (Compressor Models)
In cold environments, the coils can frost over. If this happens, turn off the unit and let it defrost. Consider switching to a desiccant model for colder spaces.
Inspect the Drain Hose
If using continuous drainage, check the hose monthly for clogs or kinks. Flush it with water if needed.
With proper care, your dehumidifier can last 5–10 years or more.
Troubleshooting Common Issues
Even the best dehumidifiers can run into problems. Here’s how to fix the most common issues:
Unit Won’t Turn On
- Check the power cord and outlet.
- Ensure the water tank is properly seated (some units won’t run if the tank is missing or misaligned).
- Reset the circuit breaker if tripped.
Not Removing Enough Moisture
- Clean the filter and coils.
- Ensure the room is closed off (close doors and windows).
- Check if the unit is too small for the space.
- Verify the humidity setting isn’t too high.
Water Tank Overflows
- Empty the tank more frequently.
- Switch to continuous drainage if possible.
- Check if the float switch is stuck.
Unit is Too Noisy
- Make sure it’s on a level surface.
- Check for loose parts or debris in the fan.
- Move it away from walls or furniture that may vibrate.
Ice Builds Up on Coils
- Turn off the unit and let it defrost.
- Move it to a warmer location.
- Consider a desiccant model for cold areas.
If problems persist, consult the user manual or contact the manufacturer.
When to Call a Professional
Most dehumidifier installations are DIY-friendly. However, consider hiring a professional if:
- You’re installing a whole-house system integrated with your HVAC.
- You need electrical work, such as adding a dedicated circuit.
- The unit requires permanent drainage into a plumbing system.
- You’re unsure about safe placement near water or electrical sources.
A licensed HVAC technician can ensure safe, code-compliant installation and optimal performance.
Final Thoughts
Choosing and installing a dehumidifier doesn’t have to be complicated. By understanding your space, selecting the right size and features, and placing the unit correctly, you can effectively control humidity and improve your home’s comfort and health. Regular maintenance keeps it running smoothly for years to come.
Whether you’re tackling a damp basement or just want fresher air, a dehumidifier is a simple, powerful solution. Take the time to choose wisely, install properly, and enjoy the benefits of a drier, healthier home.