

Cleaning your dehumidifier with vinegar is an easy, affordable way to remove mold, mildew, and mineral buildup. This guide walks you through the entire process—from unplugging the unit to reassembling it—using simple household items. Regular maintenance ensures better air quality and longer appliance life.
Quick Answers to Common Questions
Can I use apple cider vinegar instead of white vinegar?
No, stick to white distilled vinegar. Apple cider vinegar contains sugars and pigments that can leave sticky residues or promote mold growth.
How long should I let vinegar sit on the coils?
10–15 minutes is usually enough. For heavy buildup, you can leave it up to 30 minutes, but don’t let it dry completely—it can become harder to rinse off.
Is it safe to clean the dehumidifier while it’s still warm?
No, always let the unit cool for 10–15 minutes after use. Hot components can warp or crack when exposed to cold vinegar or water.
Can I clean the dehumidifier with bleach instead?
Avoid bleach—it can damage plastic parts and release toxic fumes when mixed with other cleaners. Vinegar is safer and just as effective for mold and bacteria.
What if my dehumidifier still smells after cleaning?
Run it for a few hours with the windows open. If the odor persists, check for hidden mold in hard-to-reach areas or consider replacing the filter.
Why Clean Your Dehumidifier with Vinegar?
Dehumidifiers work hard to pull excess moisture from the air, especially in basements, bathrooms, or laundry rooms. Over time, this moisture—combined with dust, dirt, and organic matter—creates the perfect breeding ground for mold, mildew, and bacteria. If left unchecked, these contaminants can clog your unit, reduce efficiency, and even release foul odors or allergens into your home.
That’s where vinegar comes in. White distilled vinegar is a powerful, eco-friendly cleaner that naturally breaks down mineral deposits, kills up to 82% of mold species, and neutralizes odors. Unlike commercial cleaners, it doesn’t leave behind toxic fumes or residues, making it ideal for appliances that affect indoor air quality.
Cleaning your dehumidifier with vinegar isn’t just about hygiene—it’s about performance. A clean unit runs more efficiently, uses less energy, and lasts longer. Plus, it helps maintain healthy air in your home by preventing the circulation of mold spores and bacteria.
In this guide, you’ll learn exactly how to clean your dehumidifier with vinegar, step by step. Whether you have a small portable model or a larger whole-house unit, these instructions apply to most standard dehumidifiers. We’ll cover safety tips, tools you’ll need, detailed cleaning steps, and how to maintain your unit between cleanings.
What You’ll Need
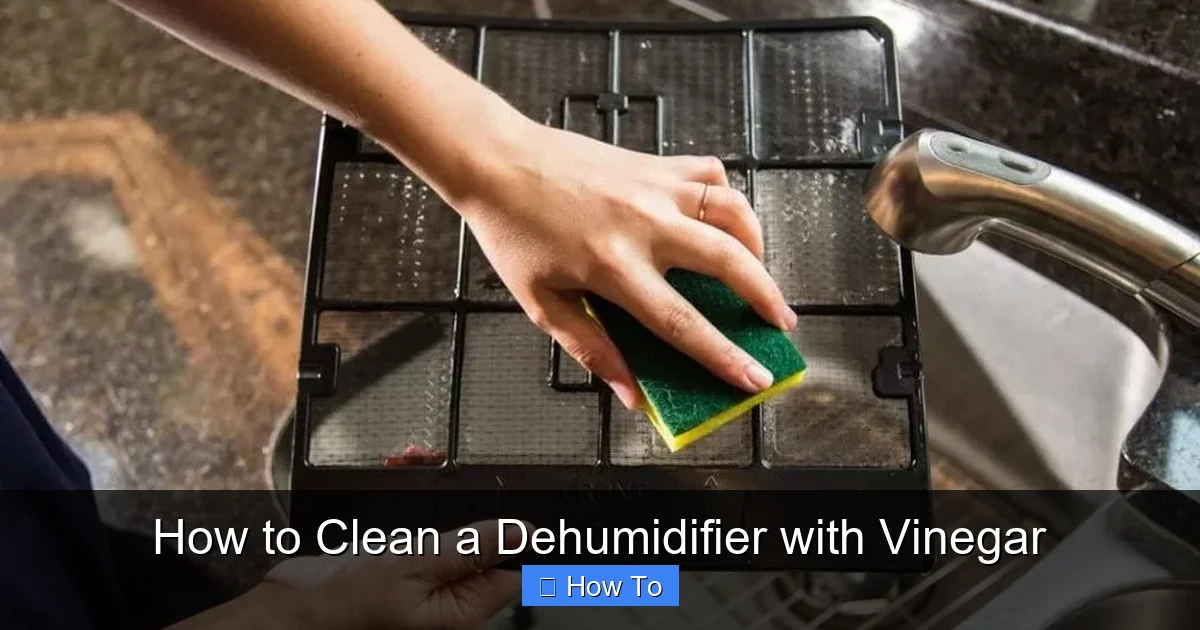
Visual guide about How to Clean a Dehumidifier with Vinegar
Image source: thedehumidifierexperts.com
Before you begin, gather these supplies. Most are likely already in your kitchen or cleaning cabinet:
- White distilled vinegar (1–2 cups, depending on unit size)
- Soft cloths or microfiber towels
- Soft-bristle brush (an old toothbrush works great)
- Warm water
- Mild dish soap (optional, for extra cleaning power)
- Spray bottle (optional, for targeted cleaning)
- Gloves (to protect your hands from vinegar and grime)
- Bucket or sink
- Vacuum with brush attachment (for dusting coils)
Avoid using bleach, ammonia, or abrasive scrubbers—they can damage plastic parts, corrode metal components, or leave harmful residues. Vinegar is strong enough on its own when used correctly.
Step 1: Turn Off and Unplug the Dehumidifier
Safety is the most important part of any cleaning routine. Before touching your dehumidifier, make sure it’s completely powered off and unplugged from the electrical outlet. This prevents accidental shocks or damage to the unit’s electrical components.
If your dehumidifier has been running recently, give it 10–15 minutes to cool down. Hot components can warp or crack if exposed to cold water too quickly.
Once it’s cool and unplugged, move the unit to a well-ventilated area—like a garage, basement, or outdoor space—where spills and strong vinegar smells won’t be an issue. Lay down a towel or old sheet to protect the surface.
Step 2: Remove the Water Tank
Most dehumidifiers have a removable water collection tank, usually located at the front or side of the unit. Gently pull it straight out. Some models may have a latch or button to release it—check your user manual if you’re unsure.
Empty any remaining water into a sink or bucket. Then, inspect the tank for signs of mold, slime, or mineral buildup. You might notice a cloudy film, dark spots, or a musty smell—these are all signs it’s time for a deep clean.
Cleaning the Water Tank with Vinegar
Pour ½ to 1 cup of white vinegar into the empty tank, depending on its size. Swirl it around to coat the interior, then let it sit for 15–30 minutes. For heavy buildup, you can leave it longer—even overnight for stubborn grime.
After soaking, use a soft brush or cloth to scrub the inside walls, corners, and spout. Pay special attention to the bottom and any crevices where moisture collects.
Rinse the tank thoroughly with warm water until the vinegar smell is gone. Any lingering vinegar can mix with future collected water and affect the unit’s performance or leave an odor.
Let the tank air-dry completely before reinserting it. You can speed up drying by wiping it with a clean towel and placing it in a sunny spot.
Step 3: Clean the Air Filter
The air filter traps dust, pollen, and other particles before they enter the dehumidifier. Over time, it becomes clogged, reducing airflow and efficiency. A dirty filter also forces the unit to work harder, increasing energy use and wear.
Locate the filter—it’s usually behind a front or side panel. Most models have a removable filter that slides out easily. Some high-end units have washable filters, while others require replacement. Check your manual to confirm.
Washing a Reusable Filter
If your filter is washable, gently remove it and shake off loose dust. Then, rinse it under lukewarm water. For deeper cleaning, soak it in a mixture of 1 part vinegar to 2 parts water for 10–15 minutes.
Use a soft brush to gently scrub away embedded dirt. Avoid squeezing or twisting the filter, as this can damage the mesh.
Rinse thoroughly until the water runs clear and no vinegar smell remains. Let it air-dry completely—never reinstall a damp filter, as it can promote mold growth.
Replacing a Disposable Filter
If your filter isn’t washable, replace it with a new one. Note the model number and purchase a compatible replacement. While you’re at it, check the filter housing for dust or debris and wipe it clean with a damp cloth.
Step 4: Clean the Interior and Coils
The evaporator and condenser coils are the heart of your dehumidifier. They cool the air to remove moisture, but they also collect dust, mold, and mineral deposits. Dirty coils reduce efficiency and can cause the unit to freeze or overheat.
Accessing the Coils
Most dehumidifiers have a removable front or side panel that gives access to the coils. Use a screwdriver if needed, but be gentle—plastic clips can break easily.
Once the panel is off, you’ll see the coils—usually a series of thin, finned metal plates. They may look dusty or have a white, chalky residue (mineral buildup) or dark spots (mold).
Vacuuming the Coils
Start by using a vacuum with a brush attachment to remove loose dust and debris. Move the brush gently across the fins—don’t press too hard, as the fins are delicate and can bend.
Applying Vinegar Solution
Mix equal parts white vinegar and warm water in a spray bottle. Lightly spray the solution onto the coils, focusing on areas with visible buildup. Let it sit for 10–15 minutes to dissolve grime and kill mold.
For stubborn deposits, use a soft brush to gently scrub the fins. Work in the direction of the fins to avoid bending them.
Rinsing and Drying
After scrubbing, use a damp cloth to wipe away loosened debris. Avoid spraying water directly onto the coils—excess moisture can damage electrical components.
Let the coils air-dry completely before reassembling. This may take 30–60 minutes, depending on humidity and airflow.
Step 5: Wipe Down the Exterior and Interior Surfaces
While the coils dry, take the opportunity to clean the rest of the unit.
Exterior Cleaning
Use a soft cloth dampened with vinegar-water solution (1:1 ratio) to wipe down the outside of the dehumidifier. Pay attention to the control panel, vents, and handles. Avoid getting moisture into buttons or electrical areas.
For sticky spots or fingerprints, apply a small amount of vinegar directly to the cloth and gently rub. Dry with a clean towel.
Interior Cleaning
Open any accessible interior panels and wipe down surfaces with a vinegar-dampened cloth. Look for dust, mold, or water stains around the fan, motor housing, and water collection tray.
If you notice a musty smell, spray a light mist of vinegar inside the unit (avoiding electrical parts) and let it air out for a few minutes before reassembling.
Step 6: Reassemble the Dehumidifier
Once all parts are clean and completely dry, it’s time to put everything back together.
Reinsert the Filter
Place the clean, dry filter back into its housing. Make sure it’s seated properly and the panel clicks into place.
Reattach the Water Tank
Slide the dry water tank back into the unit until it locks securely. Double-check that it’s properly aligned—some models won’t run if the tank isn’t fully inserted.
Replace Panels and Screws
Reattach any removed panels or covers. Tighten screws gently—over-tightening can crack plastic.
Step 7: Test the Unit
Plug the dehumidifier back in and turn it on. Set it to your desired humidity level and listen for normal operation.
Check for:
- Smooth fan and compressor sounds (no grinding or rattling)
- Proper water collection in the tank
- No unusual odors
- Effective moisture removal (use a hygrometer to monitor humidity)
If everything works correctly, your dehumidifier is clean and ready to go!
How Often Should You Clean Your Dehumidifier?
Cleaning frequency depends on usage and environment:
- High humidity areas (basements, bathrooms): Clean every 1–2 months
- Moderate use (living rooms, bedrooms): Clean every 2–3 months
- Seasonal use (only in summer): Clean before and after each season
Signs it’s time to clean:
- Reduced water collection
- Musty or sour smell
- Visible mold or slime in the tank
- Increased noise or vibration
- Higher energy bills (inefficient operation)
Troubleshooting Common Issues
Even with regular cleaning, problems can arise. Here’s how to handle common issues:
Unit Won’t Turn On After Cleaning
- Check that it’s plugged in and the outlet is working.
- Ensure the water tank is properly inserted—many units have a safety switch that prevents operation if the tank is missing or misaligned.
- Verify the filter is clean and correctly installed.
Strong Vinegar Smell Lingers
- Run the dehumidifier for 1–2 hours with the windows open to air it out.
- Place a bowl of baking soda near the unit to absorb odors.
- Next time, rinse parts more thoroughly after vinegar use.
Water Leaking from the Unit
- Check that the tank isn’t cracked or overfilled.
- Ensure the drain hose (if used) isn’t kinked or clogged.
- Inspect the condensate pump (if applicable) for blockages.
Reduced Moisture Removal
- Clean the coils and filter—dirty components restrict airflow.
- Check for frost buildup on coils (may indicate low refrigerant or airflow issues).
- Ensure the room isn’t too cold—dehumidifiers work best above 65°F (18°C).
Tips for Maintaining Your Dehumidifier
Keep your unit running smoothly between cleanings with these habits:
- Empty the tank daily if it fills quickly, or use a continuous drain hose.
- Keep the area around the unit clear—allow at least 6 inches of space for airflow.
- Use a hygrometer to monitor indoor humidity and adjust settings accordingly.
- Avoid running the unit in extremely cold rooms—it can cause coils to freeze.
- Store properly during off-seasons—clean thoroughly, remove the tank, and cover the unit.
Conclusion
Cleaning your dehumidifier with vinegar is a simple, effective way to keep it running efficiently and your home’s air healthy. By following this step-by-step guide, you’ll remove mold, bacteria, and mineral buildup without harsh chemicals. Regular maintenance not only extends the life of your appliance but also ensures it works at peak performance, saving you money on energy bills and repairs.
Make vinegar cleaning part of your seasonal home care routine. With just a few minutes of effort every few months, you’ll enjoy cleaner air, better humidity control, and peace of mind. Your dehumidifier—and your lungs—will thank you.