
Attaching a hose to your Whirlpool dehumidifier allows for continuous water drainage, eliminating the need to empty the bucket. This guide walks you through the process with clear steps, tips, and troubleshooting advice.
Quick Answers to Common Questions
Can I use any hose for my Whirlpool dehumidifier?
Use a standard 5/8” or 3/4” garden hose or vinyl tubing. Avoid stiff or corrugated hoses that can kink and block water flow.
Do I need to remove the water bucket when using a hose?
No, but it’s recommended. The bucket acts as a backup if the hose clogs. Just make sure it’s empty and properly seated.
How often should I check the hose for clogs?
Inspect it monthly, especially in humid environments. Flush it with water every few months to prevent buildup.
Can I drain the hose into a sink?
Yes, but use a sink adapter to secure the hose and prevent splashing. Make sure the sink can handle continuous water flow.
What if my dehumidifier doesn’t have a drain port?
You may need to modify the unit (not recommended) or use a condensate pump with a collection tray. Check your manual first.
How to Attach Hose to Whirlpool Dehumidifier
If you’ve ever woken up to a full water bucket in your dehumidifier—or worse, a small indoor flood—you know how inconvenient it can be. That’s where attaching a hose to your Whirlpool dehumidifier comes in. This simple upgrade allows your unit to drain water continuously, so you don’t have to stop and empty the tank every few hours. Whether you’re dealing with high humidity in a basement, crawl space, or laundry room, a hose attachment can make your dehumidifier work smarter, not harder.
In this guide, we’ll walk you through the entire process of attaching a hose to your Whirlpool dehumidifier—from checking compatibility to testing the setup. We’ll cover the tools you need, step-by-step instructions, common mistakes to avoid, and tips for long-term maintenance. By the end, you’ll have a reliable, hands-free drainage system that keeps your space dry and your dehumidifier running smoothly.
Why Use a Hose with Your Dehumidifier?
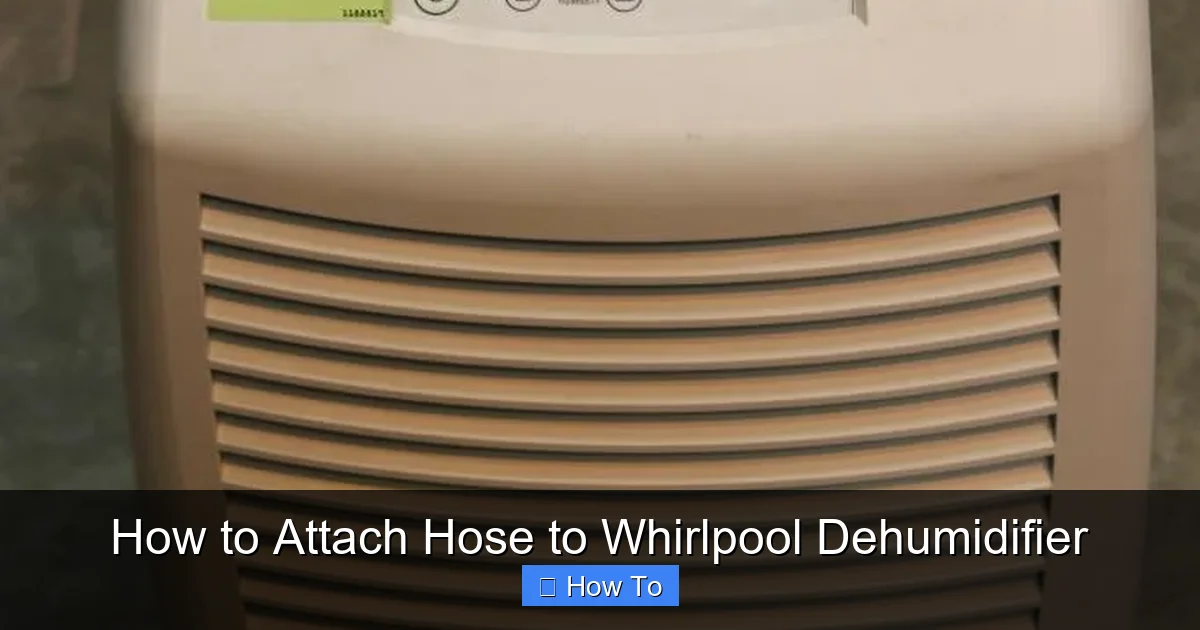
Visual guide about How to Attach Hose to Whirlpool Dehumidifier
Image source: content.propertyroom.com
Before we dive into the how-to, let’s talk about why this upgrade is worth your time. Most Whirlpool dehumidifiers come with a built-in water collection bucket that holds anywhere from 1 to 2 gallons of water. Depending on the humidity level and room size, this bucket can fill up in just a few hours. When it’s full, the dehumidifier automatically shuts off to prevent overflow—which means your space stays humid and your unit isn’t doing its job.
By attaching a hose, you enable continuous drainage. The water flows directly out of the unit and into a floor drain, sink, or outdoor area. This means:
– No more manual emptying: Ideal for basements, garages, or vacation homes where you can’t check the unit daily.
– Uninterrupted operation: Your dehumidifier keeps running 24/7, maintaining optimal humidity levels.
– Reduced risk of mold and mildew: Consistent moisture removal prevents musty odors and structural damage.
– Energy efficiency: A constantly running dehumidifier works more efficiently than one that cycles on and off due to a full tank.
Plus, it’s a one-time setup that pays off in convenience and performance. Let’s get started.
Check Your Whirlpool Dehumidifier Model
Not every Whirlpool dehumidifier supports hose drainage, so the first step is to confirm your model is compatible. Most modern Whirlpool units—especially those 30-pint and larger—come with a built-in drain port, but it’s always best to double-check.
Locate the Drain Port
Look at the back or side of your dehumidifier. You’re looking for a small, round opening—usually about 5/8” to 3/4” in diameter—with a removable cap or plug. This is the drain port. Some models have it clearly labeled “Drain” or “Continuous Drain.”
If you don’t see a port, check your user manual. You can usually find it online by searching “[Your Model Number] + user manual” on Whirlpool’s official website. Look for sections titled “Continuous Drainage,” “Hose Attachment,” or “Drain Options.”
Verify Hose Compatibility
Even if your unit has a drain port, make sure it’s designed for hose use. Some older models only support gravity drainage, while newer ones may include a built-in pump for pressurized drainage (useful for uphill routing). If your model supports a pump, you may need a specialized hose or adapter—check the manual for details.
Pro tip: If you’re unsure, take a photo of the drain port and contact Whirlpool customer support. They can confirm compatibility and recommend the right accessories.
Gather Your Tools and Materials
You don’t need a full toolbox for this job—just a few basic items. Here’s what you’ll need:
- Garden hose or vinyl tubing: A standard 5/8” or 3/4” diameter hose works best. Vinyl tubing is flexible and easy to route, while garden hoses are more durable. Avoid very stiff or corrugated hoses, as they can kink and block flow.
- Hose clamp or zip ties: To secure the hose to the drain port and prevent leaks.
- Scissors or utility knife: For cutting the hose to the right length.
- Duct tape (optional): For extra sealing if the fit isn’t tight.
- Bucket or towel: To catch any water that may spill during setup.
- Measuring tape: To determine the right hose length.
You can find these items at any hardware store or online. A 10–15 foot hose is usually sufficient for most setups, but measure the distance from your dehumidifier to the drain point to be sure.
Prepare the Dehumidifier
Before attaching the hose, make sure your dehumidifier is turned off and unplugged. Safety first!
Remove the Water Bucket
Pull out the water collection bucket from the front of the unit. Empty it completely and set it aside. This gives you better access to the drain port and prevents accidental spills.
Locate and Remove the Drain Cap
Find the drain port on the back or side of the unit. There should be a small plastic cap or plug covering it. Gently twist or pull it off. Some caps are threaded; others snap in place. Be careful not to break it—you may need it later if you ever remove the hose.
If the cap is stuck, use a pair of pliers with a cloth to avoid scratching the plastic. Never force it—apply gentle pressure and wiggle it loose.
Inspect the Drain Port
Look inside the port for any debris, dust, or residue. Use a dry cloth or compressed air to clean it out. A clogged port can restrict water flow and cause backups.
Attach the Hose to the Drain Port
Now for the main event: connecting the hose.
Cut the Hose to Length
Measure the distance from the dehumidifier to your drain point (e.g., floor drain, sink, or outdoor area). Add a few extra inches for flexibility. Use scissors or a utility knife to cut the hose cleanly. A straight, clean cut ensures a better seal.
Insert the Hose into the Port
Push one end of the hose firmly into the drain port. It should fit snugly—there’s usually a slight taper designed to hold the hose in place. If it’s too loose, wrap the end with electrical tape to thicken it slightly.
For a tighter seal, you can also use a hose barb adapter (available at hardware stores). Insert the barb into the port, then slide the hose over the other end.
Secure the Connection
Once the hose is in place, use a hose clamp to tighten it around the connection. Position the clamp over the hose where it meets the port, then tighten the screw until it’s snug. Don’t overtighten—you could crack the plastic port.
If you don’t have a clamp, use heavy-duty zip ties or duct tape as a temporary fix. Just make sure the seal is tight to prevent leaks.
Route the Hose Properly
How you route the hose is just as important as how you attach it. Poor routing can lead to kinks, backups, or water damage.
Ensure a Downward Slope
The hose must slope downward from the dehumidifier to the drain point. Gravity is your friend here—water won’t flow uphill without a pump. If your drain is lower than the unit (like a basement floor drain), you’re good to go. If it’s higher, you may need a condensate pump (more on that later).
Avoid Kinks and Bends
Keep the hose as straight as possible. Sharp bends or kinks can block water flow and cause pressure buildup. Use gentle curves instead of right angles.
If you need to go around a corner or under a door, use a hose guide or tape the hose to the floor to keep it flat and unobstructed.
Secure the Hose in Place
Use zip ties, tape, or hose clips to anchor the hose along walls, baseboards, or the floor. This prevents it from moving or getting stepped on. If the hose shifts, it could disconnect or kink.
Direct Water Safely
Make sure the other end of the hose empties into a safe location:
– A floor drain or sump pit
– A sink or utility tub (use a sink adapter if needed)
– An outdoor area away from your home’s foundation
Never let the hose drain into a wall cavity, electrical panel, or carpeted area. Standing water can cause mold, rot, or electrical hazards.
Test the Drainage System
Before you walk away, test your setup to make sure everything works.
Plug In and Turn On the Dehumidifier
Reinsert the water bucket (even though it won’t fill), plug in the unit, and turn it on. Set it to a low humidity level (around 45–50%) to encourage water production.
Monitor for 15–20 Minutes
Watch the hose outlet. You should see water flowing steadily within a few minutes. If nothing comes out, check for:
– Clogs in the hose or port
– Kinks or bends blocking flow
– The hose not fully inserted
If water drips from the connection, tighten the clamp or add more tape.
Check for Leaks
Inspect the entire hose and connection point for drips or moisture. A small leak can become a big problem over time. Tighten connections or re-secure the hose as needed.
Troubleshooting Common Issues
Even with careful setup, problems can happen. Here’s how to fix the most common ones.
Hose Won’t Stay Attached
If the hose keeps popping out, the port may be too small or the hose too loose. Try:
– Wrapping the hose end with electrical tape to thicken it
– Using a hose barb adapter
– Applying a small amount of silicone sealant (sparingly) to the connection
Water Isn’t Draining
No flow? Check:
– Is the hose kinked or blocked?
– Is the drain port clogged?
– Is the hose sloping downward?
– Is the dehumidifier actually producing water? (Run it longer in a humid room)
Water Backing Up into the Unit
This usually means the hose is blocked or not sloped correctly. Turn off the unit, disconnect the hose, and flush it with water to clear any debris. Reattach and ensure proper slope.
Leaking at the Connection
Tighten the clamp or add duct tape. If the port is cracked, contact Whirlpool for a replacement part.
Hose Freezes in Cold Areas
In unheated spaces like garages, water in the hose can freeze and block flow. Use insulated tubing or route the hose through a heated area. Alternatively, remove the hose in winter and use the bucket.
Maintenance Tips for Long-Term Use
To keep your hose drainage system working smoothly, follow these maintenance tips:
- Inspect monthly: Check the hose for cracks, kinks, or mold. Clean it with a vinegar-water solution if needed.
- Flush the hose: Every few months, disconnect and rinse the hose with water to remove mineral buildup or debris.
- Check the drain port: Make sure it’s not clogged with dust or lint.
- Replace worn hoses: If the hose becomes brittle, cracked, or discolored, replace it immediately.
- Winter care: In cold climates, drain and remove the hose before temperatures drop below freezing.
Regular maintenance prevents clogs, leaks, and system failures—keeping your dehumidifier running efficiently year after year.
When to Use a Condensate Pump
If your drain point is higher than the dehumidifier (e.g., draining into a sink or upstairs drain), gravity won’t be enough. In that case, you’ll need a condensate pump.
A condensate pump sits in a collection tray and uses a small motor to push water through the hose. Many Whirlpool models are compatible with standard pumps—just connect the hose from the dehumidifier to the pump’s inlet, then route the outlet hose to your drain.
Look for a pump with a float switch (automatically turns on when water reaches a certain level) and a check valve (prevents backflow). Popular brands include Little Giant and Beckett.
Conclusion
Attaching a hose to your Whirlpool dehumidifier is a simple, cost-effective way to upgrade your unit for continuous, hassle-free operation. With just a few tools and a little time, you can eliminate the chore of emptying the water bucket and ensure your dehumidifier works around the clock to keep your home dry and comfortable.
Remember: check your model’s compatibility, use the right hose, secure the connection, route it properly, and test the system. With proper setup and maintenance, your hose drainage system will last for years.
Say goodbye to overflow alerts and hello to peace of mind. Your Whirlpool dehumidifier—and your home—will thank you.