
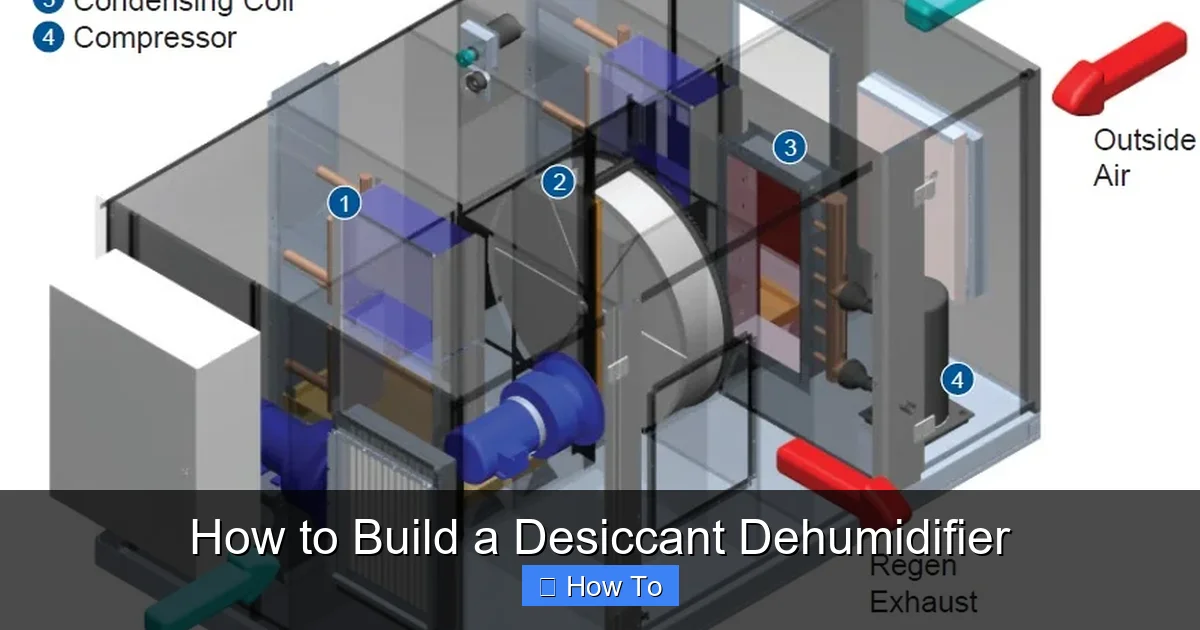
Discover how to build a desiccant dehumidifier using affordable, accessible materials like silica gel and a small fan. This eco-friendly DIY project helps control indoor humidity, prevent mold, and improve air quality—perfect for basements, closets, or RVs.
Quick Answers to Common Questions
Tip/Question?
Can I use other desiccants besides silica gel?
Yes! Calcium chloride and activated alumina also work, but silica gel is safest and easiest for DIY use.
Tip/Question?
How often should I recharge the silica gel?
It depends on humidity levels, but typically every 1–2 weeks in damp conditions.
Tip/Question?
Will this work in a large room?
It’s best for small to medium spaces (under 200 sq ft). For larger areas, consider multiple units or a commercial dehumidifier.
Tip/Question?
Can I leave it running 24/7?
Yes, as long as the fan is rated for continuous use and the desiccant is recharged regularly.
Tip/Question?
Is it safe to recharge silica gel in a microwave?
No—microwaving can cause hot spots and damage the beads. Always use an oven.
How to Build a Desiccant Dehumidifier
If you’ve ever dealt with damp basements, musty closets, or foggy windows, you know how frustrating high humidity can be. Excess moisture doesn’t just feel uncomfortable—it can lead to mold growth, damaged furniture, and even health issues like allergies or respiratory problems. While commercial dehumidifiers work well, they can be expensive and energy-intensive. That’s where a DIY desiccant dehumidifier comes in.
In this guide, you’ll learn how to build a desiccant dehumidifier using simple, affordable materials. This eco-friendly solution uses moisture-absorbing materials—like silica gel—to pull water from the air without relying on refrigeration. It’s quiet, energy-efficient, and perfect for small spaces like storage rooms, RVs, or under-sink cabinets.
By the end of this step-by-step tutorial, you’ll have a working dehumidifier that you can maintain and reuse for years. Plus, you’ll gain a deeper understanding of how desiccant technology works—and how to customize your build for maximum effectiveness.
What Is a Desiccant Dehumidifier?
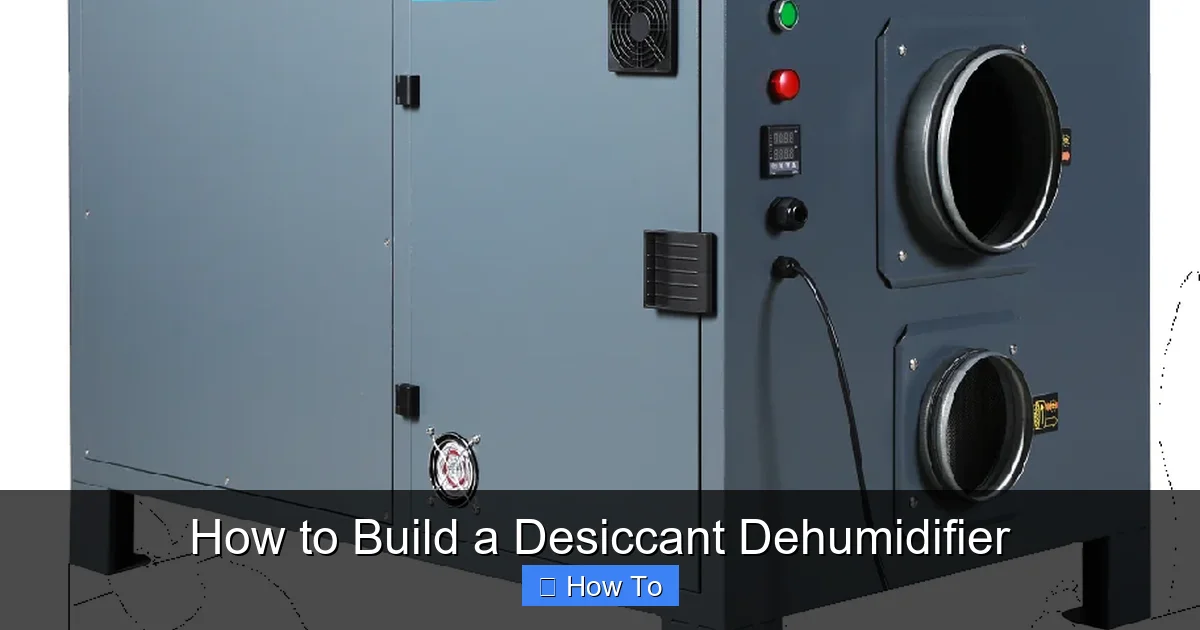
Visual guide about How to Build a Desiccant Dehumidifier
Image source: fortesvo.com
Before we dive into the build, let’s clarify what a desiccant dehumidifier is and how it differs from traditional models.
Most household dehumidifiers use a compressor and refrigerant to cool air, causing moisture to condense and drip into a tank. These are great for large spaces but can be loud, heavy, and power-hungry.
A desiccant dehumidifier, on the other hand, uses a hygroscopic material—something that naturally attracts and holds water molecules—to absorb moisture from the air. Common desiccants include silica gel, activated alumina, and calcium chloride.
The process works like this:
1. Humid air is drawn into the unit by a fan.
2. The air passes through a chamber filled with desiccant material.
3. The desiccant absorbs moisture from the air.
4. Drier air is released back into the room.
5. Over time, the desiccant becomes saturated and must be “recharged” by heating it to release the trapped water.
This method is especially effective in cooler environments where compressor-based units struggle. It’s also quieter and more compact, making it ideal for DIY projects.
Why Build Your Own Desiccant Dehumidifier?
You might be wondering: Why go through the trouble of building one when you can buy a dehumidifier online?
Here are a few compelling reasons:
- Cost-effective: A DIY desiccant dehumidifier can cost under $30 to build, compared to $100+ for a commercial unit.
- Customizable: You can tailor the size, power, and materials to fit your specific needs.
- Eco-friendly: Silica gel is reusable and non-toxic. No refrigerants or plastic waste.
- Educational: Building it yourself helps you understand how dehumidification works.
- Portable: Lightweight and compact, perfect for small spaces or travel.
Plus, it’s a fun weekend project that combines basic electronics, airflow design, and material science.
Materials and Tools You’ll Need
Before starting, gather all the necessary materials and tools. Most are easy to find at hardware stores, craft shops, or online.
Materials
- Plastic storage container (6–12 quarts): Choose a sturdy, sealable box with a lid. Clear plastic helps you monitor the desiccant.
- Silica gel beads (indicator type preferred): These change color when saturated (blue to pink), making it easy to know when to recharge. Buy 2–4 pounds depending on container size.
- Small DC fan (5V or 12V): A computer case fan or USB-powered fan works well. Look for one with at least 50 CFM (cubic feet per minute) airflow.
- Mesh screen or fine wire mesh: To separate the desiccant from the fan and prevent beads from escaping.
- Plastic or cardboard dividers: To create airflow channels within the container.
- Adhesive (hot glue or epoxy): For securing components.
- Electrical wire and connector: If using a non-USB fan, you’ll need wires and a power source (like a phone charger or battery pack).
- Hygrometer (optional but recommended): To measure humidity levels and test performance.
Tools
- Drill with small bits (1/8″ to 1/4″)
- Scissors or utility knife
- Hot glue gun
- Screwdriver (if assembling electronics)
- Measuring tape or ruler
- Pencil or marker
Step-by-Step Instructions
Now that you have everything ready, let’s build your desiccant dehumidifier.
Step 1: Prepare the Container
Start with your plastic storage container. This will house the desiccant and fan.
- Clean the container thoroughly and let it dry.
- Decide on the orientation: Will the fan pull air in or push it out? We recommend placing the fan on the lid to pull humid air through the desiccant and exhaust dry air out the top.
- Mark where you’ll drill holes for airflow. You’ll need:
- One large hole in the center of the lid for the fan.
- Several small holes around the sides or bottom for air intake.
Step 2: Install the Fan
The fan is the heart of your dehumidifier—it moves air through the system.
- Place the fan on the lid, centered over the large hole.
- Trace the fan’s outer edge with a pencil.
- Drill a hole slightly smaller than the fan diameter, then widen it gradually until the fan fits snugly.
- Secure the fan to the lid using hot glue or screws. Make sure it’s airtight around the edges to prevent air leaks.
- If using a USB fan, plug it into a phone charger or power bank. For DC fans, connect wires to a compatible power source (e.g., a 12V adapter).
Step 3: Create Airflow Channels
To maximize efficiency, air should flow evenly through the desiccant.
- Cut two pieces of mesh screen to fit inside the container, slightly smaller than the base.
- Place one mesh layer at the bottom of the container. This will support the desiccant and allow air to enter from below.
- Add a 1–2 inch layer of silica gel beads on top of the mesh.
- Place the second mesh layer on top of the beads to prevent them from shifting.
- Optionally, add vertical dividers made of cardboard or plastic to guide airflow in a zigzag pattern. This increases contact time between air and desiccant.
Step 4: Add Intake Vents
Air needs to enter the container to be dehumidified.
- Drill 6–10 small holes (1/4″ diameter) around the lower sides of the container.
- These act as intake vents, allowing humid room air to be drawn in by the fan.
- Cover the holes with a fine mesh or breathable fabric to keep dust and debris out.
Step 5: Seal and Test
Now it’s time to put it all together.
- Place the lid (with the fan) onto the container.
- Ensure the seal is tight—use weather stripping or rubber gasket material if needed.
- Turn on the fan and listen for smooth operation. Check for air leaks around the fan or lid.
- Let it run for 10–15 minutes in a humid area (like a bathroom after a shower).
- Use a hygrometer to compare humidity levels before and after. You should see a noticeable drop.
How to Use and Maintain Your Desiccant Dehumidifier
Your dehumidifier is now ready to use! But to keep it working efficiently, follow these maintenance tips.
Monitor the Desiccant
If you used indicator silica gel, watch for color changes:
- Blue = dry and ready to absorb.
- Pink = saturated with moisture.
When the beads turn pink, it’s time to recharge them.
Recharge the Silica Gel
Recharging is simple and can be done in a regular oven:
- Remove the silica gel from the container.
- Spread the beads in a shallow baking dish.
- Heat in the oven at 250°F (120°C) for 2–3 hours.
- The beads will turn blue again as they release moisture.
- Let them cool completely before returning to the dehumidifier.
Safety tip: Never leave the oven unattended. Use oven mitts when handling hot dishes.
Clean the Unit Regularly
Dust and debris can clog the mesh and reduce airflow.
- Every few weeks, wipe down the fan and container with a damp cloth.
- Check the mesh screens for blockages.
- Replace the mesh if it becomes damaged or clogged.
Optimize Placement
For best results:
- Place the dehumidifier in the most humid area of the room.
- Keep it away from walls or furniture that might block airflow.
- Use it in enclosed spaces (like closets or cabinets) for faster results.
Troubleshooting Common Issues
Even the best DIY projects can run into problems. Here’s how to fix common issues.
Fan Isn’t Working
- Check the power source: Is the USB cable plugged in? Is the battery charged?
- Inspect wires for loose connections.
- Test the fan separately to ensure it’s functional.
No Humidity Reduction
- Make sure the desiccant isn’t already saturated.
- Check for air leaks around the lid or fan.
- Increase fan speed or add more silica gel.
- Ensure the room isn’t too large for the unit’s capacity.
Desiccant Not Recharging Properly
- Oven temperature may be too low. Use an oven thermometer to verify.
- Beads may be contaminated with oil or dirt. Rinse with water (only if labeled “non-indicating”) and dry thoroughly before recharging.
- Replace old or damaged beads.
Excessive Noise
- Secure the fan firmly to reduce vibration.
- Place the unit on a soft surface like a towel or rubber mat.
- Use a higher-quality fan with ball bearings.
Safety Tips
While building and using your desiccant dehumidifier is generally safe, keep these precautions in mind:
- Keep electronics dry: Never operate the fan near water or in high-humidity areas without proper insulation.
- Avoid overheating: Don’t exceed 300°F when recharging silica gel—this can damage the beads or release harmful fumes.
- Use in well-ventilated areas: When recharging, do so in a kitchen with good airflow.
- Supervise children and pets: Small beads can be a choking hazard. Store unused silica gel in a sealed container.
Enhancing Your Design
Once your basic dehumidifier is working, consider these upgrades:
- Add a timer: Use a programmable outlet to run the fan only during peak humidity hours.
- Use a larger fan: A 12V fan with higher CFM will move more air and improve performance.
- Build multiple units: Place several small dehumidifiers in different areas for whole-room coverage.
- Integrate a humidity sensor: Advanced builders can add an Arduino or Raspberry Pi to automatically turn the fan on when humidity rises.
Conclusion
Building a desiccant dehumidifier is a smart, sustainable way to control indoor humidity without breaking the bank. With just a few inexpensive materials and some basic tools, you can create a quiet, efficient device that protects your home from mold, mildew, and moisture damage.
This project not only saves money but also teaches valuable skills in airflow design, material science, and electronics. Whether you’re tackling a damp basement, preserving books in a closet, or improving air quality in an RV, your DIY dehumidifier will deliver reliable performance for years—especially with proper maintenance.
So gather your supplies, follow the steps, and enjoy the satisfaction of a job well done. Your home—and your lungs—will thank you.