

Building your own dehumidifier is a cost-effective, eco-friendly way to control indoor humidity. This guide walks you through simple, step-by-step methods using everyday materials like salt, ice, or a mini-fridge to create a functional DIY dehumidifier.
Quick Answers to Common Questions
Can I use table salt instead of rock salt?
Yes, but rock salt or calcium chloride works better. Table salt has additives that reduce absorption. Use pure sodium chloride or calcium chloride for best results.
How often should I empty the water tray?
Check daily in high humidity. In moderate conditions, every 2–3 days is fine. Empty it when half full to prevent overflow.
Will a DIY dehumidifier reduce mold?
It can help by lowering humidity, but it won’t remove existing mold. Clean mold first, then use the dehumidifier to prevent regrowth.
Can I run the Peltier unit 24/7?
Yes, with proper cooling. Ensure the heat sink stays cool and the fan runs smoothly. Monitor for overheating.
Is it safe to leave a DIY dehumidifier unattended?
Passive units (salt) are safe. Active units (fan or Peltier) should be checked regularly. Never leave electrical devices near water unattended.
Introduction: Why Build Your Own Dehumidifier?
High humidity isn’t just uncomfortable—it can damage your home, encourage mold growth, and worsen allergies. While store-bought dehumidifiers work well, they can be expensive, especially if you only need one for a small space like a closet, bathroom, or RV. That’s where building your own dehumidifier comes in.
In this guide, you’ll learn how to build your own dehumidifier using simple, affordable materials. Whether you’re dealing with musty smells in a basement corner or damp clothes in a closet, a DIY solution can make a big difference. You don’t need to be an engineer or spend a fortune—just follow these clear, step-by-step instructions.
We’ll cover three effective methods: a salt-based passive dehumidifier, an ice-and-fan active system, and a thermoelectric (Peltier) unit for tech-savvy builders. Each method has its pros and cons, so you can pick the one that fits your space, budget, and skill level. By the end, you’ll have a working dehumidifier and the knowledge to maintain it.
Understanding How Dehumidifiers Work
Before building your own, it helps to understand the basics. Dehumidifiers remove moisture from the air through condensation or absorption. Commercial units usually use a refrigeration cycle: a fan pulls humid air over cold coils, causing water to condense and drip into a tank. The dry air is then reheated and released.
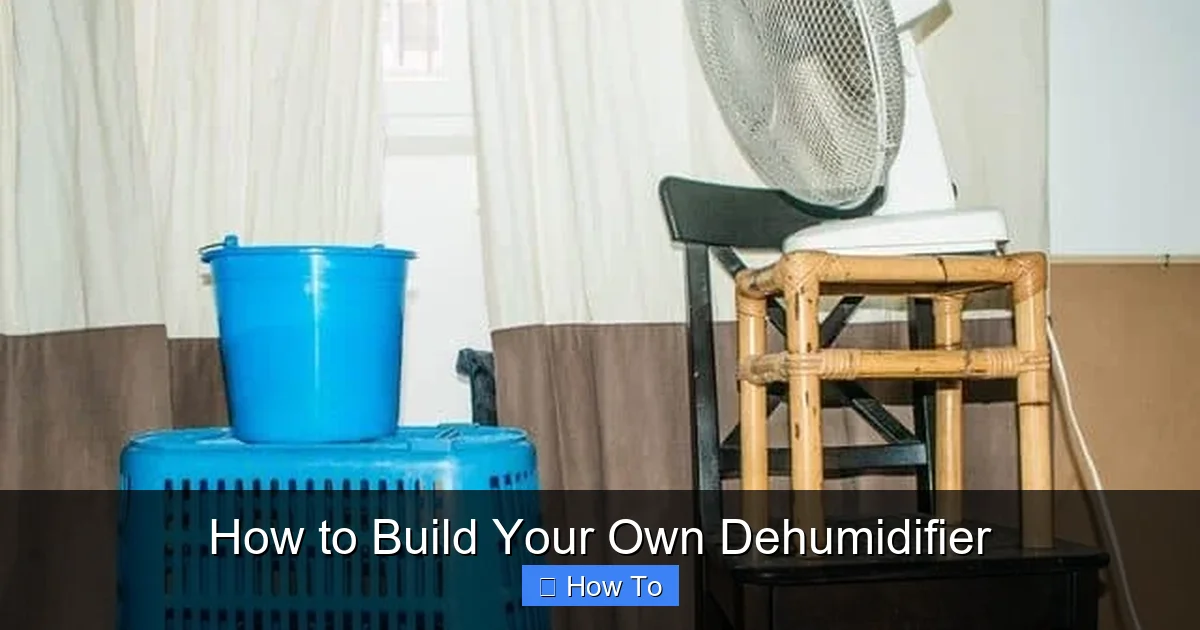
Visual guide about How to Build Your Own Dehumidifier
Image source: thedehumidifierexperts.com
DIY versions mimic this process in simpler ways. Some use cold surfaces (like ice or a chilled plate) to condense moisture. Others rely on desiccants—materials that absorb water, such as salt or silica gel. While they won’t match the power of a full-sized unit, they’re perfect for small, targeted areas.
Knowing the science behind it helps you troubleshoot and improve your design. For example, airflow is critical—without it, moisture won’t reach the cold or absorbent surface. That’s why fans and proper ventilation matter, even in homemade setups.
Method 1: The Salt-Based Passive Dehumidifier
This is the easiest and cheapest method. It uses rock salt (sodium chloride) or calcium chloride to absorb moisture from the air. No electricity needed—just gravity and chemistry.
What You’ll Need
- Two plastic buckets (5-gallon and 2-gallon)
- Drill with 1/4-inch bit
- Rock salt or calcium chloride (available at hardware stores)
- Waterproof container or tray (optional)
Step-by-Step Instructions
Start by drilling 10–15 small holes in the bottom of the smaller bucket. These allow moisture to drip down but keep the salt inside. Place the small bucket inside the larger one, making sure it sits securely without tipping.
Fill the small bucket with rock salt or calcium chloride. These salts are hygroscopic—they attract and hold water molecules. As humid air passes over the salt, moisture condenses and drips through the holes into the bottom bucket.
Place your dehumidifier in a damp area, like a basement corner or under a sink. Check it every few days. When the salt dissolves into a brine solution, empty the bottom bucket and replace the salt. You can reuse calcium chloride by drying it in the sun, but rock salt is cheaper to replace.
Tips for Best Results
- Use calcium chloride for faster absorption—it works better in high humidity.
- Place a tray under the unit to catch any spills.
- Refresh the salt every 2–4 weeks, depending on humidity levels.
- Add a few drops of essential oil (like tea tree or eucalyptus) to the salt to reduce odors.
This method is silent, energy-free, and great for closets or storage areas. However, it won’t reduce humidity quickly and requires regular maintenance. It’s best for mild dampness, not active leaks or flooding.
Method 2: The Ice-and-Fan Active Dehumidifier
If you want faster results, try this active method. It uses a fan to blow air over a cold surface (ice), causing moisture to condense. It’s more effective than passive systems but uses a small amount of electricity.
What You’ll Need
- Small box fan (8–12 inches)
- Insulated cooler or plastic storage bin
- Ice packs or frozen water bottles
- Duct tape or zip ties
- Shallow tray or dish
- Extension cord (optional)
Step-by-Step Instructions
Begin by placing the insulated cooler on its side, with the opening facing the fan. The cooler should be large enough to hold several ice packs or frozen bottles. Position the fan so it blows air directly into the cooler’s opening.
Secure the fan to the cooler using duct tape or zip ties. Make sure the seal is tight to maximize airflow into the cooler. Inside the cooler, place a shallow tray or dish at the bottom to collect condensation.
Fill the cooler with ice packs or frozen water bottles. The cold interior will chill the air blown in by the fan. As humid air hits the cold walls and ice, moisture condenses and drips into the tray.
Turn on the fan and let it run. Check the tray every few hours—especially in humid conditions. Empty it when full. Replace the ice as it melts. For longer use, consider using reusable ice packs or a small freezer block.
Tips for Best Results
- Use a high-CFM (cubic feet per minute) fan for better airflow.
- Insulate the cooler with foam or towels to keep it cold longer.
- Place the unit near a window or vent to expel moist air outside, if possible.
- Run it during the day when humidity is highest.
- Monitor ice levels—once it melts, the dehumidifying effect drops.
This method works well in garages, workshops, or small rooms. It’s louder than passive systems due to the fan, but much faster. One downside: it requires a constant ice supply, which can be inconvenient. Still, it’s a great temporary fix during humid seasons.
Method 3: The Thermoelectric (Peltier) Dehumidifier
For a more advanced, reusable solution, build a thermoelectric dehumidifier using a Peltier module. This device creates a cold surface when electricity passes through it—similar to how a mini-fridge works. It’s quiet, compact, and doesn’t need ice or salt.
What You’ll Need
- Peltier module (TEC1-12706, 12V, 60W)
- Heat sinks (one large, one small)
- Computer fan (12V, 80mm or 120mm)
- 12V power supply (like a laptop adapter)
- Thermal paste
- Plastic container or 3D-printed housing
- Soldering iron and wires
- Small tray or sponge
Step-by-Step Instructions
Start by attaching the Peltier module between two heat sinks. Apply thermal paste to both sides for better heat transfer. The cold side (usually marked) should face inward, toward the airflow. The hot side faces outward and needs a fan to dissipate heat.
Mount the small heat sink on the cold side and the large one on the hot side. Attach the computer fan to the large heat sink to cool it. Without proper cooling, the Peltier module overheats and fails.
Build a housing from plastic or 3D print a case. The design should direct airflow over the cold heat sink. Include an intake vent, a chamber over the cold side, and an outlet. Place a small tray or absorbent sponge beneath the cold sink to catch condensation.
Wire the Peltier module and fan to the 12V power supply. Use a switch if desired. Test the circuit before sealing everything. When powered, the cold side will drop below dew point, causing moisture to condense.
Place the unit in a damp area and turn it on. Check the tray daily. Clean the heat sinks monthly to prevent dust buildup. This unit can run continuously and is ideal for closets, gun safes, or electronics cabinets.
Tips for Best Results
- Use a heat sink with fins for better cooling.
- Add a temperature/humidity sensor to monitor performance.
- Insulate the cold chamber to improve efficiency.
- Never run the Peltier without a heat sink—it will burn out.
- For longer runtime, use a battery pack or solar charger.
This method is the most technical but offers the best long-term performance. It’s silent, reusable, and energy-efficient. With proper care, it can last years. Just remember: it works best in small, enclosed spaces.
Choosing the Right Method for Your Needs
Not all DIY dehumidifiers are equal. Your choice depends on your space, budget, and how much humidity you’re dealing with.
The salt-based method is perfect for closets, under sinks, or storage areas. It’s cheap, simple, and needs no power. But it’s slow and requires frequent refills.
The ice-and-fan system works faster and covers slightly larger areas. Great for garages or basements during humid months. Just keep ice on hand.
The Peltier unit is best for tech enthusiasts or those needing a permanent solution. It’s quiet, efficient, and reusable. Ideal for electronics, musical instruments, or small rooms.
Consider your humidity level. If it’s above 60%, you may need multiple units or a commercial dehumidifier. DIY versions are best for mild to moderate dampness.
Maintenance and Troubleshooting
Even the best DIY dehumidifier needs care. Regular maintenance keeps it working and prevents mold or odors.
Common Issues and Fixes
- No water collecting: Check airflow—ensure fans are working and vents aren’t blocked. For salt units, replace old salt. For Peltier units, verify the cold side is below dew point.
- Unit overheating: In Peltier models, the hot side isn’t cooling properly. Clean the heat sink and fan. Ensure adequate ventilation.
- Ice not lasting long: In ice-based systems, use larger ice packs or insulate the cooler better. Run the fan intermittently to save ice.
- Salt not absorbing: Humidity may be too low, or the salt is saturated. Replace it and check placement—avoid direct sunlight or dry areas.
- Fan too loud: Use a quieter fan or add foam padding. Ensure it’s securely mounted to reduce vibration.
Clean your unit monthly. Wipe down surfaces, replace sponges or trays, and check for mold. For Peltier units, inspect wires and connections.
Safety Tips
Safety is crucial when building and using DIY dehumidifiers.
- Never leave electrical components near water unless properly insulated.
- Use grounded outlets and avoid overloading circuits.
- Keep salt and brine away from children and pets—they can be harmful if ingested.
- Don’t run Peltier modules without heat sinks—they can overheat and fail.
- Ensure proper ventilation to avoid trapping moisture or creating condensation on walls.
Always unplug electrical units before cleaning or maintenance.
Conclusion: Take Control of Your Indoor Air
Building your own dehumidifier is a smart, sustainable way to fight humidity. Whether you choose salt, ice, or a Peltier module, you’ll save money and reduce reliance on store-bought units. These DIY solutions are perfect for small spaces, temporary fixes, or eco-conscious homeowners.
Remember, no homemade dehumidifier replaces a professional unit in severe cases. But for everyday dampness, musty smells, or closet moisture, they’re surprisingly effective. With a little effort and the right materials, you can improve your air quality and protect your home.
Start simple—try the salt method first. Once you see results, you can upgrade to more advanced designs. Share your build online, inspire others, and enjoy drier, fresher air—all thanks to your own hands.