

Calibrating your Kenmore dehumidifier ensures it reads humidity levels accurately and works efficiently. This guide walks you through the process, troubleshooting tips, and maintenance advice to keep your unit running smoothly.
Quick Answers to Common Questions
Tip/Question?
Can I calibrate my Kenmore dehumidifier without a hygrometer?
While possible, it’s not recommended. Without an accurate reference, you can’t know if the dehumidifier’s readings are correct. A hygrometer is essential for reliable calibration.
Tip/Question?
How often should I calibrate my dehumidifier?
Calibrate every 6–12 months, or whenever you notice performance issues. Seasonal changes or moving the unit may also require recalibration.
Tip/Question?
What if my Kenmore model doesn’t have a calibration setting?
You can compensate by adjusting your target humidity. For example, if it reads 5% high, set your goal 5% lower than desired.
Tip/Question?
Is it safe to clean the sensors with water?
No. Use only a dry or slightly damp cloth. Never spray water directly on sensors or internal components.
Tip/Question?
Can calibration fix a dehumidifier that’s not removing moisture?
Calibration improves accuracy, but if the unit isn’t removing moisture at all, the issue may be mechanical—like a clogged coil or low refrigerant—and requires professional repair.
How to Calibrate a Kenmore Dehumidifier
If you’ve noticed your Kenmore dehumidifier isn’t working as expected—maybe it’s running constantly, not turning on when it should, or the humidity display seems off—it might be time to calibrate it. Calibration ensures your unit accurately measures and responds to the actual moisture levels in your home. This guide will walk you through the entire process, from preparation to final testing, so your dehumidifier runs efficiently and keeps your indoor air comfortable.
Whether you’re dealing with a damp basement, a humid bathroom, or just want better air quality, a properly calibrated dehumidifier makes all the difference. Over time, internal sensors can drift or get dirty, leading to inaccurate readings. By following these steps, you’ll restore your Kenmore dehumidifier to peak performance without needing professional help.
Why Calibration Matters
Dehumidifiers like those made by Kenmore rely on internal humidity sensors to decide when to turn on and off. These sensors detect the moisture level in the air and compare it to your set target (usually between 30% and 50% relative humidity). If the sensor is off—even by a few percentage points—your unit might overwork, underperform, or waste energy.
For example, if your dehumidifier thinks the room is 60% humid when it’s actually 50%, it will keep running unnecessarily. This not only increases your electricity bill but also shortens the lifespan of the compressor and other components. On the flip side, if it reads too low, your home could stay too damp, leading to mold, musty odors, or damage to furniture and walls.
Calibration fixes these issues by aligning the dehumidifier’s internal readings with real-world conditions. It’s a simple process that can save you money, improve air quality, and extend the life of your appliance.
What You’ll Need
Before starting, gather these tools and materials:
- A digital hygrometer (preferably one with ±2% accuracy or better)
- A soft, dry cloth
- A small brush or compressed air (optional, for cleaning)
- Your Kenmore dehumidifier user manual (if available)
- A timer or clock
- A notepad and pen (to record readings)
You can find a reliable digital hygrometer at most hardware stores, home improvement centers, or online for under $20. Look for models with a calibration feature or those labeled as “weather station grade” for best results.
Step 1: Prepare the Room
Before calibrating, make sure the environment is stable. Sudden changes in temperature or humidity can throw off your readings.
Close Windows and Doors
Shut all windows, doors, and vents in the room where the dehumidifier is located. This prevents outside air from affecting humidity levels during testing.
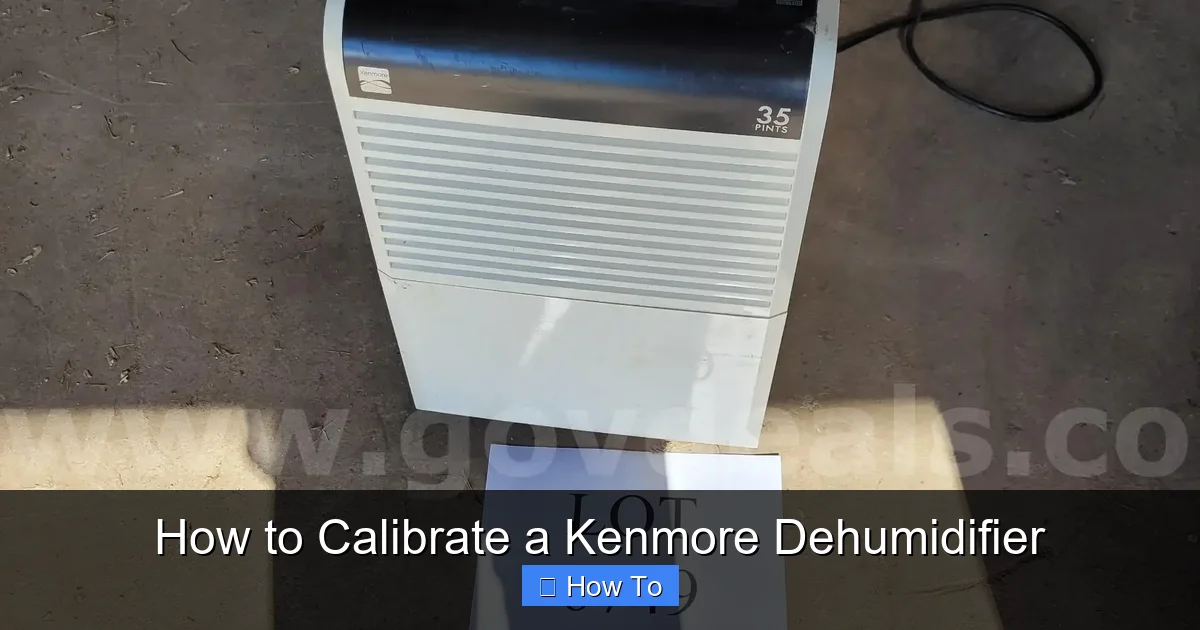
Visual guide about How to Calibrate a Kenmore Dehumidifier
Image source: webassets.lqdt1.com
Turn Off Fans and HVAC Systems
Temporarily turn off ceiling fans, air conditioners, or heaters. These can alter airflow and humidity, making it harder to get consistent readings.
Let the Room Settle
Wait at least 2–3 hours after turning off appliances before starting. This gives the air time to stabilize.
Place the Dehumidifier Correctly
Position your Kenmore dehumidifier at least 6–12 inches away from walls and furniture. This ensures proper airflow and accurate sensor readings.
Step 2: Clean the Dehumidifier
Dust, mold, or debris on the sensors or air intake can cause inaccurate readings. Cleaning is a critical first step.
Unplug the Unit
Always disconnect the dehumidifier from the power source before cleaning. Safety first!
Remove and Clean the Air Filter
Locate the air filter (usually behind a front or side grille). Pull it out and rinse it under warm water. Let it dry completely before reinserting. A clogged filter restricts airflow and affects performance.
Wipe the Sensor Area
Use a soft, dry cloth to gently clean around the air intake grilles and any visible sensors. Avoid using water or cleaning sprays near electronic components. If there’s stubborn dust, use a small brush or compressed air to blow it away.
Check the Water Tank
Empty and rinse the water collection tank. A dirty tank can harbor mold or bacteria, which may affect air quality and sensor accuracy.
Step 3: Set Up the Hygrometer
A hygrometer is essential for calibration because it gives you an independent, accurate reading of the room’s humidity.
Choose a Reliable Hygrometer
Use a digital hygrometer with a known accuracy rating. Avoid cheap analog models, as they’re often unreliable.
Calibrate the Hygrometer (If Needed)
Some hygrometers come with a calibration feature. If yours does, follow the instructions—usually involving placing it in a sealed container with a salt solution for 12 hours. If not, you can still use it as a reference, but keep in mind it may have a small margin of error.
Place the Hygrometer Strategically
Set the hygrometer on a stable surface near the dehumidifier—about 3–5 feet away. Avoid placing it in direct sunlight, near heat sources, or in drafty areas. Let it sit for at least 30 minutes to acclimate to room conditions.
Step 4: Turn On the Dehumidifier
Now it’s time to power up your Kenmore dehumidifier and let it run.
Plug In and Power On
Reconnect the unit to power and turn it on. Set the humidity level to 50%—a common middle-ground setting for calibration.
Select the Right Mode
Choose “Auto” or “Continuous” mode, depending on your model. Avoid “Energy Saver” or “Quiet” modes during calibration, as they may alter fan speed and sensor response.
Let It Run
Allow the dehumidifier to run for at least 2–3 hours. This gives the internal sensors time to stabilize and the room humidity to reach equilibrium.
Step 5: Compare Readings
After the dehumidifier has been running, compare its display with the hygrometer.
Record Both Readings
Write down the humidity percentage shown on your Kenmore dehumidifier’s display. Then, record the reading from your hygrometer.
Calculate the Difference
Subtract the hygrometer reading from the dehumidifier’s reading. For example, if the dehumidifier says 55% and the hygrometer says 50%, the difference is +5%.
Determine Calibration Need
A difference of more than ±3% indicates a calibration issue. If the dehumidifier reads higher than actual, it may run too often. If it reads lower, it may not run enough.
Step 6: Adjust the Settings (If Possible)
Not all Kenmore dehumidifiers have a built-in calibration feature. However, many newer models allow you to adjust the humidity offset.
Check Your User Manual
Look for a “Calibration,” “Offset,” or “Sensor Adjustment” option in the settings menu. Some models let you manually adjust the displayed humidity by ±5% or more.
Use the Control Panel
If your model supports it, press and hold the “Humidity” or “Settings” button to enter calibration mode. Use the up/down arrows to adjust the reading until it matches your hygrometer.
Save and Exit
Once adjusted, press “OK” or “Save” to confirm. The dehumidifier will now use the corrected reading for future operation.
No Calibration Option?
If your model doesn’t allow manual calibration, you can still “trick” it by adjusting your target humidity. For example, if it reads 5% high, set your target to 45% instead of 50%. This compensates for the error.
Step 7: Test and Verify
After calibration, it’s important to verify that the fix worked.
Wait and Recheck
Let the dehumidifier run for another 2–3 hours. Then, compare the readings again. The difference should now be within ±2–3%.
Monitor Over Time
Check the readings daily for the next few days. If the discrepancy returns, the sensor may be faulty or the unit may need professional service.
Adjust as Needed
If the readings drift, repeat the calibration process. Environmental changes (like seasonal humidity shifts) can affect performance over time.
Troubleshooting Common Issues
Even with proper calibration, you might run into problems. Here’s how to handle them.
Dehumidifier Won’t Turn On
Check the power cord, outlet, and water tank. If the tank is full, the unit may shut off as a safety feature. Empty it and try again.
Readings Keep Drifting
This could indicate a failing sensor or electrical issue. Clean the unit thoroughly and recalibrate. If the problem persists, contact Kenmore support.
Hygrometer and Dehumidifier Still Don’t Match
Try using a second hygrometer to confirm accuracy. If both agree, the dehumidifier’s sensor may need replacement.
Unit Runs Constantly
After calibration, this could mean the room is genuinely too humid. Check for leaks, poor ventilation, or high outdoor humidity. Also, ensure the dehumidifier is the right size for the space.
Strange Noises or Odors
Unusual sounds or smells may indicate mold, a dirty coil, or mechanical issues. Clean the unit thoroughly and inspect for damage. If problems continue, seek professional help.
Maintenance Tips to Keep Calibration Accurate
Calibration isn’t a one-time fix. Regular maintenance helps maintain accuracy over time.
Clean Monthly
Wash the air filter and wipe down the exterior and sensor area every month. This prevents dust buildup that can skew readings.
Check the Coils
Every 3–6 months, inspect the evaporator and condenser coils. Use a soft brush or vacuum to remove dust. Dirty coils reduce efficiency and can affect sensor performance.
Empty the Tank Regularly
Don’t let the water tank fill to capacity. Empty it daily if needed to prevent overflow and ensure the unit runs properly.
Use a Timer or Smart Plug
Run the dehumidifier during peak humidity times (like early morning or after showers). This reduces wear and helps maintain stable conditions.
Store Properly Off-Season
If you don’t use the dehumidifier year-round, clean it thoroughly, dry all parts, and store it in a cool, dry place. Cover it to prevent dust accumulation.
When to Call a Professional
While most calibration issues can be resolved at home, some problems require expert attention.
- The dehumidifier still doesn’t respond after multiple calibrations
- You notice refrigerant leaks, burning smells, or electrical issues
- The compressor won’t start or makes loud grinding noises
- The unit trips the circuit breaker repeatedly
- You suspect a faulty sensor or control board
In these cases, contact Kenmore customer service or a certified appliance repair technician. Attempting complex repairs yourself could void the warranty or cause further damage.
Conclusion
Calibrating your Kenmore dehumidifier is a simple but powerful way to improve its performance, save energy, and maintain healthy indoor air quality. By using a reliable hygrometer, cleaning the unit, and adjusting settings when possible, you can ensure your dehumidifier responds accurately to real humidity levels.
Remember, calibration isn’t just a one-time task—it’s part of ongoing maintenance. Regular cleaning, monitoring, and occasional recalibration will keep your unit running smoothly for years to come.
With the steps in this guide, you’re now equipped to take control of your home’s humidity. Whether you’re tackling a damp basement or just want fresher air, a well-calibrated dehumidifier makes all the difference. So grab your hygrometer, follow the steps, and enjoy the comfort of balanced indoor humidity.