
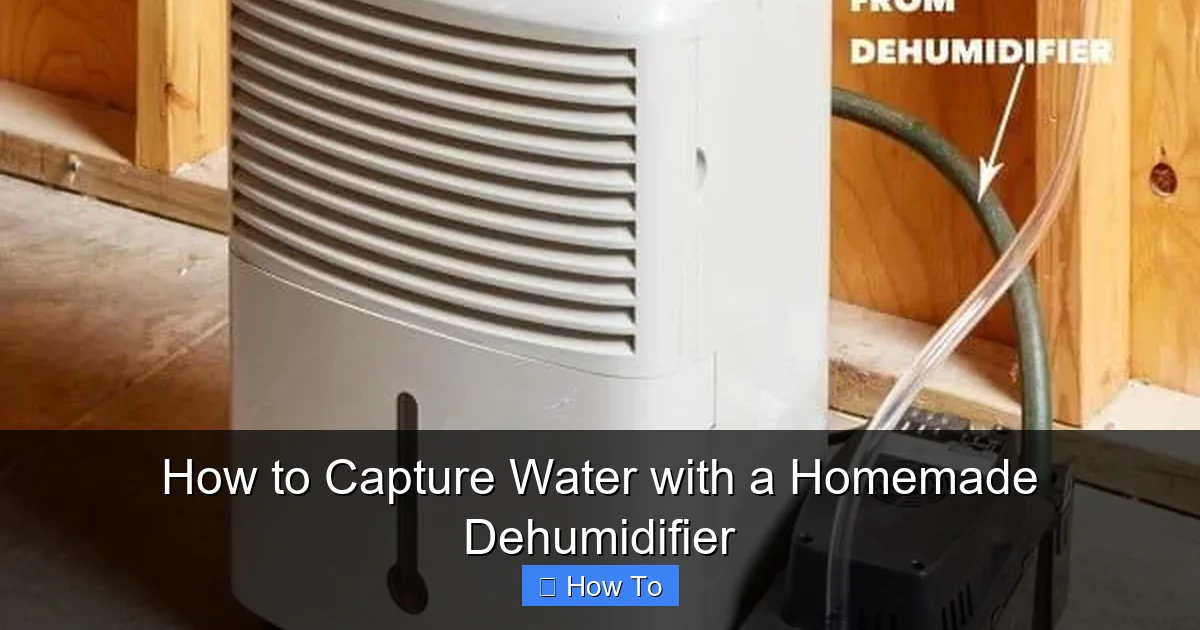
Discover how to build a DIY dehumidifier to extract clean drinking water from humid air using everyday household items. This eco-friendly guide walks you through materials, assembly, and maintenance—perfect for off-grid living, emergencies, or sustainable water collection.
Quick Answers to Common Questions
Tip/Question?
How much water can I expect to collect daily?
On average, a basic homemade dehumidifier can collect 4–12 ounces of water per day in humid conditions (60–80% humidity). Output depends on temperature, airflow, and cooling efficiency.
Tip/Question?
Can I use this dehumidifier indoors year-round?
Yes, but performance drops in dry or cold weather. Use it in warm, humid rooms like bathrooms or kitchens for best results.
Tip/Question?
Do I need electricity to run it?
Only for the fan. The condensation process itself is passive. Use a battery-powered or solar fan to make it fully off-grid.
Tip/Question?
Can children help build this?
Absolutely! With adult supervision, kids can assist with assembly and learn about science and sustainability.
Tip/Question?
Is the water safe for plants?
Yes! Untreated condensed water is excellent for watering houseplants or gardens—just avoid using it on edible plants if air quality is poor.
Introduction: Why Capture Water from Air?
Imagine turning thin air into clean drinking water—no well, no municipal supply, just science and ingenuity. That’s exactly what a homemade dehumidifier can do. By mimicking the natural process of condensation, you can extract moisture from humid air and collect it as liquid water. Whether you’re preparing for emergencies, living off-grid, or simply looking for a sustainable way to reduce your environmental footprint, building your own dehumidifier is a smart, low-cost solution.
In this guide, you’ll learn how to build a simple, effective water-capturing dehumidifier using common household items. We’ll walk you through every step—from gathering materials to optimizing performance—and share tips to ensure your system runs smoothly. By the end, you’ll have a working device that pulls fresh water from the air, even in moderately humid conditions.
Best of all, this project is beginner-friendly. You don’t need advanced tools or engineering skills. With a little patience and attention to detail, anyone can create a functional dehumidifier that produces real results. Let’s get started!
How Does a Homemade Dehumidifier Work?
Before building your device, it helps to understand the science behind it. A dehumidifier works by cooling air below its dew point—the temperature at which water vapor condenses into liquid. When warm, moist air comes into contact with a cold surface, moisture droplets form. These droplets collect and drip into a container, giving you usable water.
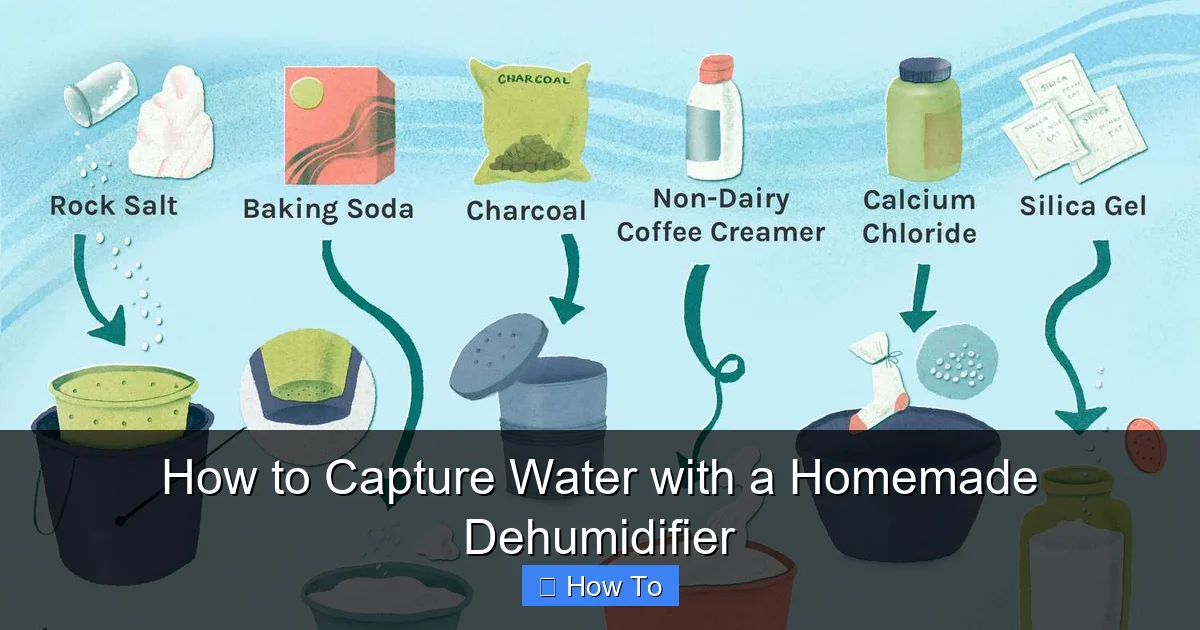
Visual guide about How to Capture Water with a Homemade Dehumidifier
Image source: thespruce.com
Commercial dehumidifiers use refrigerants and compressors to cool coils, but your DIY version will use ice or frozen gel packs to create the same effect. A small fan helps circulate air over the cold surface, increasing efficiency. The result? A steady trickle of clean water collected from the atmosphere.
This process is called atmospheric water generation (AWG), and it’s been used for centuries in various forms—from ancient Persian fog nets to modern solar stills. Your homemade dehumidifier is a simple, low-tech version of this timeless idea.
Materials You’ll Need
You don’t need expensive equipment to build a functional dehumidifier. Most items can be found at home or purchased cheaply at a hardware or dollar store. Here’s what you’ll need:
- Large plastic container (5-gallon bucket or storage bin): This will serve as the main chamber where air circulates and condensation forms.
- Smaller container (plastic cup or bowl): Placed inside the larger container to collect the dripping water.
- Ice packs or frozen water bottles: These act as the cooling element. Reusable gel ice packs work best because they stay cold longer and don’t leak.
- Small USB or battery-powered fan: Helps draw moist air over the cold surface. A computer fan or desk fan works well.
- Plastic tubing or funnel (optional): Directs water droplets into the collection container.
- Duct tape or zip ties: For securing components.
- Drill or sharp knife: To make holes for the fan and tubing.
- Clean cloth or paper towels: For initial setup and cleaning.
Optional upgrades include a hygrometer (to measure humidity), a timer for the fan, or a solar-powered fan for off-grid use. But even the basic setup can produce several ounces of water per day in humid conditions.
Step-by-Step Instructions
Now that you have your materials, let’s build your homemade dehumidifier. Follow these steps carefully to ensure proper function and safety.
Step 1: Prepare the Main Container
Start with your large plastic container. This will be the outer chamber where air circulates. Make sure it’s clean and dry. If using a bucket, remove any labels or residue.
Using a drill or sharp knife, create a small hole near the top edge of the container—just large enough to fit your fan. The fan should be mounted so it blows air into the container. This helps circulate warm, moist air over the cold surface inside.
Tip: If you’re using a storage bin with a lid, you can cut a hole in the lid instead and mount the fan on top. This keeps the design neater and reduces heat loss.
Step 2: Set Up the Collection System
Place the smaller container (your water collector) in the center of the large container. It should sit below where condensation will form—typically under the cold surface.
If you’re using a funnel or plastic tubing, position it so water droplets drip directly into the small container. You can tape the funnel to the inside wall or suspend it with string. The goal is to prevent water from splashing or evaporating before collection.
Pro tip: Elevate the small container slightly using bottle caps or small blocks. This ensures water drains fully and reduces the risk of overflow.
Step 3: Add the Cooling Element
Now it’s time to add your ice packs or frozen water bottles. Place them on top of the small container or suspend them above it using string or wire. The cold surface should be positioned so that air passing over it will cool and release moisture.
If using frozen bottles, wrap them in a thin cloth to prevent direct contact with the container walls. This helps maintain a consistent temperature and prevents cracking.
For best results, use multiple ice packs or rotate frozen bottles every few hours. The colder the surface, the more water you’ll collect.
Step 4: Install the Fan
Mount your fan so it blows air across the cold surface and into the container. Secure it with duct tape or zip ties. Make sure the fan is stable and won’t fall into the water.
If your fan is USB-powered, you can plug it into a power bank, laptop, or wall adapter. Battery-powered fans are great for portability and off-grid use.
Test the fan to ensure it’s working and blowing air in the right direction. Adjust the angle if needed to maximize airflow over the ice packs.
Step 5: Seal and Optimize
Once everything is in place, close the container as much as possible to trap humid air. If using a lid, seal the edges with tape to reduce air leaks. However, leave a small vent or gap to allow fresh air to enter—this maintains airflow and prevents pressure buildup.
Place your dehumidifier in a warm, humid location. Kitchens, bathrooms, and laundry rooms are ideal because they generate moisture from cooking, showering, and washing. Avoid placing it near heaters or in direct sunlight, as this can reduce efficiency.
Let the system run for several hours. Check periodically to see if water is collecting in the small container. You should start seeing droplets within 1–2 hours in humid conditions.
Tips for Maximizing Water Output
To get the most water from your homemade dehumidifier, follow these practical tips:
- Use the coldest ice possible: Freeze water bottles solid or use commercial ice packs rated for long-lasting cold.
- Increase surface area: Use multiple ice packs or a flat tray of ice to expose more cold surface to the air.
- Run it during peak humidity: Early morning or after a hot shower are great times to operate your dehumidifier.
- Clean regularly: Wipe down the container and collection cup weekly to prevent mold or bacteria growth.
- Monitor humidity levels: Use a hygrometer to find the best locations and times for water collection.
- Upgrade the fan: A stronger fan can move more air, increasing condensation rates.
Example: One user in Florida reported collecting 8 ounces of water in 6 hours using two frozen gel packs and a USB fan in a bathroom after a shower. That’s enough for a small drink or to water a plant!
Safety and Water Quality
While your homemade dehumidifier can produce clean water, it’s important to treat it before drinking. The water is condensed from air, but it may still contain dust, pollen, or bacteria from the environment.
Always filter the collected water through a clean cloth or coffee filter to remove particles. Then, boil it for at least one minute to kill any pathogens. Alternatively, use a portable water purifier or add a few drops of unscented household bleach (8 drops per gallon) and let it sit for 30 minutes.
Store treated water in clean, sealed containers away from light and heat. Label them with the date and use within a few days for best quality.
Never drink untreated water from your dehumidifier, especially if you have a weakened immune system or are in an area with poor air quality.
Troubleshooting Common Issues
Even the best homemade systems can run into problems. Here’s how to fix the most common issues:
No Water Collecting?
If your dehumidifier isn’t producing water, check the following:
- Is the air humid enough? Use a hygrometer—aim for at least 50% humidity.
- Are the ice packs cold enough? Replace them if they’ve started to melt.
- Is the fan working? Ensure it’s blowing air across the cold surface.
- Is the container sealed properly? Leaks can reduce efficiency.
Water Is Leaking or Overflowing?
This usually happens if the collection container is too small or the system is producing water faster than expected. Use a larger cup or empty it more frequently. You can also add a secondary drain tube to redirect excess water.
Ice Melts Too Fast?
Use high-quality gel ice packs or freeze water in metal containers for longer-lasting cold. Insulate the main container with foam or towels to slow melting.
Fan Stops Working?
Check the power source. If using batteries, replace them. For USB fans, try a different port or power bank. Ensure wires aren’t damaged.
Unpleasant Odors?
This could indicate mold or bacteria growth. Clean the entire system with a vinegar solution (1 part vinegar to 3 parts water), rinse thoroughly, and let it dry completely before reuse.
Conclusion: A Simple Solution for Clean Water
Building a homemade dehumidifier is a rewarding project that combines science, sustainability, and practicality. With just a few household items, you can create a device that pulls clean water from the air—no electricity required (beyond a small fan). Whether you’re preparing for emergencies, living off-grid, or simply looking for a greener way to access water, this DIY system offers a reliable and eco-friendly solution.
Remember, the key to success is patience and attention to detail. Start with the basic design, test it in different locations, and make adjustments as needed. Over time, you’ll learn what works best for your environment and needs.
Not only will you save money on bottled water and reduce plastic waste, but you’ll also gain valuable skills in water harvesting and self-reliance. So gather your materials, follow the steps, and start capturing water from thin air today. Your future self—and the planet—will thank you.