
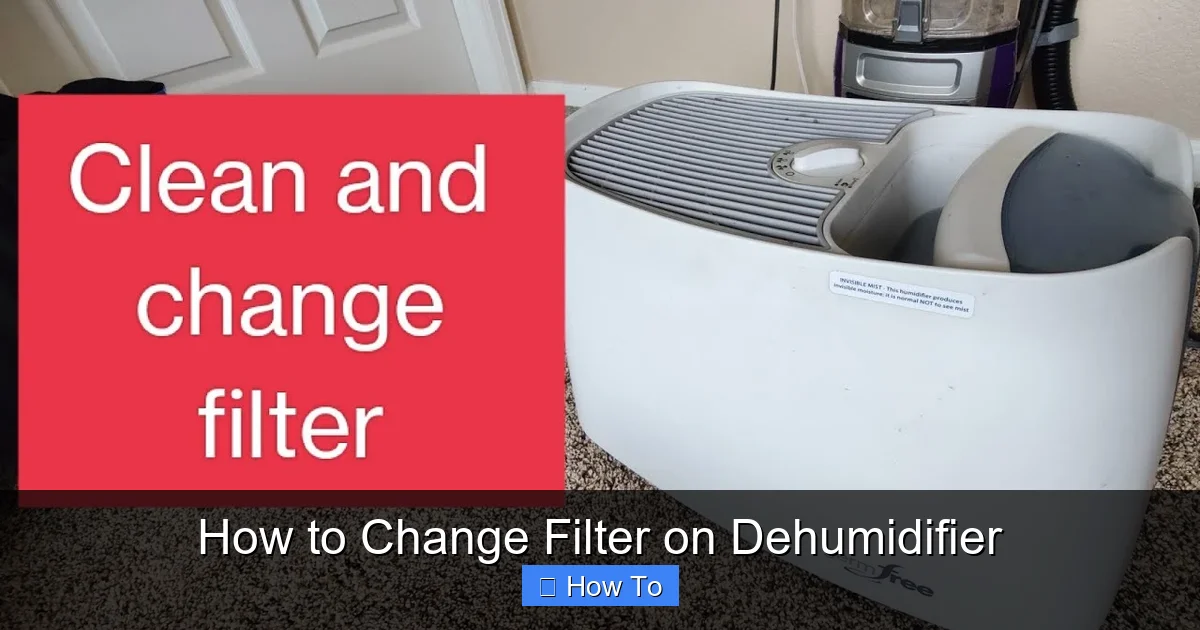
Changing the filter on your dehumidifier is a simple but essential maintenance task that ensures clean air and efficient operation. This guide walks you through the process step by step, helping you keep your unit running smoothly and your home healthier.
Quick Answers to Common Questions
Tip/Question?
How often should I change my dehumidifier filter?
Check it every 1–2 months. If you run the unit daily or live in a dusty or humid area, change it monthly. Look for a filter indicator light or inspect it visually.
Tip/Question?
Can I wash and reuse my dehumidifier filter?
Only if it’s labeled as washable. Rinse it under lukewarm water, let it dry completely, and reinstall. Disposable filters must be replaced.
Tip/Question?
What happens if I don’t change the filter?
A dirty filter restricts airflow, reduces efficiency, increases energy use, and can blow dust and allergens back into your home.
Tip/Question?
How do I find the right replacement filter?
Check your dehumidifier’s model number (usually on a label) and match it to the filter size or part number in the user manual or on the manufacturer’s website.
Tip/Question?
Why is my filter light still on after changing the filter?
You may need to reset the indicator. Look for a “Filter Reset” button and press it for 3–5 seconds. Ensure the filter is installed correctly.
How to Change Filter on Dehumidifier: A Complete Step-by-Step Guide
Keeping your dehumidifier in top shape doesn’t require a technician—just a little know-how and regular attention. One of the most important maintenance tasks is changing the air filter. Over time, filters collect dust, pet dander, mold spores, and other airborne particles. When they get clogged, your dehumidifier has to work harder, uses more energy, and may even stop working efficiently. Worse, a dirty filter can blow contaminants back into your home, defeating the whole purpose of having a dehumidifier in the first place.
In this guide, you’ll learn exactly how to change the filter on your dehumidifier—whether you have a compact unit for a basement or a whole-house system. We’ll walk you through every step, from locating the filter to installing the new one and resetting any indicator lights. You’ll also get practical tips, troubleshooting advice, and answers to common questions. By the end, you’ll feel confident maintaining your dehumidifier like a pro.
Why Changing the Filter Matters

Visual guide about How to Change Filter on Dehumidifier
Image source: bestdehumidifierchoice.com
Before diving into the steps, it’s helpful to understand why this task is so important. The air filter in your dehumidifier serves a dual purpose: it protects the internal components from dust and debris, and it improves the air quality in your home.
When humid air is pulled into the dehumidifier, it passes through the filter before reaching the cooling coils. If the filter is dirty, airflow is restricted. This forces the fan and compressor to work harder, which can lead to overheating, increased energy bills, and even premature failure of the unit.
Additionally, a clogged filter can’t trap pollutants effectively. Instead of cleaning the air, your dehumidifier might be recirculating allergens and mold spores. This is especially problematic for people with allergies, asthma, or respiratory conditions.
Regular filter changes—typically every 1 to 2 months—keep your dehumidifier running efficiently and your indoor air fresh. Think of it like changing the oil in your car: a small effort that prevents big problems down the road.
When to Change the Filter
How often should you change the filter? The answer depends on several factors:
- Usage frequency: If you run your dehumidifier daily, especially in high-humidity areas like basements or laundry rooms, check the filter every month.
- Environment: Homes with pets, smokers, or high dust levels may need more frequent changes.
- Season: Humidity tends to peak in summer and rainy seasons, so you may need to change the filter more often during these times.
- Filter type: Some units have reusable, washable filters that can be cleaned instead of replaced. Others require disposable filters.
Most dehumidifiers have a filter indicator light that flashes or turns on when it’s time for a change. Don’t ignore this signal—it’s there to help you maintain optimal performance.
Even if the light hasn’t come on, it’s a good idea to visually inspect the filter every 4–6 weeks. Hold it up to the light: if you can’t see through it, it’s time for a change.
Tools and Supplies You’ll Need
Thankfully, changing a dehumidifier filter requires minimal tools. Here’s what to gather before you start:
- Replacement filter: Make sure it matches your dehumidifier’s model number. Check the user manual or the old filter for sizing info.
- Screwdriver (if needed): Some models require removing a panel with screws.
- Soft brush or vacuum: For cleaning around the filter housing.
- Microfiber cloth: To wipe down surfaces.
- Gloves (optional): To keep your hands clean, especially if the old filter is dusty.
Always purchase filters from a reputable source—either the manufacturer or a trusted retailer. Generic or ill-fitting filters may not seal properly, allowing unfiltered air to bypass the system.
Step-by-Step: How to Change the Filter on Your Dehumidifier
Now that you’re prepared, let’s walk through the process. While designs vary by brand and model, the general steps are similar across most units.
Step 1: Turn Off and Unplug the Dehumidifier
Safety first! Before touching any part of the unit, make sure it’s completely powered down.
- Turn off the dehumidifier using the power button.
- Unplug it from the wall outlet.
- Wait at least 5–10 minutes to allow any internal components to cool down.
This prevents electrical shock and protects the motor from accidental startup.
Step 2: Locate the Filter
The filter is usually found behind a front or side panel. Common locations include:
- Front grille: A removable plastic cover at the front of the unit.
- Side panel: Some models have a slide-out or hinged door on the side.
- Top vent: Less common, but a few units have top-mounted filters.
Refer to your user manual if you’re unsure. The manual will have a diagram showing the exact location and how to access it.
Step 3: Remove the Filter Cover or Panel
Once you’ve found the filter, you’ll need to open the compartment.
- Snap-on covers: Gently press the tabs or clips and pull the cover away from the unit.
- Screw-on panels: Use a screwdriver to remove the screws, then lift off the panel.
- Slide-out trays: Pull the tray straight out—don’t force it.
Be careful not to break any plastic clips or hinges. If a part feels stuck, double-check for hidden screws or latches.
Step 4: Take Out the Old Filter
With the cover off, you’ll see the filter inside. It’s typically a flat, rectangular mesh or pleated panel.
- Grasp the filter by the edges and pull it straight out.
- If it’s stuck, wiggle it gently side to side.
- Note the direction of the airflow arrows (if present)—this helps when installing the new one.
Inspect the old filter. If it’s gray or black with dust, it’s definitely time for a change. Even if it looks okay, replace it if it’s been in use for 1–2 months.
Step 5: Clean the Filter Housing (Optional but Recommended)
While the filter is out, take a moment to clean the area around it.
- Use a soft brush or vacuum attachment to remove dust from the housing.
- Wipe the interior with a dry or slightly damp microfiber cloth.
- Avoid using water near electrical components.
This prevents debris from being sucked back into the system when you restart the unit.
Step 6: Install the New Filter
Now it’s time to put in the fresh filter.
- Check the new filter for airflow direction arrows—these should point toward the unit (into the airflow).
- Slide the filter into the slot, making sure it sits flat and secure.
- Don’t force it—if it doesn’t fit easily, double-check the size and orientation.
A properly installed filter should sit snugly without gaps. Gaps allow unfiltered air to bypass the filter, reducing efficiency.
Step 7: Reattach the Cover or Panel
Once the new filter is in place, close up the unit.
- Align the cover or panel with the housing.
- Press firmly until clips snap into place or screws are tightened.
- Ensure the cover is fully sealed to prevent air leaks.
A loose cover can cause noise, reduce performance, or trigger error codes on some models.
Step 8: Plug In and Restart the Unit
You’re almost done!
- Plug the dehumidifier back into the outlet.
- Turn it on using the power button.
- Listen for normal operation—no unusual noises or vibrations.
Let it run for 10–15 minutes to ensure everything is working properly.
Step 9: Reset the Filter Indicator Light (If Applicable)
Many modern dehumidifiers have a filter change alert. After installing a new filter, you’ll need to reset this light.
- Look for a “Filter” or “Reset” button on the control panel.
- Press and hold it for 3–5 seconds until the light turns off.
- Some models require you to press the button twice or follow a specific sequence—check your manual.
If you don’t reset the indicator, it may continue to flash even though the filter is new.
Tips for Maintaining Your Dehumidifier Filter
Changing the filter is just one part of dehumidifier care. Here are some extra tips to keep your unit in great shape:
- Clean washable filters monthly: If your model has a reusable filter, rinse it under lukewarm water every 4–6 weeks. Let it dry completely before reinstalling.
- Keep the area around the unit clean: Dust and pet hair can clog vents and reduce airflow.
- Check the water tank regularly: Empty it when full to prevent overflow and mold growth.
- Inspect coils and fins: Use a soft brush to remove dust from the evaporator and condenser coils once a year.
- Store properly during off-seasons: If you don’t use your dehumidifier in winter, clean it, remove the filter, and store it in a dry place.
Regular maintenance not only improves performance but also extends the life of your dehumidifier.
Troubleshooting Common Filter Issues
Even with careful handling, you might run into problems. Here’s how to solve the most common ones:
Filter Doesn’t Fit
- Double-check the model number on your dehumidifier and the filter packaging.
- Some brands use similar-looking filters that aren’t interchangeable.
- Contact the manufacturer if you’re unsure—they can confirm the correct part.
Filter Light Won’t Turn Off
- Ensure the filter is installed correctly and the cover is fully closed.
- Try resetting the indicator again—sometimes it takes a second attempt.
- If the light persists, there may be a sensor issue—consult the manual or contact support.
Reduced Airflow After Filter Change
- Check that the filter isn’t installed backward—airflow arrows should point inward.
- Make sure the cover is sealed properly—gaps can cause air leaks.
- Inspect the fan and coils for dust buildup that might be blocking airflow.
Unusual Noise or Vibration
- A loose filter or cover can cause rattling.
- Tighten all screws and ensure the filter is seated flat.
- If noise continues, the fan or motor may need professional inspection.
Filter Gets Dirty Too Fast
- Your environment may be especially dusty or humid.
- Consider using an air purifier in conjunction with your dehumidifier.
- Increase the frequency of filter checks and changes.
When to Call a Professional
While changing the filter is a DIY task, some issues require expert help. Contact a technician if:
- The dehumidifier won’t turn on after filter replacement.
- You notice burning smells, sparks, or smoke.
- The unit leaks water or makes grinding noises.
- The compressor or fan fails to start.
These could indicate electrical or mechanical problems beyond routine maintenance.
Conclusion
Changing the filter on your dehumidifier is a quick, easy task that pays big dividends. It keeps your unit running efficiently, improves indoor air quality, and helps prevent costly repairs. By following the steps in this guide—turning off the power, locating the filter, replacing it correctly, and resetting the indicator—you’ll ensure your dehumidifier stays in peak condition.
Remember to check your filter every 1–2 months, especially during humid seasons or if you have pets or allergies. Use the right replacement filter, keep the area clean, and don’t ignore warning lights. With regular care, your dehumidifier will continue to protect your home from excess moisture and airborne pollutants for years to come.
Taking five minutes every month to change the filter is a small investment with huge returns. Your wallet, your health, and your dehumidifier will thank you.