
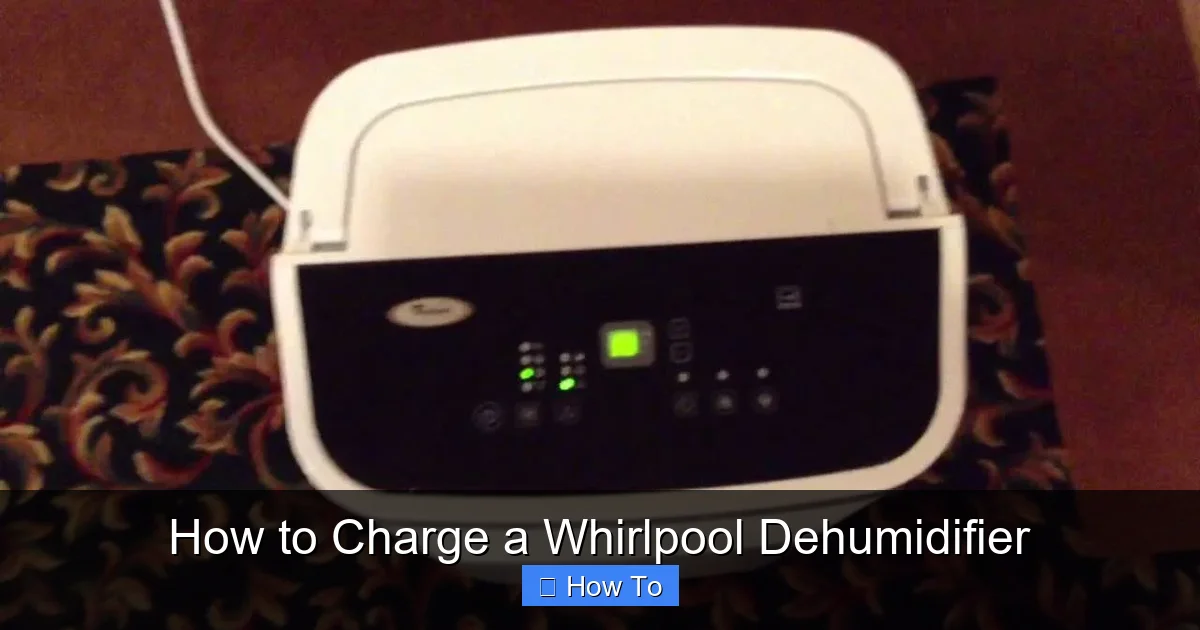
Charging a Whirlpool dehumidifier isn’t about plugging it in—it’s about recharging the refrigerant when cooling performance drops. This guide walks you through diagnosing low refrigerant, safely handling recharging, and maintaining optimal performance.
Quick Answers to Common Questions
Can I just plug in my dehumidifier to “charge” it?
No—“charging” refers to adding refrigerant, not electricity. Plugging it in powers the unit, but doesn’t replenish the cooling gas inside.
How often does a dehumidifier need a recharge?
Ideally, never. Refrigerant should last the lifetime of the unit unless there’s a leak. Most units go 10+ years without needing a recharge.
What happens if I overcharge the refrigerant?
Overcharging increases pressure, which can damage the compressor, trigger safety shutoffs, or cause the unit to overheat.
Can I use car AC refrigerant in my dehumidifier?
Absolutely not. Car systems use different refrigerants and pressures. Always use the type specified on your Whirlpool unit’s label.
Is it worth recharging an old dehumidifier?
If the unit is over 8–10 years old and needs a recharge, consider replacing it. Newer models are more energy-efficient and eco-friendly.
How to Charge a Whirlpool Dehumidifier: A Complete Step-by-Step Guide
If your Whirlpool dehumidifier is running but not pulling moisture from the air like it used to, you might be wondering, “Do I need to charge it?” The short answer: yes—but not in the way you think. Unlike your phone or laptop, a dehumidifier doesn’t get “charged” by plugging it into a wall outlet. Instead, “charging” refers to replenishing the refrigerant inside the unit’s sealed cooling system. This guide will walk you through everything you need to know about how to charge a Whirlpool dehumidifier safely, correctly, and efficiently.
Over time, refrigerant can slowly leak due to wear, vibration, or manufacturing defects. When levels drop, the compressor struggles to cool the evaporator coils, which means less condensation forms—and your room stays damp. Recharging restores cooling power and improves moisture removal. However, this isn’t a task for beginners without the right tools or knowledge. But don’t worry—we’ll break it down so even first-timers can understand the process, know when to DIY, and when to call in a professional.
In this comprehensive guide, you’ll learn how to diagnose low refrigerant, gather the necessary tools, safely recharge your unit, and maintain it to prevent future issues. We’ll also cover common mistakes, safety precautions, and troubleshooting tips. By the end, you’ll have the confidence to tackle this repair—or at least know exactly what a technician is doing when they arrive.
Understanding How Dehumidifiers Work
Visual guide about How to Charge a Whirlpool Dehumidifier
Image source: m.media-amazon.com
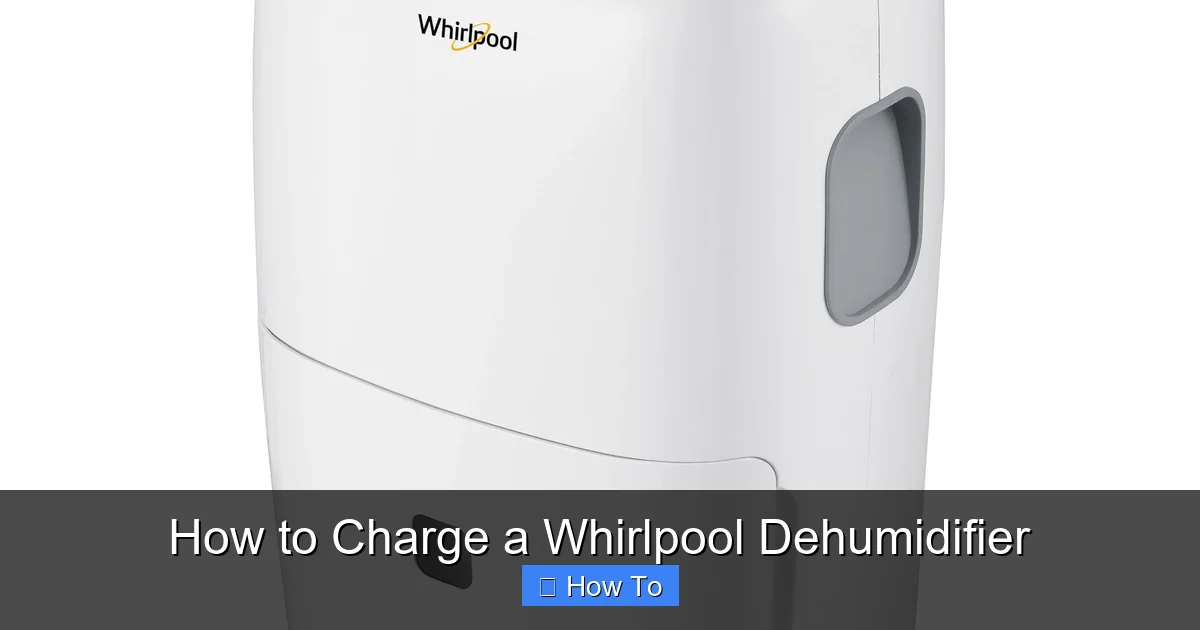
Before diving into the recharge process, it’s important to understand how your Whirlpool dehumidifier actually removes moisture from the air. Most residential dehumidifiers—including Whirlpool models—use a refrigeration cycle, similar to an air conditioner or refrigerator.
Here’s a simplified breakdown:
– A fan pulls humid air into the unit.
– The air passes over cold evaporator coils, causing moisture to condense into water droplets.
– The collected water drips into a bucket or drains out via a hose.
– The now-dry air passes over warm condenser coils and is blown back into the room.
– A compressor circulates refrigerant between the evaporator and condenser coils, absorbing and releasing heat.
The refrigerant is the lifeblood of this system. Without enough of it, the coils can’t get cold enough to condense moisture effectively. That’s why “charging” the dehumidifier means adding more refrigerant to restore proper function.
Most Whirlpool dehumidifiers use eco-friendly refrigerants like R-410A or R-32. These are safe when handled correctly but require specific procedures for recovery and recharge. Never mix refrigerants—always use the type specified on your unit’s label.
Signs Your Whirlpool Dehumidifier Needs a Recharge
Not every underperforming dehumidifier needs a refrigerant recharge. Before assuming low refrigerant is the issue, rule out simpler problems like a dirty filter, full water tank, or clogged coils. However, if you’ve already addressed those and performance is still poor, consider these telltale signs:
– The unit runs continuously but removes little to no moisture.
– The air coming out feels warm instead of slightly cooler.
– Frost builds up on the evaporator coils (a sign of extremely low refrigerant).
– You hear unusual noises like hissing (possible leak) or the compressor struggling to start.
– The dehumidifier worked well for years but suddenly lost efficiency.
If multiple symptoms appear together—especially reduced moisture removal and warm exhaust air—low refrigerant is a strong possibility. Keep in mind that refrigerant doesn’t “wear out” like oil; it should last the lifetime of the unit unless there’s a leak. So if your dehumidifier is more than 5–7 years old and showing these signs, a recharge (and possibly leak repair) may be needed.
Tools and Materials You’ll Need
Recharging a dehumidifier isn’t as simple as topping off windshield washer fluid. It requires specialized tools and careful handling. Here’s what you’ll need:
Essential Tools
- Manifold gauge set: Measures low- and high-side pressure. Look for one compatible with your refrigerant type (e.g., R-410A).
- Vacuum pump: Removes air and moisture from the system before recharging. A 1/4 HP pump is sufficient for most home units.
- Refrigerant canister: Must match your unit’s specification (check the label inside the front panel or on the back). Never use the wrong type.
- Refrigerant scale: Ensures you add the exact amount specified by the manufacturer (usually listed in ounces).
- Adjustable wrench and screwdrivers: For accessing service ports and panels.
- Safety gear: Nitrile gloves, safety goggles, and work in a well-ventilated area.
Optional but Helpful
- Leak detection spray or electronic leak detector
- Service valve adapters (if your model uses Schrader valves)
- Digital thermometer (to check coil temperatures)
- Shop vacuum (for cleaning coils)
Always purchase refrigerant from a reputable supplier. Avoid “top-off” kits sold online that promise easy fixes—they often lack proper gauges and can lead to overcharging, which damages the compressor.
Safety Precautions Before Starting
Refrigerants are not toys. They can cause frostbite on contact, displace oxygen in confined spaces, and are regulated by the EPA. Follow these safety steps:
– Work outdoors or in a garage: Ensure excellent ventilation. Never recharge indoors without exhaust fans.
– Wear protective gear: Gloves and goggles are non-negotiable. Refrigerant can freeze skin on contact.
– Turn off and unplug the unit: Wait at least 30 minutes for capacitors to discharge.
– Never vent refrigerant to the atmosphere: It’s illegal and harmful to the environment. Use a recovery cylinder if removing old refrigerant.
– Check local regulations: Some areas require certification to handle refrigerants. If you’re not certified, consider hiring a pro.
If you feel uncomfortable at any point, stop and call a licensed HVAC technician. Safety always comes first.
Step-by-Step Guide to Charging Your Whirlpool Dehumidifier
Now that you’re prepared, let’s walk through the recharge process. Note: This assumes your unit has a service port (usually a Schrader valve near the compressor). If your model doesn’t have one, it’s not serviceable—and attempting to add refrigerant could void the warranty or cause damage.
Step 1: Confirm the Problem Is Low Refrigerant
Before opening anything, double-check that other issues aren’t causing poor performance:
– Empty the water tank.
– Clean the air filter (wash with warm soapy water and let dry).
– Inspect coils for dust or frost (clean with a soft brush or vacuum).
– Ensure room temperature is above 65°F (dehumidifiers struggle in cold environments).
If performance doesn’t improve, proceed.
Step 2: Locate the Service Port
Find the low-pressure service port—it’s typically a small valve with a cap, located near the compressor on the refrigerant line. It looks like a tire valve. Remove the cap and set it aside.
Step 3: Connect the Manifold Gauge
Attach the blue hose from your manifold gauge set to the low-pressure port. Tighten securely with a wrench, but don’t over-tighten. Leave the high-side (red) hose disconnected—you won’t be accessing the high-pressure side during a standard recharge.
Step 4: Check Current Pressure
Turn on the dehumidifier and let it run for 10–15 minutes. Watch the low-side gauge. Normal operating pressure for R-410A is typically 100–130 psi, depending on ambient temperature. If it reads below 80 psi (or significantly lower than manufacturer specs), refrigerant is likely low.
Step 5: Evacuate the System (If Needed)
If you suspect air or moisture entered the system (e.g., after a leak), you must vacuum it out:
– Connect the yellow hose from your gauge set to the vacuum pump.
– Open both valves on the manifold gauge.
– Run the pump for at least 30–45 minutes to reach 500 microns or lower.
– Close the valves and let the system sit for 10 minutes to check for pressure rise (indicates a leak).
If pressure holds, proceed. If it rises, you have a leak that must be repaired before recharging.
Step 6: Add Refrigerant
– Weigh the refrigerant canister on the scale.
– Open the valve on the canister slightly to purge air from the hose.
– Connect the canister to the yellow hose (center port) on the manifold gauge.
– Open the low-side valve slowly while the dehumidifier runs.
– Add refrigerant in short bursts, monitoring the scale and gauge.
– Stop when you’ve added the amount specified on the unit’s label (e.g., 12.3 oz).
Important: Never add liquid refrigerant directly into the low side—it can flood the compressor. Always add vapor (gas) by keeping the canister upright.
Step 7: Monitor and Test
Once charged, let the unit run for 30–60 minutes. Check:
– Moisture collection rate (should increase).
– Exhaust air temperature (should feel cooler).
– Gauge pressure (should stabilize within normal range).
If performance improves, you’re done! Replace the service port cap and reassemble any panels.
Troubleshooting Common Issues
Even with careful steps, problems can arise. Here’s how to handle them:
Unit Still Not Removing Moisture
– Double-check for leaks using soapy water on joints and valves.
– Ensure the filter and coils are clean.
– Verify room temperature and humidity levels are within operating range.
Frost on Evaporator Coils
This usually means extremely low refrigerant or a faulty defrost sensor. After recharging, if frost returns, the defrost control board may need replacement.
Compressor Won’t Start
Overcharging can cause high pressure lockout. If the compressor hums but doesn’t start, turn off the unit and consult a technician.
Gauge Reads Too High or Too Low
Refer to your model’s service manual for exact pressure ranges. Ambient temperature affects readings—adjust expectations accordingly.
When to Call a Professional
While DIY recharging is possible, it’s not always advisable. Call a certified HVAC technician if:
– You can’t locate a service port.
– You detect a major leak (hissing sound, oily residue).
– The unit is under warranty (DIY may void it).
– You lack the proper tools or certification.
– You’re uncomfortable handling refrigerants.
Professionals have recovery machines, leak detectors, and experience with sealed systems. For complex issues, their expertise saves time, money, and risk.
Maintaining Your Dehumidifier to Avoid Future Recharges
Prevention is better than repair. Follow these maintenance tips:
– Clean the filter monthly: A clogged filter restricts airflow, forcing the compressor to work harder.
– Inspect coils annually: Dust buildup insulates coils, reducing heat transfer.
– Store properly in winter: Keep in a dry, temperature-controlled space to prevent corrosion.
– Avoid moving the unit when running: Vibration can loosen connections and cause micro-leaks.
– Use a surge protector: Power spikes can damage the compressor and control board.
With regular care, your Whirlpool dehumidifier should go years between recharges—if ever.
Conclusion
Charging a Whirlpool dehumidifier is a technical but manageable task for those with the right tools and caution. By understanding how the refrigeration cycle works, recognizing the signs of low refrigerant, and following safe procedures, you can restore your unit’s moisture-removing power and extend its lifespan. However, never underestimate the importance of safety—refrigerants are hazardous, and improper handling can lead to injury or environmental harm.
If you’re unsure at any step, don’t hesitate to contact a professional. A properly charged dehumidifier not only improves indoor air quality but also protects your home from mold, mildew, and structural damage caused by excess humidity. With this guide, you’re now equipped to make informed decisions about maintaining your Whirlpool dehumidifier—whether you DIY or delegate to an expert.
Remember: regular maintenance prevents most issues, and when problems do arise, knowledge is your best tool. Stay safe, stay dry, and enjoy the comfort of a well-functioning dehumidifier.