

Cleaning your dehumidifier regularly ensures it works efficiently, prevents mold and bacteria buildup, and extends the appliance’s life. This guide walks you through a simple, safe process to maintain your unit in top condition.
Quick Answers to Common Questions
How often should I clean my dehumidifier’s water tank?
Clean the water tank at least once a week, especially during humid seasons. Stagnant water breeds bacteria and mold quickly.
Can I use bleach to clean my dehumidifier?
No, avoid bleach and harsh chemicals. They can damage plastic parts and leave toxic residues. Use white vinegar or mild soap instead.
What if my dehumidifier still smells after cleaning?
The odor may be coming from inside the unit. Try a vinegar soak on the tank and coils, or use a dehumidifier odor eliminator spray.
Is it safe to vacuum the coils?
Yes, use a vacuum with a soft brush attachment to gently remove dust. Avoid pressing too hard to prevent bending the delicate fins.
Should I clean my dehumidifier before storing it for winter?
Absolutely. Clean all parts thoroughly, dry completely, and store in a dry place to prevent mold and odors when you restart it.
How to Clean a Dehumidifier: A Complete Step-by-Step Guide
Keeping your dehumidifier clean isn’t just about hygiene—it’s about performance, efficiency, and longevity. Over time, dust, mold, bacteria, and mineral deposits can build up inside your unit, reducing its ability to remove moisture from the air. Worse, a dirty dehumidifier can circulate musty odors or even harmful spores into your home. The good news? Cleaning a dehumidifier is simple, quick, and only requires a few basic supplies.
In this comprehensive guide, you’ll learn exactly how to clean a dehumidifier safely and effectively. Whether you have a small portable unit for your basement or a whole-house model, these steps apply to most standard dehumidifiers. We’ll cover everything from unplugging the unit to reassembling it, plus tips for troubleshooting common issues and maintaining peak performance year-round.
By the end of this guide, you’ll know how often to clean your dehumidifier, what tools and cleaners to use, and how to spot signs that your unit needs attention. Let’s get started!
Why Cleaning Your Dehumidifier Matters
You might think your dehumidifier is doing its job just fine—especially if the tank is filling up with water. But appearances can be deceiving. A dirty dehumidifier works harder, uses more energy, and may even contribute to poor indoor air quality.
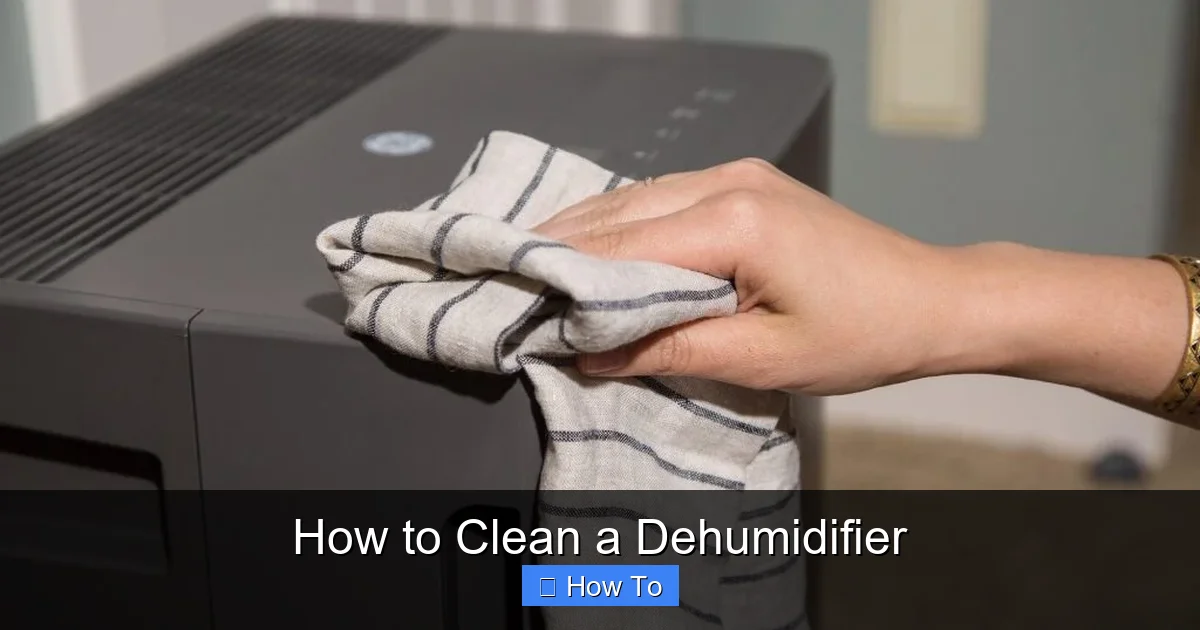
Visual guide about How to Clean a Dehumidifier
Image source: hvaclifehack.com
Here’s why regular cleaning is essential:
- Prevents mold and bacteria growth: The water tank and internal components are prime spots for microbial growth. Without cleaning, these can spread into the air you breathe.
- Maintains efficiency: Dust and debris on the coils and filter reduce airflow, forcing the compressor to work longer and use more electricity.
- Extends appliance life: Regular maintenance reduces wear and tear, helping your dehumidifier last 5–10 years or more.
- Reduces odors: Stagnant water and mold create musty smells that can permeate your home.
- Improves air quality: A clean unit filters and dehumidifies more effectively, creating a healthier living environment.
Think of cleaning your dehumidifier like changing the oil in your car—it’s a small task that makes a big difference in performance and longevity.
How Often Should You Clean a Dehumidifier?
The frequency of cleaning depends on usage, environment, and model, but here’s a general rule of thumb:
- Water tank: Clean weekly—especially in humid climates or during heavy use.
- Air filter: Clean or replace every 4–6 weeks. Check monthly.
- Coils and interior: Clean every 2–3 months, or more often if you notice dust buildup.
- Full deep clean: Perform a thorough cleaning every 3–6 months.
If you live in a damp basement, near a lake, or in a humid region, you may need to clean more often. Also, if you notice a musty smell, reduced water collection, or the unit running constantly, it’s time for a cleaning—even if it hasn’t been long since the last one.
What You’ll Need to Clean a Dehumidifier
Before you begin, gather these supplies. Most are household items you likely already have:
- White vinegar or mild dish soap
- Soft cloths or sponges
- Soft-bristled brush (like an old toothbrush)
- Vacuum cleaner with a brush attachment
- Warm water
- Rubber gloves (optional, for protection)
- Replacement air filter (if needed)
- Bucket or sink
- Microfiber towel
Avoid using harsh chemicals like bleach, ammonia, or abrasive cleaners. These can damage plastic parts, corrode coils, or leave toxic residues. Stick to gentle, natural cleaners like vinegar, which is effective at killing mold and breaking down mineral deposits.
Step-by-Step: How to Clean a Dehumidifier
Step 1: Unplug the Unit
Safety is the first rule of appliance maintenance. Always unplug your dehumidifier from the wall outlet before cleaning. This prevents electric shock and protects the internal electronics from accidental damage.
Even if your unit has an automatic shut-off when the tank is full, don’t assume it’s safe. Always disconnect the power source before touching any components.
Step 2: Remove the Water Tank
Locate the water collection tank—usually at the front or bottom of the unit. Gently pull it straight out. Most tanks slide out easily, but some may have a latch or button to release.
Empty any remaining water into a sink or drain. Don’t pour it on plants unless you’re sure it’s free of mold or chemicals. Dehumidifier water is not sterile and may contain contaminants.
Step 3: Clean the Water Tank
This is one of the most important steps. Stagnant water in the tank is a breeding ground for bacteria and mold.
- Rinse the tank with warm water to remove loose debris.
- Add a few drops of mild dish soap or ½ cup of white vinegar.
- Use a soft sponge or cloth to scrub the inside, paying attention to corners and the spout.
- For stubborn mold or slime, let the vinegar solution sit for 10–15 minutes before scrubbing.
- Rinse thoroughly with clean water to remove all soap or vinegar residue.
- Wipe dry with a clean towel or let air-dry completely before reinserting.
Pro Tip: Add a teaspoon of baking soda to the vinegar for extra scrubbing power on tough stains. Never use steel wool or abrasive pads—they can scratch the plastic and create hiding spots for bacteria.
Step 4: Clean or Replace the Air Filter
The air filter traps dust, pollen, and other particles before they enter the unit. A clogged filter reduces airflow and efficiency.
- Locate the filter—usually behind a front or side panel. Slide or lift it out.
- Check for visible dirt, dust, or discoloration.
- If it’s a washable filter, rinse it under warm water. Gently scrub with a soft brush if needed.
- Let it air-dry completely—never reinstall a wet filter.
- If the filter is damaged, torn, or hasn’t been replaced in 6 months, install a new one.
Note: Some high-end models have HEPA or charcoal filters that are not washable. Follow the manufacturer’s instructions for replacement.
Step 5: Clean the Coils and Interior
The evaporator and condenser coils are where moisture is removed from the air. Dust and debris on these coils act as insulation, reducing heat transfer and efficiency.
- Use a vacuum with a brush attachment to gently remove loose dust from the coils and surrounding areas.
- For stubborn buildup, use a soft-bristled brush (like a paintbrush or toothbrush) to dislodge dirt.
- Never use water or liquid cleaners directly on the coils unless specified by the manufacturer.
- If your model allows access to the interior, wipe down plastic surfaces with a damp cloth and mild soap.
- Avoid spraying water near electrical components.
Warning: Coils are delicate. Don’t bend or damage the thin fins. If they’re severely clogged or bent, consider calling a professional for cleaning or repair.
Step 6: Check the Drain Hose (If Applicable)
Some dehumidifiers have a continuous drain hose instead of—or in addition to—a water tank. This hose can clog with algae, mold, or mineral deposits.
- Disconnect the hose from the unit and the drain.
- Flush it with warm water to clear blockages.
- Use a pipe cleaner or flexible brush for stubborn clogs.
- Soak in a vinegar solution for 30 minutes if needed.
- Reattach securely to prevent leaks.
Tip: If you use a drain hose, consider adding a few drops of vinegar to the drain line monthly to prevent buildup.
Step 7: Wipe Down the Exterior
Don’t forget the outside! Dust and grime on the casing can affect airflow and make the unit look dirty.
- Use a damp microfiber cloth to wipe down the front, sides, and top.
- For sticky spots, use a cloth lightly dampened with soapy water.
- Dry immediately with a clean towel to prevent water from seeping into vents.
- Never spray cleaner directly on the unit—always apply to the cloth first.
Step 8: Reassemble and Test
Once everything is clean and dry, reassemble your dehumidifier:
- Reinsert the air filter.
- Slide the water tank back into place until it clicks or locks.
- Reconnect the drain hose if used.
- Plug the unit back in.
- Turn it on and listen for normal operation.
- Check that the tank fills with water and the unit cycles properly.
Run the dehumidifier for 1–2 hours and monitor for leaks, unusual noises, or error codes. If everything looks good, you’re all set!
Troubleshooting Common Cleaning Issues
Even with careful cleaning, you might run into problems. Here’s how to handle common issues:
Problem: Unit Won’t Turn On After Cleaning
Double-check that the water tank is fully inserted. Many dehumidifiers have a safety switch that prevents operation if the tank isn’t seated properly. Also, ensure the filter is dry and correctly installed.
Problem: Musty Smell Persists
This could mean mold is still present inside the unit. Try a deeper clean with vinegar, or use a dehumidifier cleaner spray designed to eliminate odors. If the smell returns quickly, the coils or internal components may need professional cleaning.
Problem: Water Leaking from the Unit
Check that the tank is properly seated and not cracked. If using a drain hose, ensure it’s not kinked or clogged. Also, verify the unit is level—tilting can cause water to spill.
Problem: Reduced Water Collection
This often points to dirty coils or a clogged filter. Clean both thoroughly. Also, ensure the room isn’t too cold—dehumidifiers work best above 65°F (18°C).
Problem: Filter Keeps Getting Dirty Fast
You may be in a high-dust environment. Consider upgrading to a higher-efficiency filter or cleaning it more frequently. Also, check for air leaks around windows or doors that let in humid air.
Tips for Maintaining Your Dehumidifier Year-Round
Cleaning is just one part of dehumidifier care. Follow these tips to keep your unit in top shape:
- Use a hygrometer: Monitor indoor humidity levels. Aim for 30–50% to prevent mold and dust mites.
- Place it correctly: Keep the unit at least 6 inches away from walls and furniture for proper airflow.
- Avoid extreme temperatures: Don’t use in unheated basements in winter unless it’s a cold-climate model.
- Empty the tank regularly: Even if it doesn’t seem full, empty it daily during humid weather.
- Schedule seasonal checks: Before summer and winter, do a full cleaning and inspection.
When to Call a Professional
Most cleaning tasks can be done at home, but some issues require expert help:
- Refrigerant leaks or compressor problems
- Severely bent or damaged coils
- Electrical faults or burning smells
- Persistent mold inside sealed components
- Warranty-covered repairs
If you’re unsure, consult your owner’s manual or contact the manufacturer. Attempting complex repairs yourself could void the warranty or cause injury.
Conclusion
Learning how to clean a dehumidifier is a simple but powerful way to protect your home, your health, and your investment. With just a few minutes of effort every few weeks, you can keep your unit running efficiently, prevent mold and odors, and extend its lifespan for years to come.
Remember: unplug first, clean the tank and filter regularly, and don’t skip the coils. Use gentle cleaners like vinegar and avoid harsh chemicals. And if something seems off, don’t hesitate to seek help.
A clean dehumidifier doesn’t just remove moisture—it helps create a fresher, healthier, and more comfortable living space. So grab your supplies, follow this guide, and enjoy the benefits of a well-maintained appliance.