
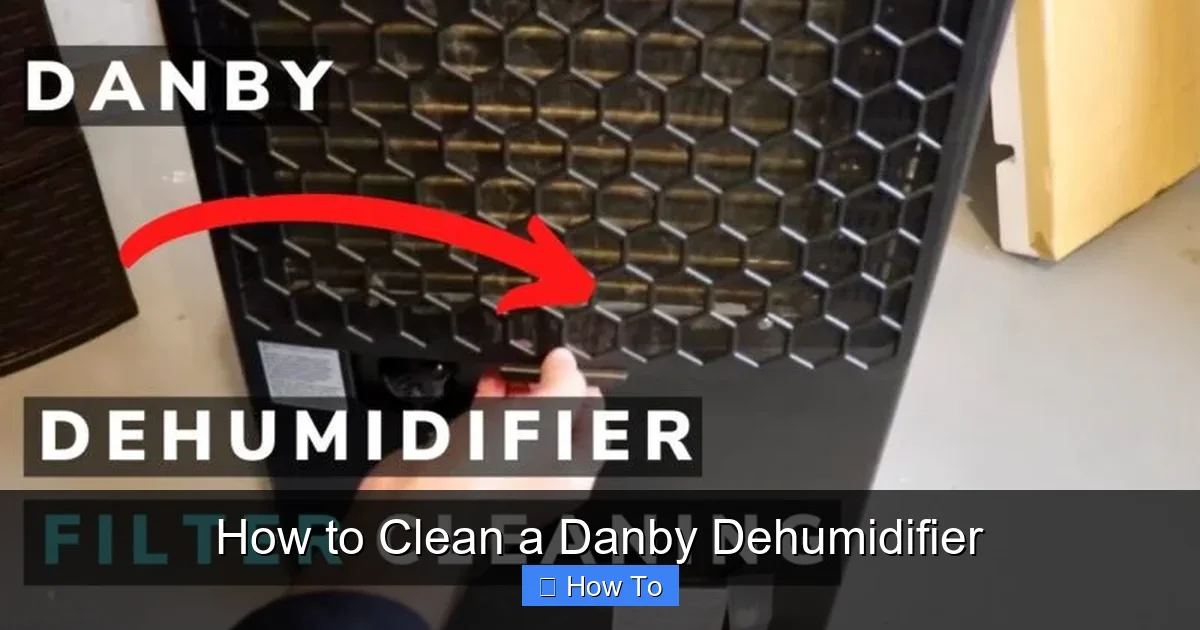
Keeping your Danby dehumidifier clean is essential for optimal performance and indoor air quality. This guide walks you through a complete cleaning process—from unplugging the unit to reassembling it—ensuring your dehumidifier works efficiently and lasts longer.
Quick Answers to Common Questions
How often should I clean my Danby dehumidifier?
Clean the water tank weekly, the air filter every 2–4 weeks, and inspect internal parts every 3–6 months. Adjust based on usage and humidity levels.
Can I use bleach to clean the water tank?
No. Bleach can leave harmful residues and damage plastic parts. Use mild soap or white vinegar instead for safe, effective cleaning.
What if my air filter is damaged?
Replace it with a compatible Danby filter. Using a damaged filter reduces efficiency and can circulate dust and allergens.
Is it safe to vacuum the coils?
Yes, use a vacuum with a soft brush attachment to gently remove dust. Avoid using water or liquid cleaners unless specified in the manual.
Why is my dehumidifier making a loud noise after cleaning?
Check that all parts are properly reassembled and the unit is level. Loose components or an unbalanced tank can cause vibrations.
How to Clean a Danby Dehumidifier
If you own a Danby dehumidifier, you already know how valuable it is in controlling humidity levels in your home. Whether you’re using it in a damp basement, laundry room, or bedroom, your Danby unit works hard to pull excess moisture from the air. But like any appliance that handles water and air, it needs regular maintenance to keep running efficiently.
Over time, dust, mold, bacteria, and mineral deposits can build up inside your dehumidifier. This not only reduces its performance but can also affect the air quality in your home. That’s why learning how to clean a Danby dehumidifier properly is so important. In this comprehensive guide, we’ll walk you through every step—from safety precautions to reassembly—so you can keep your unit in top condition.
By the end of this guide, you’ll know exactly how to clean each component of your Danby dehumidifier, how often to do it, and what tools and supplies you’ll need. We’ll also share troubleshooting tips and answer common questions to help you avoid common mistakes. Let’s get started!
Why Cleaning Your Danby Dehumidifier Matters
Before diving into the cleaning process, it’s helpful to understand why regular maintenance is so crucial. A dehumidifier works by drawing in humid air, passing it over cold coils to condense moisture, and then releasing dry air back into the room. The collected water drips into a reservoir or is pumped out through a hose.

Visual guide about How to Clean a Danby Dehumidifier
Image source: i.ytimg.com
Because of this process, several parts of the unit are constantly exposed to moisture and airborne particles. Without regular cleaning, you risk:
- Reduced efficiency: Dust and grime on coils or filters force the unit to work harder, increasing energy use.
- Mold and mildew growth: Standing water in the tank or on internal surfaces creates a breeding ground for mold.
- Unpleasant odors: Bacteria and mold can produce musty smells that get blown back into your home.
- Clogged drainage systems: Mineral deposits or debris can block hoses or pumps, leading to leaks or overflows.
- Shortened lifespan: Neglecting maintenance can cause wear and tear on motors and compressors.
Cleaning your Danby dehumidifier every 2–4 weeks (depending on usage) helps prevent these issues and ensures your unit operates at peak performance. It’s a simple task that pays big dividends in comfort, air quality, and energy savings.
What You’ll Need to Clean Your Danby Dehumidifier
Before you begin, gather the following supplies. Most are household items you likely already have:
- Soft cloth or sponge
- Mild dish soap or white vinegar
- Warm water
- Soft-bristled brush (like an old toothbrush)
- Vacuum cleaner with a brush attachment
- Spray bottle (optional)
- Microfiber towel
- Rubber gloves (optional, for hygiene)
- Replacement air filter (if needed)
Avoid using abrasive cleaners, bleach, or harsh chemicals. These can damage plastic components, leave toxic residues, or corrode metal parts. Stick to gentle, non-toxic solutions for safe and effective cleaning.
Step-by-Step Guide: How to Clean a Danby Dehumidifier
Now that you understand the importance of cleaning and have your supplies ready, let’s go through the cleaning process step by step. Follow these instructions carefully to ensure a thorough and safe cleaning.
Step 1: Turn Off and Unplug the Unit
Safety is the most important part of any appliance maintenance. Before you do anything else:
- Turn off the dehumidifier using the power button.
- Unplug it from the wall outlet.
- Allow the unit to sit for 10–15 minutes to cool down if it’s been running recently.
Never attempt to clean or handle internal components while the unit is plugged in. Even if it’s turned off, there’s still a risk of electric shock. Taking this simple precaution protects you and prevents accidental damage to the unit.
Step 2: Empty the Water Tank
The water tank (also called the collection bucket) is where condensed moisture collects. It should be emptied regularly—ideally daily during heavy use—but it also needs a deep clean.
- Locate the water tank. On most Danby models, it’s at the front or side and slides out easily.
- Gently pull the tank straight out. Be careful—it may still have water in it.
- Pour out any remaining water into a sink or drain.
- Rinse the tank with warm water to remove loose debris.
For a deeper clean:
- Fill the tank halfway with warm water.
- Add a few drops of mild dish soap or 1/4 cup of white vinegar.
- Swish the solution around, then let it sit for 5–10 minutes.
- Use a soft brush or sponge to scrub the inside walls, especially around the rim and bottom where slime or mold may form.
- Rinse thoroughly with clean water until no soap or vinegar smell remains.
- Wipe the outside with a damp cloth and dry completely with a towel.
Tip: If you notice a persistent smell or slimy film, soak the tank in a vinegar-water solution (1:1 ratio) for 30 minutes before scrubbing.
Step 3: Clean the Air Filter
The air filter captures dust, pollen, and other particles before they enter the unit. A clogged filter restricts airflow, making your dehumidifier less efficient and potentially blowing dirty air back into the room.
- Locate the air filter. It’s usually behind a front or side grille that snaps or screws off.
- Remove the filter by gently pulling it out.
- Check the condition. If it’s visibly dirty, dusty, or has a grayish tint, it needs cleaning.
To clean a reusable filter:
- Vacuum both sides with a brush attachment to remove loose dust.
- Rinse under lukewarm water. Do not use hot water—it can warp the filter.
- Gently scrub with a soft brush if needed.
- Let the filter air dry completely—this may take a few hours. Do not reinstall it while damp.
If your filter is damaged, torn, or no longer effective, replace it with a compatible Danby filter. Most models use a standard size, but check your user manual or the label on the old filter for the correct part number.
Tip: Clean the filter every 2–4 weeks during heavy use, or monthly during lighter use.
Step 4: Wipe Down the Exterior
While the interior components are getting attention, don’t forget the outside of the unit. Dust and grime on the casing can affect airflow and make the unit look neglected.
- Use a soft, damp cloth to wipe down the front, sides, and top of the dehumidifier.
- For stubborn spots, add a drop of mild soap to the cloth.
- Avoid spraying water directly onto the unit—wipe with a damp cloth instead.
- Dry with a microfiber towel to prevent water spots.
Pay special attention to the air intake and outlet grilles. Use a vacuum brush attachment or a soft brush to remove dust buildup. Blocked vents reduce airflow and strain the motor.
Step 5: Clean the Coils and Internal Components
The evaporator and condenser coils are essential for the dehumidification process. Over time, they can collect dust and debris, reducing efficiency. Cleaning them requires a bit more care.
- Locate the access panel. On most Danby models, this is on the back or side and may be secured with screws.
- Use a screwdriver to remove the panel (if needed). Keep screws in a safe place.
- Use a vacuum with a brush attachment to gently remove dust from the coils.
- For stubborn buildup, use a soft brush to loosen debris, then vacuum again.
Important: Do not use water or liquid cleaners on the coils unless specified in your manual. Most Danby units have sealed systems, and moisture can damage internal components.
If you’re unsure about accessing the coils, consult your user manual or contact Danby customer support. Some models may require professional servicing for coil cleaning.
Step 6: Check the Drain Hose (If Applicable)
If your Danby dehumidifier has a continuous drainage option, it likely uses a hose to pump water out. This hose can become clogged with algae, mold, or mineral deposits.
- Disconnect the hose from the unit and the drain outlet.
- Flush it with warm water to remove loose debris.
- Use a pipe cleaner or flexible brush to scrub the inside if needed.
- For mineral buildup, soak the hose in a vinegar solution for 30 minutes, then rinse thoroughly.
- Reattach the hose securely, ensuring there are no kinks or leaks.
Tip: If you use continuous drainage, inspect the hose monthly to prevent clogs.
Step 7: Reassemble and Test the Unit
Once all parts are clean and dry, it’s time to put everything back together.
- Reinstall the air filter.
- Replace the water tank.
- Secure any panels or grilles you removed.
- Plug the unit back in.
- Turn it on and let it run for 10–15 minutes.
- Listen for unusual noises and check that water is collecting properly.
If everything sounds and works normally, your Danby dehumidifier is clean and ready to go!
How Often Should You Clean Your Danby Dehumidifier?
The frequency of cleaning depends on how often you use the unit and the environment it’s in. Here’s a general guideline:
- Water tank: Empty daily; clean weekly.
- Air filter: Clean every 2–4 weeks; replace every 6–12 months.
- Exterior and vents: Wipe down monthly.
- Coils and internal parts: Inspect and clean every 3–6 months.
- Drain hose: Check and clean monthly if used.
In high-humidity areas or during humid seasons (like summer), you may need to clean more often. If you notice reduced performance, strange smells, or visible mold, clean immediately.
Troubleshooting Common Cleaning Issues
Even with regular cleaning, you might run into problems. Here are some common issues and how to fix them:
Issue: Water Tank Keeps Overflowing
Cause: Clogged drain hose, full tank not emptied, or faulty float switch.
Solution: Clean the drain hose, empty the tank regularly, and check that the float switch moves freely. If it’s stuck, gently clean it with a damp cloth.
Issue: Unit Smells Musty After Cleaning
Cause: Residual moisture or mold in hidden areas.
Solution: Run the unit with the filter removed for 1–2 hours to dry internal parts. Use a fan to improve airflow. If the smell persists, consider using a dehumidifier cleaner spray designed for mold removal.
Issue: Filter Won’t Fit After Cleaning
Cause: Filter warped from hot water or improper drying.
Solution: Always use lukewarm water and let the filter air dry flat. If it’s damaged, replace it with a new one.
Issue: Unit Not Collecting Water
Cause: Dirty coils, clogged filter, or low refrigerant (rare).
Solution: Clean the filter and coils. If the problem continues, contact Danby support—refrigerant issues require professional repair.
Tips for Maintaining Your Danby Dehumidifier
Cleaning is just one part of dehumidifier care. Follow these tips to keep your unit in great shape year-round:
- Place it properly: Keep the unit at least 6 inches away from walls and furniture for proper airflow.
- Use a hygrometer: Monitor humidity levels and adjust settings to maintain 30–50% humidity.
- Empty the tank promptly: Don’t let water sit for more than 24 hours.
- Store it correctly: If not using for a season, clean thoroughly, dry all parts, and store in a dry place.
- Schedule professional maintenance: Have a technician inspect the unit every 2–3 years for internal issues.
Conclusion
Learning how to clean a Danby dehumidifier doesn’t have to be complicated. With the right tools, a little time, and this step-by-step guide, you can keep your unit running efficiently and your home’s air fresh and healthy. Regular cleaning not only improves performance but also extends the life of your appliance, saving you money in the long run.
Remember: safety first, clean consistently, and don’t skip the small details like the filter and drain hose. Your Danby dehumidifier works hard for you—give it the care it deserves. By following these tips, you’ll enjoy better air quality, lower energy bills, and peace of mind knowing your home is protected from excess moisture.