

Keeping your Whirlpool dehumidifier filter clean is essential for optimal performance and better air quality. This guide walks you through easy, step-by-step instructions to safely remove, clean, and reinstall the filter—plus tips to maintain it long-term.
Quick Answers to Common Questions
How often should I clean my Whirlpool dehumidifier filter?
Clean it every 2–4 weeks during high-use seasons (like summer) or if you have pets. In low-humidity environments, monthly cleaning is usually sufficient.
Can I vacuum the filter instead of washing it?
Most Whirlpool filters aren’t designed for vacuuming. Washing with mild soap and water is safer and more effective for deep cleaning.
What if my filter is damaged or missing?
Never run the dehumidifier without a filter—it can suck dust directly into the coils. Order a replacement filter using your model number right away.
Is it okay to use bleach to clean the filter?
No. Bleach can degrade the filter material and leave harmful residues. Stick to mild soap and water or a vinegar solution for tough odors.
Why does my dehumidifier still smell musty after cleaning?
The smell may come from mold inside the unit, not just the filter. Clean the water tank, coils, and interior with a vinegar solution, and ensure the filter is completely dry before reinstalling.
Why Cleaning Your Whirlpool Dehumidifier Filter Matters
Your Whirlpool dehumidifier works hard to pull excess moisture from the air, helping prevent mold, mildew, and musty odors in your home. But like any appliance that processes air, it collects dust, pet dander, lint, and other airborne particles over time. The filter is the first line of defense—it traps these contaminants so they don’t clog the internal components or get recirculated into your living space.
When the filter becomes dirty or clogged, your dehumidifier has to work harder to pull air through. This not only reduces its moisture-removing efficiency but can also increase your energy bill and shorten the lifespan of the unit. In extreme cases, a severely blocked filter may cause the machine to overheat or shut down unexpectedly.
Cleaning the filter regularly—ideally once a month during heavy use seasons like summer or rainy periods—ensures your dehumidifier runs smoothly, maintains good indoor air quality, and operates at peak efficiency. Plus, it’s one of the easiest maintenance tasks you can do yourself without any special tools.
In this guide, you’ll learn exactly how to locate, remove, clean, and reinstall the filter in your Whirlpool dehumidifier. We’ll also share practical tips for maintaining the entire unit and troubleshooting common issues. Whether you’re a first-time owner or just need a refresher, these steps will keep your dehumidifier in top shape year-round.
What You’ll Need Before You Start
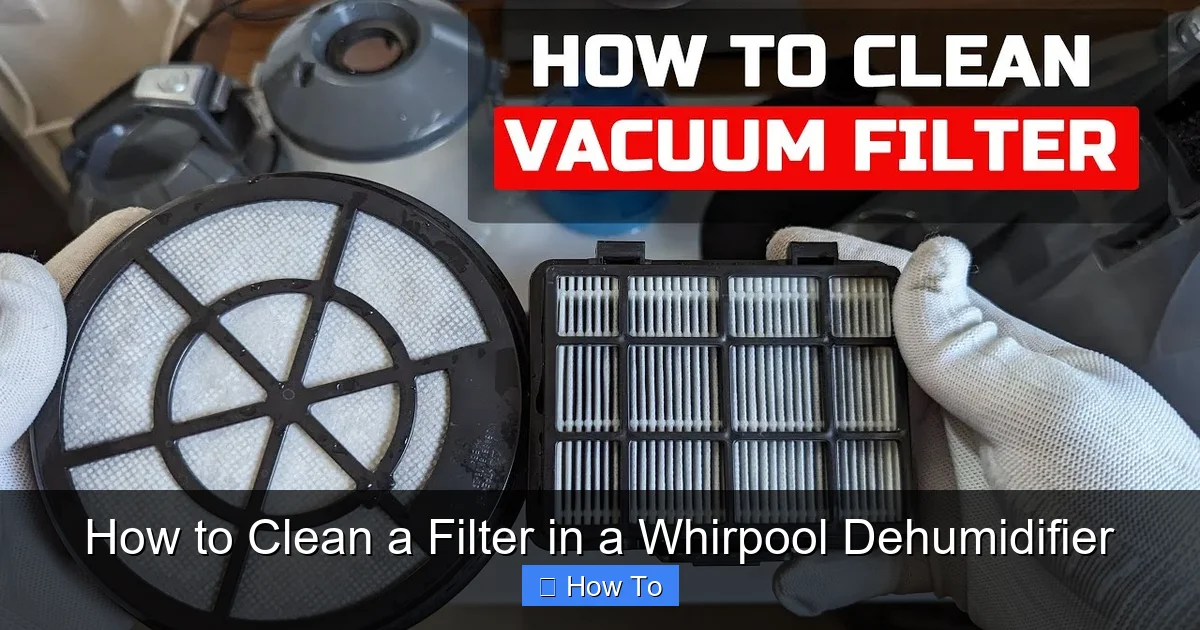
Visual guide about How to Clean a Filter in a Whirpool Dehumidifier
Image source: i.ytimg.com
Before diving into the cleaning process, gather a few basic supplies. You don’t need anything fancy—just items you likely already have at home:
- A soft-bristle brush (an old toothbrush works great)
- Mild dish soap or a gentle all-purpose cleaner
- A clean sink or basin filled with lukewarm water
- A lint-free cloth or paper towels
- A dry, well-ventilated area for air-drying (like a countertop or drying rack)
- Optional: Compressed air (for light dusting between deep cleans)
Avoid using bleach, ammonia, or abrasive scrubbers—these can degrade the filter material or leave chemical residues that affect air quality. Also, never use a vacuum cleaner directly on the filter unless your model specifically allows it (most Whirlpool filters are not designed for vacuum cleaning).
Make sure your dehumidifier is unplugged from the power outlet before you begin. Safety first!
Step 1: Turn Off and Unplug the Dehumidifier
Always start by turning off your Whirlpool dehumidifier and unplugging it from the wall outlet. This prevents accidental startup while you’re handling internal components and reduces the risk of electric shock.
If your unit has been running recently, give it 10–15 minutes to cool down. The compressor and coils can get warm during operation, and handling them while hot could lead to burns or damage.
Once it’s cool and unplugged, move the dehumidifier to a flat, stable surface near a sink or cleaning area—this makes the next steps much easier.
Step 2: Locate the Air Filter
Whirlpool dehumidifiers typically have a removable air filter located behind the front grille or side panel. The exact position depends on your model, but here’s how to find it:
- Front-mounted filter: Most Whirlpool models (like the DS series) have a front-facing grille. Look for a rectangular panel with small vents or louvers.
- Side-mounted filter: Some compact or portable models place the filter on the side. Check both left and right sides near the air intake.
- Top-mounted filter: Rare, but a few models have a filter access panel on top—usually marked with a filter icon.
If you’re unsure, consult your user manual. You can usually download a digital copy from Whirlpool’s official support website if you’ve misplaced the physical one.
How to Open the Filter Access Panel
Once you’ve located the filter compartment:
- Gently press the release tabs or latches on the grille. These are often found along the top or sides.
- Pull the grille outward or upward—it should swing open or lift off easily. Don’t force it; if it feels stuck, double-check for hidden clips.
- Set the grille aside in a safe place where it won’t get damaged or collect dust.
Inside, you’ll see the air filter—a flat, mesh-like panel usually made of foam or woven polyester. It may be white, gray, or light blue, and often has a plastic frame for easy handling.
Step 3: Remove the Filter Carefully
Now that the access panel is open, it’s time to take out the filter:
- Grasp the filter by its frame (not the mesh material) and pull it straight out.
- If it’s snug, wiggle it gently side to side—never yank or twist forcefully.
- Inspect the filter as you remove it. Is it visibly dirty? Covered in dust? This confirms why cleaning is so important!
Place the removed filter on a clean towel or paper towel to avoid spreading dust around your workspace.
Step 4: Shake Off Loose Debris
Before washing, remove as much loose dirt as possible:
- Take the filter outside or over a trash can.
- Gently tap both sides against your hand or a soft surface to dislodge dust and lint.
- Alternatively, use a can of compressed air to blow debris off the mesh. Hold the can upright and spray in short bursts from about 6 inches away.
This step prevents you from rinsing large clumps of dirt into your sink and makes the washing process more effective.
Step 5: Wash the Filter with Mild Soap and Water
Now it’s time for a thorough clean:
Prepare the Cleaning Solution
Fill a sink or basin with lukewarm water—not hot, as high heat can warp the filter material. Add a few drops of mild dish soap (like Dawn or Seventh Generation). Avoid antibacterial or heavily scented soaps, as residues may linger.
Soak and Gently Scrub
- Submerge the filter completely and let it soak for 5–10 minutes. This loosens embedded grime.
- Use a soft-bristle brush (an old toothbrush is perfect) to gently scrub both sides of the mesh. Focus on areas with heavy buildup.
- Don’t press too hard—you’re cleaning, not scrubbing stains off a pan. The goal is to remove debris without tearing the delicate fibers.
Rinse Thoroughly
Hold the filter under cool, running water to rinse away all soap and loosened dirt. Keep rinsing until the water runs clear and no suds remain. Soap residue can attract more dust later or affect air quality.
Step 6: Dry the Filter Completely
This step is critical—never reinstall a wet or damp filter.
- Shake off excess water gently.
- Place the filter on a clean, dry towel in a well-ventilated area away from direct sunlight or heat sources (like radiators).
- Let it air-dry for at least 4–6 hours, or overnight if possible. You can prop it up vertically to improve airflow.
- Check that it’s completely dry before reinserting—any moisture can promote mold growth inside the unit.
Pro tip: If you’re in a hurry, use a fan to speed up drying—but never use a hair dryer or place it near a heater.
Step 7: Clean the Dehumidifier Interior (Optional but Recommended)
While the filter is out, take a moment to clean the inside of the unit:
- Use a dry or slightly damp cloth to wipe down the air intake grille and surrounding area.
- Check the evaporator coils (usually visible behind the filter). If they’re dusty, use a soft brush or compressed air to remove buildup—this improves heat exchange and efficiency.
- Never spray water directly into the unit. If needed, lightly dampen a cloth and wipe carefully.
This extra step ensures your dehumidifier breathes easily and operates at full capacity.
Step 8: Reinstall the Filter and Close the Unit
Once the filter is bone-dry:
- Slide it back into the filter slot, making sure it sits flat and fits snugly. The frame should align with the guides inside the compartment.
- Double-check that it’s facing the correct direction—most filters have an arrow or “airflow” label indicating which way air should flow (usually toward the unit).
- Close the access panel or grille securely. Ensure all latches click into place.
Step 9: Plug In and Test the Unit
Plug your dehumidifier back in and turn it on. Listen for normal operation—the fan should run smoothly, and you should feel air moving through the vents.
If the unit doesn’t start or makes unusual noises, double-check that the filter is properly seated and the panel is fully closed. Some models have safety switches that prevent operation if the filter compartment isn’t secure.
Run the dehumidifier for 15–20 minutes and confirm it’s pulling moisture effectively. You should notice improved airflow and quieter operation compared to before.
How Often Should You Clean the Filter?
The frequency depends on your environment:
- High humidity or pet-heavy homes: Clean every 2–4 weeks.
- Moderate use (e.g., basement in summer): Clean monthly.
- Low-use seasons or clean environments: Every 6–8 weeks may suffice.
A good rule of thumb: if you can’t see light through the filter when held up to a window, it’s time to clean it.
Troubleshooting Common Filter Issues
Even with proper care, you might run into problems. Here’s how to handle them:
Filter Won’t Fit After Cleaning
If the filter seems warped or doesn’t slide in smoothly, it may have been exposed to excessive heat or pressure during drying. Always air-dry flat and avoid direct sunlight. If it’s permanently misshapen, it’s time to replace it.
Dehumidifier Still Runs Loud or Inefficiently
A clean filter helps, but if performance doesn’t improve, check for other issues: blocked vents, dirty coils, or a full water tank. Also, ensure the room isn’t too cold—most dehumidifiers work best above 65°F (18°C).
Filter Smells Musty After Cleaning
This suggests mold or mildew has grown in the filter. Soak it in a vinegar-water solution (1 part white vinegar to 3 parts water) for 30 minutes before washing with soap. If the smell persists, replace the filter immediately.
Unit Won’t Turn On After Reassembly
Double-check that the filter compartment is fully closed and latched. Many Whirlpool models have a safety interlock that prevents operation if the panel isn’t secure.
When to Replace the Filter Instead of Cleaning
Cleaning extends a filter’s life, but it won’t last forever. Replace your filter if you notice:
- Tears, holes, or frayed edges in the mesh
- Persistent odors even after thorough cleaning
- Discoloration (yellowing or dark spots) that won’t wash out
- Reduced airflow despite regular cleaning
Most Whirlpool dehumidifier filters last 6–12 months with monthly cleaning. Replacement filters are widely available online or at appliance stores—just search for your model number (e.g., “Whirlpool DS5020 filter”).
Bonus Tips for Long-Term Maintenance
Keep your entire dehumidifier in great shape with these habits:
- Empty the water tank daily during humid weather to prevent overflow and bacterial growth.
- Wipe the exterior with a damp cloth weekly to remove dust.
- Store the unit properly during off-seasons: clean it thoroughly, remove the filter, and cover it in a dry place.
- Use a hygrometer to monitor indoor humidity—aim for 30–50% for comfort and health.
By staying proactive, you’ll enjoy cleaner air, lower energy bills, and a longer-lasting appliance.
Conclusion
Cleaning the filter in your Whirlpool dehumidifier is a simple yet powerful way to maintain performance, improve air quality, and protect your investment. With just a few minutes each month, you can prevent clogs, reduce wear on internal parts, and ensure your unit efficiently removes excess moisture from your home.
Follow the steps in this guide—turn off the unit, remove the filter, wash it gently, dry it completely, and reinstall it properly—and you’ll keep your dehumidifier running like new. Remember to check the filter regularly, clean the interior when possible, and replace the filter when it shows signs of wear.
A little maintenance goes a long way. Your home—and your dehumidifier—will thank you.