

Keeping your GE dehumidifier filter clean ensures optimal performance and better air quality. This guide walks you through the entire process—from locating the filter to reassembling your unit—so you can maintain your appliance with confidence.
Quick Answers to Common Questions
Tip/Question?
Can I vacuum the filter instead of washing it?
Yes, for light dust, a vacuum with a brush attachment works well. But for deep cleaning, washing is more effective.
Tip/Question?
What if my filter is permanently installed?
Some models have non-removable filters. In that case, use a vacuum or compressed air to clean it in place.
Tip/Question?
Can I use bleach to clean the filter?
No—bleach can damage the filter material and leave harmful residues. Stick to mild soap or vinegar.
Tip/Question?
How do I know if my filter needs replacing?
If it’s torn, brittle, or won’t come clean after washing, it’s time for a new one.
Tip/Question?
Should I clean the filter if the unit is still under warranty?
Yes—regular maintenance is required to keep the warranty valid. Just use approved methods.
How to Clean a Filter on a GE Dehumidifier
If you’ve noticed your GE dehumidifier isn’t pulling moisture from the air like it used to, or if it’s making strange noises or emitting a musty smell, the culprit might be a dirty filter. The air filter in your dehumidifier plays a crucial role in capturing dust, pet dander, and other airborne particles before they enter the internal components. Over time, this filter gets clogged, reducing airflow and efficiency.
The good news? Cleaning the filter is quick, easy, and requires no special tools. In this comprehensive guide, we’ll walk you through every step of cleaning the filter on your GE dehumidifier—from safely turning off the unit to reassembling it properly. Whether you’re a first-time user or just need a refresher, this guide will help you keep your dehumidifier running smoothly and your home’s air fresh and dry.
By the end of this article, you’ll know exactly how to locate, remove, clean, and reinstall the filter on your GE dehumidifier. You’ll also learn how often to clean it, what cleaning supplies to use, and how to troubleshoot common issues. Let’s get started!
Why Cleaning the Filter Matters
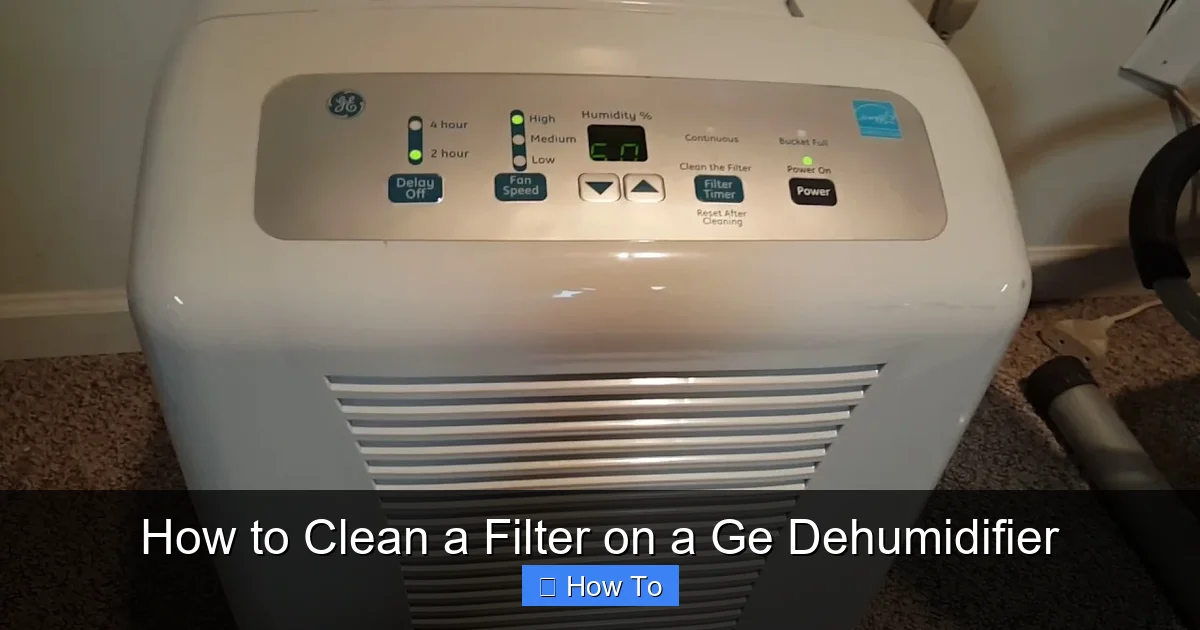
Visual guide about How to Clean a Filter on a Ge Dehumidifier
Image source: i.ytimg.com
Before diving into the cleaning process, it’s important to understand why this maintenance task is so essential. The air filter in your GE dehumidifier isn’t just a passive component—it’s a frontline defense against indoor air pollution.
When the dehumidifier runs, it pulls humid air from the room through the filter. As the air passes through, the filter traps dust, lint, mold spores, and other contaminants. Clean air then moves into the internal coils, where moisture is extracted and collected in the water tank.
But when the filter becomes clogged, several problems can arise:
– **Reduced airflow:** A dirty filter restricts the amount of air that can pass through, forcing the fan and compressor to work harder. This leads to longer run times and higher energy bills.
– **Poor dehumidification:** With less air moving through the system, the unit can’t remove moisture as effectively. You may notice damp spots, higher humidity readings, or a sticky feeling in the air.
– **Increased wear and tear:** The motor and other components are under more stress when airflow is restricted. Over time, this can lead to premature failure.
– **Mold and odor buildup:** A wet, dirty filter is a perfect environment for mold and bacteria. These can grow on the filter and spread into the air, causing unpleasant smells and potential health issues.
– **Fire hazard (rare but possible):** In extreme cases, a severely clogged filter can cause overheating, especially if the unit has a clogged coil or blocked vents.
Regular cleaning—typically every 2 to 4 weeks—prevents these issues and keeps your dehumidifier running at peak performance. It’s one of the simplest and most effective ways to maintain your appliance.
What You’ll Need
Before you begin, gather the following supplies. Most are likely already in your home:
– **Soft brush or vacuum with brush attachment:** For gently removing loose dust and debris.
– **Mild dish soap or all-purpose cleaner:** Avoid bleach, ammonia, or abrasive cleaners, which can damage the filter.
– **Warm water:** Lukewarm is best—hot water can warp some filter materials.
– **Clean towel or paper towels:** For drying the filter and wiping down surfaces.
– **Optional: Compressed air:** Useful for blowing out stubborn dust from hard-to-reach areas.
– **Optional: Replacement filter:** If your filter is damaged or very old, consider replacing it. Check your model number to find the correct replacement.
Having everything ready will make the process faster and more efficient.
Step 1: Turn Off and Unplug the Dehumidifier
Safety first! Before you touch any part of your GE dehumidifier, make sure it’s completely powered down.
Why This Step Is Important
Even if the unit appears off, it could still be receiving power. Unplugging it eliminates the risk of electric shock, especially when handling water or damp components.
How to Do It
– Locate the power cord and unplug it from the wall outlet.
– If your dehumidifier has a power switch, turn it off as well.
– Wait a few minutes to ensure all internal components have stopped moving.
Never attempt to clean the filter while the unit is plugged in or running.
Step 2: Locate the Air Filter
The filter is usually easy to find, but its exact location depends on your GE dehumidifier model. Most models have the filter behind a front or side grille.
Common Filter Locations
– **Front panel:** Many GE dehumidifiers have a removable front grille that swings open or lifts off. Look for a plastic panel with slats or vents.
– **Side access:** Some models have a filter compartment on the side, often marked with a filter icon or labeled “Filter.”
– **Top or bottom:** Less common, but check your owner’s manual if you can’t find it on the front or sides.
How to Identify the Filter
The filter is typically a rectangular mesh or foam panel, about the size of a sheet of paper. It may be white, blue, or gray, and often has a plastic frame.
If you’re unsure, consult your owner’s manual or visit the GE Appliances website and search for your model number. Most manuals include a diagram showing the filter location.
Step 3: Remove the Filter
Once you’ve located the filter, it’s time to take it out. Most GE dehumidifiers are designed for easy filter access—no tools required.
For Front-Mounted Filters
– Gently pull the front grille outward. It may snap out or swing open on hinges.
– Look for the filter behind the grille. It’s usually held in place by clips or a simple slide-in slot.
– Carefully lift or slide the filter out. Avoid bending or tearing it.
For Side-Mounted Filters
– Look for a small latch or tab on the side panel.
– Press the latch and pull the panel open.
– The filter should be visible inside. Remove it by lifting it straight out.
Tips for Safe Removal
– Handle the filter gently—especially if it’s made of foam or delicate mesh.
– If it’s stuck, don’t force it. Check for hidden clips or screws.
– Take a photo before removing it, so you remember how it fits back in.
Step 4: Inspect the Filter
Before cleaning, take a close look at the filter. This will help you decide how thorough the cleaning needs to be.
What to Look For
– **Heavy dust buildup:** A thick layer of gray or black dust means the filter needs a good cleaning.
– **Stains or discoloration:** Yellow or brown spots may indicate mold or mildew.
– **Tears or holes:** If the filter is damaged, it won’t capture particles effectively. Consider replacing it.
– **Wet or damp areas:** A wet filter can lead to mold growth. Make sure it dries completely before reinstalling.
If the filter is in good condition but just dirty, proceed with cleaning. If it’s torn, brittle, or heavily stained, it’s time for a replacement.
Step 5: Clean the Filter
Now for the main event—cleaning the filter. The method depends on how dirty it is.
For Light Dust or Lint
– Use a soft brush or vacuum with a brush attachment to gently remove loose debris.
– Brush in the direction of the mesh to avoid pushing dirt deeper into the filter.
– This method is quick and effective for routine maintenance.
For Moderate to Heavy Soiling
– Fill a sink or basin with lukewarm water.
– Add a few drops of mild dish soap.
– Submerge the filter and let it soak for 10–15 minutes. This helps loosen embedded dirt.
– Gently agitate the water or swish the filter around.
– Use your fingers or a soft cloth to wipe away stubborn grime. Avoid scrubbing too hard—this can damage the filter material.
For Mold or Odor
– Mix a solution of 1 part white vinegar to 3 parts water.
– Soak the filter for 15–20 minutes. Vinegar is a natural disinfectant and deodorizer.
– Rinse thoroughly with clean water to remove all vinegar residue.
Rinsing the Filter
– After soaking, rinse the filter under cool running water.
– Hold it up to the light to check for remaining dirt.
– Continue rinsing until the water runs clear.
Never use hot water, as it can warp or melt certain filter types. Also, avoid wringing or twisting the filter—this can damage the mesh or foam.
Step 6: Dry the Filter Completely
This step is critical. A damp filter can promote mold growth and may damage your dehumidifier.
How to Dry the Filter
– Shake off excess water gently.
– Place the filter on a clean towel or paper towels in a well-ventilated area.
– Allow it to air dry for at least 4–6 hours, or overnight.
– Make sure it’s completely dry before reinstalling—no damp spots or cool areas.
Tips for Faster Drying
– Place the filter near a fan or open window to speed up evaporation.
– Avoid direct sunlight or heat sources like radiators, which can warp the filter.
– If you’re in a hurry, use a hair dryer on the cool setting—but keep it at least 6 inches away.
Never reinstall a wet or damp filter. This can cause mold, reduce efficiency, and potentially damage the unit.
Step 7: Reinstall the Filter
Once the filter is dry, it’s time to put it back.
How to Reinstall
– Make sure the filter is oriented correctly. Most filters have a directional arrow or label indicating airflow direction.
– Slide or snap the filter back into its slot.
– Ensure it fits snugly and isn’t bent or folded.
– Close the front grille or side panel securely.
Double-Check Before Powering On
– Make sure all panels are closed and latched.
– Confirm the filter is clean and dry.
– Plug the unit back in and turn it on.
Your dehumidifier should now run more quietly and efficiently.
Step 8: Test the Unit
After reassembly, run your dehumidifier for about 30 minutes and observe its performance.
What to Look For
– **Improved airflow:** You should feel stronger air coming from the vents.
– **Quieter operation:** A clean filter reduces strain on the fan, so the unit should run more smoothly.
– **Better moisture removal:** Check the water tank—it should fill at a normal rate.
– **No musty smells:** If odors persist, the filter may need deeper cleaning or replacement.
If everything looks good, you’re all set!
How Often Should You Clean the Filter?
The ideal cleaning frequency depends on several factors:
– **Usage:** If you run your dehumidifier daily, clean the filter every 2 weeks. For occasional use, once a month may be enough.
– **Environment:** Homes with pets, smokers, or high dust levels may need more frequent cleaning.
– **Humidity levels:** In very humid climates, the filter may clog faster.
– **Model recommendations:** Check your owner’s manual—GE often suggests cleaning every 2–4 weeks.
As a general rule, inspect the filter every time you empty the water tank. If it looks dirty, clean it.
Troubleshooting Common Issues
Even with regular cleaning, you might run into problems. Here’s how to handle them:
Filter Won’t Come Out
– Check for hidden clips or screws.
– Gently wiggle the filter while pulling—don’t force it.
– Consult your manual for model-specific instructions.
Filter Is Torn or Damaged
– Replace it with a genuine GE filter or compatible aftermarket option.
– Avoid using the dehumidifier without a filter—this can damage internal components.
Unit Still Isn’t Working Well After Cleaning
– Check the coils for frost or dirt—clean them if needed.
– Ensure the water tank is empty and properly seated.
– Verify the humidity setting is appropriate for your environment.
Strange Odors Persist
– Clean the water tank with vinegar and water.
– Wipe down the interior with a damp cloth.
– Consider using an air purifier to complement your dehumidifier.
Tips for Long-Term Maintenance
To keep your GE dehumidifier in top shape, follow these best practices:
– **Clean the water tank weekly:** Use soap and water to prevent mold and bacteria.
– **Check the drain hose (if applicable):** Ensure it’s not kinked or clogged.
– **Keep the area around the unit clear:** Allow at least 6 inches of space on all sides for proper airflow.
– **Replace the filter annually:** Even with regular cleaning, filters degrade over time.
– **Schedule professional service every 2–3 years:** A technician can check refrigerant levels, coils, and electrical components.
Conclusion
Cleaning the filter on your GE dehumidifier is a simple but powerful way to maintain performance, improve air quality, and extend the life of your appliance. By following the steps in this guide—turning off the unit, removing and cleaning the filter, and reinstalling it properly—you can keep your dehumidifier running efficiently for years to come.
Remember, a clean filter means better airflow, lower energy bills, and a healthier home. Make filter cleaning a regular part of your home maintenance routine, and you’ll notice the difference in both comfort and cost.
With just a few minutes of effort every few weeks, you can ensure your GE dehumidifier continues to protect your home from excess moisture, mold, and musty odors. So grab your cleaning supplies, follow this guide, and breathe easier knowing your dehumidifier is in great shape.