
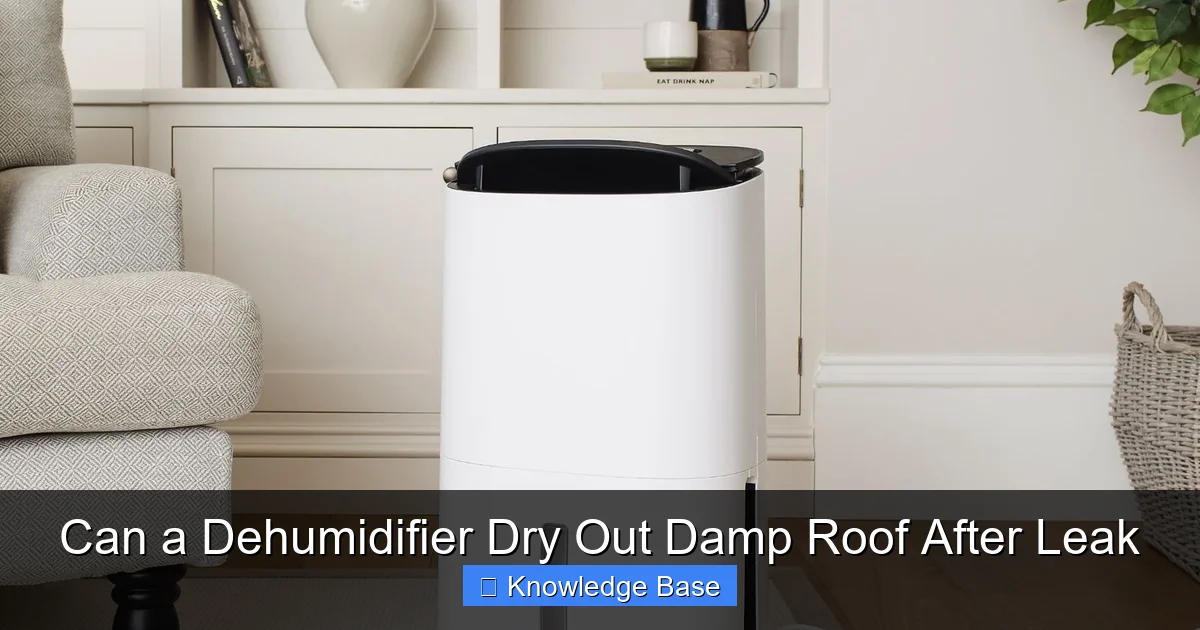
A dehumidifier can significantly aid in drying out a damp roof after a leak by reducing moisture in the air and preventing mold growth. However, it should never replace fixing the actual leak or addressing structural damage. Used correctly with proper ventilation and insulation, a dehumidifier becomes a powerful tool in restoring your home’s safety and comfort.
Key Takeaways
- Dehumidifiers reduce airborne moisture: They pull excess humidity from the air, helping surfaces like roof timbers and insulation dry faster after a leak.
- They don’t fix the leak: A dehumidifier treats symptoms, not the cause—always repair the source of the leak first.
- Speed up drying time: Using a dehumidifier can cut drying time by 30–50%, especially in enclosed or poorly ventilated attic spaces.
- Prevent mold and rot: Lower humidity levels inhibit mold growth and wood decay, protecting your roof structure long-term.
- Choose the right size: Match the dehumidifier’s capacity (pints per day) to the room size and moisture level for best results.
- Combine with fans and ventilation: Air circulation boosts effectiveness—use fans and open vents when safe to do so.
- Monitor humidity levels: Keep indoor relative humidity between 30–50% to ensure thorough drying and prevent future issues.
Quick Answers to Common Questions
Can a dehumidifier dry out a damp roof after a leak?
Yes, a dehumidifier can help dry a damp roof by reducing airborne moisture and speeding up evaporation from wet materials like wood and insulation.
Should I use a dehumidifier while the leak is still active?
No. Always stop the leak first. Using a dehumidifier while water is still entering will waste energy and delay real repairs.
How long does it take to dry a roof with a dehumidifier?
Depending on the severity, it can take 3–10 days. A dehumidifier can cut natural drying time by 30–50% when used with fans and proper ventilation.
What type of dehumidifier is best for an attic?
For cold attics, a desiccant dehumidifier works best. For warm, humid spaces, a refrigerant model is more efficient.
Can a dehumidifier prevent mold after a roof leak?
Yes, by lowering humidity below 50%, a dehumidifier inhibits mold growth. But existing mold should be professionally cleaned.
📑 Table of Contents
- Can a Dehumidifier Dry Out Damp Roof After Leak?
- Understanding How Dehumidifiers Work
- When to Use a Dehumidifier After a Roof Leak
- How to Use a Dehumidifier to Dry a Damp Roof
- Choosing the Right Dehumidifier for Roof Drying
- Combining Dehumidifiers with Other Drying Methods
- Common Mistakes to Avoid
- Long-Term Prevention and Maintenance
- Conclusion
Can a Dehumidifier Dry Out Damp Roof After Leak?
Imagine this: you wake up one morning to find a dark, damp patch on your ceiling. Water is dripping slowly into a bucket you’ve placed underneath. Your heart sinks—there’s a leak in your roof. After the initial panic, your next thought is probably: “How do I dry this out before mold takes over or the wood rots?”
You might have heard that a dehumidifier can help with moisture problems. But can it actually dry out a damp roof after a leak? The short answer is yes—but with important caveats. A dehumidifier is a valuable tool in your recovery toolkit, but it’s not a magic wand. It works best when used as part of a comprehensive drying and repair strategy.
In this guide, we’ll explore exactly how a dehumidifier can help dry a damp roof, when it’s most effective, and what steps you should take alongside using one. We’ll also cover common mistakes to avoid, how to choose the right unit, and how to monitor progress. Whether you’re dealing with a minor drip or a major storm-related leak, understanding the role of a dehumidifier can save you time, money, and stress.
Understanding How Dehumidifiers Work
Visual guide about Can a Dehumidifier Dry Out Damp Roof After Leak
Image source: cdn.mos.cms.futurecdn.net
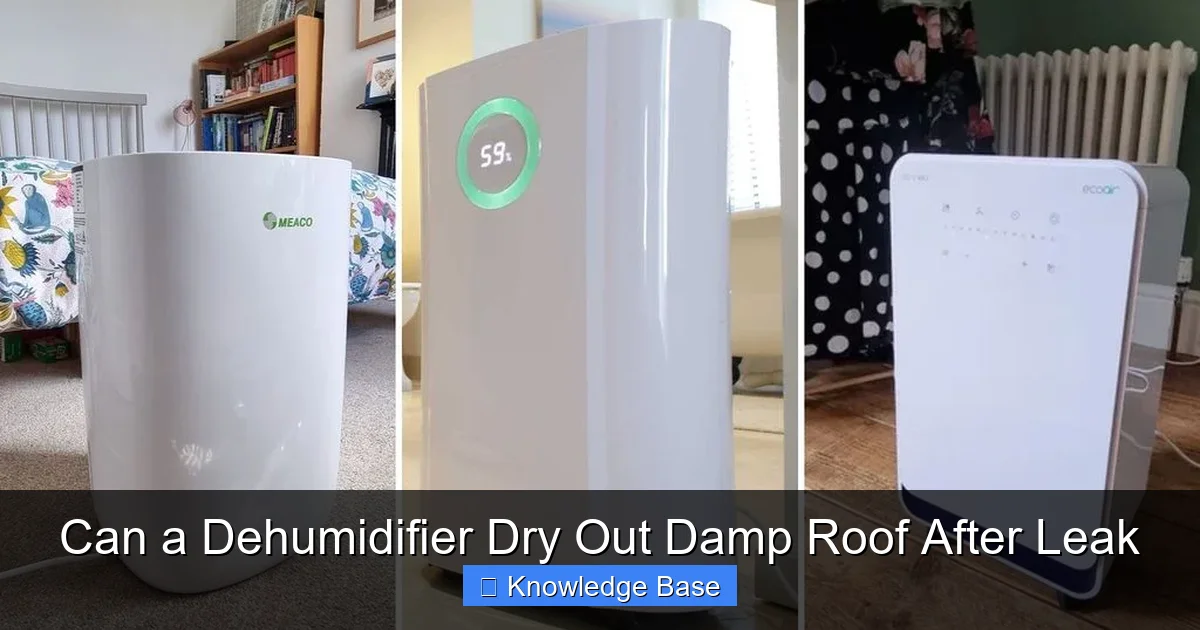
Before we dive into whether a dehumidifier can dry a damp roof, let’s break down how these devices actually work. At their core, dehumidifiers are designed to remove excess moisture from the air. They do this by pulling in humid air, cooling it to condense the water vapor, and then reheating the air before releasing it back into the room. The collected water is either drained manually or through a continuous hose.
There are two main types of dehumidifiers: refrigerant (compressor-based) and desiccant. Refrigerant models are the most common in homes—they’re effective in warm, humid environments and work similarly to air conditioners. Desiccant dehumidifiers use a moisture-absorbing material (like silica gel) and are better suited for colder spaces, such as unheated attics or basements.
When a roof leaks, water doesn’t just stay on the surface. It seeps into insulation, soaks into wooden rafters, and raises the humidity level in the affected area. This creates a damp environment that can linger for days or even weeks—long after the leak has stopped. That’s where a dehumidifier comes in. By lowering the ambient humidity, it encourages evaporation from wet materials, helping them dry more efficiently.
How Moisture Moves in a Damp Roof
To understand why a dehumidifier helps, it’s important to know how moisture behaves in a roof structure. When water enters through a leak—say, from a damaged shingle or cracked flashing—it doesn’t just pool on the ceiling. It spreads. Water travels along beams, soaks into fiberglass or foam insulation, and can even migrate to adjacent walls.
As the water evaporates, it increases the humidity in the air. High humidity slows down further evaporation because the air is already saturated with moisture. This creates a cycle: wet materials release moisture → air becomes humid → evaporation slows → materials stay wet longer.
A dehumidifier interrupts this cycle. By removing moisture from the air, it creates a drier environment that pulls more water out of wet surfaces. Think of it like wringing out a sponge: the drier the air, the more “room” it has to absorb moisture from the sponge (or in this case, your roof materials).
Limitations of Dehumidifiers
While dehumidifiers are helpful, they have limits. They can’t pull water out of deeply saturated materials like wet plywood or soaked insulation as effectively as they can from the air. For that, you may need additional tools like industrial fans or even professional drying equipment.
Also, dehumidifiers work best in enclosed spaces. If your attic has open vents or poor insulation, humid outdoor air can continuously enter, reducing the unit’s effectiveness. In such cases, you might need to temporarily seal vents or use a more powerful unit.
Finally, remember: a dehumidifier doesn’t stop the leak. If water is still entering your roof, no amount of dehumidification will fully solve the problem. You must address the source of the leak first—whether it’s a missing shingle, a clogged gutter, or a damaged roof membrane.
When to Use a Dehumidifier After a Roof Leak
Visual guide about Can a Dehumidifier Dry Out Damp Roof After Leak
Image source: i0.wp.com
Not every roof leak requires a dehumidifier. Small, short-lived leaks that are quickly repaired and affect only a small area may dry out on their own with good ventilation. But in many cases, especially after significant water intrusion, a dehumidifier is a smart addition to your recovery plan.
Signs You Need a Dehumidifier
Here are some clear indicators that a dehumidifier will be beneficial:
– The leak has caused visible water damage, such as stained ceilings, warped wood, or sagging insulation.
– The affected area feels damp or smells musty—early signs of mold growth.
– You’re dealing with an enclosed space like an attic or crawl space with poor airflow.
– The weather is cool or humid, slowing natural evaporation.
– You’ve repaired the leak but moisture remains in structural materials.
For example, imagine a homeowner in Seattle whose roof leaked during a week of heavy rain. Even after fixing the broken flashing, the attic insulation is still damp, and the wooden rafters feel cool and moist to the touch. A dehumidifier placed in the attic can help pull moisture from the air and accelerate drying, especially since natural ventilation is limited in that region’s climate.
Best Time to Start Using a Dehumidifier
The sooner you start, the better. Begin using a dehumidifier as soon as the leak is stopped and standing water is removed. The longer materials stay wet, the greater the risk of mold, rot, and structural damage.
In ideal conditions, a dehumidifier can reduce drying time by 30–50%. For instance, a damp attic that might take two weeks to dry naturally could be ready in 7–10 days with consistent dehumidification. This not only protects your home but also reduces the chance of secondary issues like mold spores spreading to other areas.
How to Use a Dehumidifier to Dry a Damp Roof
Using a dehumidifier effectively requires more than just plugging it in and walking away. Follow these steps to maximize its impact:
Step 1: Stop the Leak First
Before you do anything else, locate and repair the source of the leak. This might involve patching a hole, replacing damaged shingles, or calling a roofing professional. Continuing to run a dehumidifier while water is still entering will only waste energy and delay real progress.
Step 2: Remove Standing Water and Wet Materials
Use towels, a wet/dry vacuum, or a mop to remove any pooled water. If insulation is soaked, it may need to be removed and replaced—especially fiberglass, which loses its effectiveness when wet. Wet drywall or ceiling tiles should also be cut out and discarded to prevent mold growth.
Step 3: Improve Air Circulation
Place box fans or industrial air movers in the affected area to circulate air. Point them at wet surfaces like rafters, insulation, and walls. Moving air helps moisture evaporate faster and allows the dehumidifier to work more efficiently.
Step 4: Position the Dehumidifier Correctly
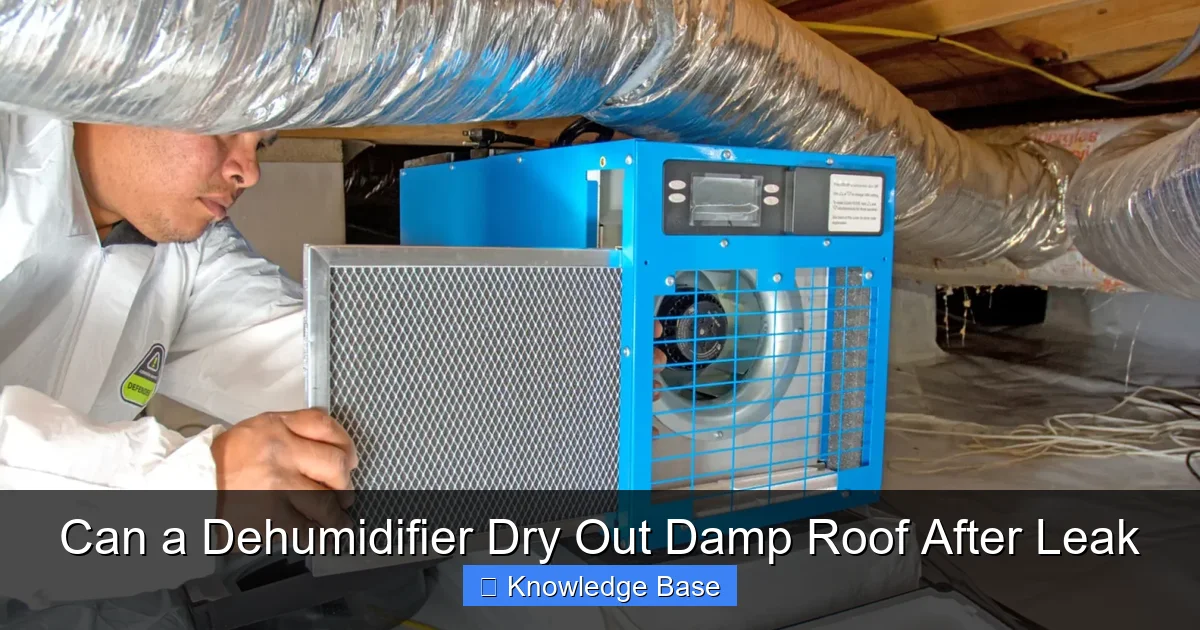
Place the dehumidifier in the center of the damp area, ideally on a stable, elevated surface to avoid water damage to the unit. Keep it away from walls and furniture to ensure proper airflow. If the space is large, consider using multiple units or moving one unit around as needed.
Step 5: Set the Right Humidity Level
Most dehumidifiers allow you to set a target humidity level. For drying a damp roof, aim for 30–40% relative humidity. This is lower than the typical comfort range (40–50%) but necessary to pull moisture from materials. Use a hygrometer to monitor levels and adjust as needed.
Step 6: Drain the Water Regularly
Check the water collection tank daily. If it fills up, the dehumidifier will stop working. For continuous operation, connect a drain hose to the unit and route it to a floor drain or outside.
Step 7: Monitor Progress
Use a moisture meter to check the dryness of wood, insulation, and drywall. These handheld devices measure the percentage of moisture in materials. For structural wood, aim for under 15% moisture content. For drywall, under 1% is ideal.
Choosing the Right Dehumidifier for Roof Drying
Not all dehumidifiers are created equal. Choosing the right one depends on the size of the space, the severity of the moisture, and the environment.
Capacity: Pints per Day
Dehumidifiers are rated by how many pints of water they can remove in 24 hours. For a small attic (under 500 sq. ft.) with moderate dampness, a 30–50 pint unit may suffice. For larger or severely wet areas, consider a 70-pint or commercial-grade model.
For example, a 500-square-foot attic with high humidity after a major leak might require a 70-pint dehumidifier running continuously for several days.
Desiccant vs. Refrigerant Models
– Refrigerant dehumidifiers: Best for warm, humid spaces (above 65°F). They’re energy-efficient and widely available.
– Desiccant dehumidifiers: Ideal for cold or unheated areas like attics in winter. They work well in low temperatures but use more energy.
If your attic gets cold in winter, a desiccant model may be more effective, even if it costs more to run.
Portability and Features
Look for a unit with wheels, a handle, and a long power cord for easy movement. Features like auto-defrost (for cold environments), a built-in hygrometer, and a continuous drain option are also helpful.
Energy Efficiency
Check the Energy Star rating. A more efficient model may cost more upfront but will save money on electricity over time—especially if you’re running it for days or weeks.
Combining Dehumidifiers with Other Drying Methods
A dehumidifier works best when paired with other drying techniques. Think of it as part of a team effort.
Use Fans for Air Movement
As mentioned earlier, fans are essential. Place them to create cross-ventilation, pushing moist air toward the dehumidifier. Oscillating fans can cover more area, while axial fans are better for moving large volumes of air.
Open Vents (When Safe)
If outdoor humidity is low and the weather is dry, open attic vents or windows to allow fresh air in. This natural ventilation can complement the dehumidifier’s work. However, avoid this during rainy or humid weather, as it can introduce more moisture.
Consider Professional Drying Equipment
For severe water damage, consider renting industrial dehumidifiers and air movers. These units are more powerful and designed for restoration work. Some companies also offer heat drying, which uses warm air to speed evaporation.
Insulate and Seal After Drying
Once the area is dry, ensure proper insulation and sealing to prevent future leaks and moisture buildup. This includes checking vapor barriers, sealing gaps, and upgrading insulation if needed.
Common Mistakes to Avoid
Even with the best intentions, it’s easy to make errors that reduce effectiveness or cause new problems.
Using a Dehumidifier While the Leak Is Active
This is the biggest mistake. Running a dehumidifier while water is still entering will only mask the problem. Always fix the leak first.
Choosing the Wrong Size Unit
A dehumidifier that’s too small won’t make a dent in high humidity. One that’s too large may cycle on and off too frequently, reducing efficiency. Match the unit to the space and moisture level.
Ignoring Mold Growth
If you see black spots or smell a musty odor, you may already have mold. A dehumidifier can help prevent further growth, but existing mold should be cleaned by a professional to avoid health risks.
Not Monitoring Humidity Levels
Don’t assume the dehumidifier is working. Use a hygrometer to check humidity regularly. If it’s not dropping, you may need a larger unit or better ventilation.
Leaving Wet Materials in Place
Don’t try to dry out soaked insulation or drywall. These materials often need to be removed and replaced to prevent long-term damage.
Long-Term Prevention and Maintenance
Once your roof is dry and repaired, take steps to prevent future leaks and moisture problems.
Regular Roof Inspections
Check your roof at least twice a year—spring and fall—for damaged shingles, loose flashing, or clogged gutters. Early detection prevents major leaks.
Maintain Gutters and Downspouts
Clogged gutters can cause water to back up under shingles, leading to leaks. Clean them regularly and ensure downspouts direct water away from your foundation.
Improve Attic Ventilation
Proper airflow in the attic reduces humidity and prevents ice dams in winter. Consider adding soffit vents, ridge vents, or attic fans if needed.
Use a Hygrometer Year-Round
Keep an eye on indoor humidity levels, especially in basements and attics. A consistent range of 30–50% helps prevent mold and structural damage.
Conclusion
So, can a dehumidifier dry out a damp roof after a leak? Absolutely—but it’s not a standalone solution. It’s a powerful tool that accelerates drying, reduces humidity, and helps prevent mold and rot. However, it must be used correctly and in conjunction with proper leak repair, ventilation, and material replacement.
Think of a dehumidifier as your moisture manager: it doesn’t stop the rain, but it helps your home recover faster and stay healthier. By choosing the right unit, positioning it well, and monitoring progress, you can turn a stressful leak into a manageable repair.
Remember: fix the leak first, dry the area thoroughly, and take steps to prevent future issues. With the right approach, your roof—and your peace of mind—can be restored.
Frequently Asked Questions
Will a dehumidifier fix my roof leak?
No, a dehumidifier does not repair leaks. It only helps dry out moisture after the leak has been stopped. You must fix the source of the water intrusion first.
How do I know if my roof is fully dry?
Use a moisture meter to check wood, insulation, and drywall. Structural wood should be under 15% moisture, and drywall under 1%.
Can I use a regular room dehumidifier in my attic?
Yes, but ensure it’s suitable for the temperature and humidity level. Desiccant models are better for cold attics, while refrigerant types work in warmer spaces.
Should I run the dehumidifier 24/7?
Yes, during the initial drying phase, run it continuously. Once humidity stabilizes below 40%, you can reduce usage or set a timer.
What if my dehumidifier isn’t reducing humidity?
Check for poor ventilation, a unit that’s too small, or open windows/vents letting in humid air. Also, ensure the water tank isn’t full.
Can I prevent future roof leaks?
Yes, through regular inspections, gutter maintenance, proper attic ventilation, and timely repairs of damaged shingles or flashing.