
This guide walks you through the process of safely adding R410A refrigerant to your dehumidifier. You’ll learn the tools needed, safety precautions, and how to avoid common mistakes.
Quick Answers to Common Questions
Tip/Question?
Can I use R410A in any dehumidifier?
No—only use R410A if your dehumidifier’s label specifies it. Using the wrong refrigerant can damage the system.
Tip/Question?
How do I know if my dehumidifier is low on refrigerant?
Signs include poor moisture removal, warm exhaust air, and ice buildup on the coils.
Tip/Question?
Do I need to evacuate the system before adding refrigerant?
Yes—evacuation removes air and moisture, which can harm performance and components.
Tip/Question?
Can I charge refrigerant by pressure alone?
No—always charge by weight using a scale for accuracy.
Tip/Question?
Is it legal for homeowners to add refrigerant?
In many places, only EPA-certified technicians can legally handle refrigerants. Check local laws.
How to Add R410A to Dehumidifier: A Complete Step-by-Step Guide
If your dehumidifier isn’t removing moisture like it used to, low refrigerant levels might be the culprit. Refrigerant—specifically R410A in many modern units—is essential for the cooling process that pulls humidity from the air. Over time, small leaks or normal wear can cause refrigerant levels to drop, reducing efficiency. While recharging a dehumidifier with R410A isn’t a beginner-friendly task, it’s doable with the right tools, knowledge, and caution.
In this guide, you’ll learn exactly how to safely add R410A to your dehumidifier. We’ll cover everything from identifying the right refrigerant type to using professional-grade tools and troubleshooting common issues. Whether you’re a DIY enthusiast or just trying to save on repair costs, this guide will help you restore your dehumidifier’s performance—without risking damage or injury.
Understanding R410A and Dehumidifiers
Before you start, it’s important to understand what R410A is and how it works in a dehumidifier. R410A is a hydrofluorocarbon (HFC) refrigerant blend commonly used in modern air conditioning and dehumidification systems. It’s more environmentally friendly than older refrigerants like R22 and offers better efficiency and performance.

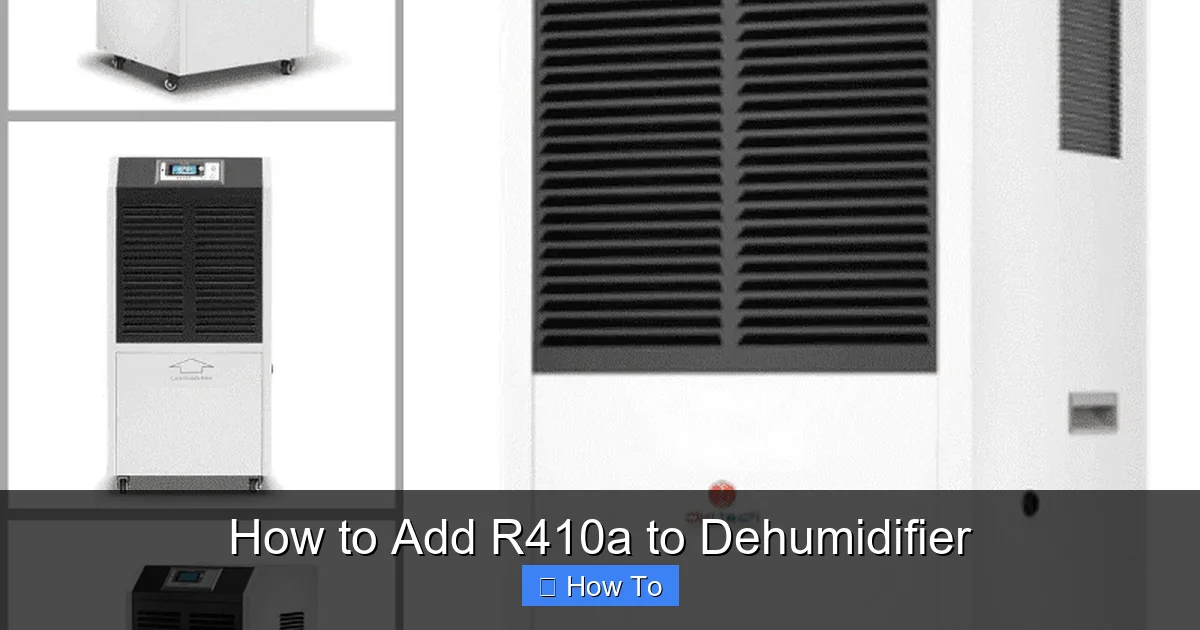
Visual guide about How to Add R410a to Dehumidifier
Image source: 1.bp.blogspot.com
Dehumidifiers work similarly to air conditioners. They use a refrigeration cycle to cool a coil, causing moisture in the air to condense and drip into a collection tank. The refrigerant absorbs heat from the air, then releases it outside the unit. If the refrigerant level is low, the system can’t cool the coil effectively, leading to poor dehumidification.
Not all dehumidifiers use R410A. Some older or budget models may use R22, R134a, or other refrigerants. Using the wrong type can damage the compressor or void the warranty. Always check your dehumidifier’s label or user manual to confirm the correct refrigerant type.
Tools and Materials You’ll Need
Adding R410A requires more than just a can of refrigerant. You’ll need specialized tools to safely and accurately recharge your dehumidifier. Here’s a complete list of what you’ll need:
- R410A refrigerant: Purchase a certified, virgin refrigerant can with a built-in gauge or use a charging cylinder.
- Manifold gauge set: This connects to the low and high-pressure ports and shows real-time pressure readings.
- Vacuum pump: Removes air and moisture from the system before charging.
- Refrigerant scale: Ensures you add the correct amount of refrigerant by weight.
- Refrigerant hoses: High-quality hoses with core depressors to connect the gauge set to the system.
- Safety gear: Safety goggles, gloves, and long sleeves to protect against cold burns and chemical exposure.
- Wrenches and screwdrivers: For accessing the service ports and removing panels.
- Leak detection kit (optional): Helps identify and fix leaks before recharging.
- Multimeter (optional): To check electrical components if the unit isn’t running.
You can rent or buy these tools from HVAC supply stores or online retailers. While the initial investment may seem high, it’s often cheaper than hiring a technician for multiple visits.
Safety First: Precautions Before You Begin
Working with refrigerants involves risks. R410A is non-flammable but can cause frostbite on contact with skin and eyes. It’s also a potent greenhouse gas—releasing it into the atmosphere is illegal in many areas and harmful to the environment. Follow these safety steps:
- Work in a well-ventilated area: Open windows and doors to prevent gas buildup.
- Wear protective gear: Safety goggles and gloves are a must. Avoid loose clothing that could get caught in moving parts.
- Never smoke or use open flames: Even though R410A isn’t flammable, other components may be.
- Turn off and unplug the dehumidifier: Ensure the unit is completely powered down before starting.
- Check local regulations: In the U.S., only EPA-certified technicians can legally handle refrigerants. DIY charging may violate environmental laws.
While this guide is for educational purposes, we strongly recommend consulting a licensed HVAC professional if you’re not EPA-certified. Improper handling can result in fines, injury, or system damage.
Step 1: Confirm the Refrigerant Type and System Status
Before adding any refrigerant, verify that your dehumidifier uses R410A. Look for a label on the back or side of the unit that lists the refrigerant type and charge amount (usually in ounces or grams). If it says R22, R407C, or another type, do not use R410A—it’s incompatible.
Next, determine if low refrigerant is actually the problem. Other issues can mimic low charge symptoms, such as:
- Clogged air filters
- Frozen coils
- Faulty fan motor
- Thermostat or humidistat malfunction
Run a quick diagnostic: Turn on the dehumidifier and listen for the compressor and fan. If the fan runs but the compressor doesn’t kick on, the issue may be electrical, not refrigerant-related. Use a multimeter to check for continuity in the compressor and start relay.
If the compressor runs but the unit isn’t cooling the coil, low refrigerant is a likely cause. You can also check for ice buildup on the coils—this often indicates low charge or airflow problems.
Step 2: Locate the Service Ports
Most dehumidifiers have two service ports: a low-pressure (suction) port and a high-pressure (discharge) port. These are typically located near the compressor and are marked with “L” and “H” or color-coded (blue for low, red for high).
Accessing these ports may require removing the outer casing. Use a screwdriver to carefully remove screws and panels. Take photos as you go to help with reassembly.
Once exposed, locate the service valves. They look like small brass fittings with threaded caps. Remove the caps and inspect the Schrader valves inside—these are similar to tire valves and allow refrigerant to flow in and out.
If you don’t see service ports, your dehumidifier may not be serviceable. Some compact or portable models are sealed systems and cannot be recharged. In that case, replacement may be the only option.
Step 3: Connect the Manifold Gauge Set
Now it’s time to connect your tools. Follow these steps:
Attach the hoses to the gauge set
Connect the blue hose to the low-pressure side of the manifold gauge and the red hose to the high-pressure side. The yellow hose (center) will connect to the refrigerant can or vacuum pump.
Connect the hoses to the service ports
Screw the blue hose onto the low-pressure service port and the red hose onto the high-pressure port. Use a wrench to tighten, but don’t over-tighten—brass fittings can strip easily.
Open the manifold valves
Turn the low and high-pressure valves on the gauge set counterclockwise to open them. This allows refrigerant to flow through the gauges.
At this point, the gauges should show the current system pressure. For R410A, normal low-side pressure at room temperature (70–80°F) is typically between 110–140 psi. High-side pressure should be around 250–350 psi. If both sides read very low (under 50 psi), the system is likely undercharged.
Step 4: Evacuate the System with a Vacuum Pump
Before adding new refrigerant, you must remove air and moisture from the system. Air contains moisture and non-condensable gases that can reduce efficiency and damage components.
Connect the vacuum pump
Attach the yellow hose from the manifold gauge to the inlet of the vacuum pump. Make sure all connections are tight.
Open all valves
Open the low and high-pressure valves on the manifold gauge and turn on the vacuum pump. Let it run for at least 30–60 minutes. Longer is better—some technicians recommend 90 minutes for thorough evacuation.
Monitor the vacuum level
The compound gauge (low-pressure side) should drop to around 500 microns or lower. If it struggles to reach this level or rises quickly after turning off the pump, there may be a leak.
Close valves and isolate the system
After reaching a deep vacuum, close the manifold valves and turn off the pump. Wait 10–15 minutes and check if the vacuum holds. If the pressure rises, there’s a leak that must be repaired before charging.
Evacuation is a critical step. Skipping it can lead to poor performance, compressor failure, or refrigerant contamination.
Step 5: Add R410A Refrigerant
Now that the system is evacuated, you can add R410A. Always charge by weight, not by pressure alone. The correct charge amount is listed on the dehumidifier’s label (e.g., 12 oz).
Weigh the refrigerant can
Place the R410A can on a refrigerant scale. Record the starting weight.
Connect the can to the yellow hose
Screw the can into the yellow hose adapter. Make sure the can is upright to prevent liquid refrigerant from entering the system too quickly.
Open the low-side valve
Slowly open the low-pressure valve on the manifold gauge. This allows refrigerant to flow into the system as a vapor. Never charge liquid refrigerant into the low side—it can flood the compressor.
Monitor the scale and gauges
Watch the scale as refrigerant flows in. Stop when you’ve added the correct amount. Also monitor the low-side pressure—it should rise gradually.
Close the valve and disconnect
Once the charge is complete, close the low-side valve. Let the system sit for a few minutes to stabilize, then disconnect the hoses.
If the system still seems undercharged after adding the full amount, there may be a leak. Do not add extra refrigerant—overcharging can damage the compressor.
Step 6: Test the Dehumidifier
After charging, it’s time to test the unit.
Reassemble the dehumidifier
Replace all panels and screws. Make sure no wires are pinched and all connections are secure.
Plug in and power on
Turn on the dehumidifier and set it to the desired humidity level. Listen for the compressor and fan to start.
Check for cooling
Feel the air coming out of the exhaust. It should be noticeably warmer than the intake air. The coil should feel cold to the touch.
Monitor performance
Let the unit run for 30–60 minutes. Check the water collection tank—moisture should begin to accumulate. Use a hygrometer to measure humidity levels in the room.
If the dehumidifier runs but doesn’t remove moisture, check for airflow issues, frozen coils, or electrical problems. If it still underperforms, there may be a hidden leak or component failure.
Troubleshooting Common Issues
Even with careful work, problems can arise. Here’s how to handle common issues:
Dehumidifier won’t turn on
Check the power cord, outlet, and internal fuses. Use a multimeter to test the compressor and start relay. If the compressor is faulty, replacement may be needed.
Coils are freezing
This can happen if airflow is restricted (dirty filter, blocked vents) or if the refrigerant charge is incorrect. Clean the filter and ensure proper ventilation. If freezing persists, the charge may be too low or high.
No moisture collection
Verify the fan is running and the coil is cold. If the coil isn’t cooling, the refrigerant charge may still be low or there could be a blockage in the system.
Gauge readings are abnormal
Low pressure on both sides suggests a leak or compressor issue. High pressure may indicate overcharging or a blocked condenser. Always refer to the manufacturer’s pressure charts.
Refrigerant smell or hissing sound
This indicates a leak. Use a leak detection spray or electronic detector to locate the source. Common leak points include service valves, flare fittings, and the compressor seal.
If you can’t resolve the issue, consult a professional. Continuing to operate a faulty dehumidifier can cause further damage.
When to Call a Professional
While DIY refrigerant charging is possible, it’s not always the best choice. Consider hiring a licensed HVAC technician if:
- You’re not EPA-certified to handle refrigerants
- The dehumidifier is still under warranty
- You suspect a major leak or compressor failure
- You’re uncomfortable working with high-pressure systems
- The unit is a sealed system with no service ports
Technicians have specialized tools, training, and legal authority to handle refrigerants safely. They can also perform leak repairs, system diagnostics, and warranty-compliant service.
Maintaining Your Dehumidifier After Charging
Once your dehumidifier is running properly, regular maintenance will help prevent future refrigerant issues:
- Clean the air filter monthly: A dirty filter restricts airflow, reducing efficiency and causing coils to freeze.
- Empty the water tank regularly: Prevent overflow and bacterial growth.
- Inspect for leaks annually: Look for oil stains or hissing sounds near joints and valves.
- Keep the unit level: Tilting can affect refrigerant flow and compressor operation.
- Store properly in off-seasons: Clean and cover the unit to prevent dust buildup.
Proper care extends the life of your dehumidifier and reduces the risk of refrigerant loss.
Conclusion
Adding R410A to your dehumidifier is a complex but achievable task if you follow the right steps. From confirming the refrigerant type to evacuating the system and charging by weight, each stage requires precision and caution. While DIY can save money, always prioritize safety and legality—especially when handling refrigerants.
Remember, not all dehumidifiers are designed for user servicing. If you’re unsure or encounter problems, don’t hesitate to call a professional. A well-maintained dehumidifier not only improves indoor air quality but also protects your home from mold, mildew, and structural damage.
With the knowledge from this guide, you’re better equipped to diagnose, recharge, and maintain your dehumidifier. Stay safe, stay informed, and enjoy a healthier, more comfortable living space.