

Adjusting your dehumidifier float is essential for preventing water overflow and ensuring efficient operation. This guide walks you through identifying, locating, and correctly adjusting the float switch so your unit shuts off automatically when the tank is full.
Quick Answers to Common Questions
Tip/Question?
Can I adjust the float while the dehumidifier is running?
No—always unplug the unit first. Working on electrical appliances while powered can cause shocks or damage.
Tip/Question?
How often should I check the float?
Inspect it monthly during routine cleaning, or whenever you notice performance issues like early shut-off or overflow.
Tip/Question?
What if my dehumidifier doesn’t have a visible float?
Some models use electronic sensors instead. Check your manual—if there’s no mechanical float, the issue may be sensor-related, not adjustable.
Tip/Question?
Is it okay to bend the float arm to adjust it?
Only gently, and only if it’s designed to be flexible. Excessive bending can break plastic or weaken metal arms.
Tip/Question?
Why does my dehumidifier keep saying “tank full” when it’s empty?
This usually means the float is stuck in the “up” position or the microswitch is faulty. Clean the float and test movement.
How to Adjust Dehumidifier Float: A Complete Step-by-Step Guide
If your dehumidifier isn’t turning off when the water tank is full—or worse, it’s overflowing onto your floor—you likely need to adjust the dehumidifier float. Don’t worry; it’s a common issue and usually easy to fix. The float is a small but critical component that acts like a built-in safety switch. When the water reaches a certain level, the float rises and signals the machine to stop collecting moisture. If it’s misaligned, stuck, or damaged, your dehumidifier won’t know when to shut off.
In this guide, you’ll learn exactly how to adjust dehumidifier float mechanisms safely and effectively. Whether you’re dealing with a portable residential unit or a larger basement model, these steps apply to most standard dehumidifiers. We’ll cover everything from identifying the float to testing your fix—plus troubleshooting tips for stubborn problems. By the end, you’ll have peace of mind knowing your dehumidifier works as intended, protecting your home from excess moisture and potential water damage.
What Is a Dehumidifier Float (and Why It Matters)?
The dehumidifier float—sometimes called a float switch or water level sensor—is a simple mechanical device that monitors the amount of water in the collection tank. As moisture condenses from the air, it drips into the tank below the coils. Once the water level rises high enough, the float lifts and triggers an internal switch that cuts power to the compressor and fan. This prevents overflow and potential flooding.
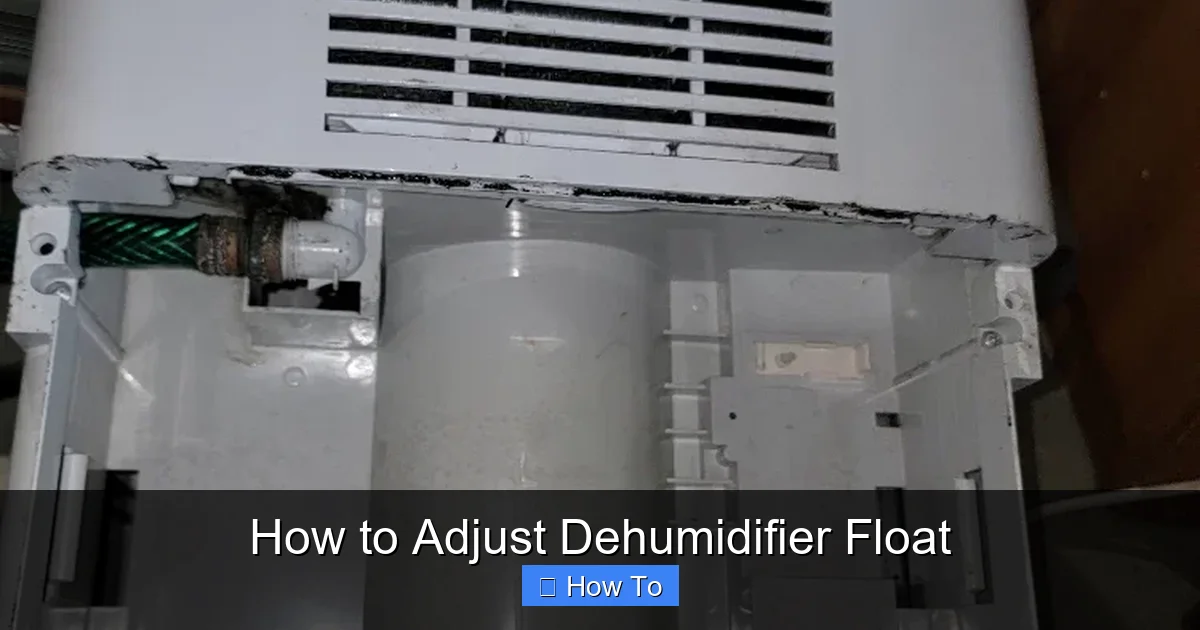
Visual guide about How to Adjust Dehumidifier Float
Image source: images.platforum.cloud
Without a properly functioning float, your dehumidifier could run continuously, spilling water onto floors, damaging carpets, or even causing electrical hazards. In some cases, a faulty float may cause the unit to shut off prematurely—even when the tank is only half full—reducing efficiency and leaving your space too humid.
Most floats are made of lightweight plastic and shaped like a small cylinder, ball, or paddle. They’re designed to move freely within the tank, so dirt, mineral buildup, or warping can interfere with their operation. That’s why regular maintenance and occasional adjustment are key to long-term performance.
Signs You Need to Adjust the Dehumidifier Float
Before diving into adjustments, confirm that the float is actually the problem. Here are common symptoms that indicate a float issue:
- Water overflowing from the tank: The most obvious sign—your dehumidifier keeps running even when the tank is full.
- Unit shuts off too early: The dehumidifier stops working after collecting only a small amount of water.
- Float appears stuck: You can see the float jammed against the side of the tank or frozen in place due to grime.
- Error codes related to water tank: Some models display “FULL” or “CHECK TANK” messages incorrectly.
- Unusual noises: Gurgling or splashing sounds may indicate the float is obstructed.
If you notice any of these issues, it’s time to inspect and possibly adjust the float. But remember: always unplug the dehumidifier before handling internal components!
Tools and Safety Precautions
Adjusting a dehumidifier float requires minimal tools, but safety should always come first. Here’s what you’ll need:
- A clean cloth or paper towels
- Mild dish soap and warm water (for cleaning)
- A small screwdriver (if the float is secured with screws)
- Your dehumidifier’s user manual (highly recommended)
Safety first: Always disconnect the dehumidifier from the power outlet before opening any panels or removing the water tank. Never attempt adjustments while the unit is plugged in—even if it’s turned off. Moisture and electricity don’t mix!
Also, work in a well-lit area and place the dehumidifier on a stable, flat surface. If your model has a removable front panel or access door, keep track of screws so you don’t lose them.
Step 1: Locate the Float Switch
The first step in adjusting your dehumidifier float is finding it. While designs vary by brand and model, most floats are located in one of two places:
Inside the Water Collection Tank
This is the most common setup. Remove the water bucket (usually by pulling it straight out from the front or side of the unit). Look inside—you’ll likely see a small plastic piece that moves up and down as water fills the tank. It may be attached to a rod or float arm that extends into the tank.
Attached to the Tank Lid or Housing
On some models, especially compact or slim designs, the float sits just above the tank—connected to the lid or mounted on a bracket. When the tank is inserted, the float dips into the water. Check around the rim of the tank opening or beneath the cover.
If you’re having trouble locating it, consult your user manual. Many manufacturers include diagrams showing the float’s position. Alternatively, search online for your model number + “float switch location.”
Step 2: Remove the Water Tank and Inspect the Float
Once you’ve found the float, carefully remove the water collection tank. Empty any remaining water into a sink or bucket. Then, inspect the float closely:
Check for Physical Damage
Look for cracks, warping, or discoloration. A damaged float won’t move properly and may need replacement rather than adjustment.
Test Movement Manually
Gently lift and lower the float with your finger. It should move smoothly without sticking. If it feels gritty, stiff, or jammed, cleaning may be needed before adjustment.
Look for Obstructions
Mineral deposits, mold, or debris can trap the float. Common culprits include hard water residue (white crust) or dust buildup. Use a soft brush or cloth to wipe away grime.
If the float is clean and undamaged but still not working, proceed to adjustment. If it’s cracked or warped, consider ordering a replacement part from the manufacturer.
Step 3: Clean the Float and Tank
Even if the float appears fine, cleaning ensures smooth operation. Residue can add weight or create friction, preventing proper movement.
Wash the Float
Remove the float if possible (some snap out easily; others may require unscrewing). Rinse it under warm water. For stubborn buildup, soak it in a mixture of warm water and mild dish soap for 10–15 minutes. Avoid harsh chemicals—they can degrade plastic over time.
Clean the Tank Interior
Wipe down the inside of the water tank with the same soapy solution. Pay special attention to the area where the float sits. Rinse thoroughly to remove all soap residue—leftover suds can affect float buoyancy.
Dry Everything Completely
Use a clean, dry cloth to wipe the float and tank. Moisture left inside can lead to mold or false readings. Let air-dry for a few minutes before reassembly.
Pro tip: Add a tablespoon of white vinegar to your cleaning solution once a month to dissolve mineral deposits and prevent mold growth.
Step 4: Adjust the Float Position
Now comes the core task: adjusting the dehumidifier float. The goal is to set the trigger point so the unit shuts off when the tank is nearly full—but not before.
Identify the Adjustment Mechanism
Most floats are connected to a rod or arm that links to a microswitch inside the dehumidifier housing. This rod often has a small clip, screw, or sliding collar that allows you to change its length or angle.
Common adjustment types include:
- Sliding clip: A plastic clip holds the float rod in place. Slide it up or down to raise/lower the trigger point.
- Screw-mounted arm: Loosen a screw to reposition the float arm, then tighten it back.
- Pivoting hinge: Some floats pivot on a hinge—adjust by bending the arm slightly (use caution!).
Make Small, Incremental Changes
Never make large adjustments at once. Start with tiny movements—just a few millimeters. For example:
- If the unit shuts off too early, lower the float slightly so it takes more water to trigger the switch.
- If it overflows, raise the float so it activates sooner.
Use a ruler or measuring tape if precision is needed. Mark the original position with a piece of tape so you can revert if necessary.
Secure the Adjustment
Once repositioned, firmly reattach any clips, screws, or brackets. Ensure the float moves freely and isn’t pinched or restricted by nearby components.
Caution: Avoid over-bending metal arms—they can snap or lose tension. If your float uses a flexible plastic arm, gentle pressure is usually safe, but excessive force may crack it.
Step 5: Reassemble and Test the Dehumidifier
With the float adjusted, it’s time to put everything back together and test your work.
Reinsert the Water Tank
Place the cleaned and dried tank back into the dehumidifier. Make sure it clicks or seats fully—misalignment can prevent the float from engaging properly.
Plug In and Power On
Reconnect the dehumidifier to power and turn it on. Set it to a moderate humidity level (e.g., 50%) and let it run.
Monitor the First Cycle
Watch the water level rise in the tank. Ideally, the dehumidifier should shut off when the tank is about 90% full—leaving a small air gap to prevent splashing.
If it shuts off too early or too late, repeat Step 4 with a finer adjustment. It may take 1–2 tries to get it perfect.
Pro tip: Place a towel under the unit during testing in case of minor leaks or unexpected overflow.
Troubleshooting Common Float Issues
Even after adjustment, problems can persist. Here’s how to handle common scenarios:
Float Still Sticks After Cleaning
If the float remains stuck, check for hidden debris or warping. Try lubricating the pivot point with a tiny drop of food-grade silicone spray (never use oil—it can attract dirt). If that fails, replace the float.
Unit Doesn’t Shut Off at All
This could mean the microswitch is faulty, not the float. Listen for a audible “click” when the float rises. No click? The switch may need replacement—a job for a technician unless you’re experienced with electronics.
Float Triggers Too Easily
Sometimes vibration or splashing causes false triggers. Ensure the tank is seated securely and the float isn’t too sensitive. Slightly lowering the float (as described earlier) usually resolves this.
Error Code Persists
Modern dehumidifiers may display error codes even after float adjustment. Try resetting the unit by unplugging it for 5 minutes, then retesting. If the code returns, consult the manual—it might indicate a sensor or control board issue.
When to Replace Instead of Adjust
Adjustment works for minor misalignments, but sometimes replacement is the only solution. Consider replacing the float if:
- It’s cracked, melted, or severely warped
- The connecting rod is bent beyond repair
- Cleaning and adjustment don’t resolve the issue after multiple attempts
- Your model uses a sealed float assembly (non-adjustable)
Replacement floats are inexpensive (typically $10–$25) and widely available online or from appliance parts stores. Always match the part number from your manual.
Maintenance Tips to Prevent Future Float Problems
An ounce of prevention is worth a pound of cure. Follow these habits to keep your float working smoothly:
- Empty the tank daily if used frequently—don’t wait for it to fill completely.
- Clean the tank and float monthly with vinegar or mild soap.
- Use distilled water if you have hard water to reduce mineral buildup.
- Inspect the float during routine checks—look for wear, dirt, or stiffness.
- Store the dehumidifier properly in dry conditions during off-seasons.
Regular care extends the life of your dehumidifier and prevents frustrating malfunctions.
Conclusion
Adjusting your dehumidifier float is a simple yet vital maintenance task that ensures safe, efficient operation. By understanding how the float works, recognizing warning signs, and following careful adjustment steps, you can prevent overflows, protect your home, and extend your appliance’s lifespan. Remember: always prioritize safety, make small changes, and test thoroughly. With this guide, you’re equipped to handle float issues confidently—no professional help required.
Now that you know how to adjust dehumidifier float mechanisms like a pro, take a few minutes today to inspect yours. Your floors (and your peace of mind) will thank you!