

Adjusting your dehumidifier correctly ensures a healthier, more comfortable home. This guide walks you through setting humidity levels, choosing modes, and troubleshooting common issues—so you can breathe easier and protect your space from mold and musty odors.
Quick Answers to Common Questions
Should I run my dehumidifier all the time?
Not necessarily. Use auto mode so it runs only when needed. Continuous operation wastes energy and can over-dry the air.
Can I use a dehumidifier in winter?
Yes, but only if indoor humidity is high. In cold, dry winters, a humidifier may be more appropriate.
How often should I clean the filter?
Clean it every 4–6 weeks during heavy use, or monthly if you have pets or allergies.
What size dehumidifier do I need?
Choose based on room size and humidity level. A 30-pint unit covers about 1,500 sq. ft. in moderately damp conditions.
Is it safe to leave a dehumidifier on overnight?
Yes, as long as it’s in a safe location, the tank isn’t full, and the unit is well-maintained. Most modern models have auto-shutoff for safety.
How to Adjust Dehumidifier: A Complete Step-by-Step Guide
Is your basement feeling damp? Are you noticing condensation on windows or a musty smell in your closet? These are classic signs that your home’s humidity levels are too high. The good news? A dehumidifier can help. But simply plugging it in isn’t enough—you need to know how to adjust dehumidifier settings for maximum effectiveness.
In this comprehensive guide, you’ll learn everything from setting the ideal humidity level to choosing the right operating mode, placing your unit correctly, and maintaining it for long-term performance. Whether you’re using a compact portable model in a bathroom or a whole-house system in your basement, these tips will help you get the most out of your dehumidifier.
Why Adjusting Your Dehumidifier Matters
Too much moisture in the air doesn’t just feel uncomfortable—it can lead to serious problems. High humidity encourages mold and mildew growth, damages wood furniture and flooring, and worsens allergies and asthma. On the flip side, air that’s too dry can cause dry skin, irritated sinuses, and static electricity.
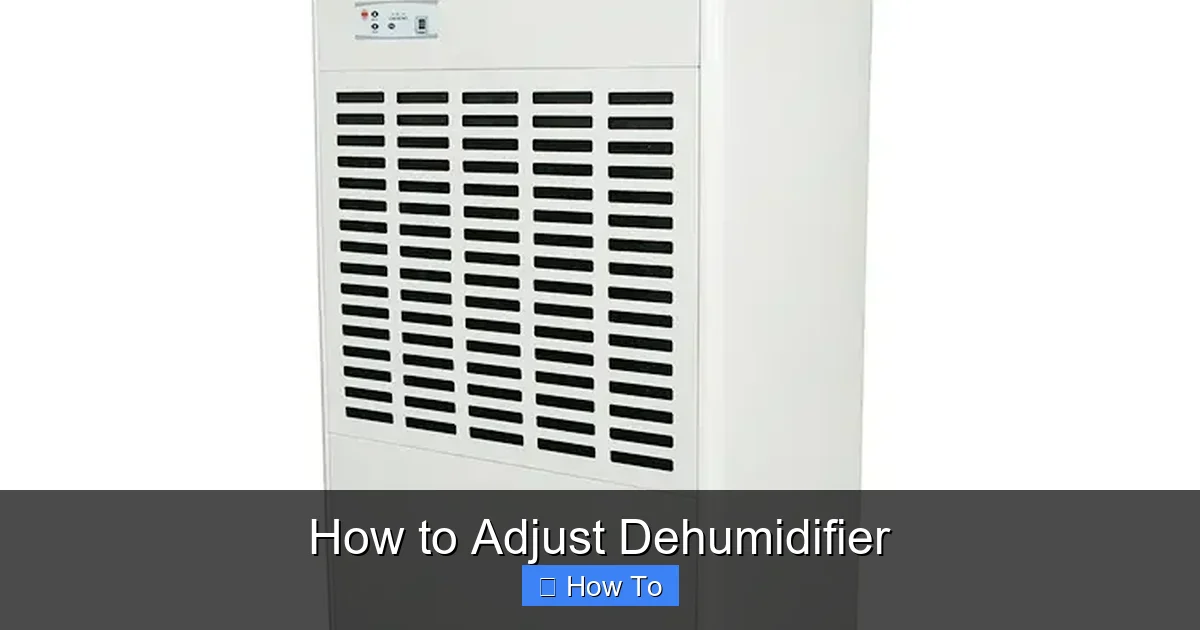
Visual guide about How to Adjust Dehumidifier
Image source: cdn.globalso.com
That’s why adjusting your dehumidifier isn’t just about convenience—it’s about health, comfort, and protecting your home. By setting the right humidity level and using your unit properly, you create a balanced indoor environment that feels fresh and stays damage-free.
Step 1: Understand Ideal Humidity Levels
Before you touch any buttons, it’s important to know what you’re aiming for. The ideal indoor humidity level is between 30% and 50%. This range strikes a balance between comfort and protection.
Why 30–50%?
At this level, mold and dust mites struggle to survive, but your skin and respiratory system stay comfortable. Below 30%, air becomes too dry; above 50%, moisture buildup increases the risk of mold and structural damage.
Use a Hygrometer to Check Current Levels
Most dehumidifiers have built-in hygrometers (humidity sensors), but they’re not always accurate. For best results, use a standalone digital hygrometer. Place it in the room where you’re running the dehumidifier and wait 10–15 minutes for a stable reading.
Pro Tip: Check humidity at different times of day. Levels can spike after showers, cooking, or rainy weather.
Step 2: Choose the Right Dehumidifier Mode
Modern dehumidifiers come with multiple operating modes. Understanding each one helps you adjust dehumidifier settings to match your needs.
Auto Mode (Recommended)
This is the most common and user-friendly setting. In auto mode, the dehumidifier runs only when humidity rises above your set point. Once the target is reached, it shuts off automatically. This saves energy and prevents over-drying.
Continuous Mode
In this mode, the unit runs non-stop, regardless of humidity levels. Use it only in extreme conditions—like after flooding or during prolonged rainy periods. Running continuously increases energy use and may dry out the air too much.
Dry Mode (on Some Models)
Found on dehumidifiers with fan settings, dry mode lowers the fan speed to remove moisture more quietly and efficiently. Great for bedrooms or quiet spaces.
Laundry Mode
Some advanced models include a laundry mode that boosts fan speed to help dry clothes faster indoors. Use this during humid weather when outdoor drying isn’t practical.
Example: If you’re using your dehumidifier in a basement during summer, set it to auto mode with a target of 45%. It will cycle on and off as needed, keeping the space dry without wasting power.
Step 3: Set the Humidity Level
Now it’s time to actually adjust dehumidifier settings. Here’s how to do it on most models:
Locate the Control Panel
Most dehumidifiers have a digital display with buttons for power, mode, fan speed, and humidity setting. Look for a button labeled “Humidity,” “Set,” or “Target.”
Press the Humidity Button
Press it once to enter setting mode. The display will usually flash the current target (e.g., 50%).
Adjust the Level
Use the up/down arrows to set your desired percentage. For most homes, 40–45% is ideal. In very humid climates, you might go as low as 35%. In dry regions or winter, 50% may be better.
Confirm and Save
Press “Set” or wait 5–10 seconds for the setting to save automatically. The display will return to showing current humidity.
Pro Tip: Don’t set it too low. Over-drying can cause wood to crack and increase static electricity. Start at 45% and adjust based on comfort and performance.
Step 4: Position Your Dehumidifier Correctly
Even the best settings won’t help if your unit is in the wrong spot. Proper placement is key to effective moisture removal.
Choose a Central Location
Place the dehumidifier in the area with the highest humidity—often basements, laundry rooms, or crawl spaces. Avoid corners where airflow is restricted.
Leave Space Around the Unit
Keep at least 6–12 inches of clearance on all sides, especially near air intake and exhaust vents. Blocking airflow reduces efficiency and can cause the unit to overheat.
Avoid Heat Sources
Don’t place it near heaters, radiators, or direct sunlight. High temperatures can interfere with the humidistat and cause false readings.
Elevate if Possible
Place the unit on a small stand or platform if the floor is damp. This prevents water damage and improves air circulation.
Example: In a 500 sq. ft. basement, place the dehumidifier near the center, away from walls and furniture. This allows it to pull in moist air from all directions.
Step 5: Set the Fan Speed
Fan speed affects how quickly moisture is removed and how noisy the unit is.
High Speed
Use for fast drying—ideal after water spills, heavy rain, or when humidity is very high. It’s louder but more effective.
Low or Medium Speed
Better for everyday use. Quieter and more energy-efficient, especially in auto mode.
Auto Fan
Some models adjust fan speed automatically based on humidity levels. This is a great hands-off option.
Pro Tip: Use high speed for the first few hours to bring humidity down quickly, then switch to low or auto for maintenance.
Step 6: Empty the Water Tank or Set Up Continuous Drainage
Dehumidifiers collect water in an internal tank. If it fills up, the unit will shut off to prevent leaks.
Check the Tank Regularly
Most units have a “Full” indicator light. Empty the tank when it’s ¾ full to avoid overflow.
Use the Continuous Drain Option
If your model has a drain hose port, connect a garden hose and route it to a floor drain, sump pump, or outside. This allows 24/7 operation without manual emptying.
Clean the Tank Weekly
Wash it with warm, soapy water to prevent mold and bacteria buildup. Rinse thoroughly and dry before reinserting.
Example: In a basement with a floor drain, use continuous drainage during humid summer months. Switch to manual emptying in winter when usage is lower.
Step 7: Clean and Maintain Your Dehumidifier
Regular maintenance ensures your unit works efficiently and lasts longer.
Clean the Air Filter Monthly
The filter traps dust and allergens. A clogged filter reduces airflow and forces the unit to work harder.
- Turn off and unplug the dehumidifier.
- Remove the filter (usually behind a front or side panel).
- Rinse it under warm water or vacuum it.
- Let it dry completely before reinserting.
Inspect the Coils
Dust and debris on the evaporator and condenser coils reduce efficiency. Use a soft brush or coil cleaner spray every 3–6 months.
Check for Ice Buildup
If you see ice on the coils, the unit is too cold or the filter is dirty. Turn it off, let it thaw, clean the filter, and ensure proper airflow.
Wipe Down the Exterior
Use a damp cloth to clean the cabinet. Avoid harsh chemicals that could damage the surface.
Pro Tip: Keep a maintenance log. Note when you cleaned the filter or emptied the tank to stay on schedule.
Step 8: Adjust Settings Seasonally
Humidity needs change throughout the year. Adjust your dehumidifier accordingly.
Spring and Summer
High outdoor humidity means your unit will work harder. Set the target to 40–45%. Run it daily, especially after rain.
Fall
As temperatures drop, indoor humidity may decrease. Raise the setting to 45–50% to avoid over-drying.
Winter
In cold climates, indoor air can become very dry due to heating. Use a humidifier instead, or set the dehumidifier to 50% and run it only when needed.
Example: In Florida, run the dehumidifier at 40% from May to September. In Minnesota, reduce usage in winter and monitor with a hygrometer.
Troubleshooting Common Issues
Even with proper adjustment, problems can occur. Here’s how to fix them.
Unit Won’t Turn On
- Check the power cord and outlet.
- Ensure the water tank is properly seated.
- Reset the unit by unplugging it for 10 minutes.
Not Removing Enough Moisture
- Clean the filter and coils.
- Check if the room is too large for the unit’s capacity.
- Ensure doors and windows are closed during operation.
Unit Runs Constantly
- Lower the target humidity setting.
- Check for air leaks or high outdoor humidity.
- Verify the humidistat is working (use an external hygrometer).
Strange Noises or Vibrations
- Make sure the unit is level.
- Check for loose parts or debris in the fan.
- Ensure it’s not touching walls or furniture.
Water Leaking
- Empty the tank if full.
- Check the drain hose for clogs or kinks.
- Inspect the tank for cracks.
Pro Tip: If problems persist, consult the user manual or contact the manufacturer. Many issues are covered under warranty.
When to Call a Professional
Most adjustments and maintenance tasks are DIY-friendly. But if you notice:
- Burning smells or smoke
- Electrical issues or sparks
- Refrigerant leaks (oily residue near coils)
- Unit overheating frequently
…it’s time to call a qualified technician. These could indicate serious mechanical or electrical problems.
Conclusion
Learning how to adjust dehumidifier settings is simple once you understand the basics. By setting the right humidity level, choosing the correct mode, placing the unit properly, and maintaining it regularly, you can keep your home comfortable, healthy, and protected from moisture damage.
Remember: the goal isn’t to remove all moisture—it’s to maintain a balanced environment. Start with a target of 45%, monitor with a hygrometer, and adjust as needed. With these tips, your dehumidifier will work smarter, not harder, all year long.