
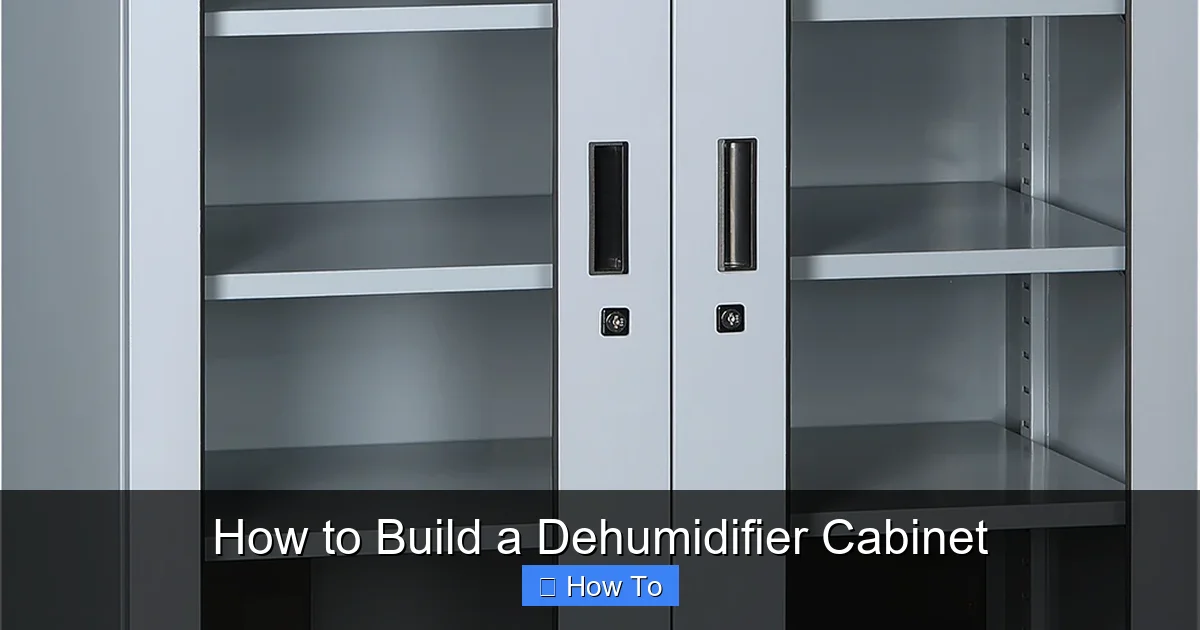
Discover how to build a dehumidifier cabinet that safeguards your gear, collectibles, or tools from humidity damage. This DIY project uses simple materials and a basic dehumidifying system to create a moisture-controlled environment at home.
Quick Answers to Common Questions
Tip/Question?
Can I use a regular dehumidifier inside the cabinet?
No—standard dehumidifiers are too large and require drainage. Use a small desiccant unit or silica gel instead.
Tip/Question?
How often should I recharge silica gel?
Every 2–4 weeks, depending on humidity. Use an indicator card to know when it’s saturated.
Tip/Question?
Can I build this cabinet without power tools?
Yes—use a hand saw, manual drill, and clamps. It takes longer but is doable with basic tools.
Tip/Question?
Is MDF safe for a dehumidifier cabinet?
Yes, but seal it thoroughly with silicone and paint to prevent moisture absorption.
Tip/Question?
Can I add a window to the door?
Yes—use acrylic or glass sealed with silicone. Ensure the frame is airtight to maintain the seal.
Introduction: Why Build a Dehumidifier Cabinet?
Moisture is the silent enemy of many valuable items. Whether you’re storing vintage cameras, firearms, musical instruments, documents, or even sneakers, excess humidity can cause irreversible damage—rust, mold, warping, and mildew. While commercial climate-controlled cabinets exist, they can be expensive and inflexible. That’s where building your own dehumidifier cabinet comes in.
In this guide, you’ll learn how to build a dehumidifier cabinet from scratch using affordable materials and simple tools. This DIY project gives you full control over size, design, and functionality. You’ll create a sealed, moisture-resistant enclosure that uses a desiccant dehumidifier to maintain low humidity levels—typically between 40% and 50% RH (relative humidity), which is ideal for most sensitive items.
By the end of this guide, you’ll have a custom-built cabinet that protects your belongings, saves money, and gives you peace of mind. Whether you’re a hobbyist, collector, or just someone who wants to preserve important items, this project is practical, rewarding, and surprisingly straightforward.
What You’ll Need: Materials and Tools
Before you start building, gather all the necessary materials and tools. This ensures a smooth workflow and avoids mid-project delays. Most items are available at local hardware stores or online retailers like Home Depot, Lowe’s, or Amazon.
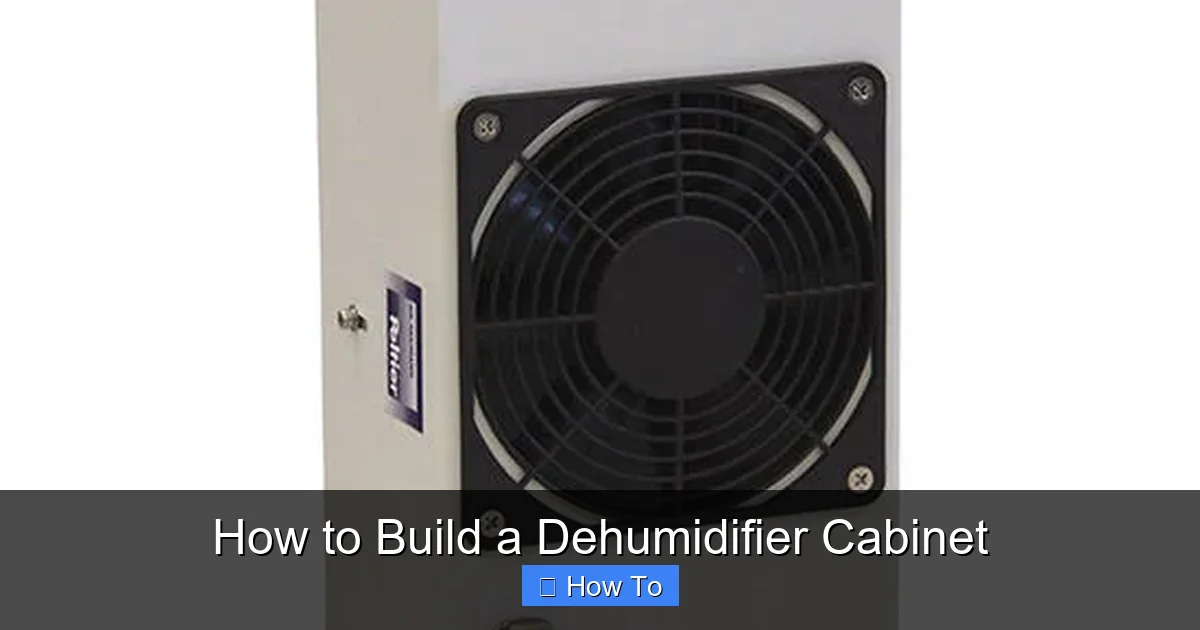
Visual guide about How to Build a Dehumidifier Cabinet
Image source: img.directindustry.com
Materials List
- Plywood or MDF (Medium-Density Fiberboard): ½-inch thick for the main structure. Use plywood for better moisture resistance or MDF for a smoother finish (seal it well).
- Wood glue: Waterproof wood glue like Titebond III for strong, durable joints.
- Wood screws: 1¼-inch or 1½-inch screws for assembly.
- Silicone sealant: High-quality, mold-resistant silicone (e.g., GE Silicone II) to seal all interior seams.
- Weatherstripping: Adhesive-backed foam or rubber weatherstripping for the door seal.
- Hinges: Two or three cabinet hinges, depending on door size.
- Door handle or latch: For easy access and secure closure.
- Desiccant dehumidifier: Reusable silica gel canisters or a small electric desiccant unit (e.g., Eva-Dry E-333).
- Optional: Humidity indicator card: To monitor internal humidity levels (available at hardware or craft stores).
- Optional: Interior lining: Felt, foam, or non-abrasive fabric to protect delicate items.
- Optional: Paint or wood finish: For aesthetics and added moisture protection.
Tools List
- Circular saw or table saw
- Drill and drill bits
- Screwdriver or impact driver
- Measuring tape
- Square (for accurate angles)
- Clamps (to hold pieces while glue dries)
- Sandpaper (120-220 grit)
- Caulking gun (for silicone)
- Safety gear: gloves, safety glasses, dust mask
Budget Estimate
The total cost typically ranges from $50 to $150, depending on size, materials, and whether you buy a basic or advanced dehumidifier. Reusable silica gel packs are the most economical option, while small electric desiccant units offer convenience at a higher price.
Step 1: Plan Your Cabinet Design
Every great build starts with a solid plan. Before cutting any wood, sketch your cabinet design and decide on dimensions based on what you’ll store and where it will go.
Determine Size and Purpose
Ask yourself: What will I store? A camera collection? A rifle? Vinyl records? The size of your items will dictate the cabinet’s interior dimensions. For example:
- Small cabinet (12″ x 12″ x 18″): Ideal for cameras, watches, or documents.
- Medium cabinet (18″ x 18″ x 24″): Suitable for musical instruments, shoes, or small firearms.
- Large cabinet (24″ x 24″ x 36″): Great for multiple items or larger gear.
Also consider placement—will it sit on a shelf, in a closet, or on the floor? Ensure there’s enough clearance for the door to open fully.
Sketch the Design
Draw a simple front, side, and top view of your cabinet. Include:
- Dimensions of each panel (front, back, sides, top, bottom, door)
- Location of hinges and handle
- Placement of the dehumidifier (usually on the back wall or inside a small compartment)
- Ventilation considerations (minimal, since the cabinet should be sealed)
Use graph paper or free online tools like SketchUp Free to visualize your design. This step helps avoid costly mistakes later.
Calculate Material Needs
Based on your sketch, calculate how much plywood or MDF you’ll need. For a 12″ x 12″ x 18″ cabinet, you’ll need:
- Front and back: 12″ x 18″ (2 pieces)
- Sides: 12″ x 18″ (2 pieces)
- Top and bottom: 12″ x 12″ (2 pieces)
- Door: 12″ x 18″ (1 piece)
Add 10–15% extra for mistakes or trimming. Buy a 2′ x 4′ sheet of ½” plywood—it’s usually enough for small to medium cabinets.
Step 2: Cut the Wood Panels
Now it’s time to cut your wood to size. Accuracy is key—even small errors can affect the seal and functionality of your cabinet.
Measure Twice, Cut Once
Use a measuring tape and square to mark each panel on the plywood. Double-check all measurements before cutting. Label each piece (e.g., “Left Side,” “Top”) to avoid confusion.
Cutting Tips
- Use a circular saw with a fine-tooth blade for clean cuts. If you don’t have one, many hardware stores offer cutting services for a small fee.
- Clamp the wood securely to prevent slipping.
- Cut slowly and steadily to avoid splintering.
- Sand all edges with 120-grit sandpaper to smooth rough spots.
Safety First
Always wear safety glasses and a dust mask when cutting wood. Work in a well-ventilated area or outdoors if possible. Keep fingers away from the blade path.
Step 3: Assemble the Cabinet Box
With all panels cut, it’s time to build the main box. This step requires precision to ensure a tight, moisture-resistant seal.
Apply Wood Glue
Apply a thin, even layer of waterproof wood glue to the edges where panels will join. For example, glue the front panel to the left side panel along the 18″ edge.
Clamp and Screw
Hold the pieces together with clamps, then drill pilot holes to prevent splitting. Insert screws every 4–6 inches along the joint. Use a drill bit slightly smaller than the screw diameter for best results.
Build the Frame
Assemble the box in this order:
- Attach front to left side.
- Attach back to left side.
- Attach right side to front and back.
- Attach bottom panel.
- Attach top panel.
Check for squareness at each step. Use a square to ensure corners are 90 degrees. If the box is out of square, it will be hard to seal properly.
Reinforce Corners (Optional)
For extra strength, add small wood blocks or corner braces inside the cabinet at each joint. Screw them in place after the main structure is assembled.
Step 4: Seal the Interior
This is the most critical step for moisture control. Even tiny gaps can let humid air in, defeating the purpose of your cabinet.
Apply Silicone Sealant
Using a caulking gun, apply a continuous bead of silicone sealant along every interior seam—corners, edges, and joints. Smooth the silicone with your finger or a caulking tool for a clean finish.
Let It Cure
Allow the silicone to cure for at least 24 hours. Check the product label for exact drying time. Avoid touching or moving the cabinet during this time.
Test for Leaks (Optional)
To check the seal, place a damp cloth inside the cabinet and close the door. After a few hours, feel the exterior for moisture. If dry, the seal is likely effective.
Step 5: Build and Install the Door
The door must close tightly to maintain a low-humidity environment. A poor seal is the #1 cause of failure in DIY dehumidifier cabinets.
Cut the Door Panel
Cut the door to match the front opening, leaving a 1/8″ gap on all sides for smooth operation. Sand the edges smooth.
Install Hinges
Position the door on the cabinet and mark hinge locations. Pre-drill holes and screw the hinges to the door first, then to the cabinet frame. Use two hinges for small doors, three for larger ones.
Add Weatherstripping
Cut adhesive-backed weatherstripping to fit the door frame. Apply it to the cabinet (not the door) so the door presses against it when closed. This creates an airtight seal.
Install Handle or Latch
Mount a simple handle or magnetic latch to keep the door closed. Avoid metal latches that could rust—opt for plastic or stainless steel.
Step 6: Add the Dehumidifier
Now it’s time to install the moisture-control system. You have two main options: reusable silica gel or a small electric desiccant unit.
Option 1: Silica Gel Canisters
Silica gel is affordable, silent, and effective. Place 1–2 canisters (like Eva-Dry E-333) inside the cabinet. These absorb moisture and can be “recharged” by heating in an oven at 250°F for 2–3 hours when saturated.
Tip: Use a humidity indicator card to know when the gel needs recharging. The card changes color based on humidity level.
Option 2: Electric Desiccant Unit
For automatic operation, install a small electric dehumidifier. These plug into a wall outlet and cycle on/off as needed. Mount it inside the cabinet using brackets or adhesive pads. Ensure it has a built-in humidistat for best results.
Note: Electric units require access to power. Plan cord routing through a small hole in the back or side, then seal the hole with silicone.
Placement Tips
- Place the dehumidifier near the back or top for even air circulation.
- Keep it away from stored items to prevent contact with moisture.
- If using silica gel, store items on a shelf above the canisters.
Step 7: Finish and Customize
With the structure complete, add finishing touches to improve appearance and functionality.
Sand and Paint
Sand the entire exterior with 220-grit sandpaper for a smooth finish. Wipe away dust, then apply primer and paint or wood stain. Use a moisture-resistant finish like polyurethane for added protection.
Add Interior Lining (Optional)
Line the shelves and walls with soft felt or closed-cell foam to protect delicate items. Use spray adhesive to attach the material securely.
Install Shelves
Add adjustable or fixed shelves using shelf pins or wooden cleats. This maximizes storage and organization.
Label and Organize
Use small bins or dividers to keep items separated. Label sections for easy access.
Troubleshooting Common Issues
Even with careful planning, problems can arise. Here’s how to fix the most common issues.
Problem: Door Doesn’t Seal Tight
Solution: Check weatherstripping alignment. Replace if worn or misaligned. Adjust hinge screws to shift the door position slightly.
Problem: Humidity Levels Stay High
Solution: Recheck silicone seals—reapply if needed. Ensure the dehumidifier is working (check indicator card). Reduce the number of items inside to improve air circulation.
Problem: Mold or Odor Inside
Solution: Clean the interior with a vinegar-water solution (1:1 ratio). Let it dry completely before reusing. Increase dehumidifier capacity or add more silica gel.
Problem: Wood Swelling or Warping
Solution: This usually happens if the wood wasn’t sealed properly. Sand and reapply sealant. In severe cases, replace the affected panel.
Problem: Dehumidifier Not Working
Solution: For silica gel, recharge it in the oven. For electric units, check the power source and humidistat settings. Replace if faulty.
Maintenance Tips
To keep your dehumidifier cabinet working efficiently, follow these simple maintenance steps:
- Check humidity levels monthly using an indicator card.
- Recharge silica gel every 2–4 weeks, depending on climate.
- Clean the interior every 6 months with a dry cloth.
- Inspect seals and weatherstripping annually for wear.
- Keep the cabinet in a cool, dry location away from direct sunlight.
Conclusion: Enjoy Your Custom Moisture-Controlled Space
Building a dehumidifier cabinet is a practical, cost-effective way to protect your valuable items from humidity damage. With basic tools and a little patience, you’ve created a custom solution that’s tailored to your needs. Whether you’re preserving family heirlooms, safeguarding gear, or just improving your home’s air quality, this DIY project delivers lasting benefits.
Remember, the key to success is a tight seal and consistent dehumidification. Take your time with the sealing process, choose the right dehumidifier for your needs, and maintain the cabinet regularly. Over time, you’ll appreciate not just the protection it offers, but also the satisfaction of building something useful with your own hands.
Now that you know how to build a dehumidifier cabinet, why not share your project with others? Post photos online, help a friend build one, or expand your design with drawers, lighting, or digital humidity monitors. The possibilities are endless—and your belongings will thank you.