
Discover how to build a dehumidifier tent—a simple, cost-effective solution to control humidity in small spaces. This DIY project uses everyday materials to create a sealed environment that keeps moisture-sensitive items safe from mold, rust, and damage.
Quick Answers to Common Questions
Tip/Question?
How often should I recharge the dehumidifier?
Most rechargeable desiccant dehumidifiers need recharging every 4–8 weeks, depending on humidity levels and tent size. Check the humidity indicator card regularly.
Tip/Question?
Can I use a regular room dehumidifier inside the tent?
No. Compressor-based dehumidifiers need airflow and drainage. Use only small, rechargeable desiccant units designed for enclosed spaces.
Tip/Question?
What’s the best plastic thickness?
Use 4–6 mil polyethylene sheeting. Thicker plastic (6 mil) is more durable and less likely to tear.
Tip/Question?
Can I build a tent without a frame?
Yes. Drape plastic over a storage bin or box and seal the edges. It’s simpler but less rigid.
Tip/Question?
How do I know if my tent is airtight?
At night, shine a flashlight inside and look for light escaping around seams. No light = good seal.
Introduction: Why Build a Dehumidifier Tent?
Moisture is one of the silent destroyers of valuable items. Whether you’re storing vintage cameras, firearms, musical instruments, or electronics, even a little humidity can lead to rust, mold, warping, or electrical failure. Commercial humidity-controlled storage solutions can be expensive or impractical for small-scale use. That’s where a DIY dehumidifier tent comes in.
A dehumidifier tent is a sealed enclosure that uses a small dehumidifier—typically a desiccant type—to maintain low humidity levels. It’s like a mini climate-controlled room for your most sensitive gear. Building one yourself is surprisingly simple, cost-effective, and highly customizable. In this guide, you’ll learn exactly how to build a dehumidifier tent from scratch, step by step.
By the end of this article, you’ll know how to choose the right materials, assemble the tent, install the dehumidifier, and maintain the system for long-term protection. Whether you’re a hobbyist, collector, or just someone who wants to protect their belongings, this project is for you.
What Is a Dehumidifier Tent?
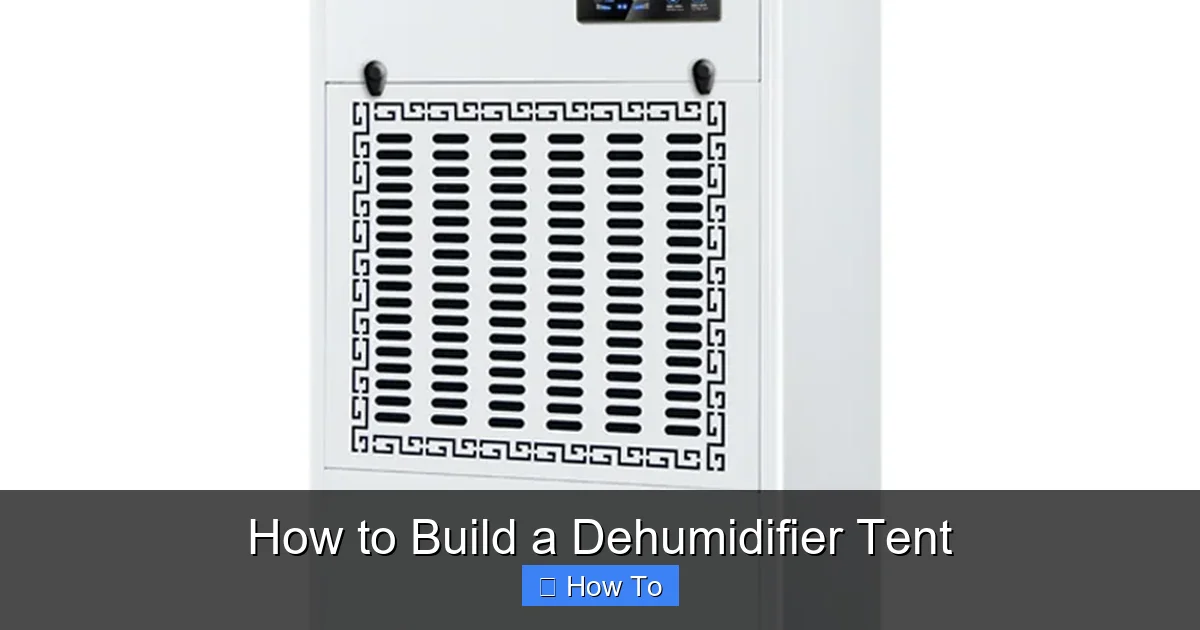
Visual guide about How to Build a Dehumidifier Tent
Image source: shimeigroup.com
A dehumidifier tent is a sealed, enclosed space designed to maintain low humidity levels using a compact dehumidifier. Unlike large room dehumidifiers, these tents focus on small, targeted areas—perfect for protecting high-value or moisture-sensitive items.
The tent itself is typically made from clear or opaque plastic sheeting, forming a barrier that traps dry air inside. A small desiccant dehumidifier (often called a “rechargeable dehumidifier” or “mini dehumidifier”) sits inside and absorbs moisture from the air. Some models are reusable—once saturated, they can be dried in an oven or microwave and used again.
These tents are commonly used for:
– Gun safes and firearm storage
– Camera and lens cases
– Musical instrument cases (especially woodwinds and string instruments)
– Electronics and computer components
– Artwork, documents, and collectibles
– Seasonal clothing or gear storage
The beauty of a DIY dehumidifier tent is that you control the size, shape, and functionality. You’re not limited by commercial product designs—you build exactly what you need.
Materials and Tools You’ll Need
Before you start building, gather all the necessary materials and tools. Most are inexpensive and available at hardware stores, online retailers, or even around your home.
Essential Materials
- Plastic sheeting: 4–6 mil thick polyethylene or PVC sheeting. Clear plastic lets you see inside; opaque offers more privacy. A 6’ x 6’ sheet is usually sufficient for most projects.
- Zip ties or Velcro straps: For securing the plastic and creating airtight seals.
- Duct tape or weatherstripping tape: To reinforce seams and seal gaps.
- Small desiccant dehumidifier: Look for rechargeable models like Eva-Dry, Dry-Packs, or similar. Choose one rated for the volume of your tent (e.g., 333 cubic inches for small cases, up to 1000+ for larger setups).
- Storage container or frame (optional): A plastic bin, wooden frame, or PVC pipe structure can help maintain shape.
- Humidity indicator card (optional but recommended): These change color based on humidity levels, so you can monitor conditions without opening the tent.
Tools
- Scissors or utility knife
- Measuring tape
- Marker or pen
- Drill (if creating ventilation holes or mounting points)
- Oven or microwave (for recharging desiccant dehumidifiers)
Optional Upgrades
- Clear plastic storage bin: Acts as a rigid frame and base.
- PVC pipe and connectors: For building a custom frame.
- Hinges and latch: To create a door or access panel.
- Small fan (12V): Helps circulate air for even dehumidification (use only with power-safe setups).
- Silica gel packets: Extra moisture absorption in hard-to-reach spots.
Step-by-Step Guide: How to Build a Dehumidifier Tent
Now that you have your materials, let’s build your dehumidifier tent. Follow these steps carefully to ensure a tight seal and effective moisture control.
Step 1: Plan Your Tent Size and Shape
Start by measuring the items you want to protect. Add at least 2–3 inches of extra space on all sides for airflow and dehumidifier placement.
For example:
– A camera case: 12” x 8” x 6” → Tent size: 16” x 12” x 10”
– A gun safe interior: 24” x 18” x 60” → Tent size: 28” x 22” x 64”
Decide whether you want a freestanding tent (using a frame) or a draped cover (over a container). Freestanding tents offer more flexibility, while draped covers are simpler and cheaper.
Step 2: Build or Prepare the Frame (Optional)
If you’re making a freestanding tent, you’ll need a lightweight frame to hold the plastic upright.
- Using PVC pipes: Cut four vertical poles (height of tent), four horizontal top pieces, and four base pieces. Use elbow and T-connectors to assemble a rectangular frame. Secure joints with PVC cement or zip ties.
- Using a plastic storage bin: Flip the bin upside down and drape plastic over it. The bin acts as a base and support.
- Using cardboard or wood: For temporary setups, a cardboard box or wooden frame can work—just ensure it’s stable and won’t tear the plastic.
Tip: If using a bin, cut a small access flap in the plastic later for easy entry.
Step 3: Cut and Drape the Plastic Sheeting
Lay your plastic sheeting flat on the ground. Place your frame or container in the center.
- Drape the plastic over the frame, ensuring it covers all sides with at least 6 inches of overlap on the bottom.
- Use zip ties or duct tape to secure the plastic to the frame at regular intervals (every 6–8 inches).
- For a draped cover (no frame), simply lay the plastic over the container and let it hang down.
Make sure the plastic is taut but not stretched too tight—this prevents tearing.
Step 4: Seal the Seams and Base
Airtight seals are critical. Any gap lets moist air in and reduces effectiveness.
- Overlap seams by at least 2 inches and tape them with duct tape or weatherstripping.
- At the base, fold the excess plastic under the container or frame and secure it with heavy books, weights, or tape.
- Use a double layer of tape on high-stress areas like corners.
Pro tip: Run a bead of silicone sealant along seams for extra protection—especially in humid climates.
Step 5: Install the Dehumidifier
Place your desiccant dehumidifier inside the tent. Position it near the center for even moisture absorption.
- If using a rechargeable unit (like Eva-Dry), make sure it’s fully charged (dry) before placing it inside.
- For larger tents, use two smaller units or one high-capacity model.
- Never use a compressor-based dehumidifier inside a sealed tent—it needs airflow and drainage, which defeats the purpose.
Optional: Mount the dehumidifier to the side or top using Velcro or a small bracket to keep it off the floor.
Step 6: Add a Humidity Indicator (Recommended)
Place a humidity indicator card inside the tent where you can see it through the plastic.
- These cards change color based on RH (relative humidity): blue = dry (under 40%), pink = moist (over 60%).
- Check the card weekly to know when to recharge the dehumidifier.
This simple addition saves you from guessing and prevents damage.
Step 7: Seal the Access Point
You’ll need a way to get items in and out without breaking the seal every time.
- Cut a small flap (8” x 10”) in one side of the plastic.
- Overlap the flap with an extra piece of plastic and seal the edges with Velcro strips or magnetic tape.
- Alternatively, use a zipper sewn into the plastic (advanced but very effective).
Make sure the flap closes tightly. Test it by pressing on it—no air should escape.
Step 8: Test and Monitor
Before storing valuable items, run a test.
- Close the tent and wait 24 hours.
- Check the humidity indicator. It should stay blue or green (under 50% RH).
- If it turns pink, check for leaks, recharge the dehumidifier, or add more desiccant.
Once confirmed, you’re ready to store your gear!
Tips for Maximum Effectiveness
To get the best performance from your dehumidifier tent, follow these practical tips.
Choose the Right Dehumidifier
Not all mini dehumidifiers are equal. Look for:
– Rechargeable (no cords or batteries)
– High absorption capacity (check cubic inch rating)
– Long recharge cycle (6–8 weeks is ideal)
– Non-toxic, spill-proof design
Popular brands: Eva-Dry, Dry-Packs, Horns湿.
Maintain Proper Airflow
Even in a sealed space, air circulation helps. If your tent is large (over 2 cubic feet), consider adding a tiny 12V fan powered by a USB battery pack. Mount it low to push air across the dehumidifier.
Recharge on Schedule
Most desiccant dehumidicators need recharging every 4–8 weeks, depending on humidity. Set a calendar reminder. To recharge:
– Place in an oven at 200°F (93°C) for 2–3 hours
– Or microwave for 2–4 minutes (check manufacturer instructions)
Let it cool completely before reusing.
Store in a Cool, Dry Place
Even the best tent can’t fight extreme external humidity. Keep your dehumidifier tent in a basement, closet, or room with stable conditions. Avoid garages or attics with temperature swings.
Use Silica Gel Packets for Extra Protection
Place a few silica gel packets near delicate items (like lenses or wood instruments). They absorb residual moisture and are cheap insurance.
Troubleshooting Common Issues
Even with careful planning, problems can arise. Here’s how to fix them.
Problem: Humidity Stays High
- Check for leaks—use a flashlight at night to spot light escaping.
- Recharge the dehumidifier—it may be saturated.
- Upgrade to a larger or second dehumidifier.
- Add silica gel packets for backup absorption.
Problem: Plastic Sags or Tears
- Reinforce the frame with extra zip ties or supports.
- Use thicker plastic (6 mil or higher).
- Avoid sharp edges on stored items—wrap them in soft cloth.
Problem: Condensation Forms Inside
This means moisture is getting in or the dehumidifier isn’t working.
- Seal all seams and the access flap.
- Move the tent to a drier location.
- Replace the dehumidifier if it’s old or damaged.
Problem: Dehumidifier Doesn’t Recharge
- Ensure it’s heated long enough—some need 3+ hours.
- Don’t overheat—high temps can damage the desiccant.
- Replace if it no longer changes color when wet.
Alternative Designs and Upgrades
Once you’ve mastered the basics, try these advanced ideas.
Modular Tent System
Build multiple small tents connected by plastic tunnels. Great for organizing different gear types.
Transparent Front Panel
Use clear plastic on one side for easy viewing without opening the tent.
Integrated Power Setup
For long-term use, install a low-voltage power inlet to run a fan or sensor. Use a waterproof connector and fuse for safety.
Smart Monitoring
Add a Bluetooth humidity sensor (like Govee) inside the tent. Get phone alerts when levels rise.
Conclusion: A Simple Solution for Big Protection
Building a dehumidifier tent is a smart, affordable way to protect your valuable items from moisture damage. With just a few materials and some basic tools, you can create a custom climate-controlled environment that lasts for years.
This DIY project saves money compared to commercial solutions and gives you full control over size, shape, and functionality. Whether you’re preserving a vintage camera, safeguarding a firearm collection, or storing seasonal gear, a dehumidifier tent offers peace of mind.
Remember: the key to success is a tight seal, the right dehumidifier, and regular maintenance. Follow the steps in this guide, monitor humidity levels, and recharge your dehumidifier on schedule. Your belongings will stay dry, safe, and in perfect condition—no matter the weather outside.
So grab your plastic sheeting, pick up a desiccant dehumidifier, and start building. Your gear will thank you.