
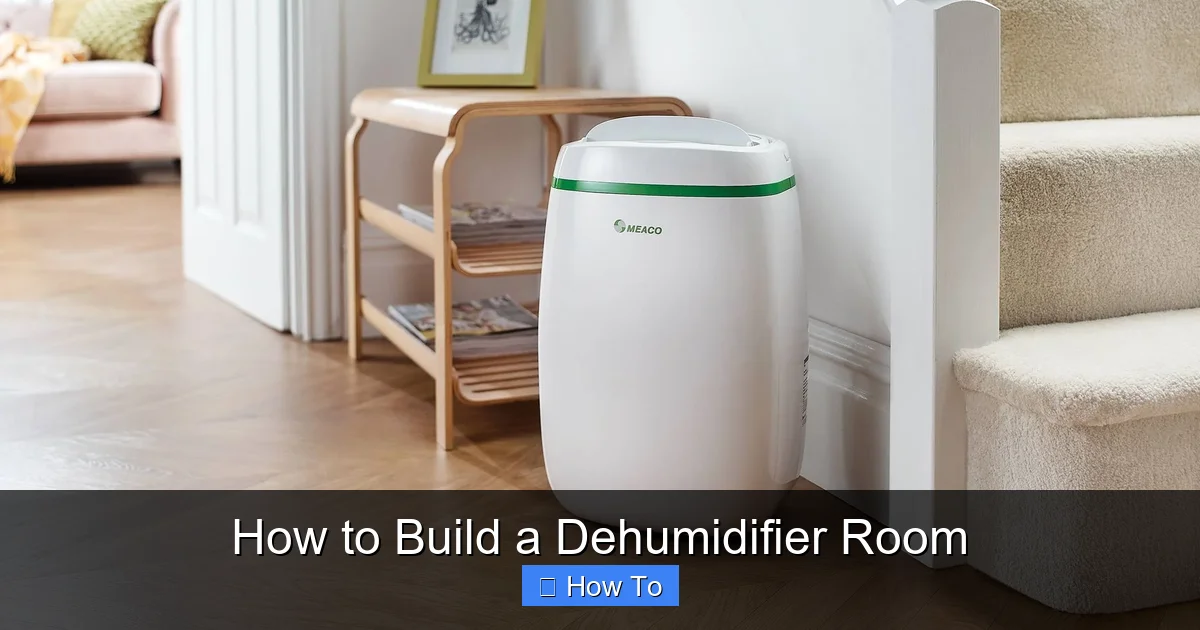
Building a dehumidifier room helps manage excess moisture, protect belongings, and improve indoor air quality. This guide walks you through planning, sealing, installing equipment, and maintaining your space for long-term effectiveness.
Quick Answers to Common Questions
Should I use a portable or built-in dehumidifier?
For a dehumidifier room, a built-in or high-capacity whole-room unit is best. Portable models are better for temporary use or small spaces.
Can I build a dehumidifier room in a basement?
Yes! Basements are ideal due to high humidity. Just ensure proper sealing and drainage to prevent water issues.
How often should I check the humidity level?
Check weekly with a hygrometer. Adjust the dehumidifier setting if levels go above 50% or below 30%.
Do I need a professional to install the dehumidifier?
Not usually. Most units are plug-and-play. However, hire an electrician if you need new wiring or a condensate pump installed.
Can I use a dehumidifier room for storing clothes?
Absolutely. Low humidity prevents mildew and keeps fabrics fresh. Just ensure airflow so clothes don’t feel damp.
How to Build a Dehumidifier Room: A Complete Step-by-Step Guide
Excess humidity in your home can lead to a host of problems—mold growth, musty odors, warped wood, and even health issues like allergies and respiratory discomfort. While portable dehumidifiers help in individual rooms, sometimes you need a more powerful, permanent solution. That’s where a dehumidifier room comes in.
A dehumidifier room is a sealed or semi-sealed space designed to maintain low, stable humidity levels using dedicated equipment and smart construction techniques. Whether you’re protecting a wine cellar, preserving musical instruments, storing important documents, or creating a comfortable living area in a damp basement, building a dehumidifier room can make a huge difference.
In this guide, you’ll learn exactly how to build a dehumidifier room from start to finish. We’ll cover everything from choosing the right location and sealing the space to installing the dehumidifier, managing drainage, and maintaining the system. By the end, you’ll have a functional, energy-efficient room that keeps moisture under control year-round.
Step 1: Assess Your Needs and Choose the Right Location
Before you start construction or modifications, it’s important to understand why you need a dehumidifier room and where it will be most effective.

Visual guide about How to Build a Dehumidifier Room
Image source: i.ytimg.com
Identify the Purpose
Ask yourself: What will this room be used for? Common uses include:
- Storing valuable items (art, books, electronics, instruments)
- Creating a mold-free living space (basement, crawlspace)
- Protecting a wine or cigar collection
- Improving air quality for health reasons (asthma, allergies)
Your purpose will influence the size, equipment, and level of sealing required.
Evaluate Potential Locations
Not every room is suitable for dehumidification. Look for spaces that are:
- Prone to high humidity: Basements, garages, laundry rooms, and bathrooms are common culprits.
- Easily sealable: Rooms with few windows, minimal airflow, and solid walls are ideal.
- Accessible for maintenance: You’ll need to service the dehumidifier and check seals regularly.
- Near a power source and drainage: Most dehumidifiers require electricity and a way to remove collected water.
For example, a basement storage room with a concrete floor and one small window is a great candidate. Avoid rooms with frequent foot traffic or open ventilation unless you plan to install a door with a tight seal.
Measure the Space
Use a tape measure to determine the room’s square footage and ceiling height. This helps you choose the right size dehumidifier. As a rule of thumb:
- Small rooms (under 500 sq ft): 30–50 pint dehumidifier
- Medium rooms (500–1,000 sq ft): 50–70 pint dehumidifier
- Large rooms (1,000+ sq ft): 70+ pint dehumidifier or multiple units
Also note any existing ventilation, windows, or cracks that could let in humid air.
Step 2: Seal the Room to Prevent Moisture Infiltration
The effectiveness of your dehumidifier room depends heavily on how well it’s sealed. Even the best dehumidifier can’t keep up if outside air constantly brings in moisture.
Inspect for Air Leaks
Walk around the room and look for gaps, cracks, or openings where air might enter. Common problem areas include:
- Windows and window frames
- Door frames and thresholds
- Electrical outlets and switch plates
- Pipe and wire penetrations through walls
- Baseboards and crown molding
- Vents or HVAC ducts
Use a candle or incense stick to detect drafts—if the flame or smoke wavers, you’ve found a leak.
Seal Windows and Doors
If the room has windows, consider sealing them permanently or installing storm windows with weatherstripping. For doors:
- Install a solid-core door if possible (hollow-core doors allow air leakage).
- Add weatherstripping around the door frame.
- Use a door sweep or threshold seal at the bottom.
- Consider a door gasket kit for a tighter seal.
For example, a basement door leading to the outside should have a tight seal to prevent humid outdoor air from entering.
Seal Cracks and Gaps
Use silicone or polyurethane caulk to fill small cracks in walls, floors, and around fixtures. For larger gaps (like around pipes), use expanding foam sealant. Be sure to sand and paint over foam once it dries for a clean finish.
Address Electrical Outlets and Switches
Even small gaps behind outlet covers can let in air. Install foam gaskets behind switch plates and use caulk around the box if it’s recessed into the wall.
Close Off Unnecessary Vents
If the room is part of your HVAC system, close any supply or return vents. Cover them with airtight vent covers or seal them with drywall and caulk. This prevents conditioned or humid air from circulating into the room.
Pro Tip: After sealing, wait 24 hours and recheck for drafts. A well-sealed room should feel noticeably still and quiet.
Step 3: Install a High-Capacity Dehumidifier
The heart of your dehumidifier room is the dehumidifier itself. Choosing the right model and installing it correctly is crucial.
Choose the Right Dehumidifier
Look for a commercial-grade or high-capacity residential dehumidifier with the following features:
- High pint capacity: Matches the room size (see Step 1).
- Built-in humidistat: Automatically turns the unit on/off to maintain target humidity.
- Continuous drainage option: Allows connection to a drain hose.
- Energy Star certified: Saves on electricity costs.
- Low-temperature operation: Essential for basements or unheated spaces.
- Air filter: Captures dust and mold spores.
Popular brands include AprilAire, Santa Fe, and Quest. For example, the AprilAire 1820 Pro is a 70-pint unit ideal for medium-sized rooms.
Position the Dehumidifier Correctly
Place the unit in a central location with at least 6–12 inches of clearance on all sides for proper airflow. Avoid corners or behind furniture. If the room is large, consider installing two units or a ducted system.
Connect to Power
Plug the dehumidifier into a dedicated outlet. Avoid extension cords, which can overheat. If the room lacks outlets, hire an electrician to install one safely.
Set the Humidistat
Most experts recommend maintaining indoor humidity between 30% and 50%. For storage rooms, aim for 40–45%. Use the built-in humidistat to set your target. The dehumidifier will run until the desired level is reached, then cycle off.
Pro Tip: Use a standalone digital hygrometer to double-check the humidity level. Built-in sensors can sometimes be inaccurate.
Step 4: Set Up Drainage for Continuous Operation
Dehumidifiers collect water in a bucket or internal tank. For a dehumidifier room, you’ll want to avoid frequent manual emptying.
Use a Drain Hose
Most dehumidifiers have a threaded drain port. Attach a 1/4-inch or 3/8-inch vinyl or rubber hose and route it to a floor drain, sump pump, or utility sink. Secure the hose with clamps to prevent leaks.
Install a Condensate Pump (If Needed)
If the drain is higher than the dehumidifier (e.g., draining to a sink), use a condensate pump. These small, quiet pumps lift water vertically and push it through a hose. Popular models include the Little Giant and Liberty Pumps.
Test the Drainage System
Run the dehumidifier for a few hours and check that water flows smoothly through the hose and into the drain. Look for kinks, leaks, or clogs.
Prevent Backflow and Odors
Add a U-shaped trap (like a P-trap under a sink) to the drain hose to prevent sewer gases from entering the room. Alternatively, use a check valve in the hose.
Pro Tip: In winter, insulate the drain hose if it runs through unheated areas to prevent freezing.
Step 5: Improve Ventilation and Air Circulation
Even in a sealed room, good airflow helps the dehumidifier work more efficiently and prevents stagnant air.
Add Passive Ventilation
If the room has a window, install a small, louvered vent with a mesh screen to allow minimal airflow while keeping pests out. Use a vent cover that can be closed in extreme humidity.
Install a Small Exhaust Fan
A low-CFM (cubic feet per minute) exhaust fan can help remove excess moisture, especially during initial drying. Choose an energy-efficient model with a humidity sensor that turns on automatically.
Use Fans for Air Circulation
Place one or two box fans or oscillating fans in the room to keep air moving. This helps the dehumidifier pull moisture from all areas, not just near the unit.
Consider a Heat Recovery Ventilator (HRV)
For advanced setups, an HRV exchanges stale indoor air with fresh outdoor air while recovering heat and controlling humidity. This is ideal for tightly sealed rooms in cold climates.
Pro Tip: Avoid over-ventilating, which can introduce humid outdoor air. Balance is key.
Step 6: Monitor and Maintain the System
A dehumidifier room requires regular upkeep to stay effective and energy-efficient.
Check Humidity Levels Weekly
Use a digital hygrometer to monitor humidity. Adjust the humidistat if levels are too high or low.
Clean the Air Filter Monthly
Most dehumidifiers have a washable or replaceable filter. Clean it with warm, soapy water and let it dry completely before reinstalling. A dirty filter reduces efficiency and can harbor mold.
Inspect Seals and Hoses Quarterly
Check door seals, window caulking, and drain hoses for wear or damage. Replace weatherstripping if it’s cracked or loose.
Clean the Coils and Bucket Annually
Turn off and unplug the dehumidifier. Use a soft brush or vacuum to remove dust from the coils. If your model has a removable bucket, wash it with vinegar to prevent mold.
Service the Condensate Pump
If you’re using a pump, clean the inlet filter and check the float switch annually. Test it by pouring water into the reservoir.
Watch for Warning Signs
Be alert to:
- Musty smells (indicating mold growth)
- Ice buildup on coils (low temperatures or dirty filter)
- Water pooling around the unit (drain clog or leak)
- Unusual noises (motor or fan issues)
Address problems immediately to avoid damage.
Troubleshooting Common Issues
Even with careful planning, issues can arise. Here’s how to fix the most common problems.
Dehumidifier Won’t Turn On
- Check the power outlet and circuit breaker.
- Ensure the humidistat is set below current humidity.
- Verify the water bucket is empty and properly seated.
Room Humidity Stays Too High
- Check for air leaks and reseal if needed.
- Ensure the dehumidifier is sized correctly for the space.
- Clean the filter and coils.
- Reduce sources of moisture (e.g., wet clothes, open containers).
Drain Hose Clogs or Leaks
- Flush the hose with warm water and vinegar.
- Check for kinks or improper slope.
- Replace damaged hoses.
Unit Freezes Up
- Move the dehumidifier to a warmer area (above 65°F).
- Clean the coils and filter.
- Ensure airflow isn’t blocked.
Musty Odors Persist
- Clean the room thoroughly with mold-killing solution.
- Run the dehumidifier continuously for 48 hours.
- Use an air purifier with a HEPA filter.
Conclusion
Building a dehumidifier room is a smart investment for protecting your home, health, and belongings from the damaging effects of excess moisture. By choosing the right location, sealing the space thoroughly, installing a high-capacity dehumidifier, setting up proper drainage, and maintaining the system, you can create a stable, low-humidity environment that lasts for years.
Whether you’re preserving a collection, converting a basement, or simply improving indoor air quality, this step-by-step guide gives you the tools and knowledge to succeed. Remember: consistency and maintenance are key. With regular care, your dehumidifier room will run efficiently and keep your space dry, clean, and comfortable.
Start today—your future self (and your belongings) will thank you.