
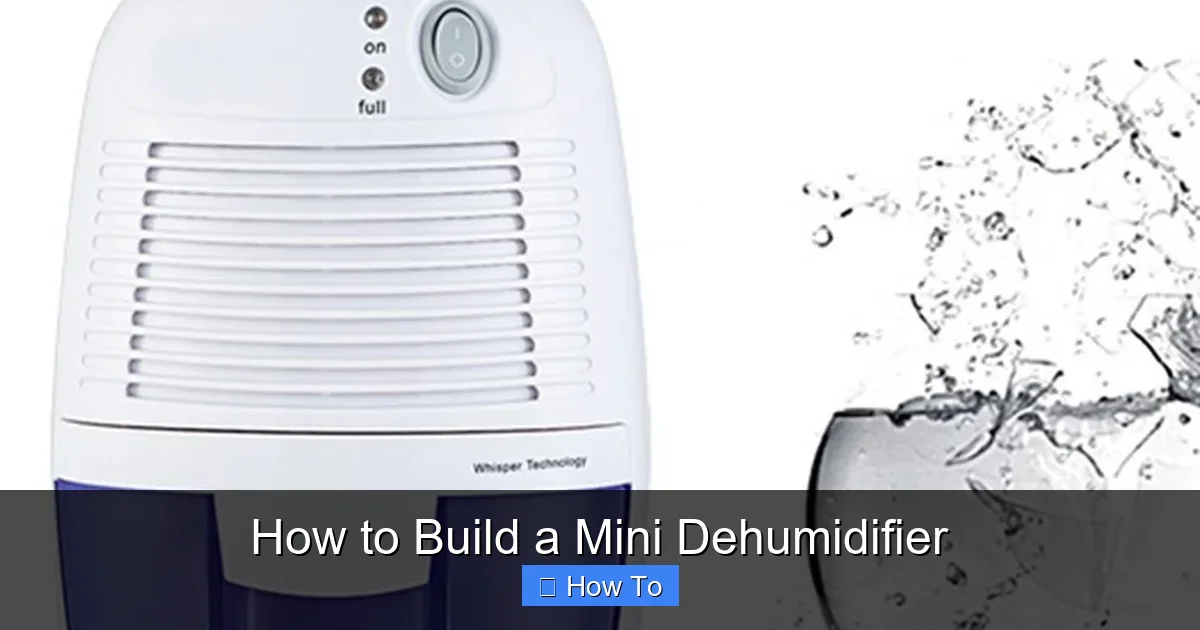
This guide teaches you how to build a mini dehumidifier using everyday items like silica gel, a plastic container, and a small fan. It’s a budget-friendly, eco-conscious solution for damp closets, bathrooms, or small spaces. Perfect for beginners, this project takes under an hour and requires no special tools.
Quick Answers to Common Questions
Tip/Question?
Can I use regular table salt instead of silica gel?
No, table salt isn’t effective as a desiccant. It can absorb some moisture but will eventually dissolve. Stick with silica gel for reliable results.
Tip/Question?
How often should I recharge the silica gel?
It depends on humidity levels. In damp areas, recharge every 1–2 weeks. Use a hygrometer to monitor and recharge when humidity rises.
Tip/Question?
Can I run the dehumidifier 24/7?
Yes, as long as the fan is rated for continuous use and the silica gel is recharged regularly. Most USB fans are safe for long-term operation.
Tip/Question?
What if I don’t have a drill?
Use a heated nail, awl, or even a sharp screw to poke holes. Be careful and work slowly to avoid cracking the plastic.
Tip/Question?
Is this safe for pets or children?
Yes, as long as the unit is out of reach and the fan is securely mounted. Keep silica gel away from small children and pets—it’s non-toxic but shouldn’t be ingested.
Introduction: Why Build a Mini Dehumidifier?
Excess moisture in small spaces can lead to mold, mildew, musty odors, and even damage to clothes, books, or electronics. While commercial dehumidifiers work well, they can be expensive, noisy, and energy-intensive—especially for tiny areas like closets, gun safes, or RVs. That’s where a DIY mini dehumidifier comes in handy.
In this guide, you’ll learn how to build a mini dehumidifier using affordable, accessible materials. This project is perfect for anyone looking to improve air quality without spending a lot of money. Whether you’re dealing with a damp bathroom, a humid closet, or a storage box, this simple device can make a big difference. Best of all, it’s reusable, eco-friendly, and easy to maintain.
By the end of this guide, you’ll have a fully functional mini dehumidifier that you can customize to fit your needs. No prior experience is required—just a few household items and about 30–60 minutes of your time.
What You’ll Need: Materials and Tools
Before we dive into the build, let’s gather everything you’ll need. Most of these items are likely already in your home or can be found at a local hardware or craft store.
Visual guide about How to Build a Mini Dehumidifier
Image source: images.nexusapp.co
Essential Materials
- Silica gel beads: These are the heart of your dehumidifier. Look for indicating silica gel (turns from blue to pink when saturated) so you can easily see when it needs recharging. You can buy them online or reuse them from packaging (like shoeboxes or electronics).
- Plastic storage container: Airtight is key. Choose a clear or translucent box so you can monitor the silica gel. A small food container (like a 16 oz deli tub) works well for closets or drawers.
- Small USB fan: A 5V computer fan or a mini desk fan powered by USB helps circulate air. You can find these for under $10 online or salvage one from an old device.
- Perforated container or mesh bag: This holds the silica gel and allows air to pass through. A small mesh laundry bag, tea infuser, or even a cut piece of nylon stocking works.
- Drill or sharp tool: To create ventilation holes in the container.
- Scissors or craft knife: For cutting mesh or adjusting materials.
- Hygrometer (optional but recommended): This measures humidity levels so you can track your dehumidifier’s effectiveness.
Optional Upgrades
- Activated charcoal: Adds odor-absorbing power, great for musty spaces.
- Essential oils: A drop of lavender or tea tree oil on the silica gel can add a fresh scent (use sparingly).
- Rechargeable power bank: Lets you place the dehumidifier anywhere without needing an outlet.
- Decorative container: Use a stylish box or paint the plastic one to match your decor.
Step-by-Step Instructions: Building Your Mini Dehumidifier
Now that you have your materials, let’s build! This process is simple, safe, and fun. Follow these steps carefully to ensure your dehumidifier works efficiently.
Step 1: Prepare the Silica Gel Container
Start by placing your silica gel beads into the mesh bag or perforated container. Fill it about ¾ full to allow room for air circulation. If you’re using a tea infuser, make sure the lid closes securely. For a mesh bag, tie the top with a string or twist tie.
Pro tip: If you’re reusing silica gel from packaging, check that it’s still effective. Indicating gel should be blue when dry. If it’s pink or white, it’s saturated and needs recharging (we’ll cover that later).
Step 2: Drill Ventilation Holes
Take your plastic container and use a drill or sharp tool to create small holes in the lid and base. These holes allow humid air to enter and dry air to exit.
- Drill 6–8 small holes (about 1/8 inch) in the lid.
- Drill a similar number in the bottom of the container.
- Space the holes evenly to promote consistent airflow.
Safety note: Wear safety goggles when drilling, and work on a stable surface. If you don’t have a drill, you can use a heated nail or awl to poke holes.
Step 3: Install the Fan
Position the USB fan so it blows air into the container. The best setup is to mount the fan on the inside of the lid, facing downward. This pushes humid air down through the silica gel, where moisture is absorbed, and dry air exits through the bottom holes.
To secure the fan:
- Use double-sided tape, hot glue, or zip ties to attach it to the lid.
- Make sure the fan’s power cable can reach a USB port or power bank.
- Test the fan before sealing the container to ensure it spins freely.
Alternative: If you prefer, you can place the fan outside the container, blowing air through a hole in the side. Just make sure the seal around the fan is tight to prevent air leaks.
Step 4: Assemble the Dehumidifier
Now it’s time to put it all together:
- Place the silica gel container inside the plastic box.
- Position it in the center so air can flow around it.
- Close the lid with the fan attached.
- Plug in the USB fan to a power source (wall adapter, computer, or power bank).
Your mini dehumidifier is now ready to use! Place it in the area you want to dehumidify—like a closet, bathroom cabinet, or storage bin.
How It Works: The Science Behind the DIY Dehumidifier
Understanding how your mini dehumidifier works will help you use it more effectively. Here’s a simple breakdown:
The fan pulls in humid air from the surrounding environment through the holes in the container. As the air passes over the silica gel beads, the moisture is absorbed. Silica gel is a desiccant, meaning it has a strong affinity for water molecules. The dry air then exits through the bottom holes, reducing overall humidity in the space.
Over time, the silica gel becomes saturated and loses its drying power. That’s why recharging is essential. But with regular maintenance, this system can work for months—or even years.
This method is similar to how commercial desiccant dehumidifiers operate, just on a smaller, passive scale. It’s especially effective in enclosed spaces with limited airflow.
Placement Tips for Maximum Effectiveness
Where you place your mini dehumidifier matters. Follow these tips to get the best results:
- Enclosed spaces work best: Closets, drawers, gun safes, and storage bins are ideal because they trap moisture.
- Avoid open areas: In large rooms, the dehumidifier may not make a noticeable difference unless used in conjunction with other methods.
- Elevate the unit: Place it on a small stand or box to improve airflow underneath.
- Keep it away from walls: Leave at least 2–3 inches of space around the container for air circulation.
- Use multiple units: For larger closets or multiple problem areas, build more than one.
Example: If you’re dehumidifying a walk-in closet, place one unit near the floor (where moisture tends to collect) and another near the ceiling. This creates a natural convection current, improving efficiency.
Maintaining and Recharging Your Mini Dehumidifier
Like any tool, your dehumidifier needs regular care to keep working well. The main task is recharging the silica gel.
How to Recharge Silica Gel
When the silica gel changes color (from blue to pink), it’s time to recharge. Here’s how:
- Remove the silica gel container from the dehumidifier.
- Pour the beads onto a baking sheet or oven-safe dish.
- Heat in the oven at 250°F (120°C) for 2–3 hours.
- Let cool completely before returning to the container.
Safety tip: Don’t overheat the beads—this can damage them. Also, avoid using microwave unless the packaging specifically says it’s safe.
Recharged silica gel will return to its original blue color and be ready to absorb moisture again. You can repeat this process dozens of times.
Cleaning and Upkeep
Every few months, wipe down the inside of the plastic container with a damp cloth to remove dust. Check the fan blades for buildup and clean gently with a cotton swab. Replace the silica gel if it becomes brittle or loses its color-changing ability.
Troubleshooting Common Issues
Even the best DIY projects can run into problems. Here’s how to fix common issues with your mini dehumidifier:
Issue: The fan isn’t spinning
Solution: Check the USB connection. Try a different cable or power source. Make sure the fan isn’t blocked by the silica gel container.
Issue: No noticeable reduction in humidity
Solution: Ensure the container is airtight except for the ventilation holes. Check that the silica gel isn’t already saturated. Use a hygrometer to confirm humidity levels before and after use.
Issue: Silica gel isn’t recharging properly
Solution: Make sure the oven temperature is correct and the beads are spread in a thin layer. Avoid overcrowding the baking sheet.
Issue: Mold or mildew still appears
Solution: Your space may be too large for one unit. Add more dehumidifiers or consider improving ventilation (e.g., leaving doors slightly open).
Customization Ideas and Upgrades
Once you’ve mastered the basic build, try these upgrades to enhance performance or aesthetics:
- Add a timer: Use a USB timer plug to run the fan only during high-humidity times (like after a shower).
- Use a larger container: For bigger spaces, scale up with a 32 oz container and more silica gel.
- Incorporate activated charcoal: Mix a small amount with the silica gel to absorb odors.
- Paint or decorate the container: Use non-toxic paint to match your room’s decor.
- Build a solar-powered version: Attach a small solar panel to charge a power bank during the day.
These tweaks make your dehumidifier more efficient, stylish, and suited to your specific needs.
Safety Considerations
While this project is generally safe, keep these tips in mind:
- Never leave the dehumidifier unattended while charging silica gel in the oven.
- Use gloves when handling hot silica gel.
- Keep the unit away from water sources to avoid electrical hazards.
- Don’t use the dehumidifier in areas with standing water or flooding.
- Ensure the fan is securely mounted to prevent it from falling or overheating.
With proper care, your mini dehumidifier is a safe, reliable tool for managing moisture.
Conclusion: A Simple Solution for Better Air Quality
Building a mini dehumidifier is a smart, sustainable way to combat excess moisture in small spaces. With just a few inexpensive materials, you can create a device that protects your belongings, improves air quality, and saves money compared to commercial units.
This project is perfect for DIY enthusiasts, renters, campers, or anyone dealing with dampness. It’s easy to build, simple to maintain, and fully customizable. Plus, reusing silica gel reduces waste and supports eco-friendly habits.
Now that you know how to build a mini dehumidifier, give it a try! Start with a basic version, monitor the results, and upgrade as needed. Your closet, bathroom, or storage space will thank you.