
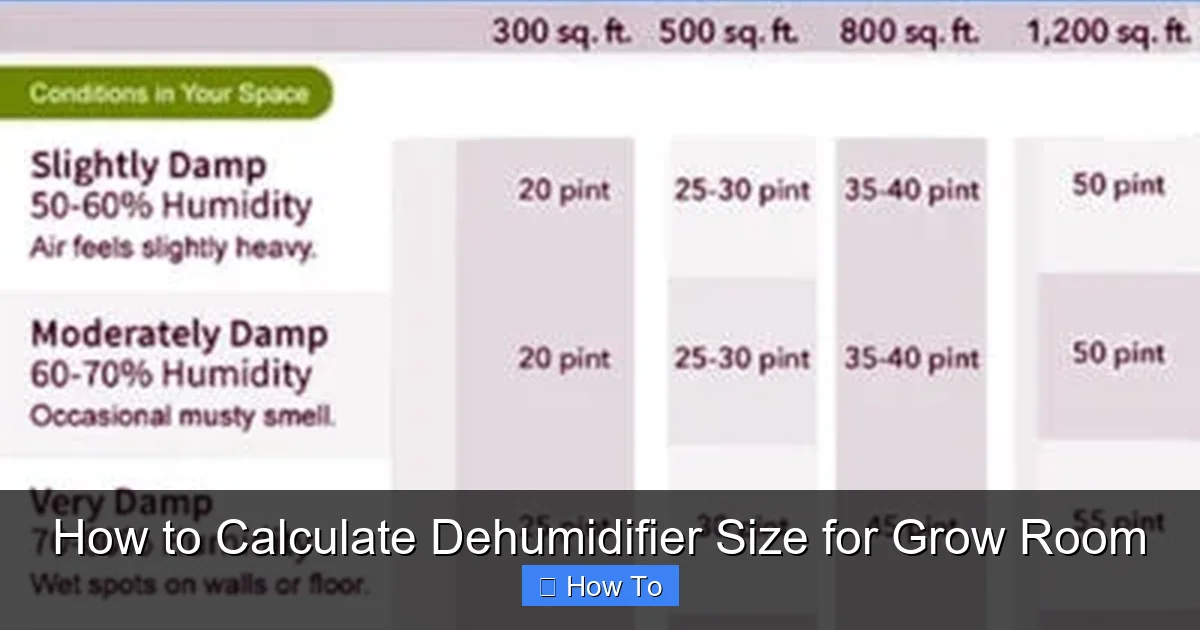
Choosing the right dehumidifier size for your grow room is crucial for plant health and yield. This guide walks you through calculating moisture levels, room volume, and airflow needs to pick the perfect unit. Get expert tips and avoid common mistakes for a thriving indoor garden.
Quick Answers to Common Questions
Tip/Question?
How often should I check my grow room’s humidity?
Check humidity at least once daily, preferably at the same time each day. Use a digital hygrometer placed at plant canopy level for accurate readings.
Tip/Question?
Can I use a regular household dehumidifier in my grow room?
Yes, but choose one with a humidistat, continuous drain option, and good airflow. Avoid cheap models that may fail under constant use.
Tip/Question?
Should I run my dehumidifier 24/7?
Yes, especially during flowering. Set it to maintain target humidity levels and let it cycle on and off as needed.
Tip/Question?
What’s the best humidity level for flowering plants?
Aim for 40–50% relative humidity during flowering. Lower to 30–40% in the final weeks to prevent mold and improve resin production.
Tip/Question?
How do I know if my dehumidifier is too small?
If humidity stays above target levels despite the unit running constantly, or if you see condensation on walls and equipment, your dehumidifier is likely undersized.
How to Calculate Dehumidifier Size for Grow Room
If you’re growing plants indoors—whether it’s cannabis, herbs, or vegetables—you know that humidity control is just as important as light, nutrients, and temperature. Too much moisture in the air can lead to mold, mildew, root rot, and stunted growth. Too little, and your plants may dry out or struggle to absorb nutrients. That’s why choosing the right dehumidifier size for your grow room is a critical step in creating a healthy, productive environment.
In this comprehensive guide, you’ll learn exactly how to calculate the ideal dehumidifier size for your grow room. We’ll walk you through measuring your space, estimating moisture output, understanding climate factors, and selecting a unit that keeps your plants thriving. Whether you’re a beginner or a seasoned grower, this step-by-step process will help you avoid common pitfalls and make an informed decision.
By the end of this guide, you’ll be able to confidently choose a dehumidifier that matches your grow room’s needs—ensuring optimal humidity levels, healthier plants, and better yields.
Step 1: Measure Your Grow Room’s Volume
The first step in calculating dehumidifier size is determining the volume of your grow room. Dehumidifiers are rated based on how much moisture they can remove from a given space over 24 hours, so knowing the cubic footage is essential.
How to Calculate Room Volume
To find the volume, multiply the length, width, and height of your grow room in feet:
Volume (cubic feet) = Length (ft) × Width (ft) × Height (ft)
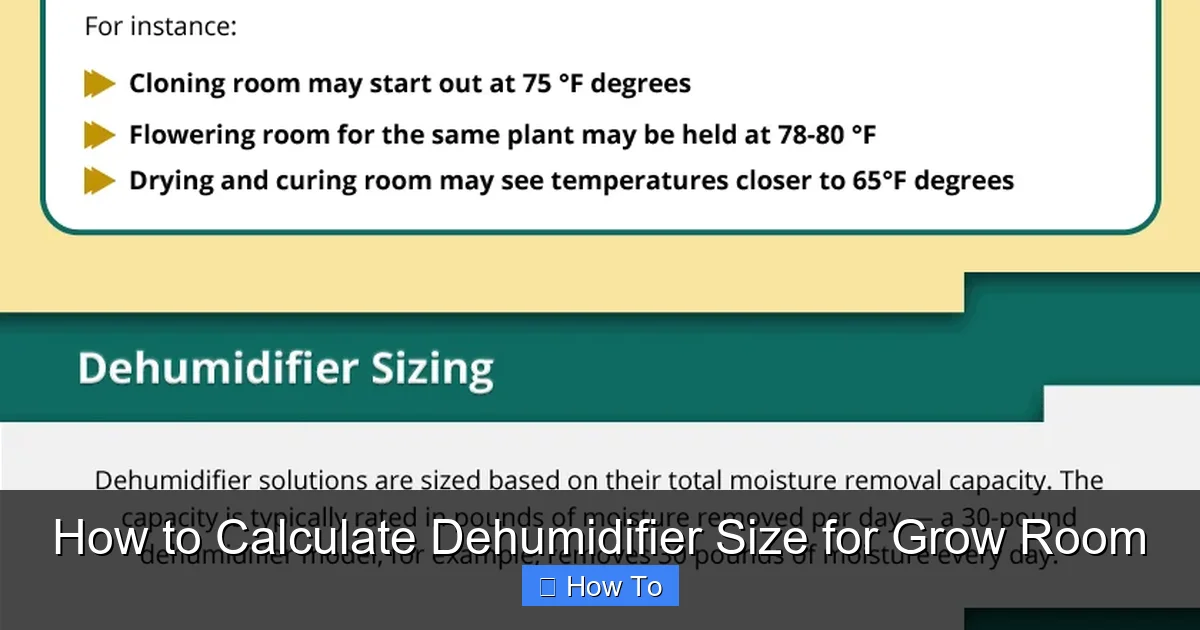
Visual guide about How to Calculate Dehumidifier Size for Grow Room
Image source: dehumidifiercorp.com
For example, if your grow tent is 8 feet long, 4 feet wide, and 7 feet tall:
8 × 4 × 7 = 224 cubic feet
If you’re working with a grow tent, check the manufacturer’s specifications—they often list internal dimensions. For custom-built rooms, use a tape measure to get accurate readings.
Why Volume Matters
Dehumidifiers are designed to handle specific air volumes. A unit that’s too small won’t keep up with moisture buildup, while an oversized one may cycle on and off too frequently, wasting energy and reducing efficiency. Getting the volume right ensures your dehumidifier works smoothly and effectively.
Pro Tip: Account for Obstructions
If your grow room has shelves, lights, or other equipment that take up space, you can subtract their volume for a more accurate calculation. However, for most home growers, using the full room dimensions is sufficient.
Step 2: Estimate Moisture Production from Plants
Plants release moisture into the air through a process called transpiration—similar to how humans sweat. The amount of moisture released depends on several factors, including the number of plants, their size, growth stage, and environmental conditions.
How Much Moisture Do Plants Release?
On average, a mature cannabis plant can release between 0.5 to 1 pint (0.24 to 0.47 liters) of water per day. Smaller plants or seedlings release less, while flowering plants in warm, well-lit environments may release more.
To estimate total daily moisture output:
Total Moisture (pints/day) = Number of Plants × Average Moisture per Plant
For example, if you have 10 flowering cannabis plants, each releasing 0.8 pints per day:
10 × 0.8 = 8 pints/day
Adjust for Growth Stage
– Seedling/Cloning Stage: Low transpiration—0.1 to 0.3 pints per plant per day.
– Vegging Stage: Moderate transpiration—0.4 to 0.6 pints per plant per day.
– Flowering Stage: High transpiration—0.7 to 1+ pints per plant per day.
If your plants are in different stages, calculate each group separately and add them together.
Factor in Lighting and Temperature
High-intensity lights (like HPS or LED) and warmer temperatures increase transpiration. If your grow room runs at 75–85°F (24–29°C), expect higher moisture output. Cooler rooms (65–70°F or 18–21°C) will have lower transpiration rates.
Step 3: Consider Ambient Humidity and Climate
Your local climate plays a big role in how much moisture is already in the air. If you live in a humid region—like Florida, Louisiana, or the Pacific Northwest—your dehumidifier will need to work harder to maintain ideal humidity levels.
Ideal Humidity Levels for Grow Rooms
Different growth stages require different humidity levels:
– Seedlings/Clones: 65–70% RH
– Vegging: 40–60% RH
– Flowering: 40–50% RH
– Late Flowering/Curing: 30–40% RH
Use a digital hygrometer to monitor relative humidity (RH) in your grow room. If ambient humidity is already high, your dehumidifier must remove both plant-generated moisture and excess ambient moisture.
Climate Zones and Dehumidifier Needs
– Humid Climates: Add 20–30% to your calculated moisture load.
– Moderate Climates: Use your base calculation.
– Dry Climates: You may need a smaller unit or even a humidifier instead.
For example, if your calculation shows 8 pints/day but you’re in a humid area, aim for a dehumidifier rated for 10–11 pints/day.
Step 4: Factor in Air Exchange and Ventilation
Grow rooms often use exhaust fans and intake vents to regulate temperature and CO₂ levels. But these systems also bring in fresh air—which can be humid—and remove stale, moist air. This air exchange affects how hard your dehumidifier must work.
Calculate Air Changes per Hour (ACH)
Most grow rooms exchange air 1–3 times per hour. To estimate the moisture added by ventilation:
Ventilation Moisture (pints/day) = Room Volume (ft³) × ACH × 0.002
The constant 0.002 accounts for average outdoor humidity and air density.
For a 224 ft³ room with 2 air changes per hour:
224 × 2 × 0.002 = 0.896 pints/hour
0.896 × 24 = ~21.5 pints/day
Wait—that seems high! But this is a rough estimate. In reality, not all incoming air is fully saturated, and exhaust fans remove moisture too. Still, it shows that ventilation can significantly impact humidity.
Practical Approach
Instead of complex calculations, use this rule of thumb:
– Add 1–2 pints/day for every air change per hour, depending on outdoor humidity.
So for 2 ACH in a moderately humid area, add 2–4 pints/day to your total moisture load.
Step 5: Add Up Your Total Moisture Load
Now it’s time to combine all the factors to determine your total daily moisture load.
Total Moisture Load Formula
Total Pints/Day = Plant Moisture + Ventilation Moisture + Ambient Adjustment
Using our earlier example:
– Plant moisture: 8 pints/day
– Ventilation (2 ACH): +3 pints/day
– Humid climate adjustment: +2 pints/day
– Total: 13 pints/day
This means you need a dehumidifier capable of removing at least 13 pints of moisture per day.
Round Up for Safety
Always choose a dehumidifier with a capacity slightly higher than your calculated need. This accounts for unexpected humidity spikes, unit inefficiency, or future expansion.
Aim for 10–20% above your total. In this case, a 15–16 pint/day unit would be ideal.
Step 6: Choose the Right Dehumidifier Type
Not all dehumidifiers are created equal. For grow rooms, you’ll want a unit that’s durable, energy-efficient, and designed for continuous operation.
Types of Dehumidifiers
– Refrigerant (Compressor) Dehumidifiers: Most common. Work best in warm environments (above 65°F). Efficient and affordable.
– Desiccant Dehumidifiers: Use moisture-absorbing materials. Better for cooler temperatures and lower humidity. Quieter but less efficient in warm, humid conditions.
– Whole-House or Commercial Units: Larger capacity, often ductable. Ideal for big grow rooms or multiple tents.
For most home growers, a high-quality refrigerant dehumidifier is the best choice.
Key Features to Look For
– Continuous Drain Option: Lets you attach a hose to drain water automatically—no need to empty buckets.
– Humidistat: Allows you to set and maintain a target humidity level.
– Energy Efficiency: Look for ENERGY STAR certification to save on electricity.
– Noise Level: Measured in decibels (dB). Choose a quiet model (under 50 dB) if your grow room is near living spaces.
– Durability: Grow rooms are humid and dusty. Choose a unit with a protective coating or filter.
Popular Brands for Grow Rooms
– hOmeLabs
– Frigidaire
– Eva-Dry
– AprilAire
– Quest (commercial-grade)
Step 7: Install and Optimize Your Dehumidifier
Once you’ve selected the right unit, proper installation and maintenance are key to long-term success.
Placement Tips
– Place the dehumidifier in a central location for even air circulation.
– Keep it away from walls and obstructions to allow proper airflow.
– Elevate it slightly if possible to improve intake efficiency.
Use a Hygrometer
Monitor humidity levels daily with a reliable digital hygrometer. Place it at plant canopy height for the most accurate reading.
Set the Right Humidity Level
Adjust the humidistat based on your plants’ growth stage. Avoid drastic changes—gradual adjustments prevent stress.
Maintenance Checklist
– Clean the air filter monthly.
– Empty the water tank regularly (if not using continuous drain).
– Check for ice buildup (a sign the unit is too cold or undersized).
– Inspect hoses and drains for clogs.
Troubleshooting Common Issues
Even with the right size dehumidifier, problems can arise. Here’s how to fix the most common issues.
Problem: Humidity Won’t Drop
– Cause: Undersized unit, high ambient humidity, or poor ventilation.
– Solution: Upgrade to a larger dehumidifier, improve airflow, or add a second unit.
Problem: Dehumidifier Runs Constantly
– Cause: Oversized unit, low humidity setting, or cold room temperature.
– Solution: Adjust the humidistat, ensure room is above 65°F, or consider a smaller unit.
Problem: Ice Builds Up on Coils
– Cause: Room temperature is too low (below 60°F).
– Solution: Move the unit to a warmer area or use a desiccant dehumidifier.
Problem: Water Tank Overflows
– Cause: Infrequent emptying or clogged drain hose.
– Solution: Set a reminder to empty the tank or switch to continuous drainage.
Conclusion
Calculating the right dehumidifier size for your grow room doesn’t have to be complicated. By measuring your space, estimating plant moisture output, factoring in climate and ventilation, and choosing a quality unit, you can maintain ideal humidity levels for healthier, more productive plants.
Remember: it’s better to slightly oversize than undersize. A dehumidifier that can’t keep up will leave your plants vulnerable to mold and disease. Use the steps in this guide to make an informed decision, and don’t forget to monitor and adjust as your plants grow.
With the right dehumidifier in place, you’ll create a stable, controlled environment that supports strong growth, high yields, and top-quality harvests. Happy growing!