
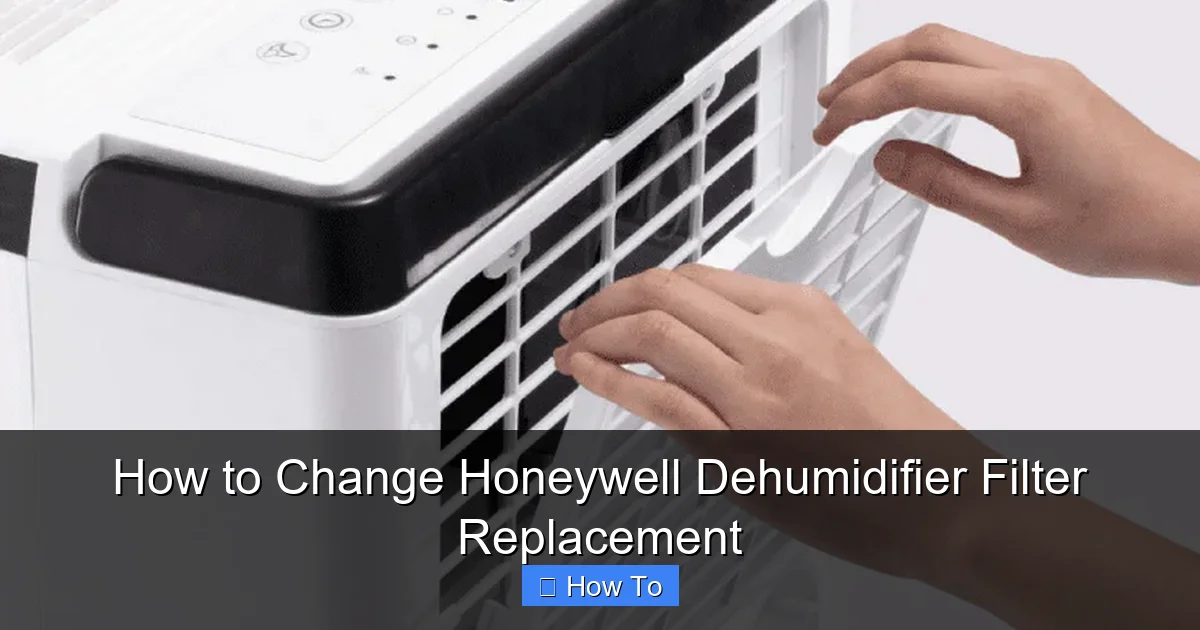
Changing the filter in your Honeywell dehumidifier is simple and essential for optimal performance. This guide walks you through every step, from locating the filter to installing the new one, ensuring clean air and efficient moisture removal.
Quick Answers to Common Questions
How often should I check my dehumidifier filter?
Check the filter every 4–6 weeks. In humid or dusty environments, inspect it monthly. Replace or clean it as soon as it looks dirty.
Can I clean a disposable filter instead of replacing it?
No, disposable filters are not designed to be cleaned. Attempting to wash them can damage the material and reduce effectiveness. Always replace them.
What if my model doesn’t have a filter indicator light?
That’s okay! Just mark your calendar or set a phone reminder to check the filter every 2–3 months. Visual inspection is the best guide.
Where can I buy a genuine Honeywell replacement filter?
You can purchase authentic filters from Honeywell’s official website, Amazon, Home Depot, or authorized retailers. Always verify the part number.
Is it safe to run the dehumidifier without a filter?
No. Running the unit without a filter allows dust and debris to enter the internal components, which can damage the motor and reduce efficiency.
How to Change Honeywell Dehumidifier Filter Replacement
Keeping your Honeywell dehumidifier running smoothly isn’t just about emptying the water tank—it’s also about maintaining its internal components, especially the air filter. Over time, the filter collects dust, pet dander, mold spores, and other airborne particles. If left unchanged, a clogged filter can reduce efficiency, increase energy use, and even lead to unpleasant odors or mold growth inside the unit.
In this comprehensive guide, you’ll learn exactly how to change the Honeywell dehumidifier filter replacement. Whether you’re a first-time user or haven’t replaced the filter in a while, we’ll walk you through every step with clear instructions, safety tips, and practical advice. By the end, you’ll know how to keep your dehumidifier working like new—and your home’s air clean and comfortable.
Why Replacing the Filter Matters
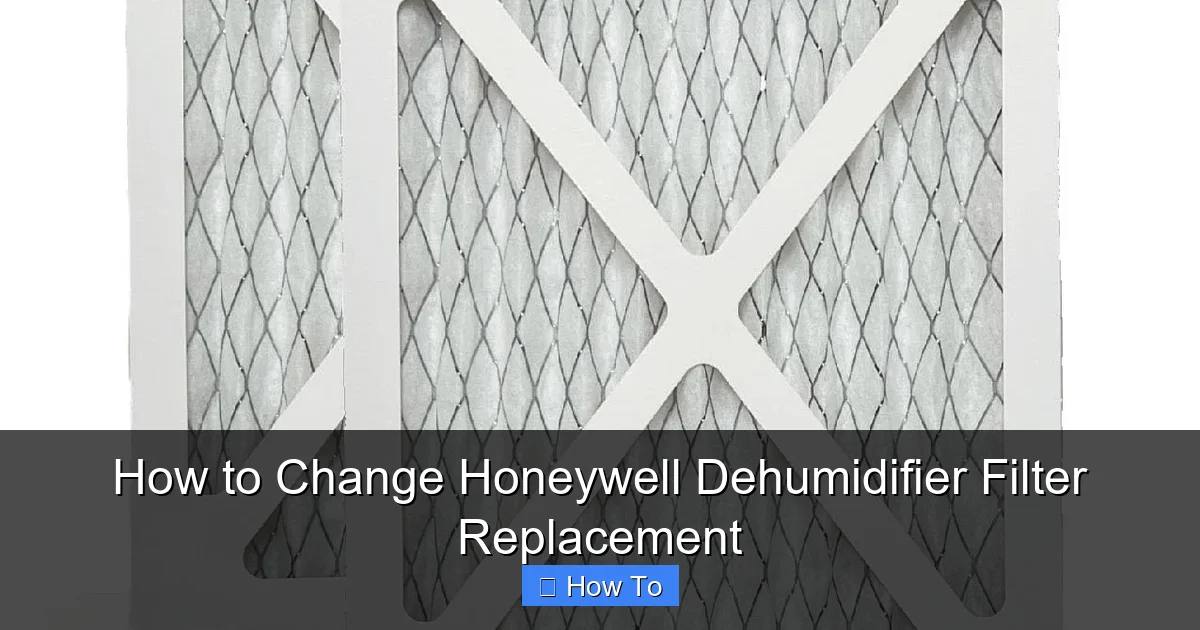
Visual guide about How to Change Honeywell Dehumidifier Filter Replacement
Image source: m.media-amazon.com
Before diving into the steps, it’s important to understand why filter maintenance is so crucial. The air filter in your Honeywell dehumidifier acts as the first line of defense against indoor pollutants. As air is drawn into the unit to remove moisture, it passes through the filter, which captures contaminants.
When the filter becomes dirty or clogged, several problems can occur:
– **Reduced airflow:** The dehumidifier has to work harder to pull air through a blocked filter, which can strain the motor and reduce efficiency.
– **Poor moisture removal:** With restricted airflow, the unit can’t process as much air, leading to higher humidity levels.
– **Increased energy bills:** A struggling dehumidifier uses more electricity to achieve the same results.
– **Mold and mildew growth:** Moisture trapped in a dirty filter can encourage mold, which may spread into your home’s air.
– **Unpleasant odors:** Accumulated debris and moisture can create musty smells.
Replacing the filter every 2–3 months (or more often in high-humidity or dusty environments) helps prevent these issues. It’s a small task that makes a big difference in performance and air quality.
Tools and Materials You’ll Need
You don’t need a toolkit or special skills to replace your Honeywell dehumidifier filter. Here’s what you’ll need:
- Replacement filter: Make sure it’s compatible with your specific Honeywell model. Check the user manual or the old filter for the part number.
- Soft cloth or vacuum cleaner: For cleaning around the filter area.
- Gloves (optional): To keep your hands clean, especially if the old filter is very dirty.
- Plastic bag: For safe disposal of the old filter.
- User manual (optional but helpful): If you’re unsure about your model or filter location.
Most Honeywell dehumidifiers use a washable or replaceable mesh filter. Some newer models come with a HEPA or carbon filter option. Always verify your filter type before purchasing a replacement.
Step-by-Step Guide to Replacing the Filter
Follow these steps carefully to replace your Honeywell dehumidifier filter safely and correctly.
Step 1: Turn Off and Unplug the Unit
Safety comes first. Before doing anything, make sure your dehumidifier is completely turned off and unplugged from the power outlet. This prevents accidental startup and reduces the risk of electric shock.
Even if the unit appears off, it’s best to unplug it. Some models have standby modes or indicator lights that still draw power. Locate the power cord and gently pull it from the wall outlet.
Step 2: Locate the Filter Compartment
The filter is usually located at the back or side of the dehumidifier, behind a removable grille or panel. Here’s how to find it:
– Look for a grille with horizontal or vertical slats—this is typically the air intake.
– Some models have a labeled “Filter” or “Air Filter” cover.
– On tower-style units, the filter may be on the back near the bottom.
– On larger models, it might be behind a side panel.
If you’re unsure, consult your user manual. Honeywell provides model-specific diagrams that show exactly where the filter is located.
Step 3: Remove the Filter Cover or Grille
Most Honeywell dehumidifiers have a snap-on grille or a sliding cover. Here’s how to remove it:
– Gently press or pull the grille outward. It should pop off easily—no tools needed.
– If it’s a sliding cover, push it in the direction indicated by arrows (usually left or right).
– Some models have clips or tabs that need to be pressed before the cover releases.
Be careful not to force it. If it doesn’t come off easily, double-check for hidden latches or screws. Never use excessive force, as you could break the plastic.
Step 4: Take Out the Old Filter
Once the cover is off, you’ll see the filter inside. Carefully slide it out or lift it from its slot. Here’s what to do:
– Hold the filter by the edges to avoid touching the dirty surface.
– If it’s a washable filter, you may choose to clean it instead of replacing it (more on that later).
– If it’s a disposable filter, inspect it for heavy dirt, mold, or damage. If it’s gray or clogged, it’s time for a new one.
Note the orientation of the filter—most have a directional arrow or label indicating airflow direction. This helps you install the new one correctly.
Step 5: Clean the Filter Area (Optional but Recommended)
While the filter is out, take a moment to clean the surrounding area:
– Use a soft cloth or vacuum with a brush attachment to remove dust from the grille and inside the compartment.
– Wipe down any visible mold or mildew with a damp cloth and mild detergent.
– Let the area dry completely before reassembling.
This step helps maintain airflow and prevents debris from entering the unit.
Step 6: Install the New Filter
Now it’s time to put in the new filter:
– Make sure the replacement filter matches the size and shape of the old one.
– Align the directional arrow (if present) with the airflow direction—usually pointing toward the unit.
– Slide the filter into the slot or place it securely in the holder.
– Ensure it sits flat and fits snugly without gaps.
If the filter is loose or doesn’t fit, double-check the part number. Using the wrong filter can reduce efficiency or damage the unit.
Step 7: Reattach the Filter Cover or Grille
Once the new filter is in place, reattach the cover:
– Align the grille or cover with the slots or clips.
– Press it firmly until it snaps into place.
– Make sure it’s secure and there are no gaps where air could bypass the filter.
A loose cover can reduce performance and allow unfiltered air to enter the unit.
Step 8: Plug In and Turn On the Unit
After reassembly, plug the dehumidifier back into the power outlet and turn it on. Set your desired humidity level and let it run for a few minutes.
Listen for unusual noises or reduced airflow, which could indicate a problem with installation. If everything sounds normal, you’re good to go.
Step 9: Reset the Filter Indicator Light (If Applicable)
Many Honeywell dehumidifiers have a filter change reminder light that turns on after a set number of operating hours. After replacing the filter, you’ll need to reset this light:
– Look for a “Filter” or “Check Filter” button on the control panel.
– Press and hold it for 3–5 seconds until the light turns off or resets.
– Some models automatically reset when the unit is powered back on.
Refer to your user manual for model-specific instructions. Resetting the light ensures you’ll be reminded when it’s time for the next replacement.
Washable vs. Disposable Filters: What’s the Difference?
Honeywell offers both washable and disposable filters. Understanding the difference helps you choose the right maintenance routine.
Washable Filters
These filters are made of durable mesh and can be cleaned and reused multiple times. Here’s how to care for them:
– Remove the filter and rinse it under lukewarm water.
– Use a mild detergent if needed, but avoid harsh chemicals.
– Gently scrub with a soft brush to remove stubborn dirt.
– Let it air dry completely—never reinstall a damp filter.
– Reinstall once dry.
Washable filters are eco-friendly and cost-effective over time, but they require regular cleaning (every 1–2 months).
Disposable Filters
These are single-use filters designed to be replaced. They’re convenient and often more effective at trapping fine particles, especially if they include HEPA or carbon layers.
– Replace every 2–3 months, or sooner if dirty.
– Dispose of the old filter in a sealed plastic bag.
– Choose high-quality replacements for best performance.
Disposable filters are ideal for people with allergies or asthma, as they capture more allergens.
How Often Should You Replace the Filter?
The ideal replacement frequency depends on several factors:
– **Usage:** If you run your dehumidifier daily, replace the filter every 2 months.
– **Environment:** Homes in humid climates, basements, or areas with pets or smokers may need monthly changes.
– **Filter type:** Washable filters need cleaning more often; disposable ones last longer.
– **Indicator light:** Some models alert you when it’s time to change the filter.
As a general rule, check the filter every 4–6 weeks. If it looks dirty or clogged, replace or clean it immediately.
Troubleshooting Common Issues
Even with proper maintenance, you might encounter problems. Here are some common issues and how to fix them:
Filter Doesn’t Fit
– Double-check the model number and filter part number.
– Ensure you’re buying a Honeywell-approved or compatible filter.
– Some third-party filters may not fit perfectly—stick to trusted brands.
Unit Isn’t Removing Moisture
– A dirty filter can restrict airflow. Replace it and see if performance improves.
– Check for other issues like blocked vents, low refrigerant, or a full water tank.
Filter Light Won’t Reset
– Make sure the unit is plugged in and powered on.
– Try pressing the reset button again or unplugging the unit for 10 seconds.
– Consult the manual for model-specific reset instructions.
Unusual Odors After Replacement
– The new filter may have a slight odor at first—this usually fades after a few hours.
– If the smell persists, check for mold inside the unit or water tank.
– Clean the tank and coils with a vinegar solution if needed.
Grille Won’t Snap Back On
– Ensure the filter is seated properly—misalignment can prevent the cover from closing.
– Check for debris or warping in the grille.
– Gently press all corners until it clicks into place.
Tips for Maintaining Your Dehumidifier
Replacing the filter is just one part of dehumidifier care. Follow these tips to keep your unit in top shape:
– **Empty the water tank regularly:** Don’t wait for it to fill up completely.
– **Clean the coils and vents:** Dust buildup reduces efficiency.
– **Use in the right environment:** Keep the room temperature above 65°F for optimal performance.
– **Store properly in off-seasons:** Clean and dry the unit before storing it.
– **Schedule annual professional maintenance:** Especially for older models.
Conclusion
Changing the filter in your Honeywell dehumidifier is a quick and easy task that pays big dividends in air quality, efficiency, and unit longevity. By following this guide, you’ve learned how to safely remove the old filter, install a new one, and maintain your dehumidifier for peak performance.
Remember to check your filter every few weeks, replace or clean it as needed, and always use compatible parts. With regular care, your Honeywell dehumidifier will keep your home comfortable, dry, and healthy for years to come.
Don’t wait until you notice a problem—make filter replacement a routine part of your home maintenance. Your lungs (and your energy bill) will thank you.