

Attaching a hose to your dehumidifier allows for continuous water drainage, eliminating the need to empty the tank manually. This guide walks you through the process with clear steps, safety tips, and troubleshooting advice.
Quick Answers to Common Questions
Can I use any hose for my dehumidifier?
Most standard garden hoses or vinyl tubing (5/8” or 3/4” diameter) work well. Avoid hoses that kink easily or are too narrow, as they can restrict water flow.
How long can the drain hose be?
Keep it under 15 feet if possible. Longer hoses increase resistance and may slow drainage. If you need more length, use a wider diameter hose.
Do I need a pump to attach a hose?
No—most dehumidifiers use gravity drainage. Just ensure the hose slopes downward. Only use a pump if draining uphill or over a long distance.
Can I drain the hose outside?
Yes, but make sure the end is below the dehumidifier’s level and away from your home’s foundation to prevent water damage.
What if my dehumidifier doesn’t have a drain port?
Check if the water tank has a removable cap or spout. If not, consider upgrading to a model with a built-in hose connection for reliable drainage.
How to Attach a Hose to a Dehumidifier
If you’ve ever woken up to a full water tank in your dehumidifier—or worse, a puddle on the floor—you know how inconvenient it can be. Manually emptying the bucket every few hours isn’t practical, especially if you’re running the dehumidifier overnight or while away from home. That’s where attaching a hose comes in.
Connecting a hose to your dehumidifier enables continuous drainage, so water flows directly out instead of collecting in the internal tank. This not only saves you time but also prevents overflow, reduces mold risk, and keeps your space drier and more comfortable.
In this comprehensive guide, you’ll learn exactly how to attach a hose to your dehumidifier—step by step. Whether you’re a first-time user or upgrading your setup, we’ll cover everything from checking compatibility to troubleshooting common issues. By the end, you’ll have a reliable, leak-free drainage system that works while you sleep, work, or travel.
Let’s get started!
Why Attach a Hose to Your Dehumidifier?
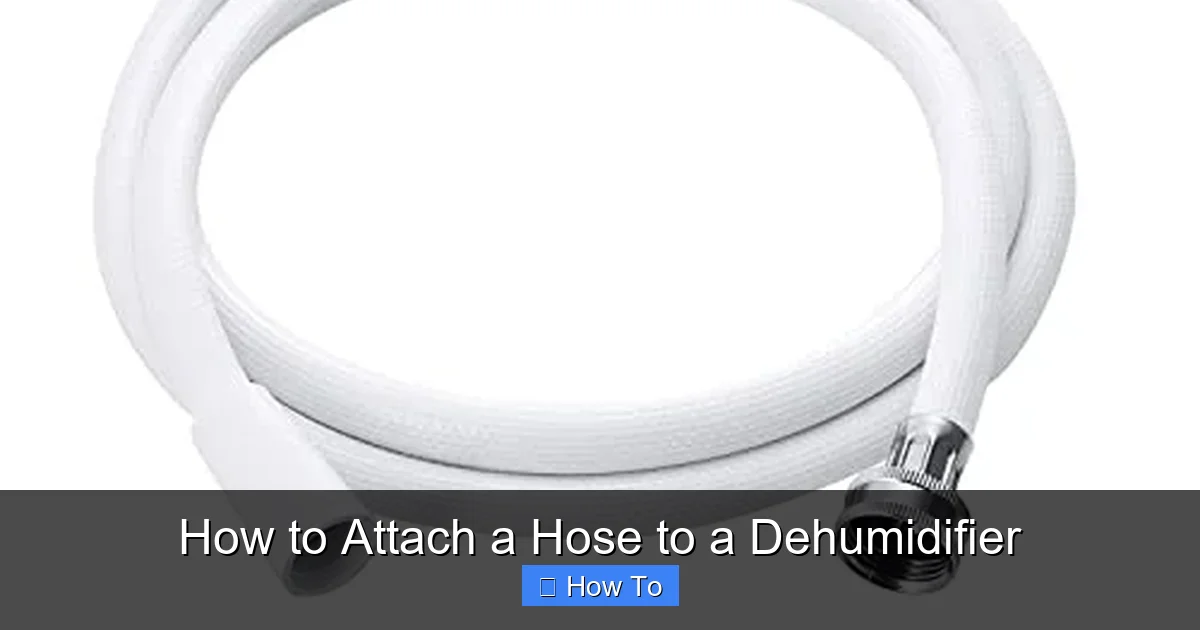
Visual guide about How to Attach a Hose to a Dehumidifier
Image source: m.media-amazon.com
Before diving into the how-to, it’s helpful to understand why this upgrade is worth your time. Dehumidifiers remove excess moisture from the air, which is essential in damp areas like basements, laundry rooms, crawl spaces, or bathrooms. But all that collected water has to go somewhere.
Most dehumidifiers come with a built-in water tank—typically holding 1 to 2 gallons—that you must empty manually. If you forget or the unit runs continuously, the tank fills up, the machine shuts off, and moisture begins to build up again. This cycle defeats the purpose of having a dehumidifier in the first place.
By attaching a hose, you enable continuous drainage. Water flows out as it’s collected, so the dehumidifier never stops working. This is especially useful in:
– High-humidity environments (like basements after heavy rain)
– Unattended operation (overnight, during vacations, or while at work)
– Large spaces that require constant dehumidification
Plus, continuous drainage reduces the risk of mold and bacteria growth inside the tank, which can affect air quality and machine performance.
Check If Your Dehumidifier Supports Hose Attachment
Not all dehumidifiers are designed for hose drainage. Before buying supplies or starting the installation, confirm that your model supports this feature.
Look for a Drain Hose Outlet
Most modern dehumidifiers have a built-in drain hose connection, usually located at the back or side of the unit. It’s often a small, threaded spout or a rubber gasket with a removable cap. Common locations include:
– Near the water tank compartment
– On the rear panel, close to the bottom
– Behind a removable access panel
If you see a small opening labeled “Drain,” “Continuous Drain,” or “Hose Outlet,” you’re in luck.
Consult the User Manual
Your dehumidifier’s user manual is the best source of truth. Look for sections titled:
– “Continuous Drainage”
– “Hose Connection”
– “Drainage Options”
The manual will tell you:
– Whether your model supports hose attachment
– The recommended hose size (usually 5/8” or 3/4” inner diameter)
– Any special adapters or fittings required
– Safety warnings (e.g., maximum hose length)
If you’ve lost the manual, search online using your model number (usually found on a label on the back or bottom of the unit). Most manufacturers provide free PDF downloads.
What If There’s No Hose Outlet?
Some older or budget models don’t have a dedicated drain port. In these cases, you have a few options:
– Use the water tank spout: Some tanks have a small hole or cap that can be removed to insert a hose. This is less secure and may leak, so proceed with caution.
– Upgrade your dehumidifier: If continuous drainage is important, consider investing in a model with a built-in hose connection.
– DIY modification (not recommended): Drilling or cutting into the unit can void the warranty and cause leaks or electrical hazards. Avoid this unless you’re experienced and accept the risks.
For most users, sticking with a compatible model is the safest and most effective approach.
Gather the Right Tools and Materials
Once you’ve confirmed your dehumidifier supports hose attachment, it’s time to gather supplies. You don’t need much—just a few basic items available at any hardware or home improvement store.
Essential Supplies
- Hose: A standard garden hose (5/8” or 3/4” inner diameter) works well. For tighter spaces, use clear vinyl tubing (also called siphon hose or drain tubing). Avoid kinked or collapsed hoses.
- Hose clamps or zip ties: These secure the hose to the outlet and prevent leaks. Use stainless steel clamps for durability or heavy-duty zip ties for a quick fix.
- Adapter (if needed): Some dehumidifiers require a threaded adapter to connect a standard hose. Check your manual—common sizes include 3/8” or 1/2” male threads.
- Teflon tape (optional): If your connection is threaded, wrap Teflon tape around the threads to create a watertight seal.
- Scissors or utility knife: For trimming the hose to the right length.
- Bucket or towel: To catch any residual water when disconnecting the tank or testing the system.
Optional but Helpful
- Hose hanger or hook: Keeps the hose off the floor and maintains proper slope.
- Drain pan: Placed under the dehumidifier to catch accidental leaks.
- Check valve (for sump pump setups): Prevents backflow if draining into a sump pit.
Estimated Cost
You can complete this project for under $20. A 25-foot garden hose costs around $10–$15, clamps are $3–$5, and adapters are usually under $5. Vinyl tubing is even cheaper—often $5 for 50 feet.
Step-by-Step: How to Attach the Hose
Now for the main event: attaching the hose. Follow these steps carefully to ensure a secure, leak-free connection.
Step 1: Turn Off and Unplug the Dehumidifier
Safety first! Always disconnect the power before working on your dehumidifier. This prevents electrical shock and protects the unit’s internal components.
– Unplug the power cord from the wall outlet.
– Wait 5–10 minutes for the unit to cool down if it’s been running.
Step 2: Locate the Drain Hose Outlet
Find the drain port on your dehumidifier. It’s usually a small, round opening with a rubber cap or threaded nozzle.
– Remove the cap or cover (some twist off, others pull out).
– Inspect the opening for debris or residue. Clean it with a damp cloth if needed.
Step 3: Prepare the Hose
Cut the hose to the appropriate length. You want enough to reach your drain point, but not so much that it kinks or pools water.
– Ideal length: 6–15 feet (longer hoses can reduce flow due to friction).
– Use scissors or a utility knife to make a clean, straight cut.
If using an adapter:
– Screw the adapter into the dehumidifier’s drain outlet (clockwise).
– Wrap Teflon tape around the threads for a better seal (2–3 wraps).
Step 4: Attach the Hose to the Outlet
Slide one end of the hose over the drain outlet or adapter.
– Push it on firmly—about 1–2 inches deep.
– Ensure it fits snugly without forcing it.
Secure the connection:
– Wrap a hose clamp around the hose and tighten it with a screwdriver.
– Alternatively, use 2–3 heavy-duty zip ties, spaced evenly.
Pro Tip: Double-check that the hose isn’t bent or twisted. A kinked hose blocks water flow and can cause leaks.
Step 5: Route the Hose to the Drain
Position the other end of the hose over a suitable drain point. Common options include:
– Floor drain
– Sump pump pit
– Utility sink
– Outside (via a window or vent)
Important: The hose must slope downward from the dehumidifier to the drain. Gravity is your friend here—water won’t flow uphill without a pump.
– Use a hose hanger or hook to keep the hose off the floor.
– Avoid sharp bends or loops that trap water.
Step 6: Secure the Hose at the Drain End
Make sure the hose stays in place and doesn’t fall out of the drain.
– Insert it into the drain opening (don’t force it—just let it rest).
– Use tape or a small weight to keep it from slipping out.
– If draining outside, ensure the end is below the dehumidifier’s level and away from the foundation to prevent water damage.
Step 7: Test the System
Now it’s time to see if everything works.
– Plug the dehumidifier back in.
– Turn it on and set it to the desired humidity level.
– Let it run for 15–30 minutes.
Watch for:
– Water flowing steadily through the hose
– No leaks at the connection point
– No pooling or dripping
If water flows smoothly and the hose stays secure, you’re all set!
Troubleshooting Common Issues
Even with careful installation, problems can arise. Here’s how to fix the most common ones.
Hose Leaks at the Connection
Cause: Loose fit, worn gasket, or missing clamp.
Solution:
– Turn off and unplug the unit.
– Remove the hose and inspect the outlet for cracks or damage.
– Reattach the hose, ensuring it’s pushed on fully.
– Tighten the clamp or add an extra zip tie.
– If the gasket is damaged, contact the manufacturer for a replacement.
Water Isn’t Flowing
Cause: Kinked hose, uphill slope, or clogged outlet.
Solution:
– Check the entire length of the hose for bends or kinks.
– Ensure the hose slopes downward from the dehumidifier.
– Disconnect the hose and blow air through it to check for blockages.
– Clean the drain outlet with a pipe cleaner or compressed air.
Hose Falls Out of the Drain
Cause: Poor securing or strong water flow.
Solution:
– Use duct tape or a rubber band to anchor the hose to the drain.
– Place a small rock or weight inside the hose end to keep it in place.
– Consider using a longer hose or relocating the drain point.
Water Backups or Slow Drainage
Cause: Long hose, small diameter, or high humidity.
Solution:
– Shorten the hose if possible.
– Use a wider diameter hose (e.g., 3/4” instead of 5/8”).
– Ensure the dehumidifier isn’t in an extremely humid area that overwhelms the drainage rate.
Condensation Inside the Hose
Cause: Temperature differences between indoor and outdoor air.
Solution:
– Insulate the hose with foam tubing (available at hardware stores).
– Route the hose away from cold surfaces like concrete floors.
Maintenance Tips for Long-Term Use
To keep your hose drainage system working efficiently, follow these maintenance practices.
Clean the Hose Monthly
Stagnant water can lead to mold, mildew, or algae growth inside the hose.
– Disconnect the hose every 4–6 weeks.
– Rinse it thoroughly with warm water.
– Use a bottle brush or hose cleaning tool to scrub the interior.
– Soak in a 1:10 vinegar-water solution for 30 minutes to disinfect.
Inspect Connections Regularly
Check the hose and clamps every few weeks for:
– Cracks or wear
– Loose fittings
– Signs of leakage
Tighten or replace parts as needed.
Winter Precautions
If you use your dehumidifier in a cold space (like an unheated garage), drain the hose before freezing temperatures hit. Water left inside can freeze, expand, and crack the hose or damage the dehumidifier.
– Turn off and unplug the unit.
– Disconnect the hose and let all water drain out.
– Store the hose indoors or in a heated area.
Replace the Hose Annually
Even with care, hoses degrade over time. Replace yours every 12–18 months, or sooner if you notice brittleness, cracks, or persistent odors.
Safety Considerations
While attaching a hose is generally safe, keep these precautions in mind.
Electrical Safety
– Never handle the dehumidifier or hose while plugged in.
– Keep the power cord away from water and the hose path.
– Use a GFCI (Ground Fault Circuit Interrupter) outlet if available.
Water Damage Prevention
– Always use a drain pan under the dehumidifier.
– Avoid draining near electrical panels, appliances, or wooden structures.
– Monitor the system during the first few uses.
Child and Pet Safety
– Keep hoses out of reach of children and pets.
– Secure loose ends to prevent tripping hazards.
Conclusion
Attaching a hose to your dehumidifier is a simple, cost-effective upgrade that pays big dividends in convenience and performance. By enabling continuous drainage, you eliminate the hassle of emptying the tank, reduce the risk of overflow, and maintain consistent humidity control—even when you’re not around.
From checking compatibility to testing the system, this guide has walked you through every step. With the right tools, a little patience, and regular maintenance, your dehumidifier will run smoothly for years to come.
So go ahead—give it a try. Your floors (and your schedule) will thank you.