
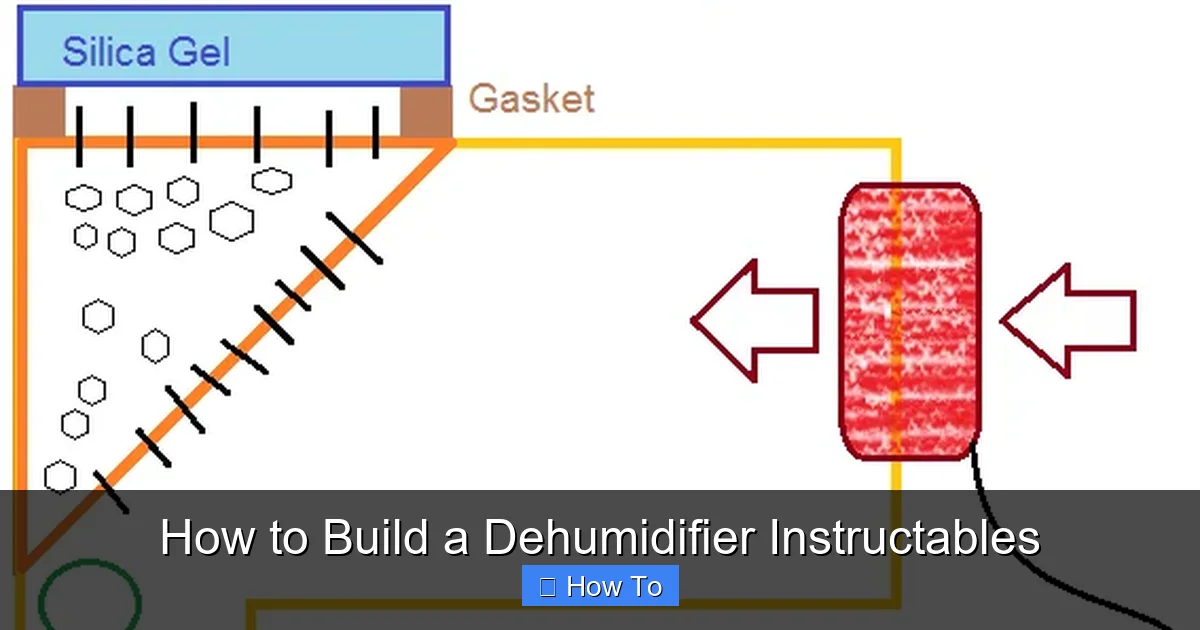
Discover how to build a dehumidifier using everyday materials and basic tools. This DIY guide walks you through creating an effective, low-cost dehumidifier perfect for small spaces like closets, basements, or RVs. Ideal for beginners and eco-conscious makers.
Quick Answers to Common Questions
Can I use table salt as a desiccant?
No, table salt isn’t effective for dehumidifying. It doesn’t absorb moisture well and can clump or dissolve. Stick to silica gel or calcium chloride for best results.
How often should I recharge the silica gel?
It depends on humidity levels. In damp areas, recharge every 2–4 weeks. In dry climates, every 6–8 weeks may be enough. Watch for color changes as a guide.
Will this work in a basement?
Yes, but you may need multiple units or a larger container. Basements are often very humid, so consider adding a small fan for better airflow.
Can I hang the dehumidifier?
Yes! Drill small holes in the sides (not the lid) and use string or wire to hang it in a closet or cabinet. Just ensure it’s secure and won’t tip over.
Is this safe for pets and kids?
Silica gel is non-toxic and safe if ingested in small amounts. Calcium chloride should be kept out of reach. Use child-proof containers if needed.
Introduction: Why Build Your Own Dehumidifier?
High humidity can cause serious problems at home. It leads to mold, musty smells, damaged furniture, and even health issues like allergies. Commercial dehumidifiers work well, but they can be expensive, use a lot of electricity, and take up space. That’s why building your own dehumidifier is a smart, eco-friendly alternative.
In this guide, you’ll learn how to build a dehumidifier using simple materials you can find at hardware stores or online. Whether you’re dealing with a damp closet, a humid basement, or just want to protect your gear, this DIY project is perfect. It’s affordable, effective, and customizable. Plus, it uses natural desiccants like silica gel or calcium chloride—no motors or compressors needed.
By the end of this guide, you’ll have a working dehumidifier that you can reuse, recharge, and adjust to your needs. Let’s get started!
What You’ll Need: Tools and Materials
Before we begin, gather all the tools and materials. This project is beginner-friendly and doesn’t require special skills. Most items are easy to find and cost less than $30 total.
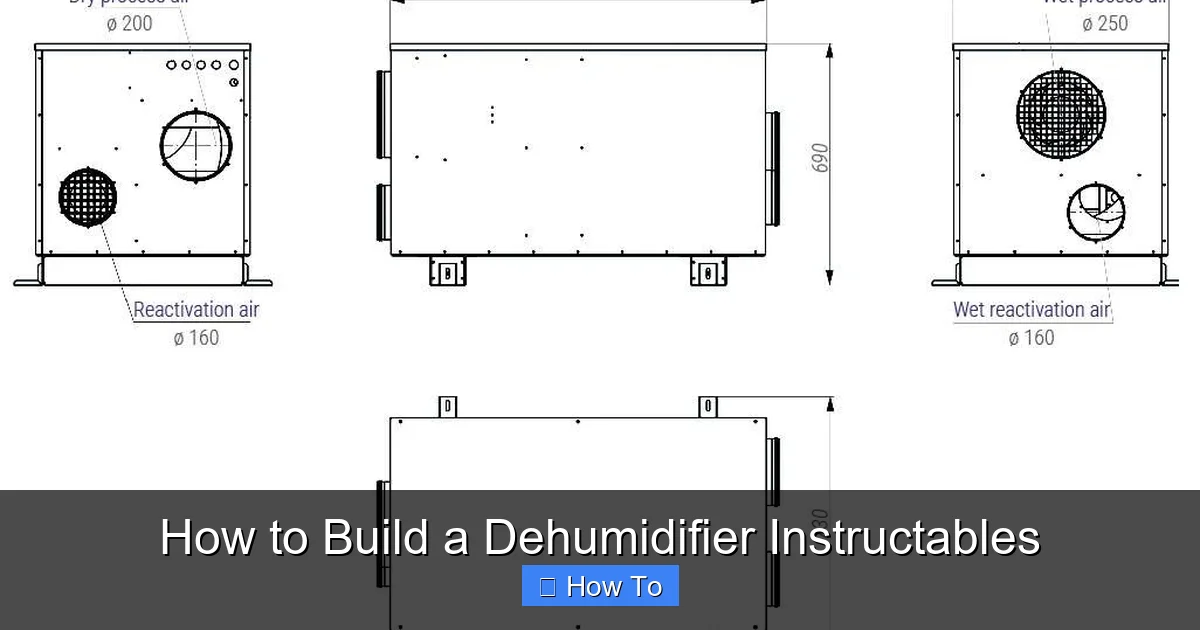
Visual guide about How to Build a Dehumidifier Instructables
Image source: files.websitebuilder.prositehosting.co.uk
Materials List
- Plastic storage container: Airtight, 1–5 gallons (choose size based on your space).
- Desiccant: Silica gel beads or calcium chloride (available at hardware stores or online).
- Mesh or breathable fabric: Nylon mesh, cheesecloth, or fine screen to hold desiccant.
- Rubber gasket or silicone sealant: To ensure the lid seals tightly.
- Drill and drill bits: For creating ventilation holes.
- Scissors or utility knife: To cut fabric and adjust materials.
- Measuring tape or ruler: For accurate cuts and spacing.
- Marker: To mark drill points.
- Optional: Small fan (USB or battery-powered): To improve airflow in larger units.
Recommended Desiccants
- Silica gel: Reusable, non-toxic, and safe for homes with kids or pets. Turns from blue to pink when saturated.
- Calcium chloride: Highly absorbent, great for very damp areas. Dissolves into liquid as it absorbs moisture—requires a drip tray.
Tip: Buy indicating silica gel (color-changing) so you can easily tell when it needs recharging.
Step 1: Choose the Right Container
The container is the heart of your DIY dehumidifier. It needs to be airtight to trap moisture and strong enough to hold the desiccant without warping.
Selecting the Size
Match the container size to the space you want to dehumidify:
- Small (1–2 gallons): Ideal for closets, gun safes, or small cabinets.
- Medium (3–5 gallons): Good for bathrooms, laundry rooms, or under sinks.
- Large (5+ gallons): Best for basements or garages (may require multiple units).
Check for Airtight Seal
Test the container by closing the lid and pressing down. If air escapes, use silicone sealant or a rubber gasket to improve the seal. A tight seal prevents outside humidity from entering and keeps the desiccant effective longer.
Pro Tip: Clear containers let you see the desiccant level and color changes—great for monitoring.
Step 2: Prepare the Desiccant Container
You’ll need a way to hold the desiccant inside the main container while allowing air to pass through. This is where the mesh or fabric comes in.
Cut the Mesh or Fabric
Measure the base of your container and cut a piece of mesh or fabric slightly larger. This will sit at the bottom and hold the desiccant. Use scissors or a utility knife for a clean edge.
Create a Pouch (Optional)
For easier handling, sew or tape the mesh into a small pouch. Leave one side open to fill with desiccant. This makes recharging or replacing the material much simpler.
Note: If using calcium chloride, place it in a shallow tray or perforated container to catch the liquid it produces.
Step 3: Drill Ventilation Holes
Moist air must enter the container to reach the desiccant. Drilling holes in the lid and base allows airflow while keeping the desiccant contained.
Mark Drill Points
Use a marker to mark where you’ll drill. Space holes evenly across the lid and base—about 1 inch apart. Avoid drilling near the edges to prevent cracking.
Drill the Holes
Use a drill bit between 1/8″ and 1/4″ in diameter. Drill slowly to avoid cracking the plastic. Start with the lid, then the base. Clean any plastic shavings with a damp cloth.
Safety Tip: Wear safety goggles and work in a well-ventilated area. Plastic dust can be irritating.
Step 4: Assemble the Dehumidifier
Now it’s time to put everything together. This step is straightforward but important for performance.
Place the Mesh Layer
Put the mesh or fabric at the bottom of the container. This acts as a barrier, preventing desiccant from falling through the holes.
Add the Desiccant
Pour your chosen desiccant onto the mesh. Fill about halfway—don’t overpack. Leave space for air to circulate.
Seal the Lid
Close the lid tightly. If the seal isn’t perfect, apply a thin layer of silicone sealant around the rim. Let it dry completely before use.
Optional: For larger units, place a small USB fan on top to gently blow air through the holes. This speeds up moisture absorption.
Step 5: Place and Monitor
Your dehumidifier is ready! Now place it in the target area and monitor its performance.
Ideal Locations
- Closets: Place on a shelf or hang from a hook.
- Basements: Set on the floor near damp walls or corners.
- Bathrooms: Put under the sink or near the shower.
- RVs or boats: Store in cabinets or under seats.
Check Regularly
Inspect your dehumidifier every few days. If using silica gel, watch for color changes (blue to pink). For calcium chloride, check for liquid buildup and empty the tray if needed.
Tip: Use a hygrometer to measure humidity levels before and after. Aim for 30–50% relative humidity.
Step 6: Recharge or Replace the Desiccant
Over time, the desiccant will absorb moisture and lose effectiveness. Recharging or replacing it keeps your dehumidifier working.
Recharging Silica Gel
Spread the silica gel on a baking sheet and heat in an oven at 250°F (120°C) for 2–3 hours. Let it cool before reusing. The beads will turn blue again when dry.
Disposing of Calcium Chloride
Once calcium chloride dissolves into liquid, pour it down the drain (it’s safe for plumbing). Rinse the container and refill with fresh desiccant.
Pro Tip: Keep a spare batch of desiccant ready so you can swap it out quickly.
Troubleshooting Common Issues
Even the best DIY projects can run into problems. Here’s how to fix common issues with your homemade dehumidifier.
Not Absorbing Enough Moisture
If humidity levels aren’t dropping, check these:
- Desiccant is saturated: Recharge or replace it.
- Container isn’t airtight: Seal gaps with silicone.
- Too few ventilation holes: Drill more holes in the lid and base.
- Airflow is poor: Add a small fan or move the unit to a better location.
Desiccant Leaking Out
If beads or powder are escaping:
- Mesh holes are too big: Use finer mesh or double-layer the fabric.
- Container is overfilled: Reduce the amount of desiccant.
- Holes are too large: Use smaller drill bits or cover holes with mesh tape.
Lid Won’t Seal Properly
A loose lid lets humid air in. Fix it by:
- Applying silicone sealant around the rim.
- Using a rubber gasket from an old food container.
- Replacing the container with a better-sealing model.
Calcium Chloride Leaking Liquid
This is normal, but messy. Prevent spills by:
- Placing a shallow tray under the desiccant.
- Using a perforated container inside the main unit.
- Checking and emptying the tray weekly.
Advanced Tips for Better Performance
Want to boost your dehumidifier’s power? Try these upgrades.
Add a Fan
A small USB or battery-powered fan placed on top gently pushes air through the unit. This increases moisture absorption, especially in still environments.
Use Multiple Units
For large spaces, build two or three dehumidifiers and place them in different areas. This ensures even moisture control.
Insulate the Container
Wrap the outside with foam or fabric to reduce condensation on the surface. This helps prevent water droplets from forming on the outside.
Monitor with a Hygrometer
Track humidity levels with a digital hygrometer. This helps you know when to recharge the desiccant and how well your unit is working.
Safety and Maintenance
Keep your dehumidifier safe and effective with regular care.
Handle Desiccants Carefully
Silica gel is non-toxic, but avoid inhaling dust. Calcium chloride can irritate skin and eyes—wear gloves when handling.
Store Properly
When not in use, keep the dehumidifier sealed in a dry place. Recharge silica gel before storing long-term.
Clean the Container
Wash the container with soap and water every few months. Rinse well and let it dry completely before reassembling.
Conclusion: Enjoy a Drier, Healthier Space
Building a dehumidifier is a simple, rewarding project that saves money and improves your home’s air quality. With just a few materials and basic tools, you’ve created a device that fights mold, reduces odors, and protects your belongings.
This DIY solution is perfect for small spaces and eco-friendly lifestyles. It uses natural desiccants, requires no electricity (unless you add a fan), and can be reused for years. Plus, it’s customizable—adjust the size, desiccant type, and design to fit your needs.
Whether you’re dehumidifying a closet, basement, or RV, this guide gives you everything you need to succeed. Share your build online, tweak the design, and enjoy the benefits of a drier, more comfortable home.